

I bought yarn twice and put it back twice because I thought knitting would take forever. My hands felt clumsy. The whole idea of patterns and gauges sounded like another language.
I kept walking past a folded throw at the end of my sofa and thinking, someday. I learned that the barrier was not talent. It was the way I started.
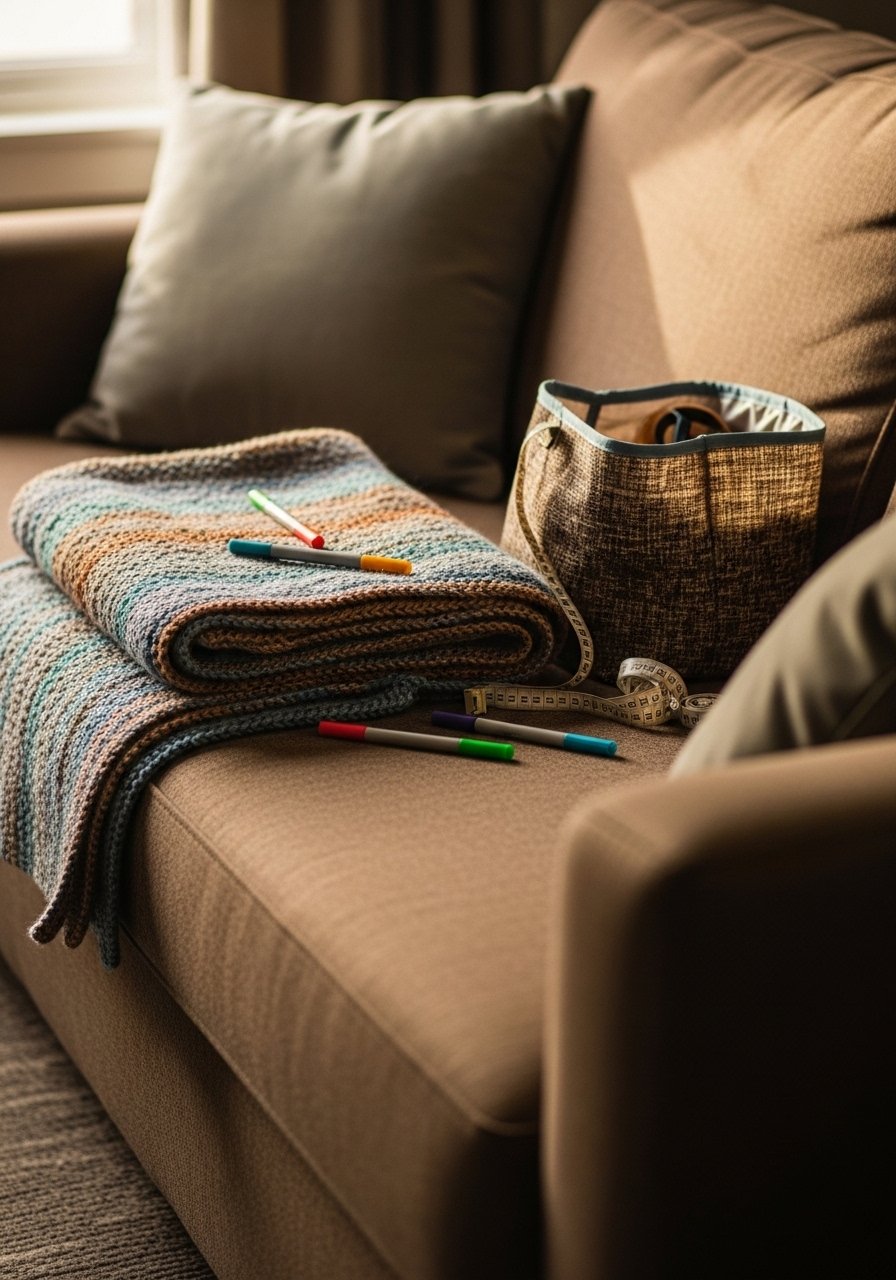
I've noticed my projects finish faster when I set one small, clear goal and treat it like a decorating piece. You will learn how to pick the right yarn and needles, make a simple swatch, follow a short pattern, and finish so the piece sits like it belongs in your room.
What You'll Need
- 10mm circular needles, 24-inch ($6 to 12). Chunky yarn works best on these. I use them for throws
- Chunky merino yarn, 200g skein in neutral tones ($15 to 30). One skein makes a small lap blanket
- Beginner knitting pattern book ($10 to 20). Look for patterns labeled simple or quick
- Large tapestry needles, set of 6 ($5 to 10). For seaming and weaving in ends
- Stitch markers, 50-pack ($4 to 9). They save so much guesswork
- Measuring tape and row counter ($6 to 15). Measure as you go
- Canvas project bag, medium ($12 to 25). Keeps yarn clean and mobile
Step 1: Choose the Right Yarn and Needles for the Room
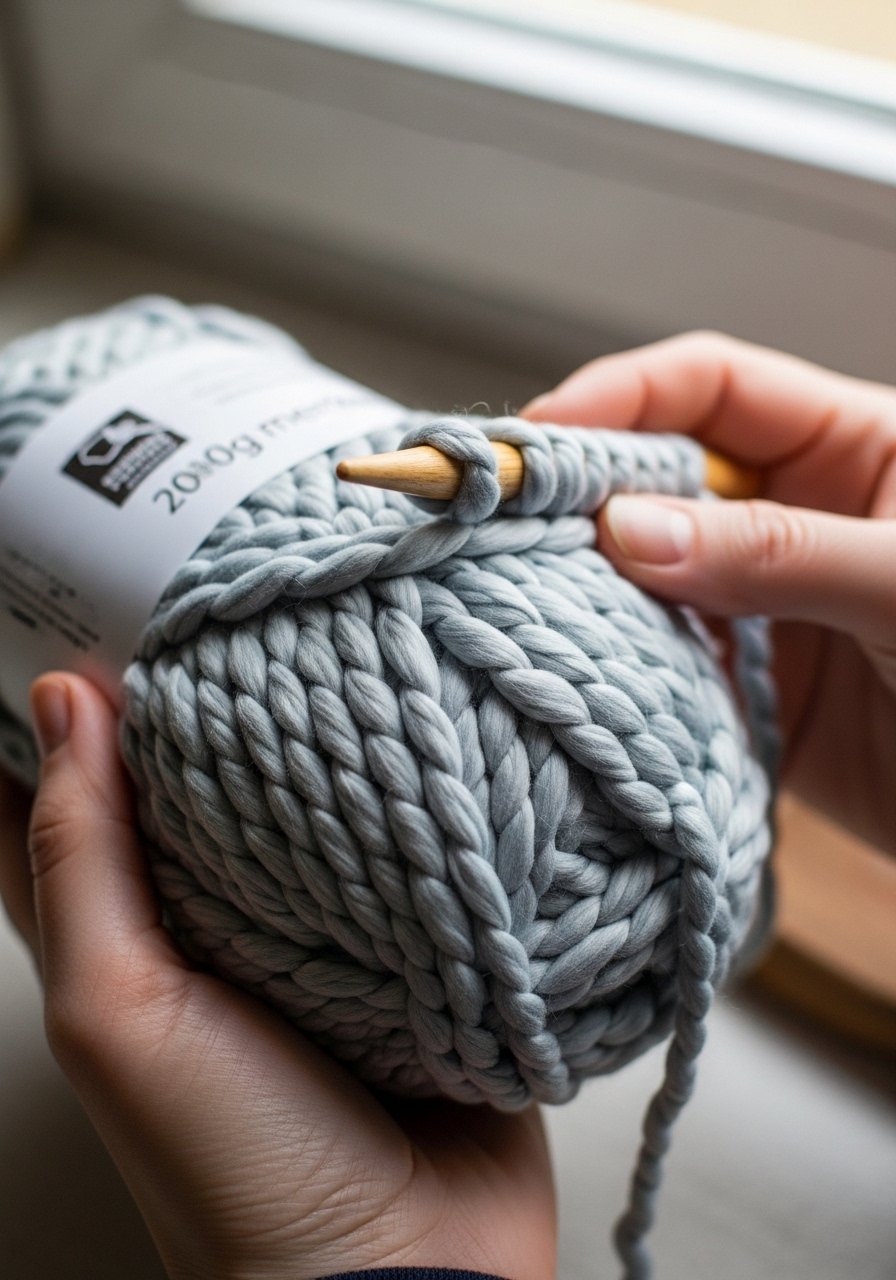
Start by matching scale to the room. Chunky yarn reads big and cozy on a sofa. Thin yarn looks lost. I pick yarn that echoes an existing texture in the room, like a wool rug or a linen pillow.
What visually changes is instant. A 10mm needle and chunky skein give you big, readable stitches. An insight people miss is gauge matters for look, not just fit. If your throw needs to be 50 by 60 inches, check how many stitches equal 4 inches. A common mistake is skipping the swatch. You will be tempted to dive in. Stop and make the little square.
Step 2: Learn Two Stitches and Make a Practice Swatch
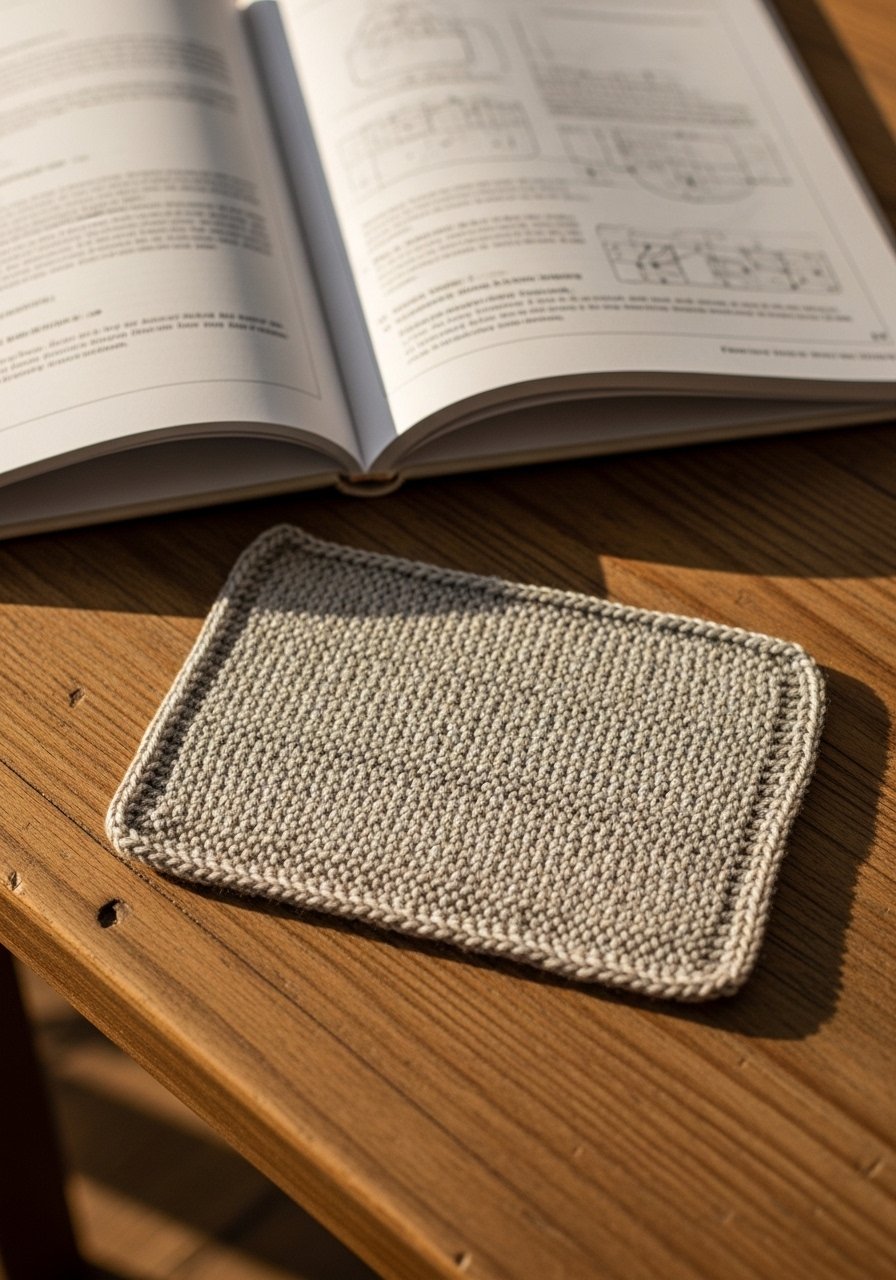
Most people try too many stitches at once. I learned faster by mastering the knit stitch and the purl stitch. Those two are enough for basic textures and simple patterns. Practice a 6 by 6 inch swatch. Count your stitches across a 4 inch section and write it down.
Visually, a good swatch looks even and flat. The insight I kept missing was tension. Tight and small stitches make the fabric stiff. Loose and uneven stitches look sloppy. A mistake to avoid is skipping the row count. Use a row counter or mark rows each ten stitches. Your future self will thank you.
Step 3: Pick a Short Pattern and Cast On with Confidence
I used to start with complicated patterns. Now I choose a single-page pattern that lists finishing dimensions and yarn weight. Cast on the number of stitches the pattern calls for, then stretch that first row gently. The project will sit flat when you keep an even edge.
You can tell if you did it wrong when the sides flare or crawl inward. If that happens, you likely cast on too loosely or too tightly. A common temptation is casting on for a larger blanket than your yarn can support. Avoid that. Match the pattern gauge to your swatch and adjust needle size if needed.
Step 4: Keep Rhythm, Use Markers, and Fix Mistakes Early
When the rhythm clicks, knitting becomes meditative. I count every 20 rows and use stitch markers to note pattern repeats. Measure width every 10 rows. If the piece narrows, you will spot it fast and correct gauge or tension.
People often ignore fixes because unpicking looks scary. The tip is to drop back to the mistake using a needle and reknit that row. Small corrections keep the finished piece clean. A mistake to avoid is ignoring uneven edges. Address them early. Your blanket will sit neatly on a sofa when the edges are even.
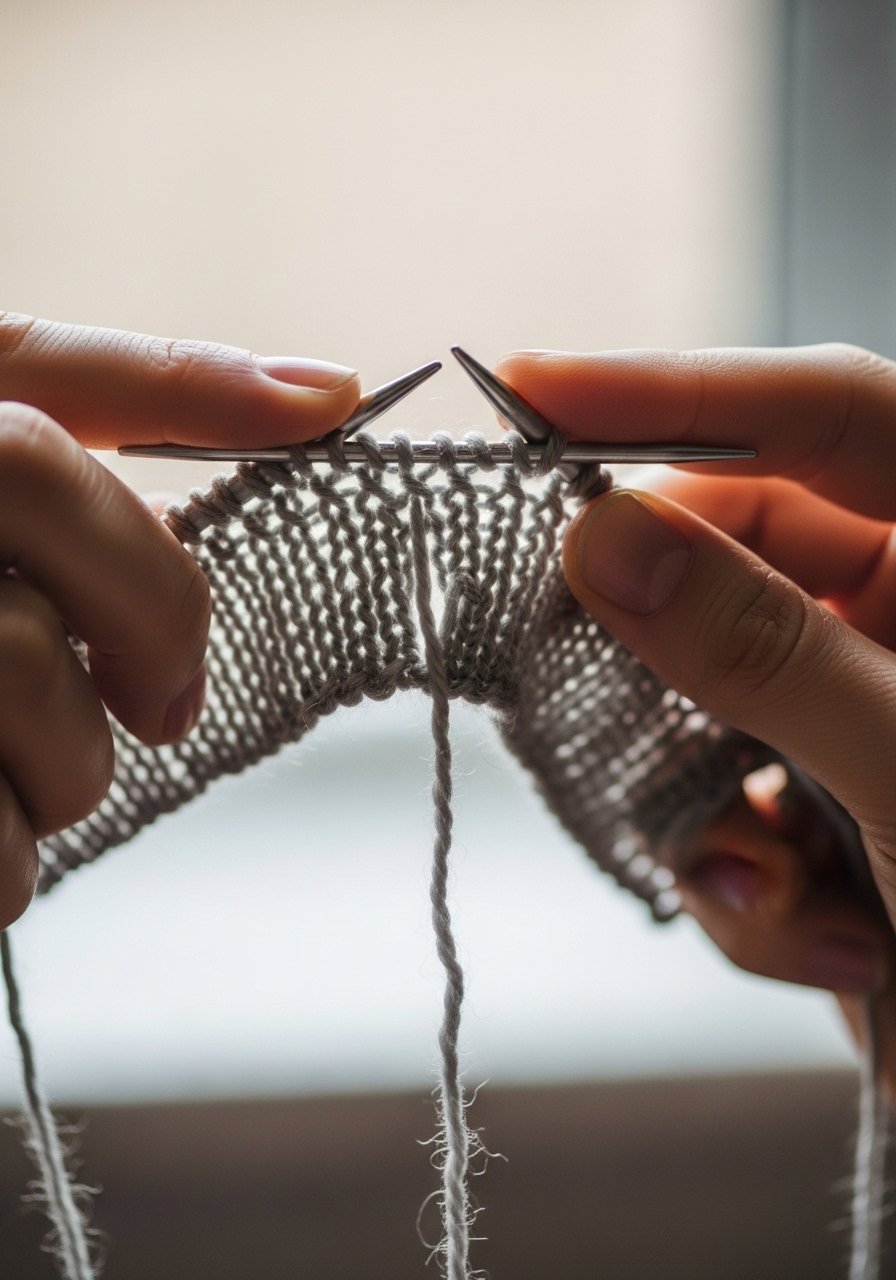
Step 5: Bind Off, Weave in Ends, and Style the Finished Piece
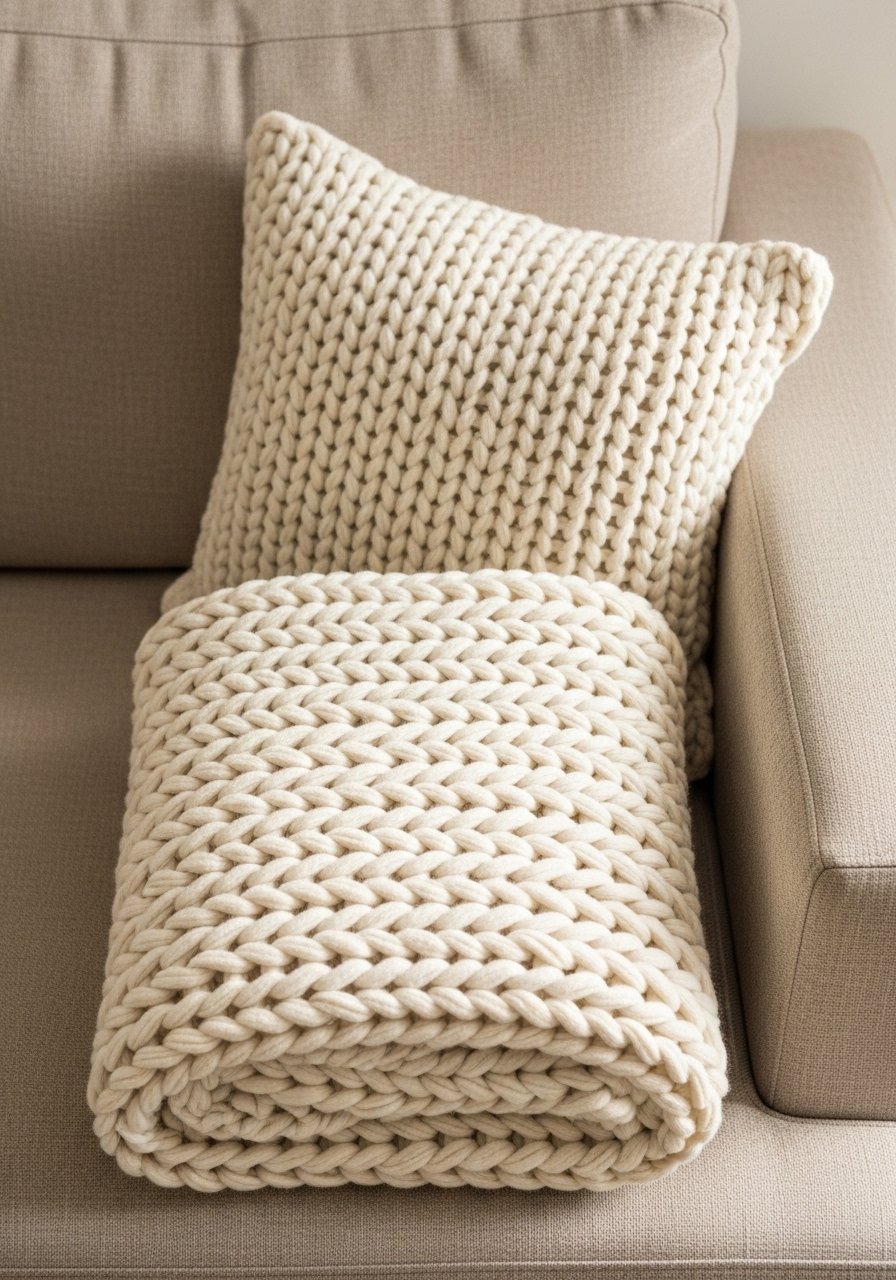
The bind off decides the look. A loose bind off makes a soft fall on the sofa. A tight bind off pulls the edge in. I aim for a slightly loose finish and then block the piece flat if needed. Weave in ends with a large tapestry needle and trim carefully.
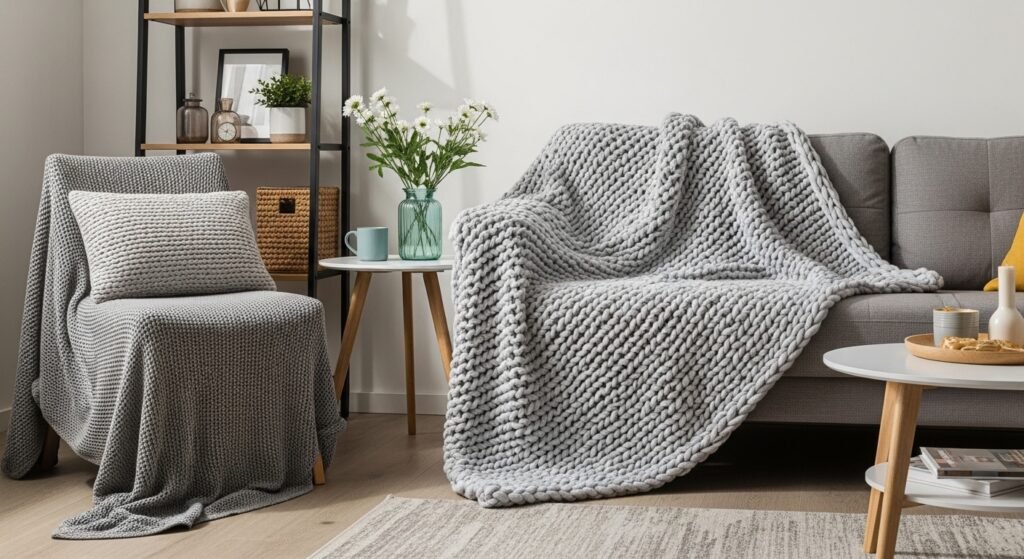
Styling is the reward. Fold the throw with the stitch pattern visible. Place it over the back or arm of the sofa in thirds for a balanced look. The mistake people make is tucking it too tight. Let it drape. It should look like it belongs, not like it was placed there for the photo.
Why New Knitters Pick Projects That Stall
I used to start with a huge blanket and stop halfway. I keep seeing the same mistake in friend groups. Big projects feel noble, but they stall because they require commitment and storage. A lap throw fits in my project bag and finishes in a weekend.
If you want momentum, pick a project with clear, short milestones. A 40 by 50 inch throw or a set of pillow covers. Keep colors tied to one room. Use neutral skeins for quicker visual wins. The habit of finishing small projects changed how I kept going.
Making This Work in a Small Living Room
Start with one small piece that reads like a textile accent. A chunky throw folded at the foot of a chair gives warmth without clutter.
- Choose one neutral or one accent color to avoid visual noise
- Fold your throw in thirds, not half, for a neat silhouette
- Store active projects in a small canvas bag on a shelf or tucked by the sofa
- Use a single skein to make a lumbar pillow cover if space is tight
I used a single 200g skein for a pillow once. It gave the room texture and a clear finish.
How to Blend Your Finished Piece into Your Room
Everywhere I look this year, chunky knits are paired with clean, modern furniture. The trick is balance. If your sofa is modern and streamlined, pick a throw with a simple stitch and a soft neutral. If your room is layered and textured, choose a bold color or cable detail.
Match the scale of the stitch to the furniture scale. Large stitches on small chairs look heavy. Smaller stitches on wide sofas can disappear. I laid out samples on the couch before committing. That step saved me from buying the wrong hue.
Start with a Simple Throw
Pick one yarn, one needle size, and one clear finished size. I found a single skein project builds confidence fast. Start with a 40 by 50 inch target. Keep your pattern to a page. Measure every 10 rows. Finish it, fold it, and place it where you sit most.
You will learn more by finishing one good piece than by starting three half-done ones. A small throw fits in a project bag, styles a room, and gives you permission to make the next thing.
