

I stared at my first tiny sampler for weeks. The stitches looked uneven. The fabric puckered. My fingers kept fumbling a tiny needle.
I kept putting the hoop aside. Then I simplified how I started. One small hoop. One stitch at a time. It made everything feel doable.
This method is what I use when a project stalls. You will learn how to pick a starter kit, set up a clean hoop, and finish something frame-ready. It works for any simple motif, and you can complete a first piece in an afternoon.
What You'll Need
- A basic 6-inch wood embroidery hoop ($6 to 12). My go-to size for practice, not too big to overwhelm
- Starter thread pack with 30 colors, cotton floss (assorted skeins) ($10 to 25). Plenty of options for one small design
- Embroidery needle assortment, pack of 12 ($4 to 8). Needles in sizes 3 to 9 cover most uses
- Loose-weave linen or cotton sampler squares, 18×18 inches, natural color ($8 to 15). Use a small square for one-hoop projects
- Water-soluble fabric pen, fine tip ($5 to 11). Marks come out with water and gentle rubbing
- Small sharp embroidery scissors ($8 to 20). Scissors that cut close to knots matter
- Transfer paper or iron-on transfer sheets ($6 to 14). Use for precise motifs or lettering
- Mini hoop frames for display, 3-4 inch set (optional) ($10 to 18). Helpful for quick gifts and wall groupings
Step 1: Choose your fabric and hoop, get the tension right
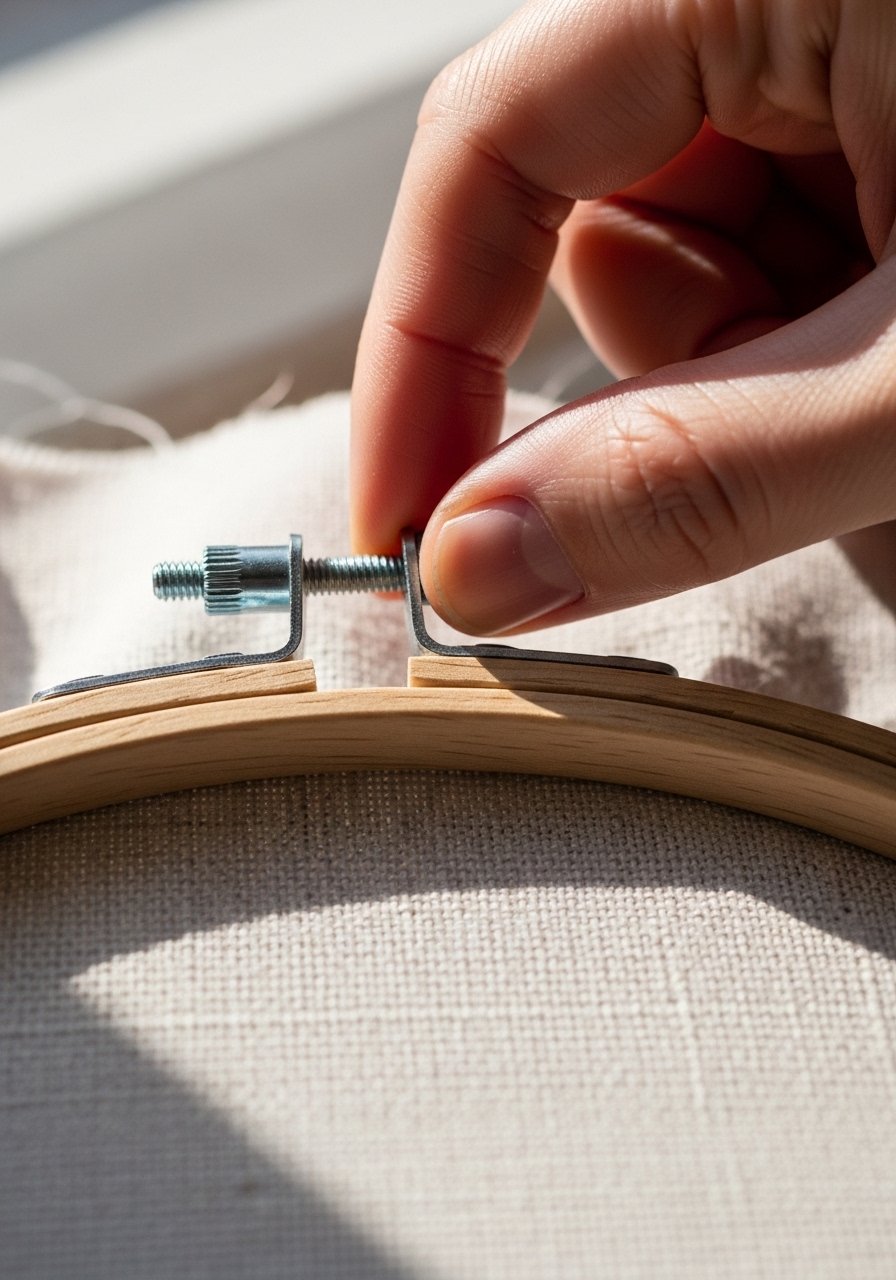
Start by mounting fabric in the hoop. Pull the outer hoop off. Lay the fabric over the inner hoop. Press the outer hoop down and tighten the screw until the fabric is taut like a drum. If it sounds slack, tighten more. If you see puckers, release and re-center the fabric.
Visually, the piece goes from limp to crisp. What people miss is the margin. Leave at least 2 inches of fabric beyond the hoop edge so you can handle the piece without distorting it. A common mistake is over-tightening until threads flatten. That gives a flat, lifeless look.
Step 2: Transfer the design and center it visually
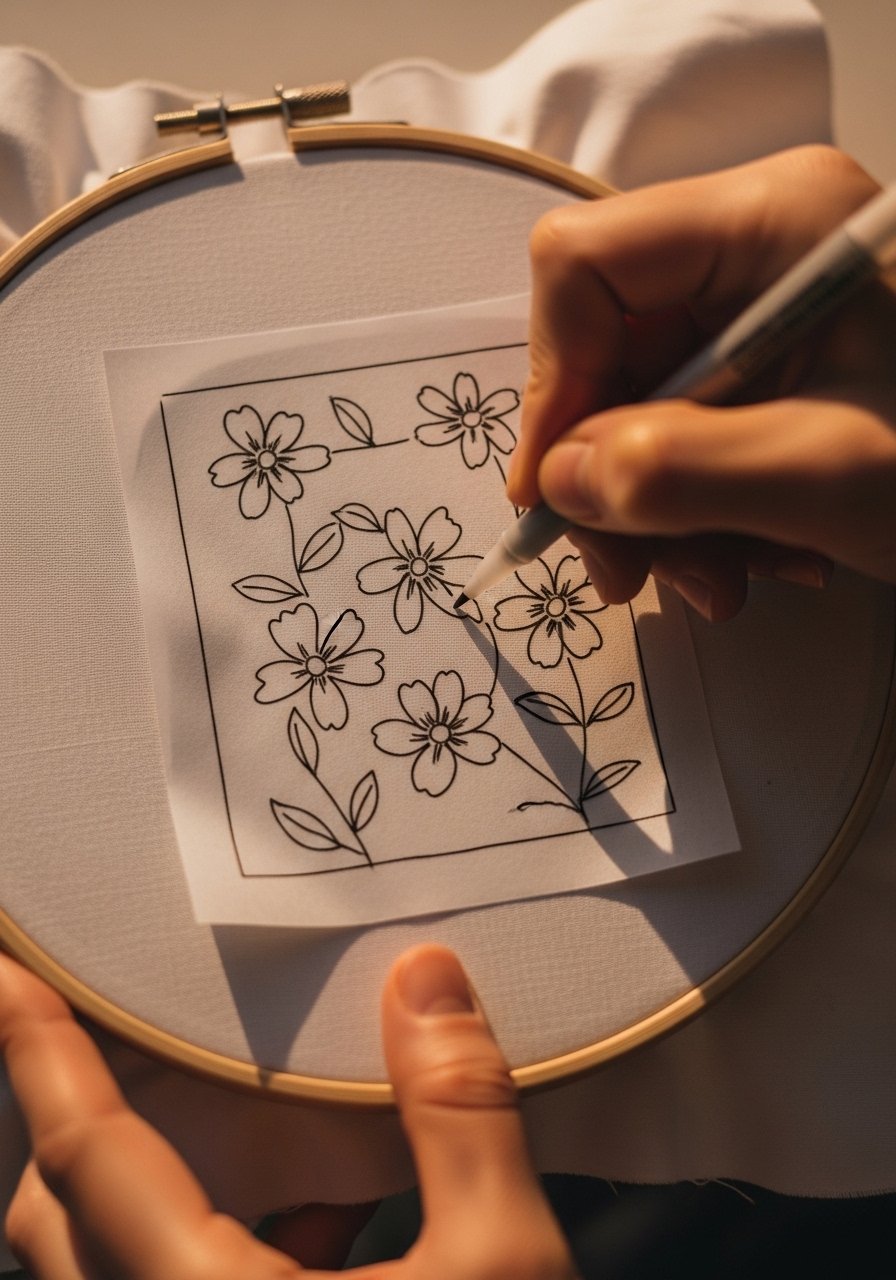
Trace or transfer your motif into the hoop now. I prefer transfer paper for crisp lines on linen. Place the design where you want it, then mark lightly with a water-soluble pen. Aim for one central focal point. If you plan a small motif, keep it within a 3-inch circle inside a 6-inch hoop. That proportion reads well on the wall.
Many beginners start too close to the edge or off-center. The result feels unbalanced. The insight is to step back and look with one eye closed. You notice centering instantly. Avoid heavy marks. They are hard to remove and can show after washing.
Step 3: Pick your threads and test stitch counts
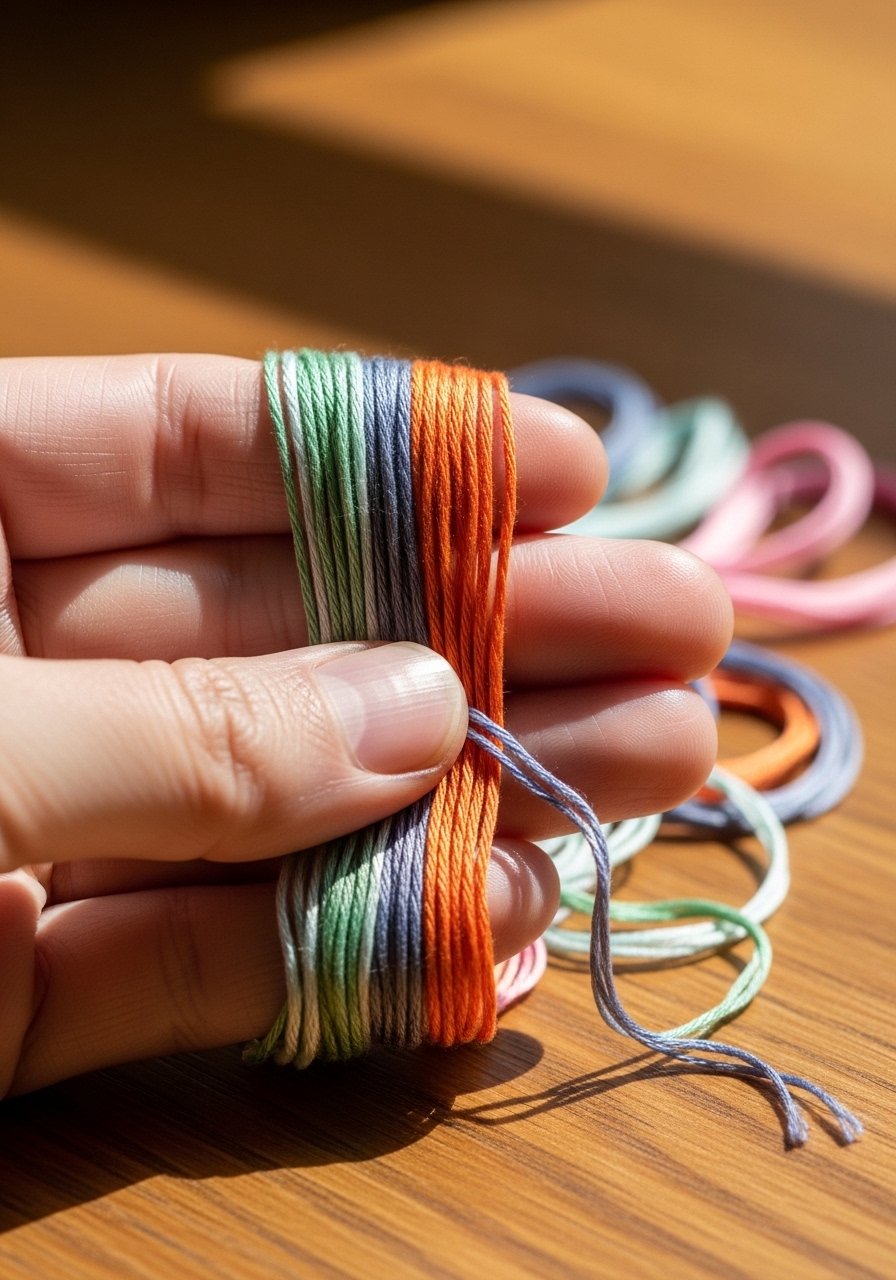
Choose how many strands to use. Embroidery floss has six plies. For a delicate outline on linen I use two strands. For a bold petal I use four. A test stitch on a scrap tells you how dense your fill will look. Too many strands will hide fabric texture. Too few will look weak.
People often grab the whole skein and start. That makes small lettering bulky. Gently separate the strands and recombine for a custom thickness. A needle size change helps too. Thinner needles with two strands keep detail crisp.
Step 4: Work in sections and balance color and space

I stitch outlines before filling areas. That gives structure and keeps shapes readable. Work one small area at a time, moving the hoop as needed. If your wreath has six leaves, space them so each leaf peaks at roughly 1 to 1.5 inches apart. That spacing avoids crowding.
A mistake is filling every empty space. Negative space matters. It keeps the sampler airy. When colors feel wrong, swap one skein for a neutral like warm beige or olive. It steadies the palette. Keep the back tidy. Loose knots on the back can create lumps on the front later.
Step 5: Finish, wash, press, and display with confidence
When stitching is done, rinse the fabric to remove marks. Use lukewarm water and mild soap. Pat dry flat. Press on the wrong side with a cloth between iron and linen. Trim excess fabric to about 1 inch and secure with a running stitch or fabric glue around the inner hoop if you like a clean back.
A common error is cutting too close to the hoop screw. You lose grip and the fabric slips. For display, mount in the original hoop or a smaller mini frame for grouped walls. The result looks deliberately made, not frantic.
Why beginners pick the wrong floss and how to fix it
I've noticed beginners reach for color first, not weight. Color is fun. Weight controls how a stitch reads on fabric. For linen or loose-weave cotton a two-strand outline keeps detail. For cotton canvas or chunky samplers, use four strands. Pick one anchor color and two accents. That stops projects from looking noisy.
Short checklist:
- Try two strands for outlines
- Use four for bold fills
- Test on a scrap before committing
- Swap one accent to a neutral if it feels busy
A simple starter pack with 30 colors gives enough variety to learn these choices without excess.
Making this work in a small space
Stitching needs little room, so it fits apartments well. I keep a tiny basket with my hoop, scissors, needles, thread picks, and a pen. When space is tight follow these tips:
- Use a 6-inch hoop to keep projects compact and portable
- Store floss on cardboard bobbins, labeled by color number
- Work sitting on a sofa and place a clutch-size project bag beside you
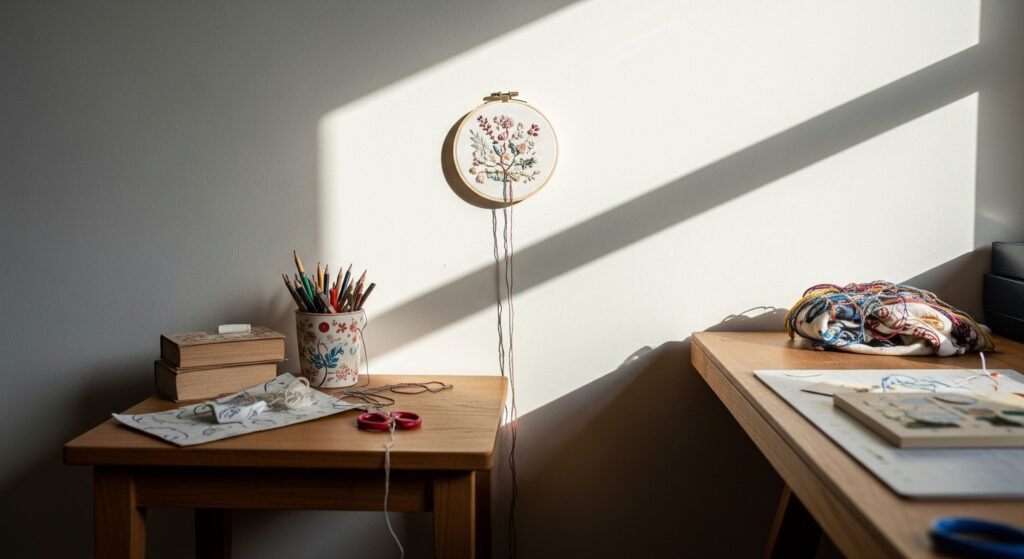
- Frame several mini hoops on one wall for a gallery effect
Small projects are forgiving. They teach rhythm without a large time commitment.
Quick projects to build confidence in a weekend
Start with a single motif you can repeat. I made a sampler of three tiny leaves over a Saturday. Use one central motif, a small word, or a simple outline of a plant pot. Materials and times:
- Leaf motif, two hours, two-strand outline
- Tiny monogram, three hours, satin stitch for fill
- Mini bouquet of three stems, four hours, mix of backstitch and lazy daisy
These projects teach tension control, strand splitting, and finishing. Display them in mini hoops or tuck them into envelopes as quick gifts.
The First Stitch Is the Hardest
Pick one small motif and one hoop. Limit your thread to three colors. That constraint makes choices easy and keeps the piece balanced.
Start with a two-strand outline and one filled element. You will finish faster than you expect. A simple starter floss pack is a low-commitment buy that gets you across the first stitch.
