

I stared at a ball of yarn for a week and still felt lost. Every pattern looked like a different language. My first few attempts were tiny, uneven, and frustrating. I kept putting projects aside.
I've noticed beginners get stuck because they try too many techniques at once. This guide shows one calm way to begin, so your projects look like actual items, not experiments.
Pick one small, useful project that finishes in a weekend. A simple beanie, a rectangular scarf, or a dishcloth gives fast feedback. I choose something that uses one yarn weight and one stitch repeat. It keeps choices small and confidence up. When you finish, you see the change. The item becomes useful, and your tension evens out. A common miss is picking variegated yarn for a first project. It hides mistakes but also hides learning. Avoid tiny hooks early. They make progress feel slow.
What You'll Need
- Beginner crochet hook set, sizes F to L ($8 to 18). I use one labeled H or 5.0 mm most of the time
- Worsted weight yarn, 100% acrylic or wool, 200-250 yards ($5 to 12 per skein). Choose a solid color for your first project
- Tapestry needles, pack of 6 blunt needles ($4 to 8). For weaving in ends cleanly
- Stitch markers set, 20 pieces. I clip one to the first stitch of each row so I don't lose track
- Measuring tape, retractable ($3 to 8). Gauge matters more than you think
- Scissors with pointed tip ($6 to 15). Not the kitchen scissors
- Beginner crochet pattern book or booklet ($10 to 20). One reliable pattern stops you from hopping between sites
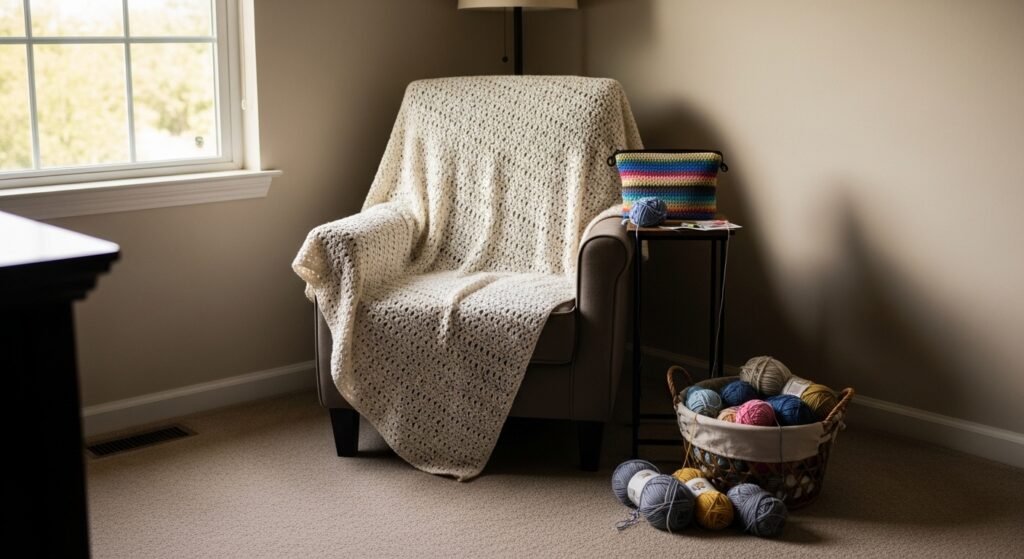
- Project bag or small basket. I keep it in my lap while I work
Step 1: Choose one simple pattern and read it through
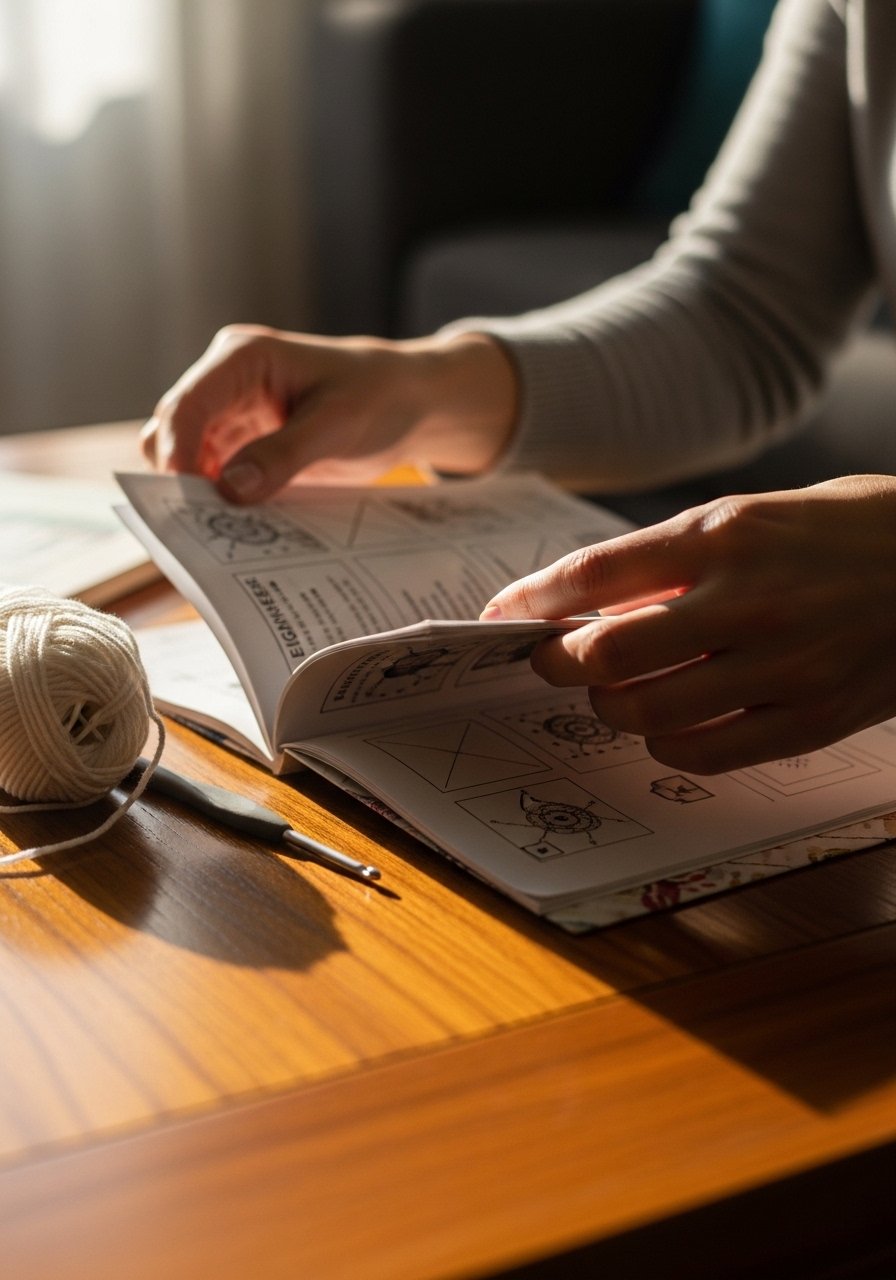
Open the pattern before you buy yarn. Look for clear stitch abbreviations and a photo that matches the finished size. I pick patterns that list gauge and finished dimensions. It tells you how many stitches to expect across 4 inches or 10 cm. That measurement saves frustration. Most people ignore gauge. That is the reason a hat ends up too big or small. A common mistake is starting with a complex stitch texture. It looks pretty but hides tension problems. Use a single stitch pattern the first time. If the pattern calls for worsted weight and an H hook, follow it.
Step 2: Make a 4-inch by 4-inch swatch and adjust your hook

Make a tiny swatch of about 12 to 16 stitches and 8 to 12 rows. Measure across 4 inches. If you have more stitches than the pattern gauge, go up one hook size. If you have fewer, go down one size. I used to skip swatches and then wonder why my scarves came out narrow. The swatch shows your tension and how your yarn feels. Many beginners skip this because it seems boring. That costs time and frogging later. Avoid guessing the fit. A swatch prevents that.
Step 3: Start with a foundation chain and keep a rhythm
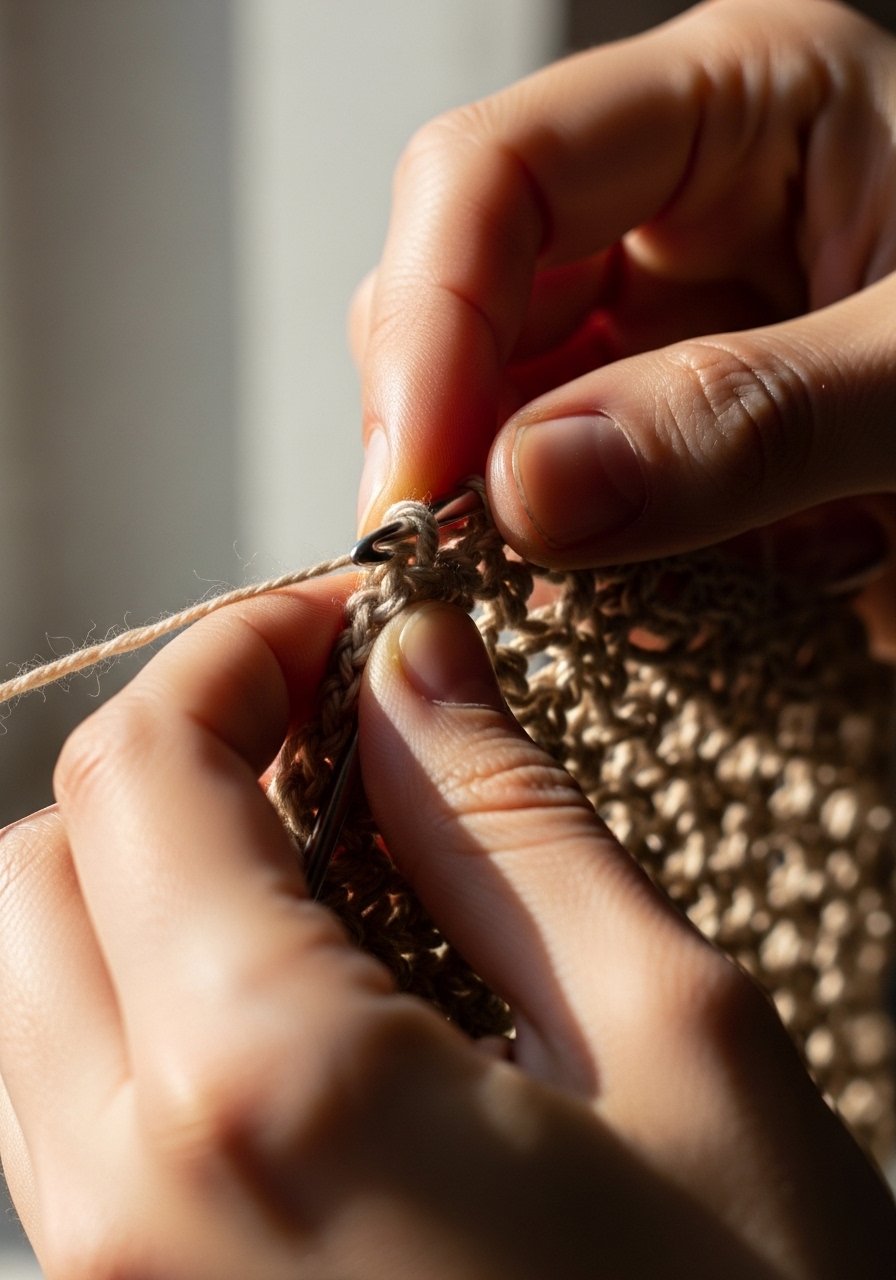
Chain the number the pattern asks for, plus any extra for turning. Count audibly as you make rows. I say the stitch names lightly as I work. It keeps rhythm and reduces dropped stitches. Visually you want even loops and a straight edge. If one edge looks wavy, your tension changed. Most people hold yarn too tightly at first. Relax your grip and practice 10 chains at a time. A common temptation is to speed up to finish. Slow down. Even tension matters more than finishing fast.
Step 4: Learn to read your work and fix mistakes as you go

Look at the V shapes on the front and bumps on the back. They tell you which side faces out. If a stitch is missed, you can pull back one or two rows and redo them. I keep a row counter or a clip-on stitch marker on the first stitch of each row. It saves counting headaches. Many beginners frog entire projects instead of fixing a single row. That wastes time and morale. Fix the small error. Keep going. A tidy finish comes from occasional corrections, not perfection.
Step 5: Finish, block if needed, and weave in ends with care
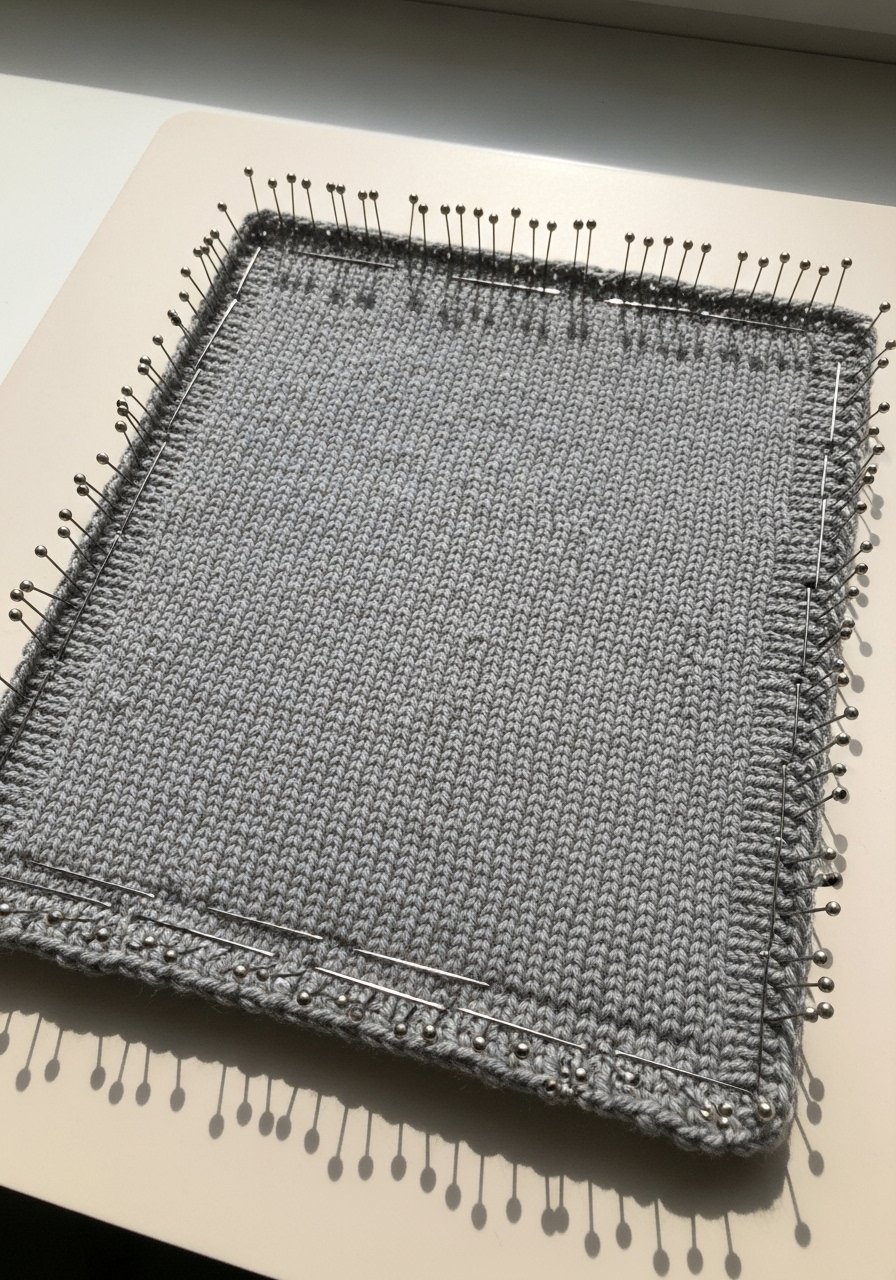
Weave in ends with a tapestry needle using three to four passes back and forth so they do not pop out. If your item looks slightly uneven, blocking fixes shape. For cotton or acrylic, wet block or use a steam touch. Wool benefits from gentle shaping. I used to skip blocking and then wonder why my rectangles were crooked. Blocking is the stage that makes a project look intentional. A common mistake is leaving long tails without weaving them in. Trim close after weaving. It keeps the piece tidy and long lasting.
Why beginners pick the wrong yarn
I've seen yarn choices cause half my friends to stall. Solid worsted weight yarn is forgiving. Variegated yarn hides mistakes but makes it hard to check consistency. Lightweight yarn and small hooks feel fussy. Chunkier yarn and a larger hook show progress quickly. If you want softness choose wool blends. If you need easy care choose acrylic. Bullet points that help:
- Choose a yarn label that lists gauge and recommended hook size
- Match the yarn to the pattern weight, not the color photo
- Buy an extra skein if the project uses more than one, colorway runs vary
- Avoid superwash if you plan to block with steam
How to fit crochet into real life
My feed is full of finished heirloom blankets that took months. You do not need that. Try a 4-hour project and carry it in a small bag. Make one repeat per TV show. Set a tiny goal like one row a day. Keep tools in a catchall near your chair. Small wins build habit. If you have a child or pet, choose durable yarn and keep a small box for hooks. When space is tight, keep projects in stackable clear bags so you can see progress without making a mess.
Troubleshooting common early problems
When stitches look uneven, test grip and hook size first. If your edges are wavy, count stitches each row and add a marker at the first stitch. If the hat is too large, wash and block to the correct shape before ripping. When color pooling surprises you, choose a solid next time. I used to overbuy notions. Now I keep a small essentials kit: one hook I use most, tapestry needle, scissors and a dozen stitch markers. It saves time and decision fatigue.
The first stitch is the hardest
Start with one small, useful item. A dishcloth or simple beanie teaches chain, single stitch, and finishing. I promise you will learn more from finishing one small project than from starting three unfinished ones. Keep your tools handy, pick a solid yarn, and make a swatch. One completed item builds the habit. Then pick a slightly bigger pattern.
