

I would walk into a room and stare at a cluttered counter. Mail, a candle, a phone charger, a key bowl, all arranged with no plan. Every surface felt like a to-do list.
It took a few small DIY projects to stop that tired feeling. Once I decided on purpose for each spot, things fell into place fast.
This is the method I use when a home feels messy but not broken. You will learn to make a zone, edit what stays, add simple anchors, and finish with easy labels and hooks. The end result is calm, intentional spaces that feel lived-in, not staged.
What You'll Need
- Chunky knit throw in oatmeal, 50×60 ($40 to 65). Useful for softening an open basket or a bench area
- A set of linen storage baskets in varying sizes, I like at least two sizes to mix
- Set of 3 ceramic vases, matte white ($25 to 40). Perfect for grouped styling on a shelf
- Brass picture ledges, 24-inch ($18 to 30). Great for rotating prints without nails
- Jute area rug, 8×10 ($90 to 160). Grounds a zone on a budget
- Clear glass jars with lids for pantry or countertop storage
- Adhesive wall hooks rated for 5 to 10 pounds, easy for rental walls
- Small wooden shelf risers to add vertical layers on open shelving
Step 1: Define One Zone and Give It Purpose
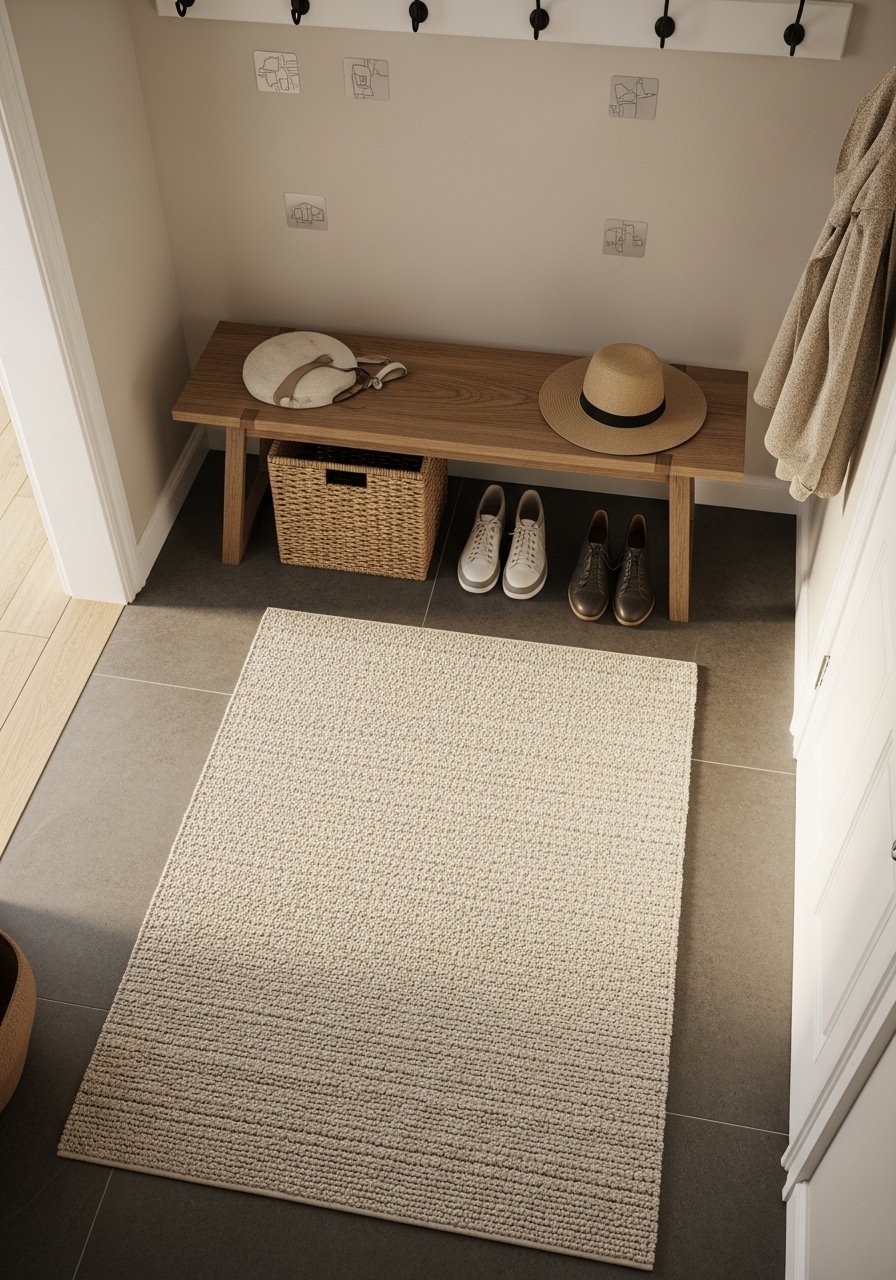
Pick one functional zone to tackle first. For example, an entry landing should handle mail, keys, and a place to sit. Naming the zone makes decisions simple. I aim for a 3-foot landing spot near the door. That space tells me what needs to live there.
What changes visually is calm. You will see a floor patch, a bench, and one basket rather than scattered clutter. A common miss is trying to make the entire room a command center. Start small. A mistake to avoid is overfilling the landing. Leave about 30 percent empty so the area reads as intentional. Use a jute rug or a basket to anchor the zone.
Step 2: Edit Everything Off the Surface
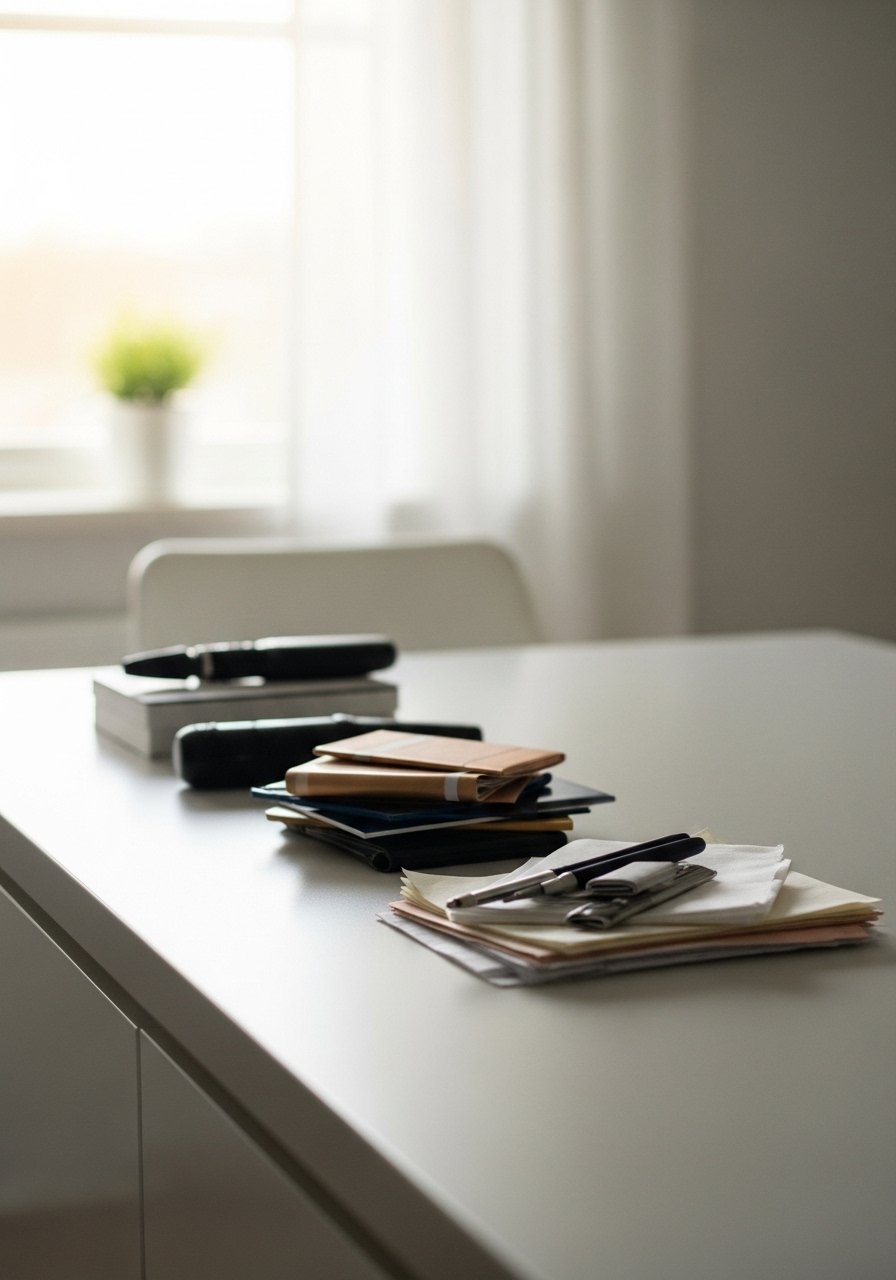
Pull everything off the surface. Yes, everything. Seeing a blank countertop lets you decide what belongs. I sort into keep, relocate, and recycle piles. When I do this, I can actually see shapes and gaps. That makes styling less guesswork.
Visually, the room stops looking busy. You can judge scale properly. One missed insight is that people often keep items out because they are "used." Ask how often you use the item, not whether you like it. Avoid the trap of returning every object to the counter. If something goes to a basket or a drawer, do it now. Ceramic vases or a small tray become the only visible pieces, and they read calm.
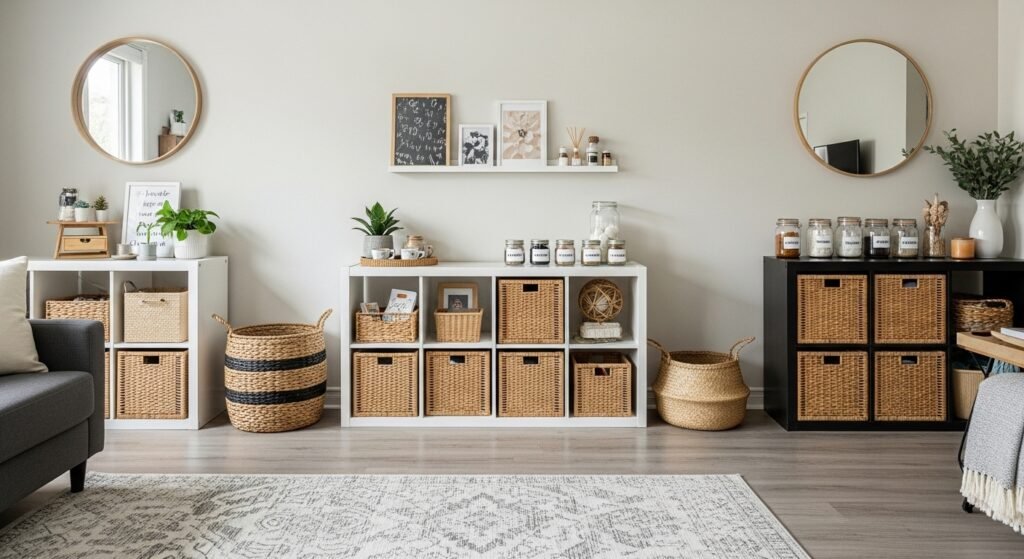
Step 3: Anchor with Baskets and Trays
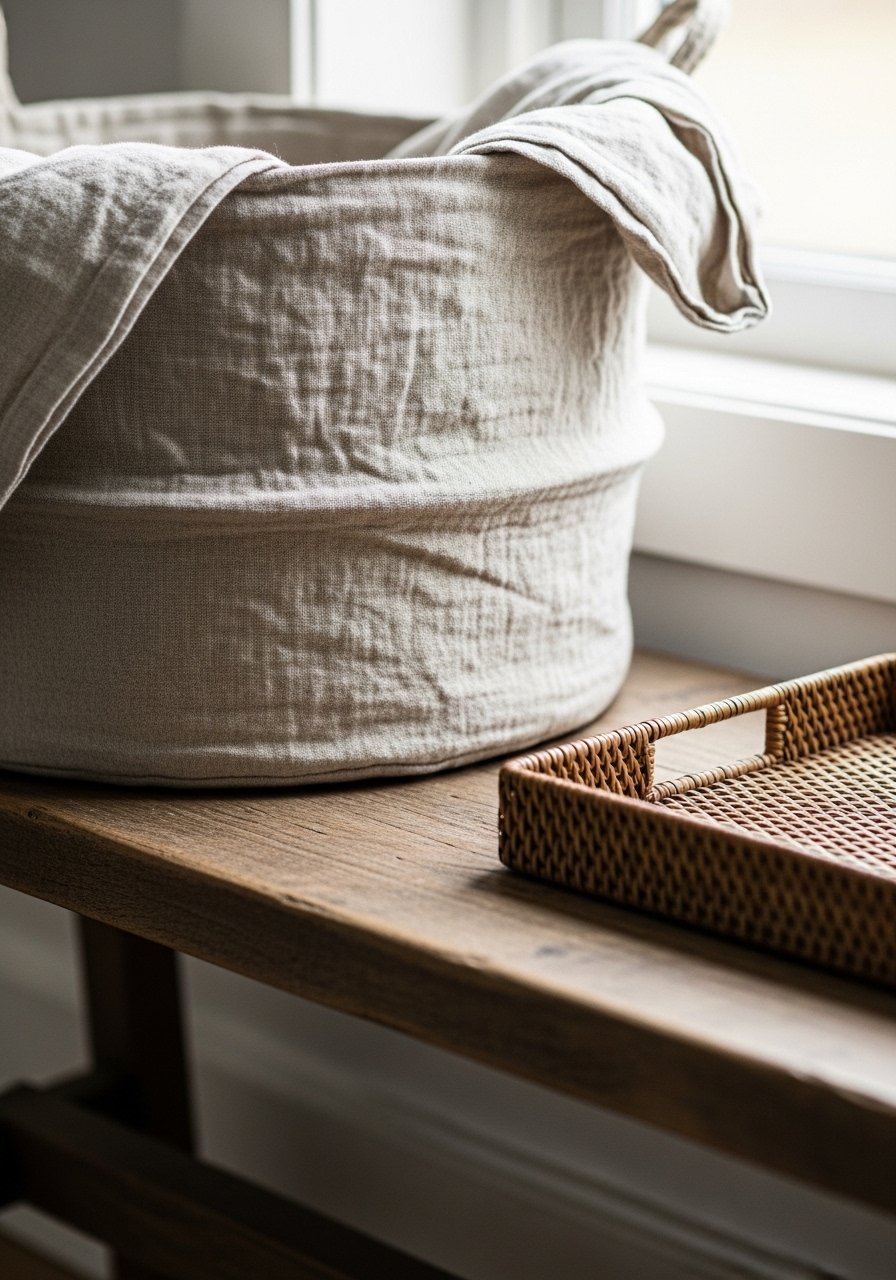
Lay down anchors next. A large linen basket on the floor and a small tray on the bench change how your eye reads the area. Anchors make storage part of the design. I follow a simple rule. One large anchor, one medium stack, and one small decorative object forms a balanced trio.
The visual change is immediate. Grouping items in odds of three keeps the eye moving. People often use anchors that are all the same height. That flattens the scene. Avoid same-size containers. Leave 2 to 3 inches between grouped objects so each piece breathes. A chunky throw in a basket is both practical and softens the edges.
Step 4: Use Vertical Fixes for Small Footprints
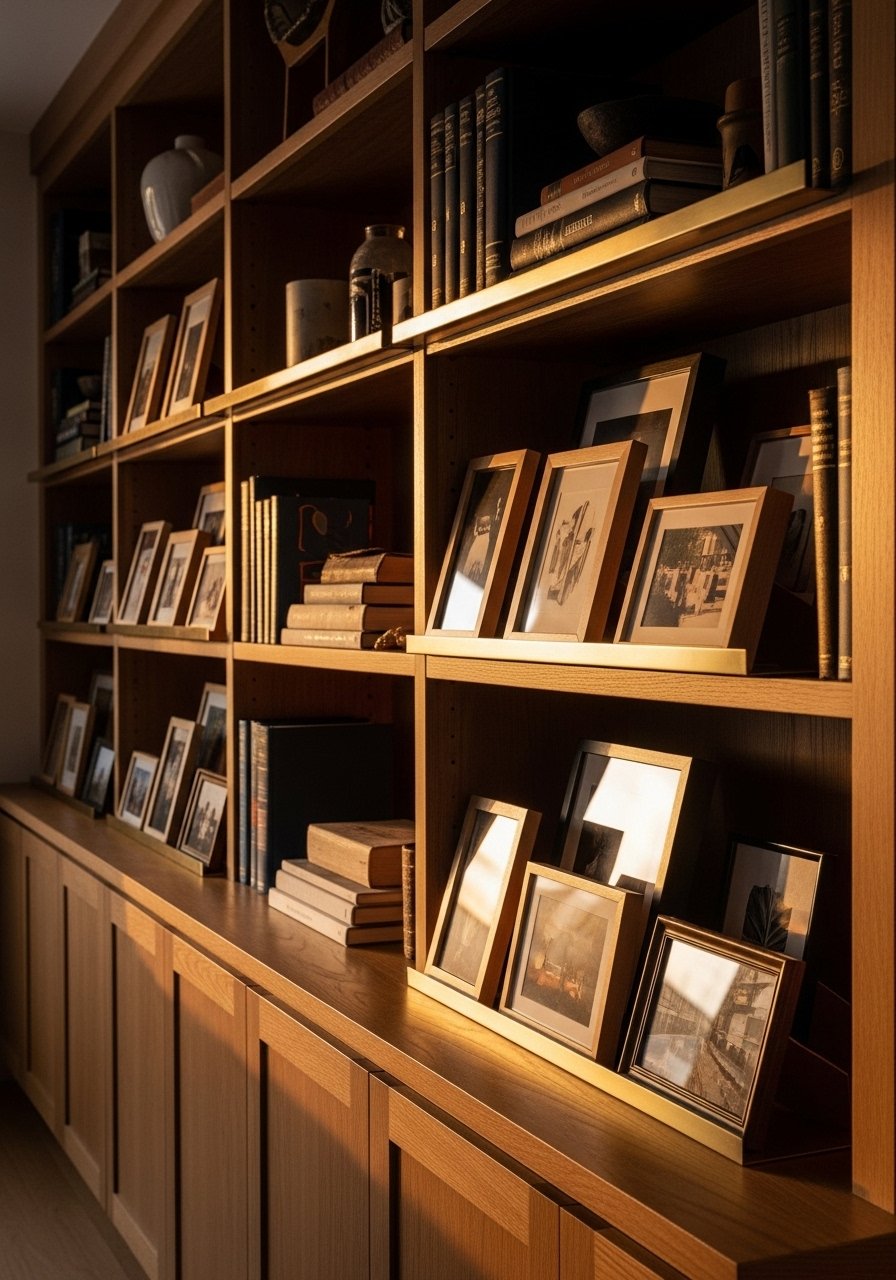
When floor space is tight, go vertical. Picture ledges and small shelf risers create pockets for small items. I mounted a 24-inch ledge and layered two frames and a small vase. That one ledge gave visual focus without cluttering the surface below.
What changes is proportion. The eye goes up and the room reads larger. A common miss is hanging art too high or too dense. Keep frames at eye level for a sitting room, about 56 to 60 inches from floor to center. Mistake to avoid is overloading the ledge. Leave space for negative area. Brass ledges and ceramic vases make the styling feel intentional and current.
Step 5: Finish with Labels, Hooks, and Clear Containers
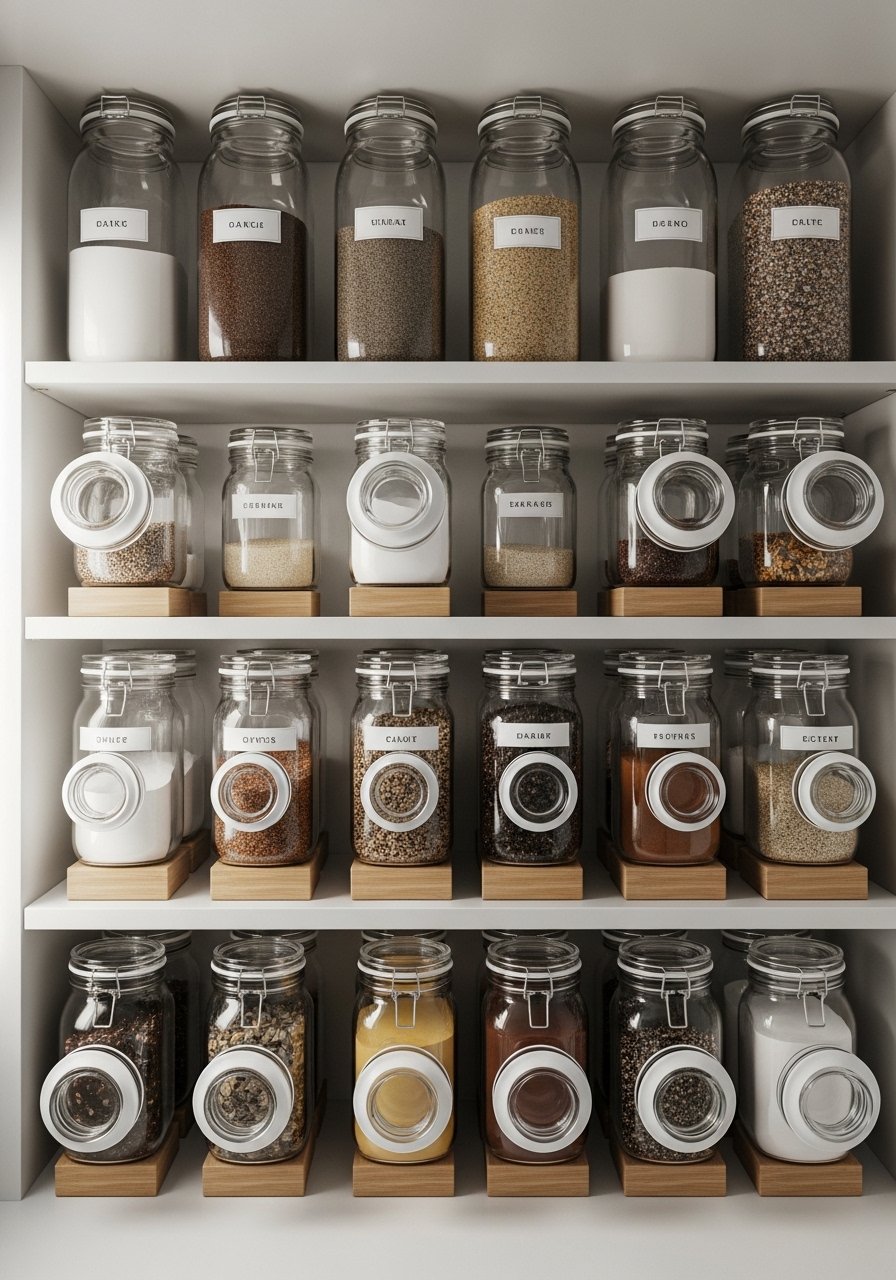
Labeling and consistent containers make a DIY edit feel professional. I use clear jars for frequently used pantry items and small labels in a simple font. Hooks on the inside cabinet doors or by the entry keep daily items accessible. The visual change is neatness. You can see what you have at a glance.
People often label everything tiny. A mistake is using labels that are too small to read from a foot away. Use medium-size tags so you can scan quickly. Shelf risers help maximize height. Avoid glass jars that are too tall for the shelf. Choose jars that leave 2 inches of headroom for easy handling.
Why Your Shelves Still Look Cluttered After Styling
I've noticed shelves that end up cluttered because people treat styling like decoration, not function. You need to assign roles. One shelf for books, one for display, one for baskets that hide overflow. When I plan roles first, every object has a home.
Common misses:
- Mixing too many patterns in one area
- Too many same-size items in a row
- No accessible storage for daily use
Fix those and the shelves read calm. A small tray or a set of ceramic vases helps divide spaces without fuss.
Making This Work in a Small Room
I keep seeing small rooms get overwhelmed by full-size storage. Scale matters. Pick lower-profile anchors and focus on vertical solutions.
Practical moves:
- Use wall hooks instead of a coat rack
- Choose 2 baskets instead of 5 small bins
- Add a 24-inch ledge for rotating art
If the room is under 10 by 10 feet, aim to keep 40 percent of wall space visually open. That emptiness keeps the room from feeling boxed in.
Mixing DIY Storage with What You Already Own
Everywhere I look this year I see people integrating existing pieces with simple DIY storage. I used an old console and added baskets beneath. The console stayed familiar, while the new baskets made it usable.
Example: an old console plus two linen baskets equals a tidy entry. The console handles keys and mail. Baskets hide shoes and scarves. Small changes feel affordable and keep the home personal.
Start with items you love. Add consistent materials like woven fibers or matte ceramic to unify the look.
Start with One Zone
Pick a single zone you use every day and fix that first. A bench, a counter, or a pantry shelf will give you visible wins quickly. Start small. That momentum makes the rest of the house easier to edit.
I recommend beginning with a linen storage basket or a set of clear jars as a low-commitment first project. You will learn how much you actually need. Then expand, one purposeful zone at a time.
