

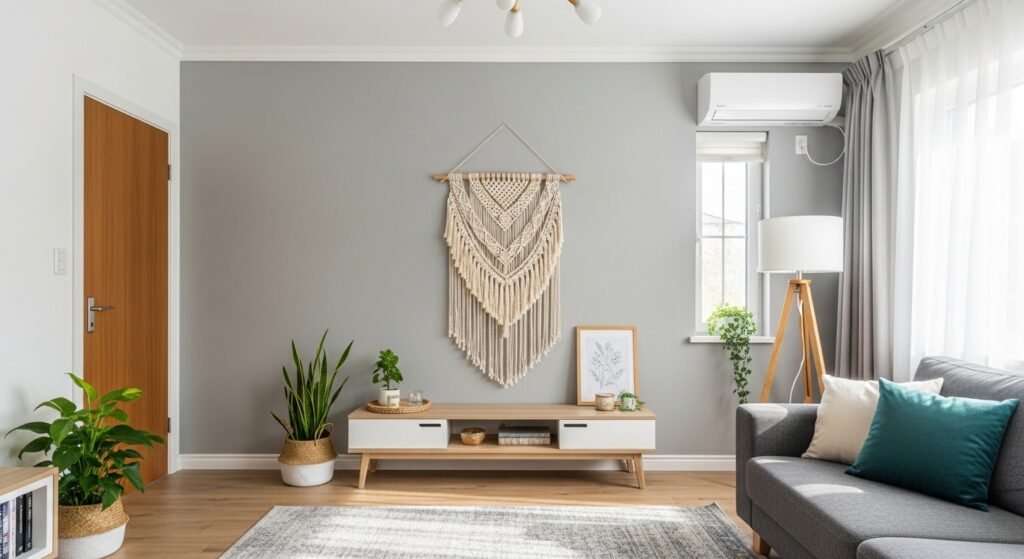
My blank wall stared at me for weeks. I bought cord and a rod and then froze. I kept asking if I needed better materials or a complicated pattern. What I was missing was a simple method that gets the shape right first.
I keep seeing oversized pieces in tiny nooks. The approach below helps you pick scale, set a rhythm, and finish a hanging that actually feels balanced. It works for organic modern and cozy, natural rooms. If you searched how to make macrame wall hanging diy, this is a gentle path.
What You'll Need
- 3mm natural cotton cord, 200 feet ($15 to 30). Soft, neutral, easy to comb out. I use this for most small hangings
- 24-inch wooden dowel or driftwood rod ($8 to 20). Pick driftwood for an organic modern look
- Set of 50 wooden beads, mixed sizes ($8 to 18). Adds quiet texture when threaded between knots
- Sharp fabric scissors ($10 to 25). Clean ends change the whole finish
- Tassel comb and metal beard comb ($6 to 12). For brushing and softening the fringe
- Adjustable wall hook, heavy-duty ($6 to 15). Makes swapping and leveling fast
- Macrame pattern book for beginners ($12 to 25). Use one simple pattern before you improvise
- Set of metal curtain rings, 10-pack ($7 to 14). Handy if you want a ring hanger instead of tying directly to the rod
Step 1: Pick the right scale for the wall
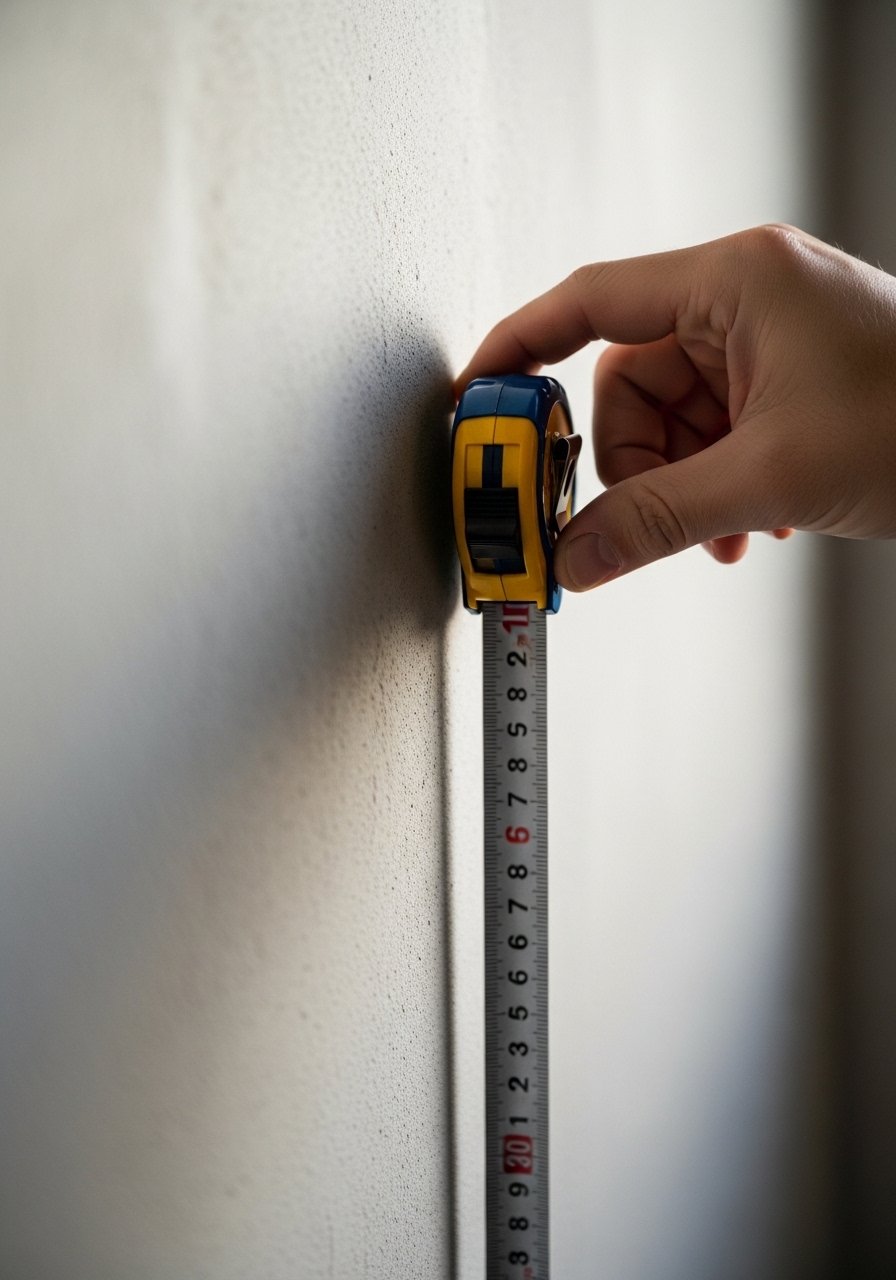
Start by measuring the wall and the furniture below. For a slim console or narrow hallway, aim for a hanging 12 to 24 inches wide. For a sofa or large blank wall, go 30 to 36 inches. The visual change is immediate when width is correct. Too wide and the hanging will look heavy and crowded. Too narrow and it reads like an afterthought. The mistake I made most often was starting too large. If unsure, tape paper templates on the wall first and live with them for a day.
Step 2: Cut cord with a simple length rule
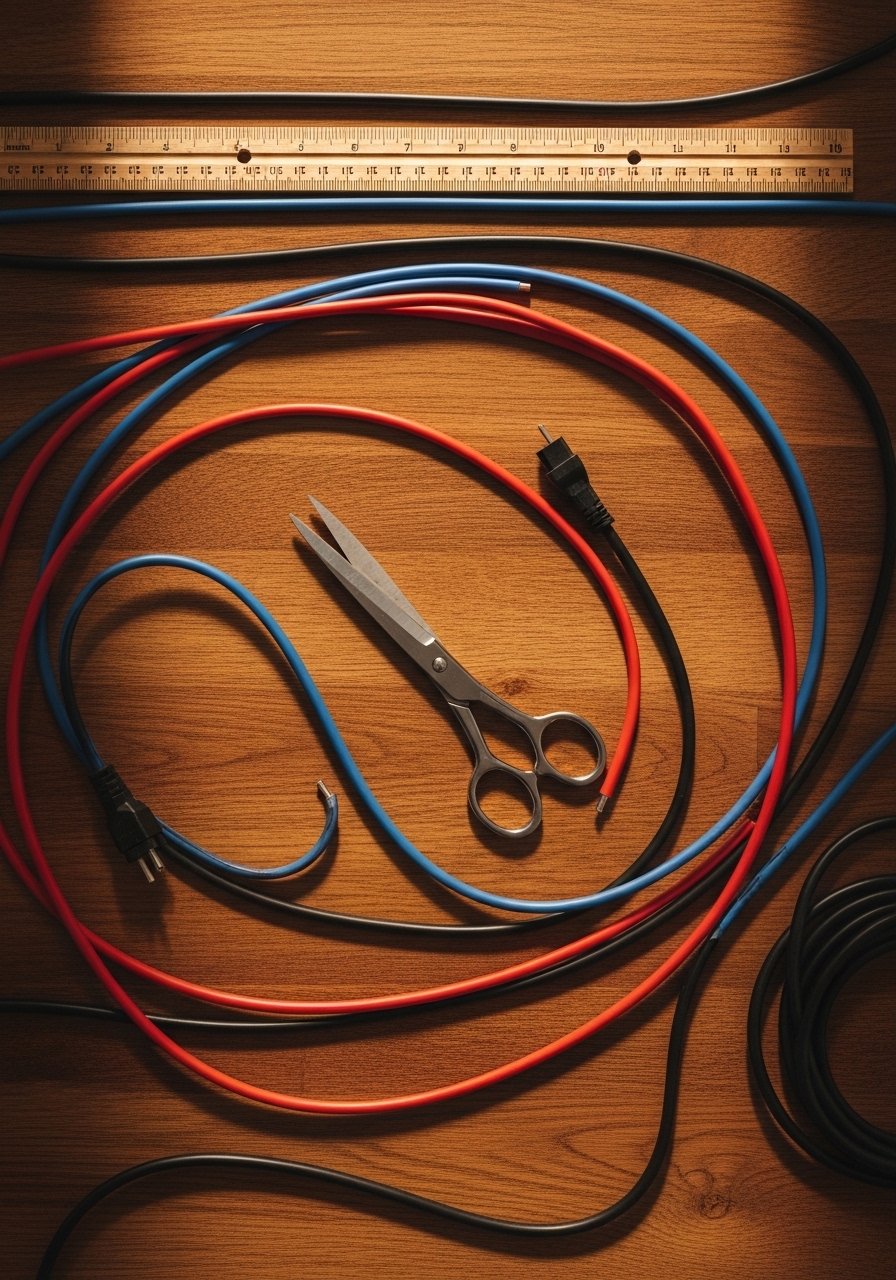
Cut each working cord at about four times the finished drop. For example, for a 24-inch finished drop I cut cords to 8 feet. Fold cords in half for lark's head attachments. For a 24-inch width I start with 12 folded cords, which gives 24 working strands. The visual difference between too-short and generous cord is huge. Too-short cords leave the piece tight and flat. Too-long cords become frustrating to trim. Label a few sample lengths with masking tape until you find what fits the room.
Step 3: Anchor and lay the foundation knots
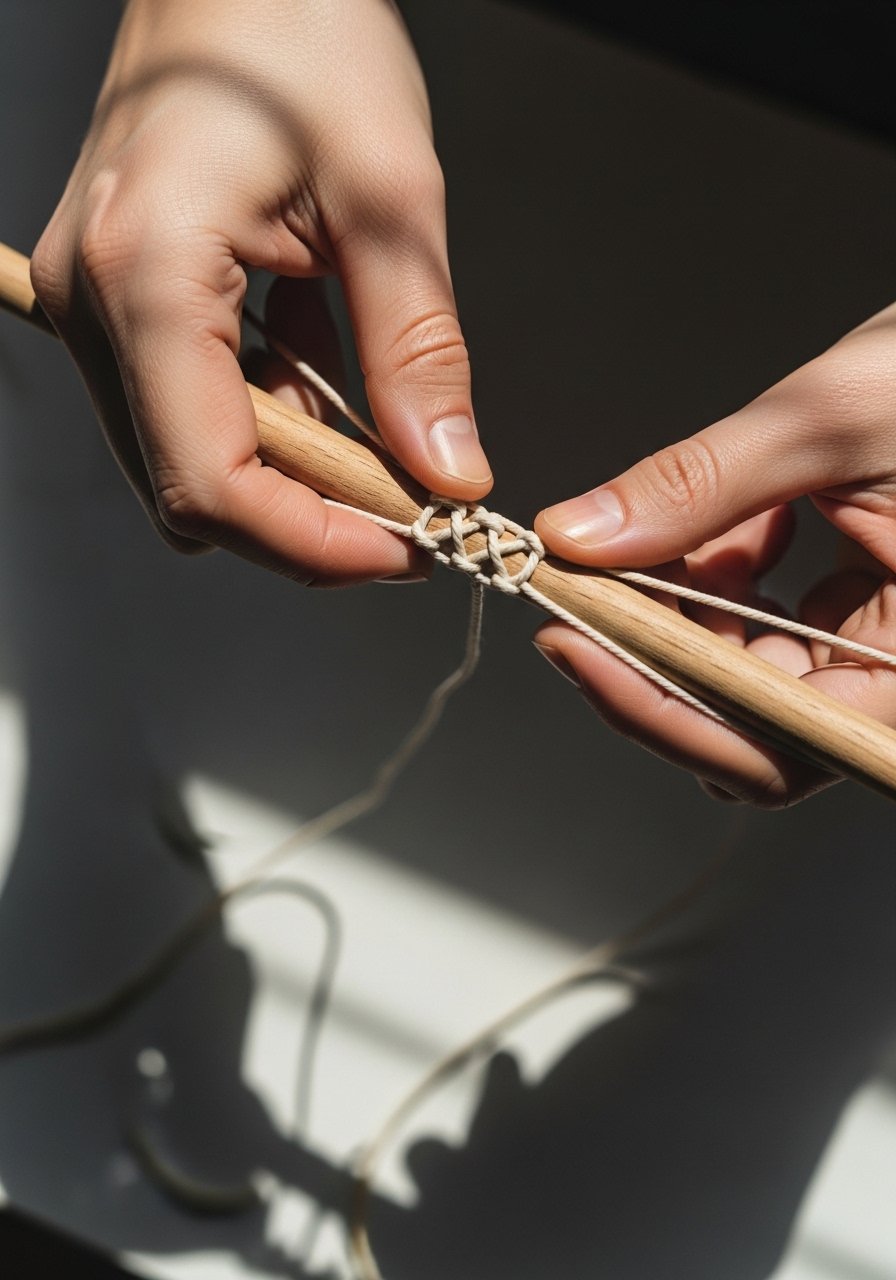
Attach cords to your dowel with lark's head knots across the rod. Make one row of square knots as the foundation. This is the step where the hanging starts to read as intentional instead of random. Keep tension consistent when tying. If one knot is tighter the whole line will skew. A common oversight is spacing rows too far apart. Aim for about 1 to 2 inches between knot rows to keep rhythm. Use the pattern book for the first three rows, then loosen up. The book helps when you want a reference for knot sequences.
Step 4: Add texture, beads, and finish the fringe
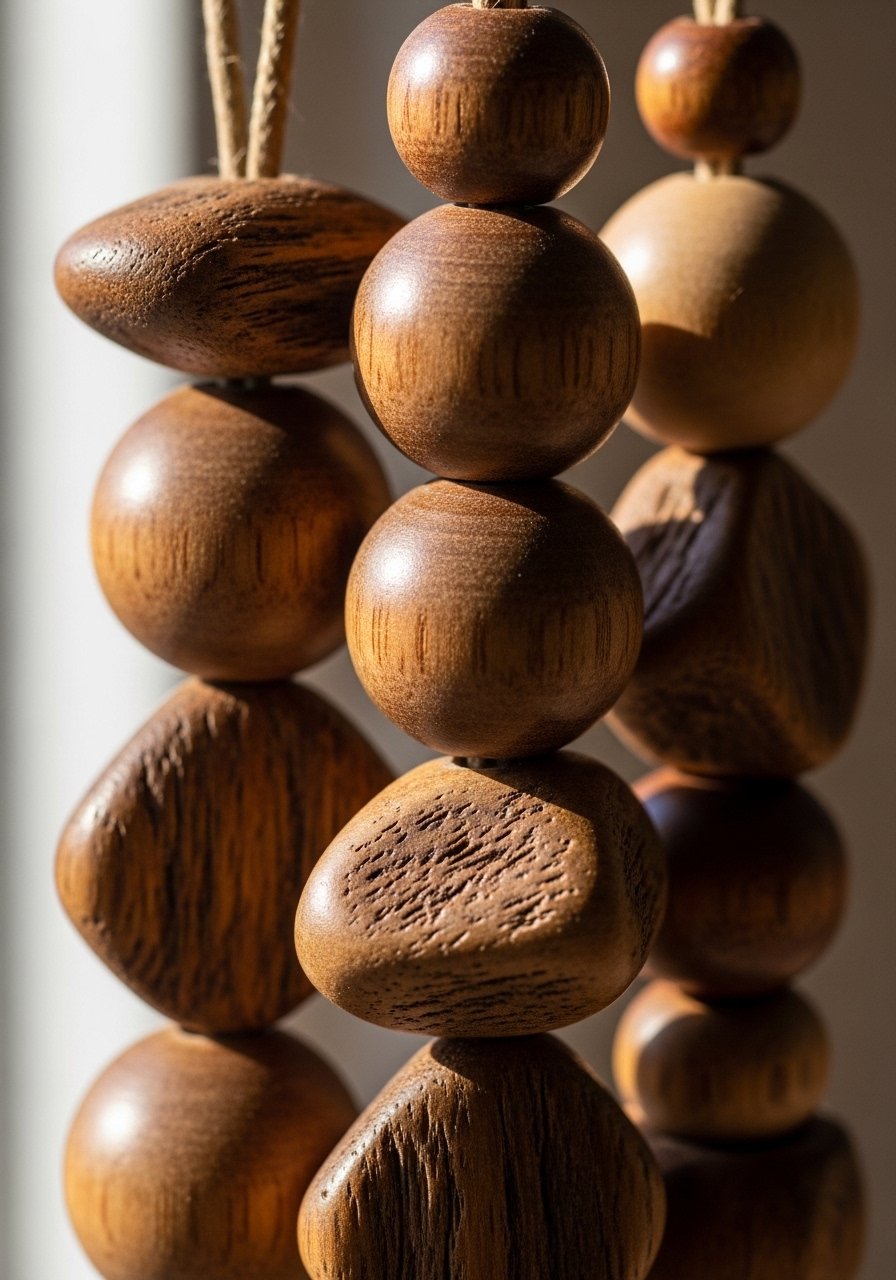
Introduce wooden beads or a different knot pattern in the middle section. Thread beads with 2 to 3 inches of cord showing above and below, so they sit visibly within the weave. When shaping the fringe, comb it out then trim to a soft V or straight edge. I aim for symmetry, not mirror exactness. A mistake to avoid is trimming too early. Comb first and let the fibers relax. Use the tassel comb to soften the cotton and the scissors for a clean final line. Small beads make the piece read handcrafted, not busy.
Step 5: Hang, level, and style around it
Hang the dowel with an adjustable hook or two picture hooks so you can tune the level. For general wall art aim to place the center about 57 to 60 inches from the floor. Over a sofa, leave 6 to 8 inches between the sofa back and the bottom of the hanging. Step back and edit. If one side droops, adjust knots or swap the dowel for a slightly longer one. People often hang too high, which cuts the piece off visually. A quick fix is to lower the hook and view from the main sightline.
Why your first macrame can look messy
I've noticed that most messy pieces come from inconsistent tension and rushed trimming. Start slower. Tie one knot at a time and compare sides. Look for these specific issues and fixes.
- Uneven rows, fix by retying the tight row and loosening the other
- Ragged fringe, comb fully and trim with a ruler for a straight line
- Off-center beads, slide nearby cords to rebalance the weight
A measured approach makes a handmade piece feel intentional instead of accidental.
Making this work on narrow walls or tall ceilings
Tall rooms reward vertical pieces. Narrow walls need compact shapes. I use these adjustments in real rooms.
- Narrow wall: keep width to 12 to 18 inches. Use longer fringe to emphasize height
- Tall ceiling: increase drop to 40 to 60 inches, cut cords to four times that drop
- Low ceilings: shorten the hanging and keep it within eye level so it reads as wall art
Match the scale to furniture nearby. Small changes in width and drop make the piece sit correctly in the room.
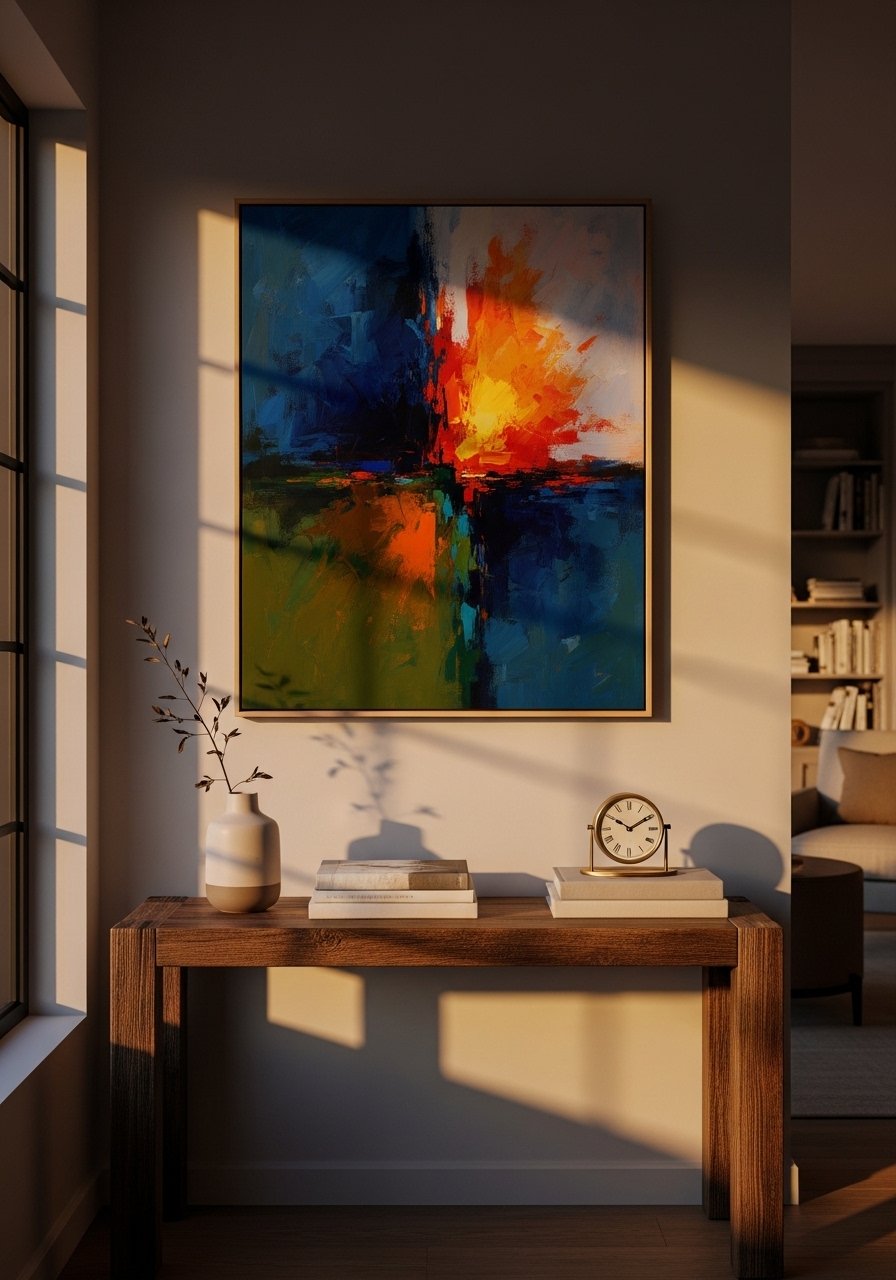
Mixing macrame with framed art and shelves
Everywhere I look this year macrame is layered with simple frames and plants. Balance is the trick. Place the hanging between two small frames or above a slim shelf. Keep color tones coordinated. Neutral cord, light wood beads, and a single green plant look cohesive.
Example arrangement: macrame centered, a 10 by 8 print to the left, a small floating shelf with a ceramic vase below. If you add a shelf, keep 4 to 6 inches between the bottom of the hanging and the top of the shelf to avoid crowding.
Start with One Small Wall
Pick a single wall or the space above a console. Make a hanging about half the width of the furniture below. Start with the simple 24-inch dowel and a basic row of square knots from the macrame book. Small commitment, clear result. You will learn proportion and tension on a scale that feels manageable.
