

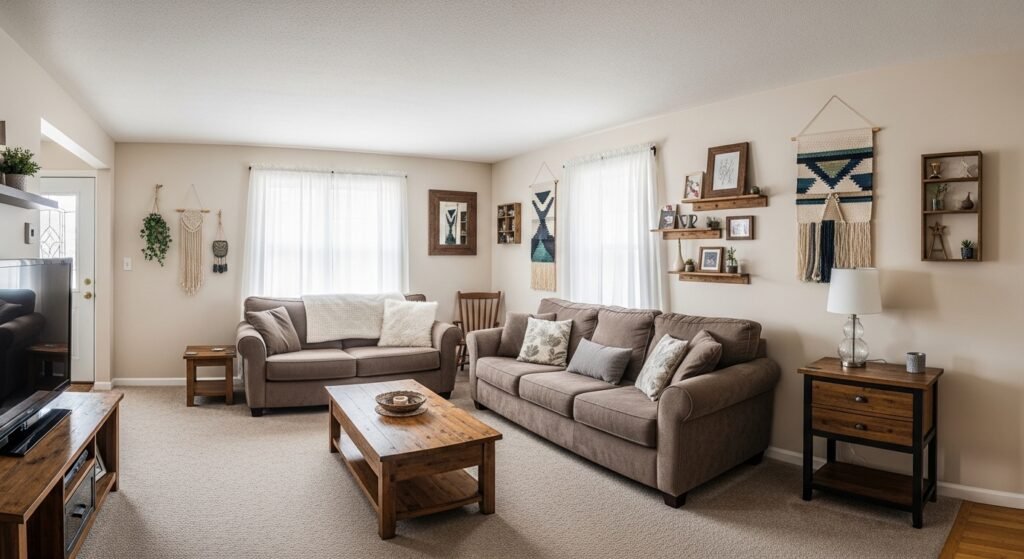
I kept staring at the empty wall above my sofa and nothing felt right. Shelves looked too busy. A single picture looked lost.
If a room feels cold or unfinished, hanging decor can fix the mood without a full redo. I’ll show how I plan, layer, and place pieces so the wall reads as part of the room, not an afterthought. It’s simple to do.
How to Make Hanging DIY Decor for Any Room
This is the method I use every time a wall or corner needs a finishing touch. I’ll show how to pick an anchor, mix textures, and balance scale so the result feels warm, intentional, and a little like organic modern meets lived-in comfort.
What You'll Need
- Woven cotton macramé wall hanging, 20×30 inches (~$25–60)
- Ceramic hanging planter with jute rope, white 6in (~$18–35)
- Dried pampas grass stems, natural, pack of 5 (~$15–30)
- Faux eucalyptus garland, 6ft, natural green (~$12–25)
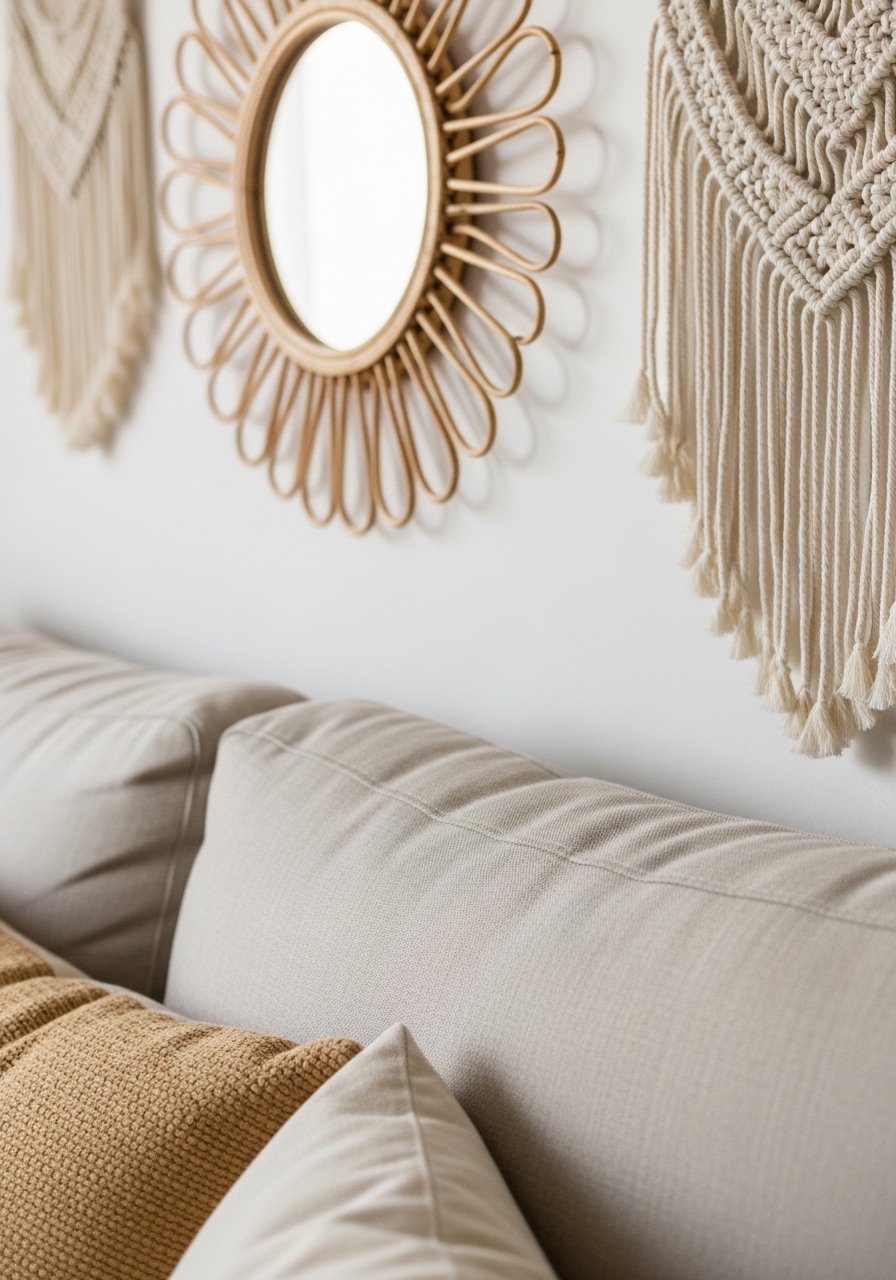
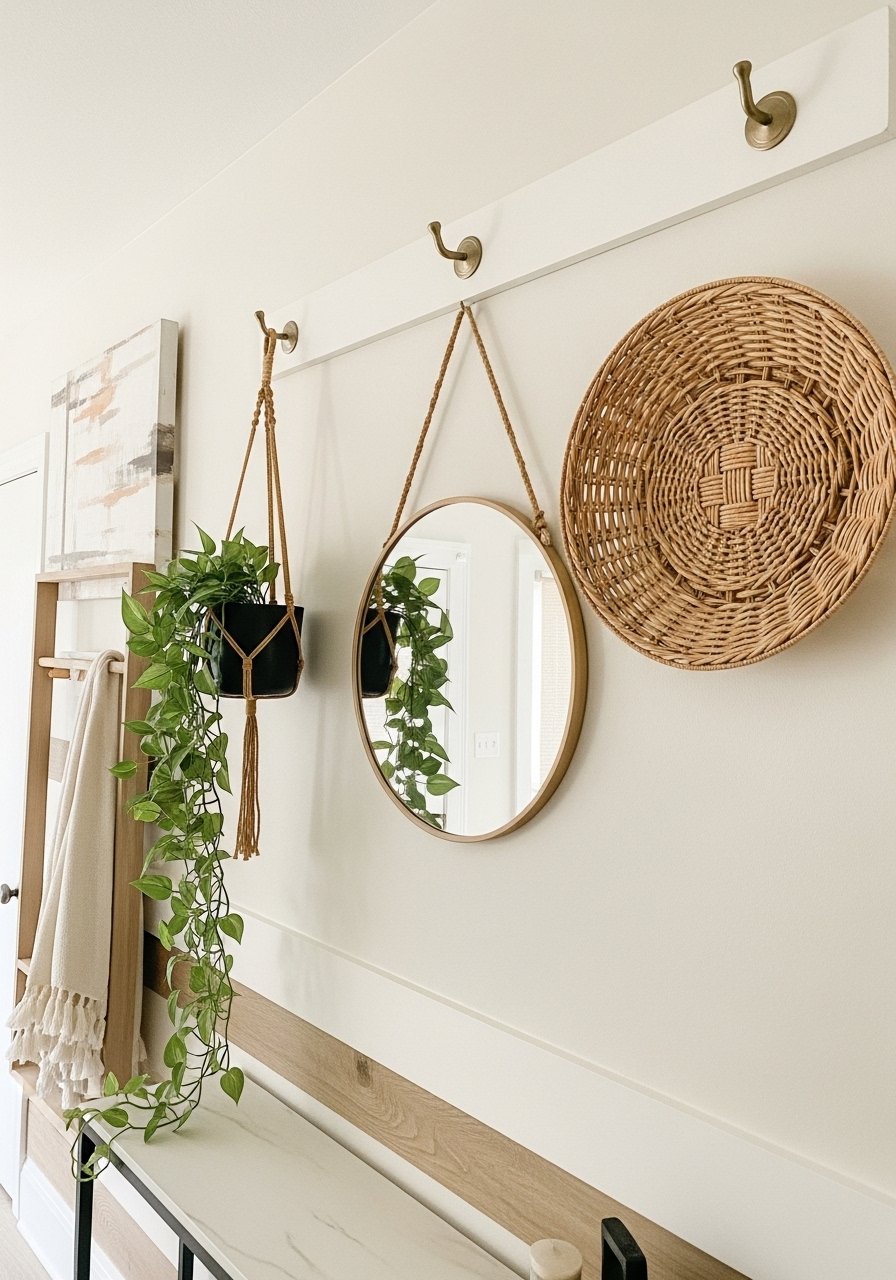
- Lightweight round rattan mirror, 18 inch (~$35–80)
- Woven jute wall basket, 14 inch (~$25–60)
- Wood bead garland, natural, 6ft (~$10–25)
- Brass picture hooks, 4-pack, small (~$6–20)
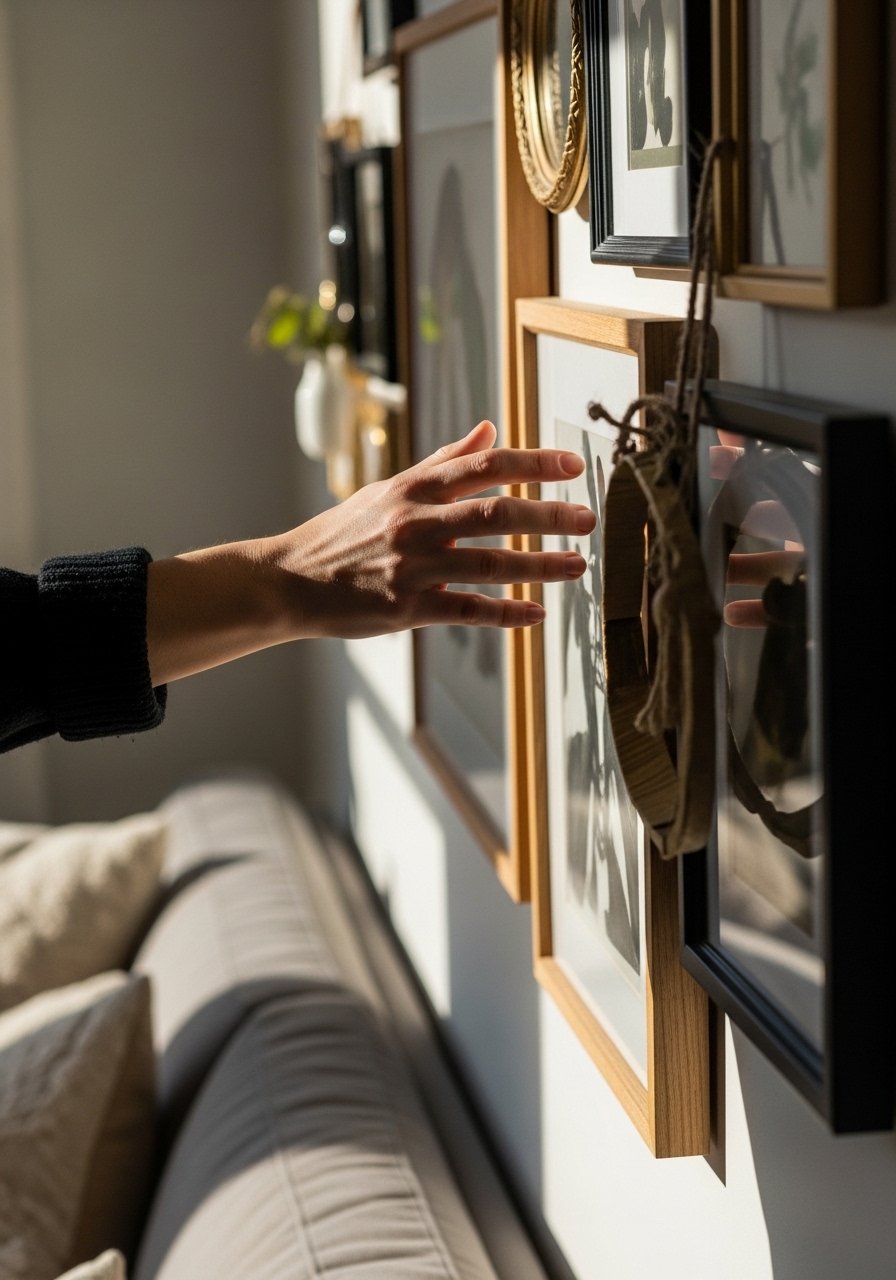
Step 1: Find the Anchor Point
I start by choosing an anchor—a piece that the eye comes to first. For me that’s usually the center of the sofa, the top of a console, or the tallest visible spot in a small room. I hang the anchor at eye level or slightly above the furniture back so it reads as intentional.
One insight I learned: an anchor doesn’t have to be large; a small rattan mirror or a 20×30 macramé feels authoritative if placed correctly. Mistake to avoid: hanging the anchor too high. It disconnects the wall from the furniture and makes the room feel off.
Step 2: Layer for Texture and Warmth
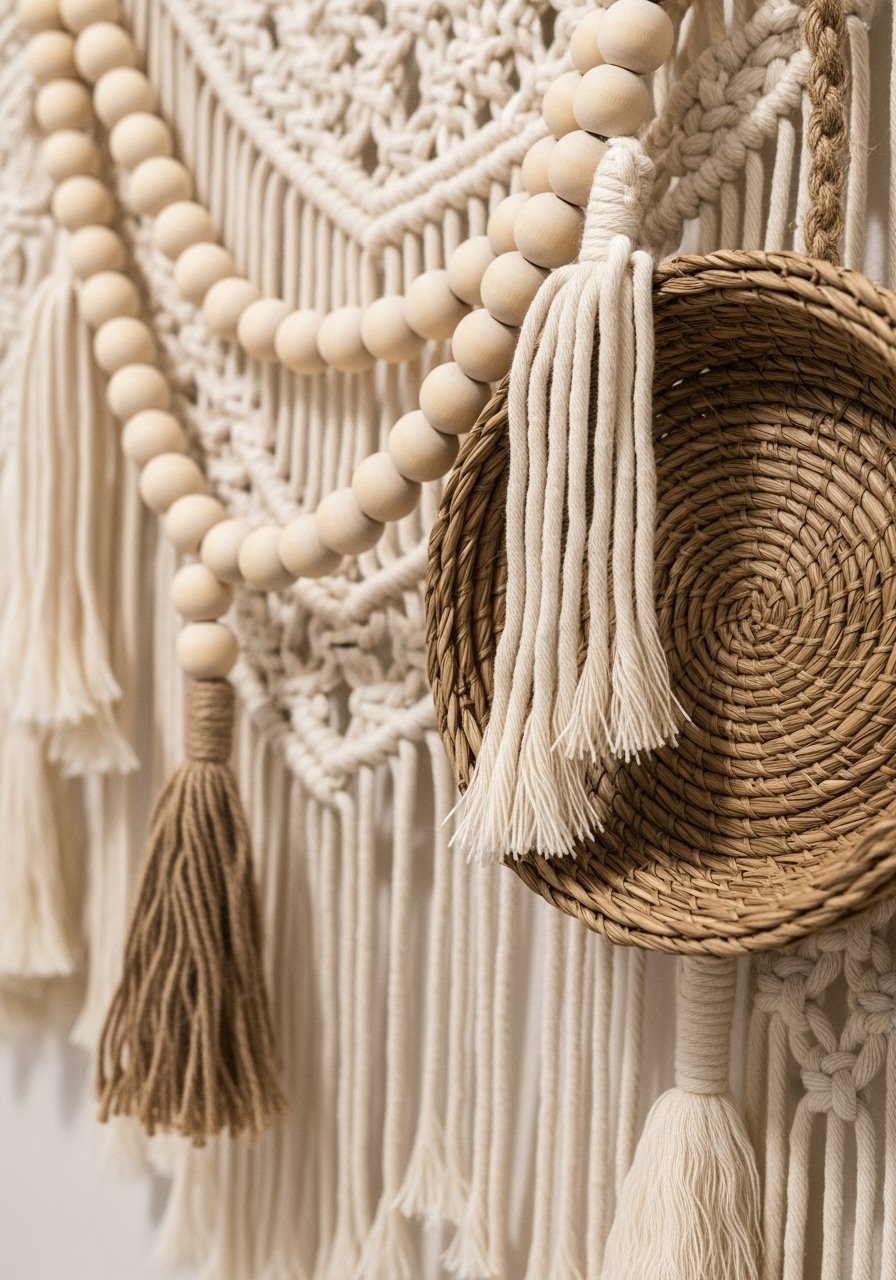
After the anchor is up, I layer. I add a woven basket to one side, a bead garland draped gently, and maybe eucalyptus trailing from the mirror. I aim for a mix—soft fiber, warm wood, a bit of greenery, and a reflective surface. That mix creates a quiet, organic modern vibe.
One insight I often miss at first: textures should read from a few feet away. If everything is the same material, the wall flattens. Mistake to avoid: crowding pieces so textures compete. Each element needs a little breathing room to show its character.
Step 3: Balance Scale and Rhythm
I check scale against furniture. I keep groupings odd—three or five elements—so the eye moves. I measure spacing visually: roughly 3–6 inches between small items, more for larger pieces. If the sofa is long, I’ll create a horizontal rhythm; if the wall is narrow, I stack vertically.
One insight I didn’t expect: visual weight matters more than physical size. A dark rattan mirror feels heavier than a pale macramé. Mistake to avoid: centering everything on the room rather than the furniture. The wall should relate to what’s in front of it.
Step 4: Introduce Living Elements Lightly
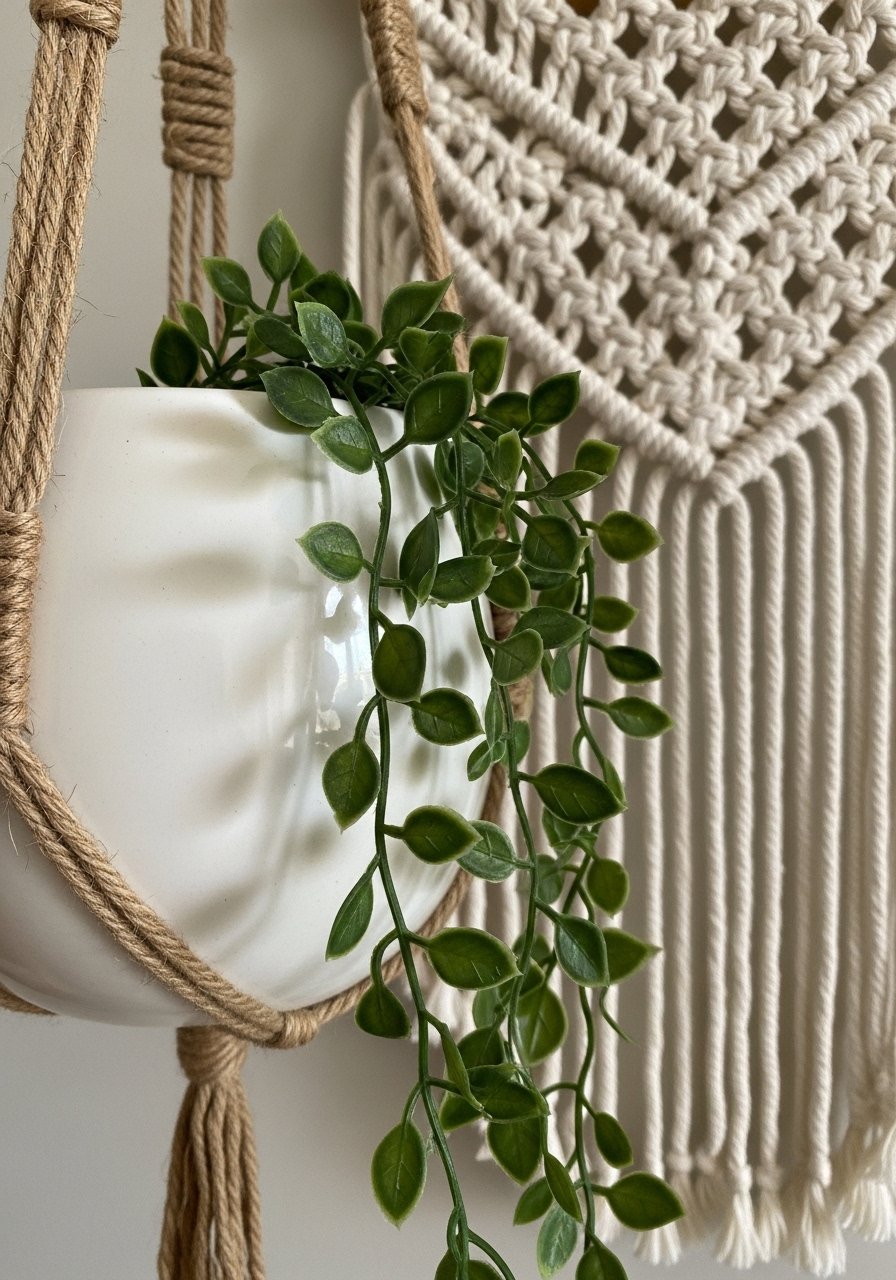
I add living or life-like pieces last. A ceramic hanging planter with a trailing faux eucalyptus or a small real pothos brings movement and softens edges. I tuck a few dried pampas stems into a basket for height without bulk. These choices make the wall feel lived-in, not staged.
One insight I learned: faux greenery is fine if it’s the right scale and color. Mistake to avoid: overstuffing with plants. Too many leaves block the artwork and can make the arrangement feel cluttered.
Step 5: Step Back and Edit
I always step back and live with the arrangement for a day if I can. I move pieces a few inches until the lines feel calm. I leave negative space on one side sometimes—an intentional pause makes the group read as thoughtful. I also swap small things seasonally: a garland for autumn, pampas in winter.
One insight I keep returning to: editing is the secret. I remove one piece and suddenly everything works better. Mistake to avoid: thinking every hole must be filled. Empty space is part of the balance.
Common mistakes I keep fixing
I see the same issues in rooms I help finish. The main ones are scale mismatches, too many matching textures, and pieces hung too high.
- Too high: lowers the feeling of connection to furniture.
- All the same material: makes walls feel flat.
- Overcrowding: loses a clear focal point.
I fix these by removing one item, lowering the anchor, or swapping a texture for contrast.
Adapting the look for rooms and budgets
I often work in small spaces or with tight budgets, so I prioritize one statement element and use low-cost accents.
- Small room: pick a vertical anchor (mirror or hanging planter) to draw the eye up.
- Tight budget: start with a faux eucalyptus garland (
$12–25) and one bead garland ($10–25). - Large wall: group three medium pieces rather than one oversized item.
I mix affordable faux greens and one mid-range piece (like a rattan mirror) to get a balanced look without spending a lot.
Mixing this style with what I already own
I usually blend what I have—an upholstered sofa, a wooden console, a bouclé chair—with the hanging decor. I match finishes subtly: brass hooks with warm wood tones, white ceramics with light linens.
- Match one finish to existing hardware (lamp or handles).
- Echo a color from a cushion in the hanging elements.
- Keep at least one neutral piece to tie everything together.
I avoid forcing a new trend into a room. Instead, I nudge what’s already working toward a more cohesive feeling.
Final Thoughts
Start with one low-commitment piece, like a faux eucalyptus garland, and place it where the eye naturally falls. I find small edits build confidence fast.
Hang less at first, then add. I promise the wall will start to feel like part of the room, not an afterthought.
