

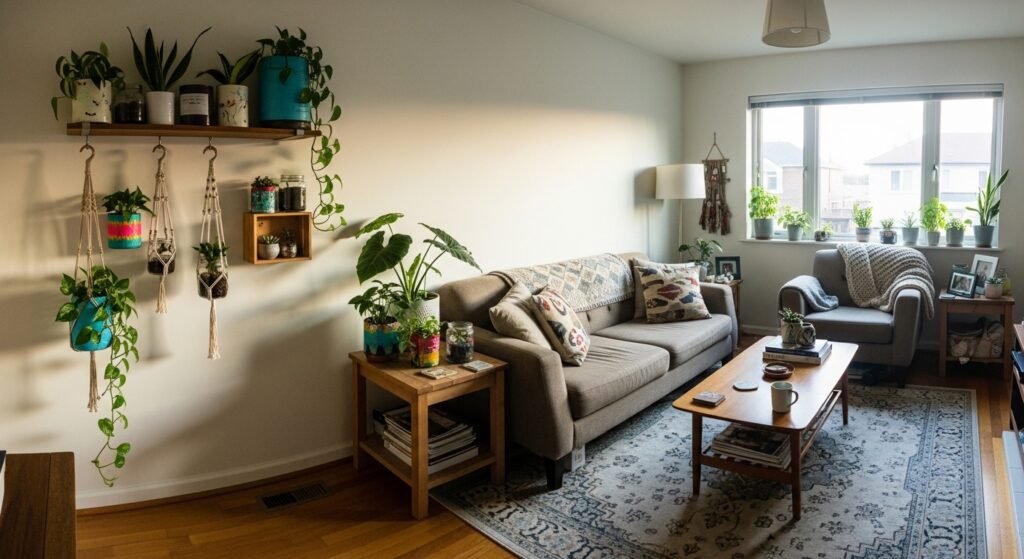
I stared at a sad, empty corner for weeks. The wall looked cold. The shelf felt unfinished. I wanted something simple that would make the room feel lived-in, not like a prop store.
Making your own planters from everyday materials is the quick fix I reach for. It fills gaps, adds texture, and makes a room feel warm without much fuss.
How to Make DIY Planters Using Simple Materials
This is the method I use every time a room feels unfinished. You’ll learn how to pick containers that read like decor, how to style them so they look balanced, and how to place them so they actually change the room’s mood. It’s practical, calm, and works with organic modern or Japandi vibes.
What You'll Need
- Unglazed terracotta pot, 6–8 inch (~$8–20)
- Seagrass woven basket planter, medium (~$20–45)
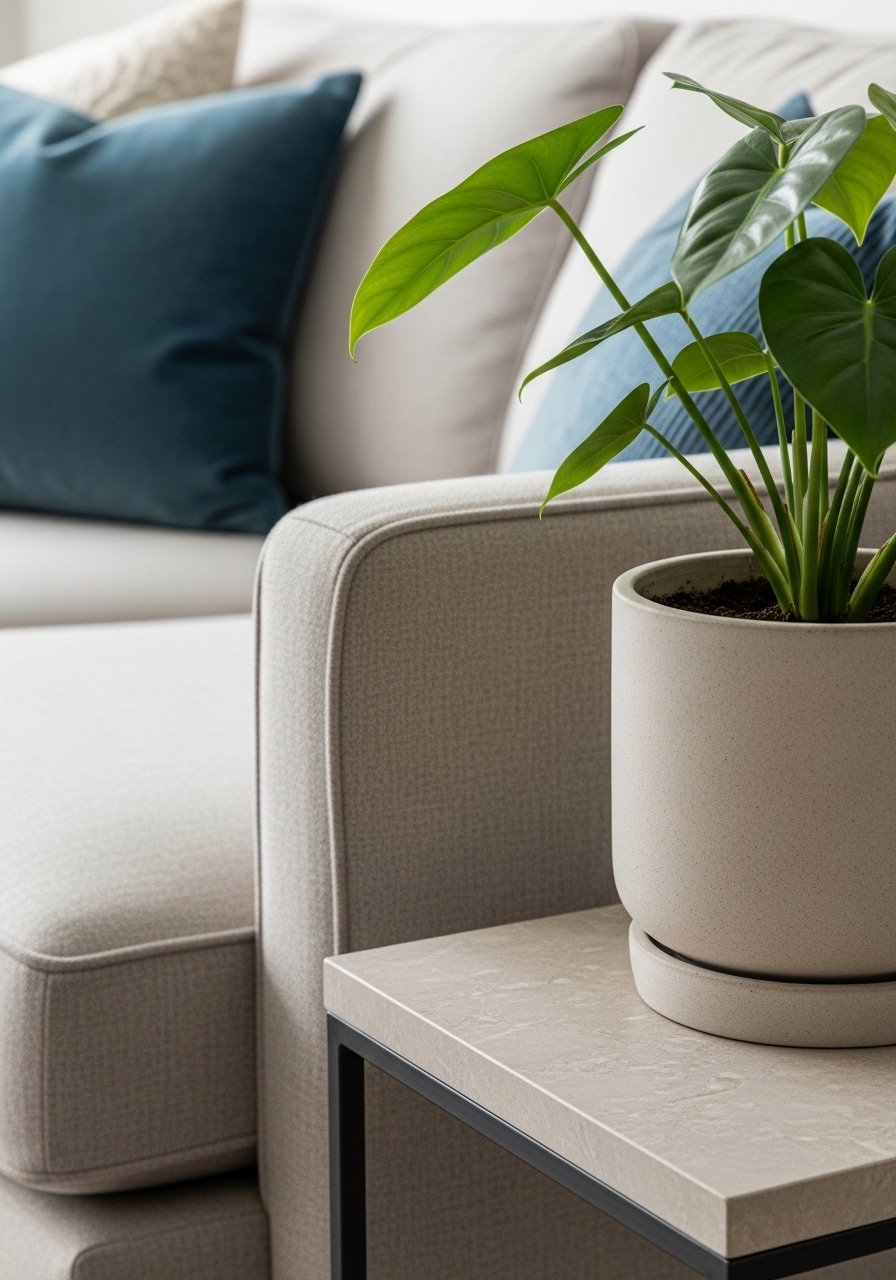
- Ceramic saucer, matte white, 6-inch (~$6–15)
- Jute macramé plant hanger, natural, 3-hook (~$12–25)
- River rock pebble tray, assorted, 2 lb (~$10–18)
- Mini plant stand, black metal, 10-inch (~$18–40)
- Indoor plant mister, brass finish, 8 oz (~$12–22)
Step 1: Choose a container that reads like decor
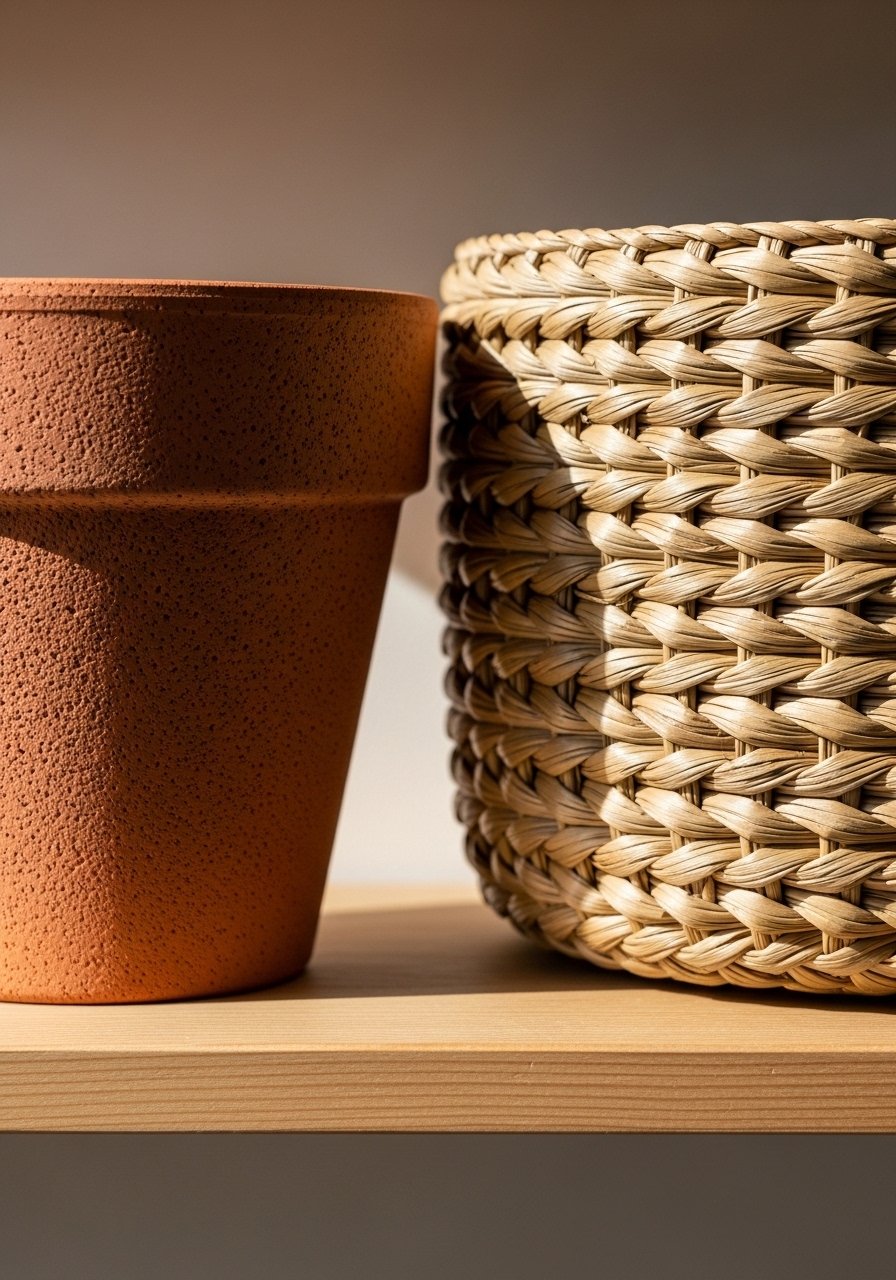
I pick containers for how they look, not just for function. A raw terracotta pot reads earthy and simple. A seagrass basket adds warmth and softness. Visually, the room gains texture and contrast with just the container change. People often forget scale — a small pot will disappear on a wide shelf. The mistake I see is picking too many identical pots; variety in material and height makes a collection feel intentional.
Step 2: Layer a simple base to hide plastic liners

I always use an inner nursery pot but hide it. I tuck coconut coir, sphagnum moss, or folded linen into the outer container. The visual shift is immediate: the planter looks finished and curated. Many people miss the edge detail — showing raw plastic makes a planter look incomplete. A common mistake is overfilling the outer pot; leave a 1–2 inch gap at the top so the plants have room and the cover looks natural.
Step 3: Group with intent for balance
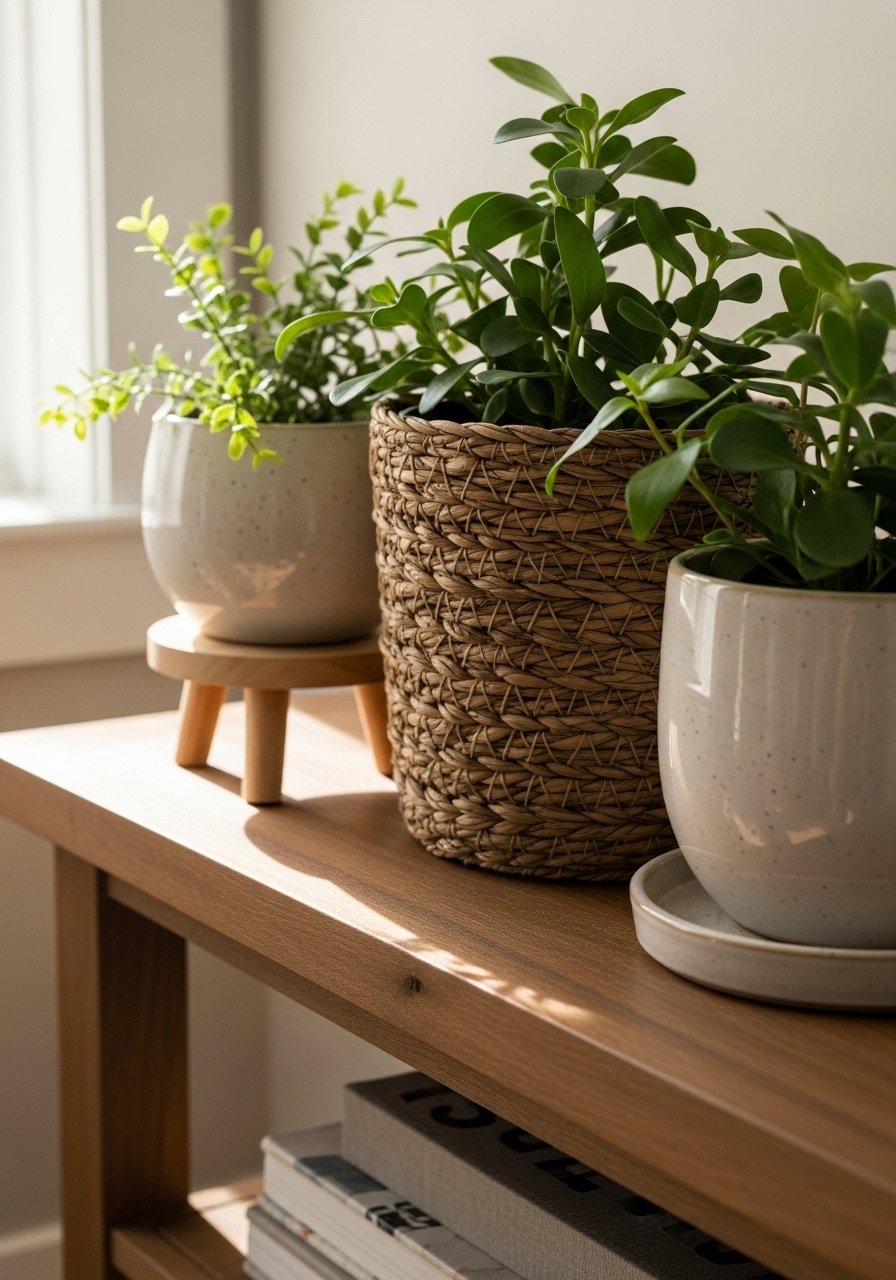
I arrange planters in odd numbers and varied heights. A tall basket, a mid terracotta pot on a mini stand, and a small ceramic-saucer planter feel balanced. This creates a rhythm across the shelf or console. People often space items evenly, which looks static. The mistake is crowding: give each planter some breathing room. If you want an organic modern look, aim for clean lines and a mix of natural materials.
Step 4: Add finishing textures and small details
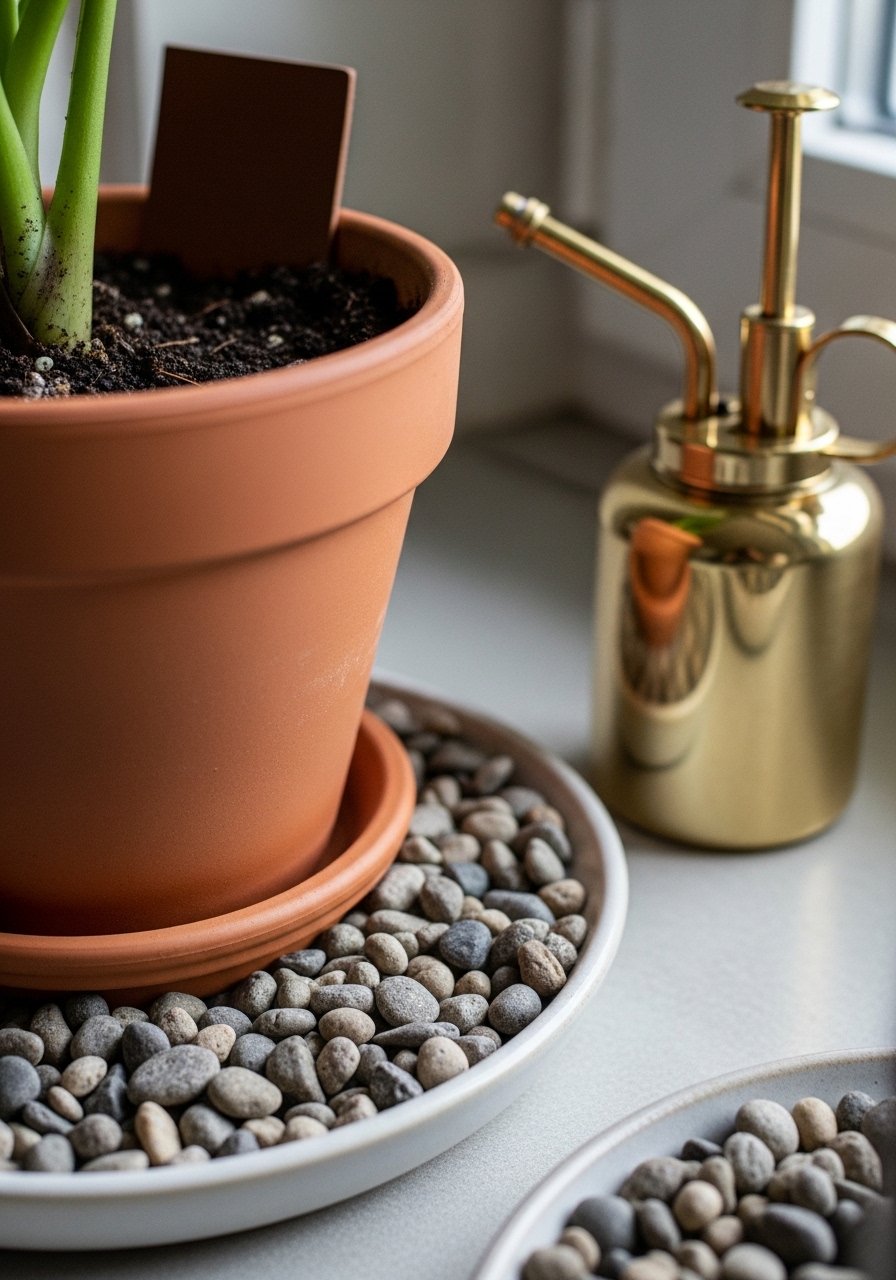
I finish each planter with a visible top layer. Pebbles, bare clay, or a thin moss mat changes the visual weight. A matte ceramic saucer under a terracotta pot reads calm and deliberate. An insight few consider: small props (a brass mister or a leather tag) make a planter feel styled, not accidental. Avoid over-accessorizing. One or two small accents are enough; too many trinkets steal attention from the plant itself.
Step 5: Place for impact, not just convenience
I place planters where they anchor sightlines: at the end of a shelf, beside a lamp, or on a console near the entry. The visual change is that the room reads more complete. People often tuck plants into corners where they disappear. A small mistake is ignoring light — move the plant to where it will thrive and still read as decor. For hanging planters, I put them near windows at different heights to keep the view interesting without blocking light.
Common mistakes I see and how I fix them
I almost always encounter the same three errors: wrong scale, visible liners, and uniform material. They make planters feel like an afterthought.
- Wrong scale: Swap one pot for a taller option or lift a pot on a stand.
- Visible liners: Hide nursery pots with a natural liner or moss.
- Too uniform: Mix terracotta, ceramic, and woven textures for depth.
I test combinations before final placement. If something looks off, I move one piece rather than redo the whole group.
Adapting this look for small spaces and budgets
Small spaces need small solutions. I favor hanging planters and vertical groupings to free floor space. A single seagrass basket on a narrow shelf or a trio of small terracotta pots on a windowsill reads intentional and doesn’t crowd.
Budget tips:
- Use inexpensive nursery pots inside stylish covers.
- Choose one statement planter and keep the rest simple.
- Reuse pebbles or saucers you already own.
I work with what I have. It’s surprising how far a well-placed basket or saucer will go.
Mixing your planters with existing decor and seasonal tweaks
I think of planters as accessories that echo fabrics and finishes already in the room. Match woven baskets to a throw or pick a matte ceramic to pair with black metal lighting for cohesion.
Seasonal tweaks:
- Spring: add bright foliage or a small flowering pot.
- Fall: swap in a darker saucer or a warmer basket.
- Winter: cluster planters closer to create a cozy vignette.
Small swaps keep the look fresh without a big investment.
Final Thoughts
Start with one planter and place it where your eye naturally lands. Small changes add up. I’ve found that a thoughtful container and a tiny top layer of pebbles can make a room feel calm and lived-in.
If you want a low-commitment start, try a single seagrass woven basket planter, medium and a small terracotta pot. It’s easy to build from there.
