

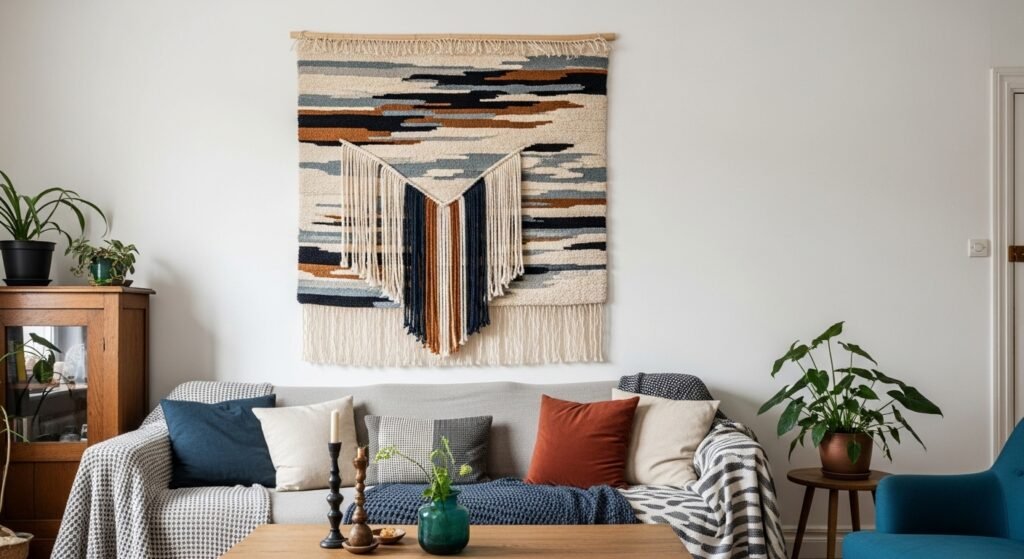
I always hit a wall—literally—when a room feels unfinished. A blank stretch above a sofa or behind a bed makes the whole space feel cold and empty, no matter how many cushions I add.
A simple wall hanging fixes that. It adds texture and personality so the room reads as intentional without a full redesign.
How to Make a DIY Wall Hanging for Home
This is the method I use every time a room feels unfinished. You’ll end up with a textured, curated piece that suits organic modern or soft boho rooms. It’s approachable, calm, and made to sit right above your furniture so the whole space finally feels balanced.
What You'll Need
- Macramé wall hanging starter kit, natural cotton, 36 in (~$25–45)
- Hand-dyed cotton yarn bundle, neutral tones, 100g each (~$10–25)
- Driftwood hanging branch, 36-inch, reclaimed wood look (~$15–40)
- Brass wall hook, matte brass finish, single (~$12–25)
- Dried pampas grass bundle, natural beige, 5 stems (~$12–30)
- Small ceramic vase, matte white, 6 in (~$20–50)
- Wooden bead garland, 6 ft, natural finish (~$15–35)
- Wool tassel pack, mixed neutrals, 10 pieces (~$8–20)
Step 1: Choose the right scale and anchor
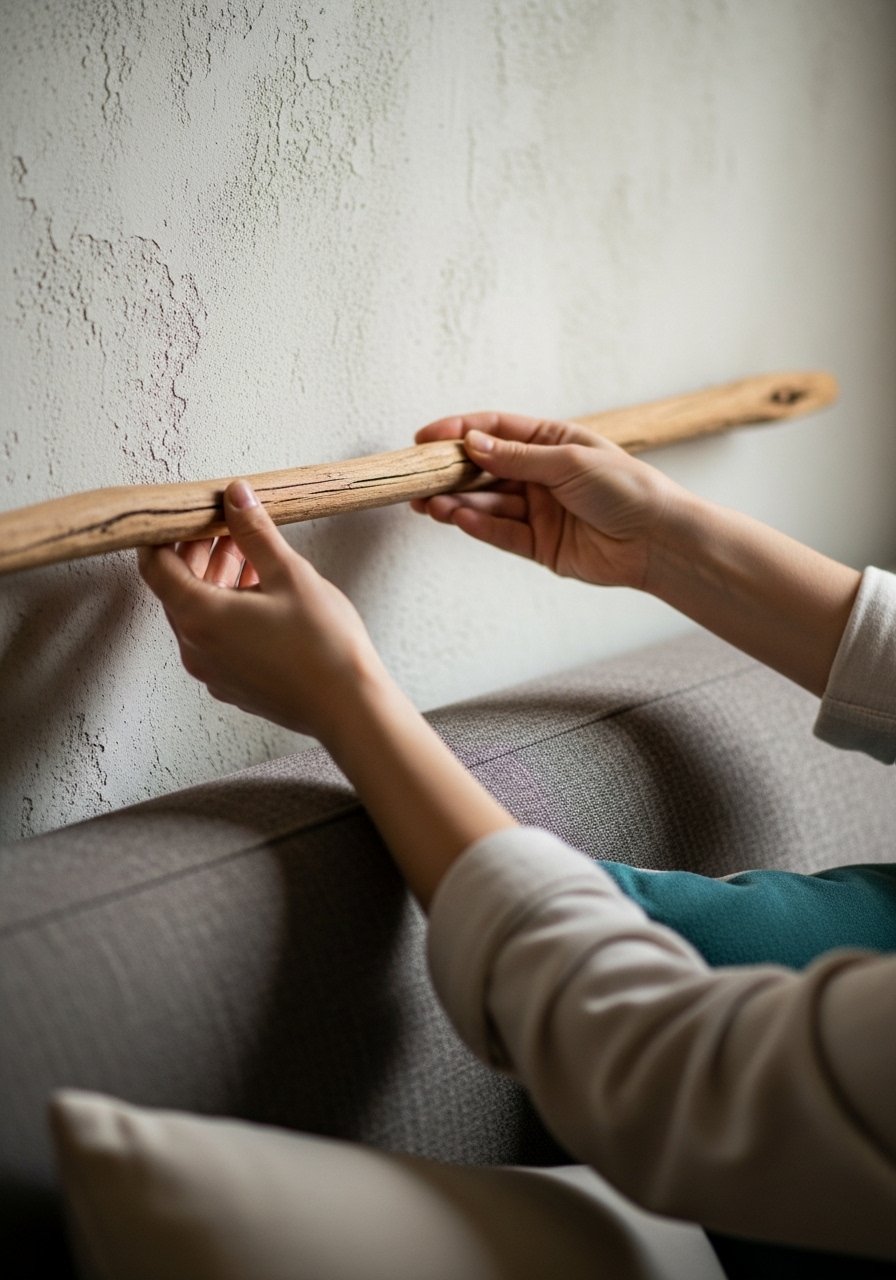
I start by measuring the wall area and the furniture below. I aim for the hanging to be about two-thirds to three-quarters the width of the sofa or headboard. That gives presence without overpowering the room. Choosing a thicker driftwood piece or a 36-inch dowel helps a smaller hanging read as intentional.
People often miss how much difference scale makes. A piece that’s too small looks accidental. Avoid centering it too high—hang it so the bottom edge feels connected to the furniture below.
Step 2: Build texture with a limited palette

I pick 2–3 complementary yarns or fibers in neutral tones. I layer a chunky cotton with a thinner twisted yarn and add a few wool tassels for contrast. Limiting the palette keeps the hanging calm and fits organic modern and japandi rooms I like to create.
An insight I learned: variety in thickness reads richer than many colors. One common mistake is adding too many bright colors—stick to texture and tone so the wall piece feels like it belongs.
Step 3: Compose for asymmetry and balance
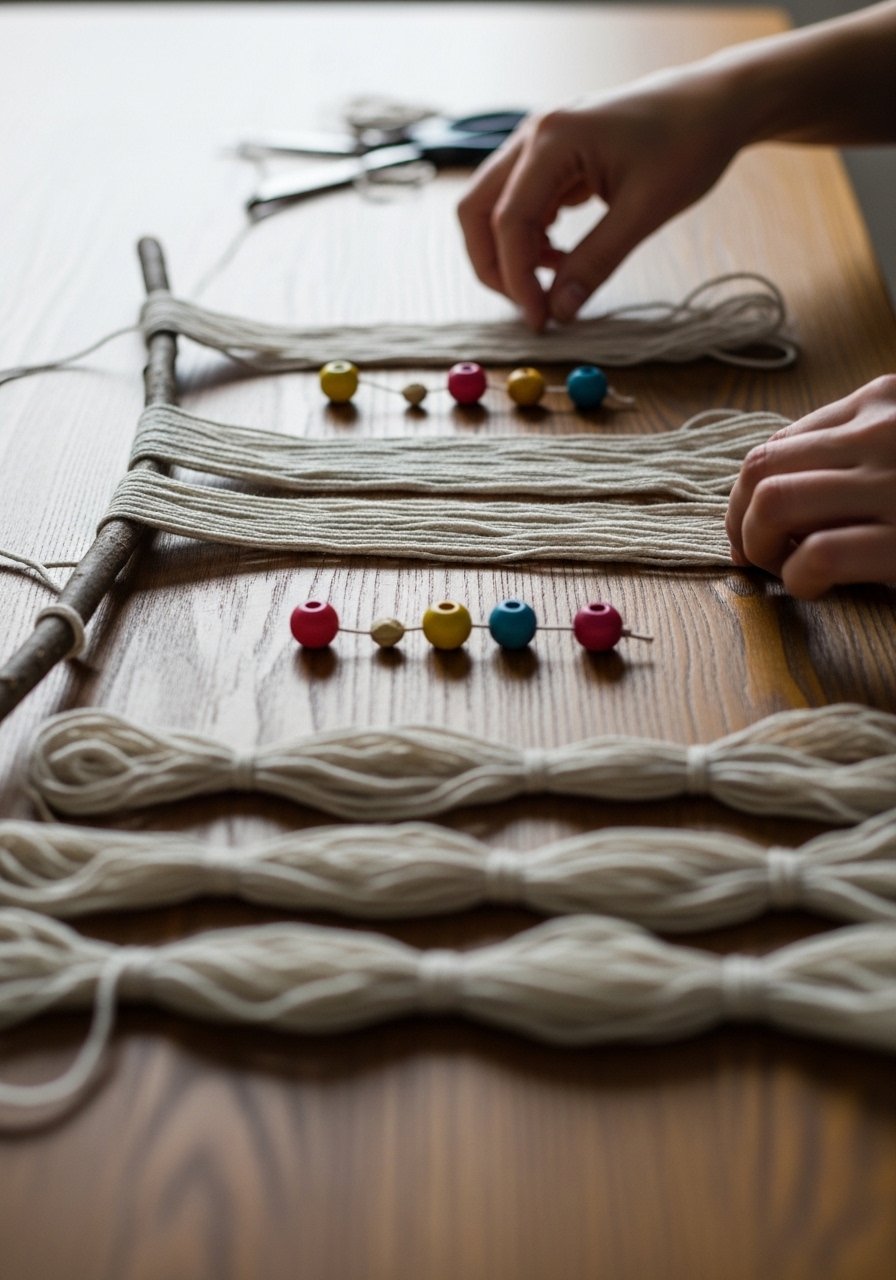
I arrange the strands so one side has slightly more weight—longer cords, a pampas sprig, or a bead cluster. Asymmetry creates movement and keeps the eye engaged. Then I step back and tweak until the visual weight feels even across the wall.
People often try to make each side identical. That can look stiff. The small mistake is over-symmetry; instead, use negative space intentionally and let one side be a bit denser.
Step 4: Place and hang with furniture in mind
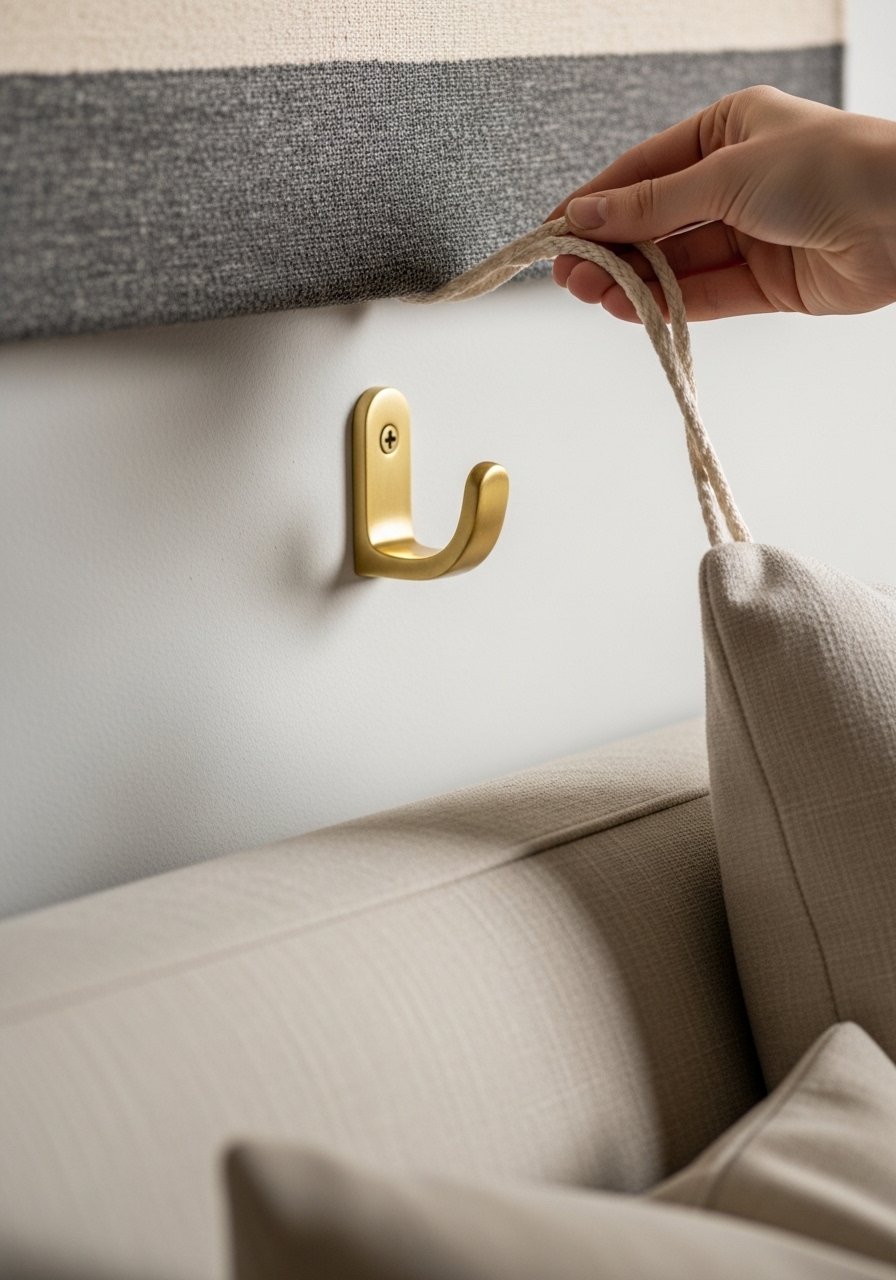
I hang the piece so its center sits at roughly eye level for the room’s main traffic path, but lowered slightly if it sits above furniture. For sofas I aim for 6–12 inches above the back; for beds, 8–14 inches above the headboard. A single brass hook can be discreet and neat.
Many people hang things too high. I avoid that by standing across the room and checking the feel. Small mistake: using multiple hooks without checking alignment—one secure anchor keeps the hanging looking intentional.
Step 5: Finish with complementary accents

I add one or two small accents nearby to echo the hanging’s materials—tuck a pampas stem in a matte vase, drape a wooden bead garland over a shelf, or place a neutral throw on the sofa. Repeating textures and colors pulls the composition together.
People miss subtle repetition. A single color or material echoed around the room makes the hanging feel integrated. Don’t over-accessorize; one or two small accents are enough.
Common mistakes and how to avoid them
I see the same slip-ups: wrong scale, too many colors, and hanging too high. Fix each by stepping back often and living with it for a day before deciding.
- Wrong scale: measure against furniture first.
- Too many colors: stick to 2–3 tones.
- Too high: lower the piece so it relates to nearby furniture.
I also recommend trying the hanging on the floor against the wall first. It’s easier to tweak lengths there.
Adapting the look for room size and budget
I keep the basics the same whether the room is small or large. For a small entry, use a shorter branch and lighter textures. In a tall living room, scale up with wider driftwood and longer fringe.
Budget adjustments I use:
- Swap an expensive kit for a yarn bundle and beads.
- Use a thrifted wooden rod instead of a polished dowel.
- Add one dried stem instead of a full arrangement.
These small swaps keep the feel intentional without big cost.
Mixing the wall hanging with what you already own
I treat the hanging like a piece of art that needs friends. Pull one color from an existing pillow, echo a texture from a rug, or mirror a shape from a lamp.
Quick tips:
- Repeat one material (wood, wool, or brass).
- Keep scale consistent with nearby furniture.
- Use asymmetry to contrast rigid shapes like shelves or frames.
That way the hanging reads like it belongs, not like an afterthought.
Final Thoughts
Start small. Make one pared-back hanging and live with it for a week. You’ll learn what scale and texture your room actually wants.
I promise the process is quietly satisfying. A single neutral hanging, paired with a small pampas bunch or a matte vase, will make the wall feel calm and complete.
