

A real, lived-in living room showing the final result of DIY wall shelves installed and styled. Natural daylight, soft shadows, layered textures. The shelves look balanced with books, a ceramic vase, a small plant, and a woven basket. Wide angle that shows how the arrangement anchors the seating area. No text overlay.
I hated the way one blank wall made the whole room feel unfinished. It looked cold and a little lost, even with nice furniture.
I wanted shelves that felt intentional, not cluttered. I learned to think about scale, gaps, and the small edits that make a shelf read like part of the room.
How to Install DIY Wall Shelves Easily
This is the method I use every time a room feels unfinished. You’ll learn how to pick a shelf look, place it so it feels balanced, and style it so it reads like the rest of the room. The result is calm, lived-in shelving that suits organic modern or Japandi spaces.
What You'll Need
- Floating wood wall shelf, 24" walnut (~$25–60)
- Set of staggered floating shelves, white, 3-piece (~$30–70)
- Glazed ceramic vase, matte white, 8" (~$15–40)
- Rattan round storage basket, small (~$15–35)
- Faux fiddle leaf fig branch in linen pot, 24" (~$35–80)
- Hardcover coffee table book set (3) (~$20–45)
- Minimal brass bookends, pair (~$20–40)
- Warm white battery LED puck lights, 3-pack (~$15–30)
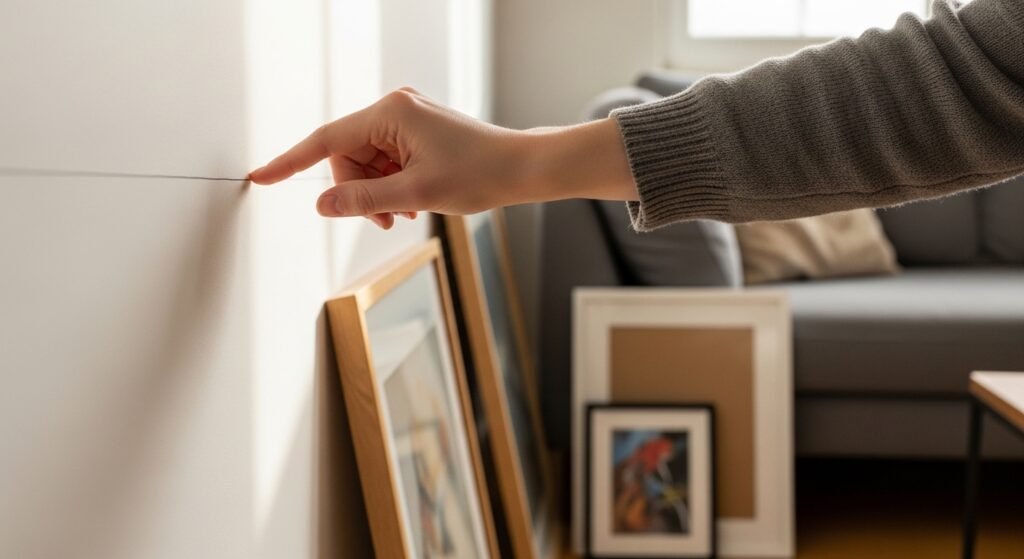
Step 1: Choose the wall and imagine the shelf’s role
I start by standing in the room and imagining the shelf as furniture, not just storage. I ask: should it anchor the sofa, balance a tall plant, or sit above a console? That choice changes everything about scale and placement.
People often miss the shelf’s relationship to nearby pieces. A shelf that’s too small looks tacked on. Don’t pick a shelf by width alone — think about how it feels from the main seat in the room.
Step 2: Pick a finish that ties into the room
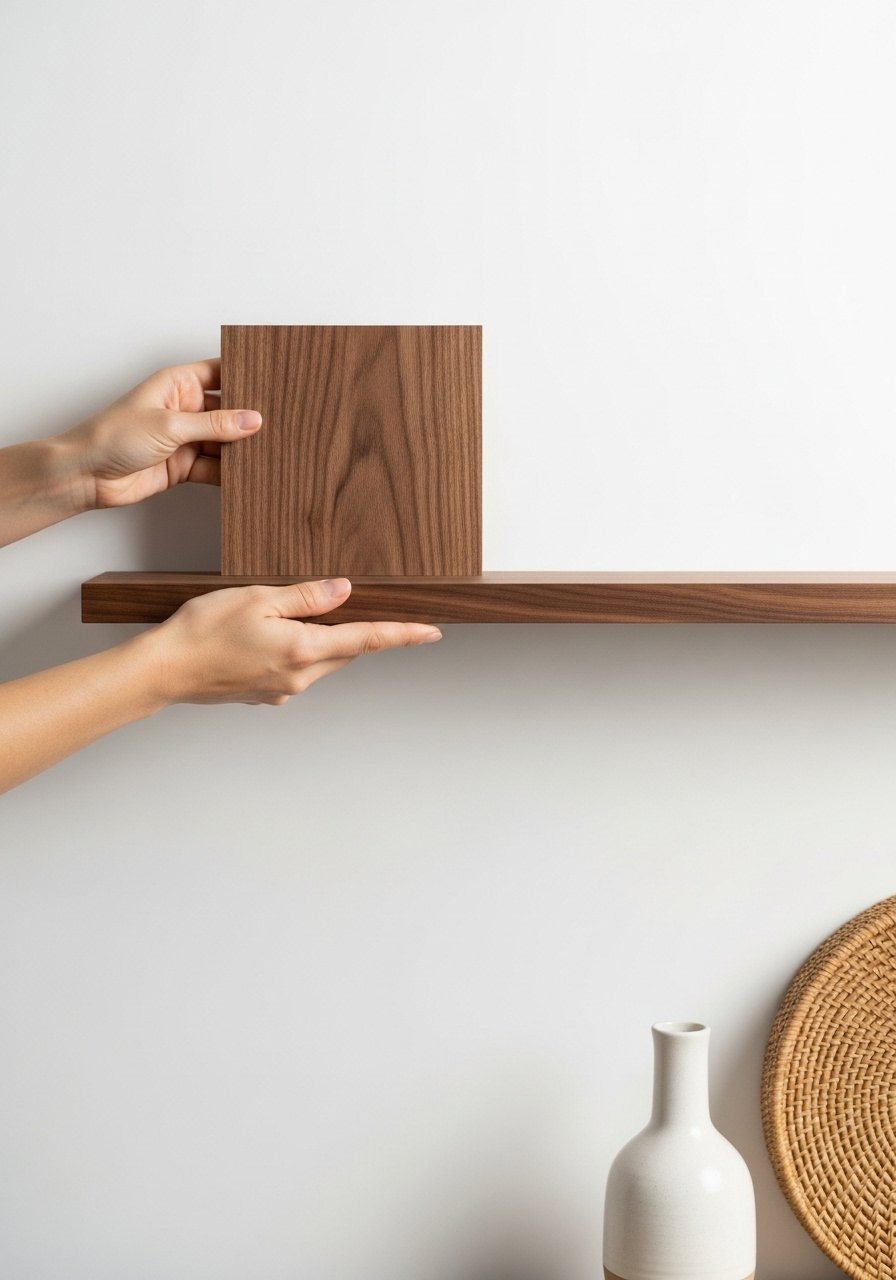
I match the shelf finish to other finishes in the room. Warm walnut reads cozy in an organic modern space. White shelves feel cleaner in a Japandi or minimal living area. The finish makes the shelf belong or stand out.
A common miss is choosing a trendy finish that clashes with the room. If your furniture is warm, pick a warm wood. If you want contrast, do it with styling, not a conflicting wood tone.
Step 3: Plan groupings and breathing room
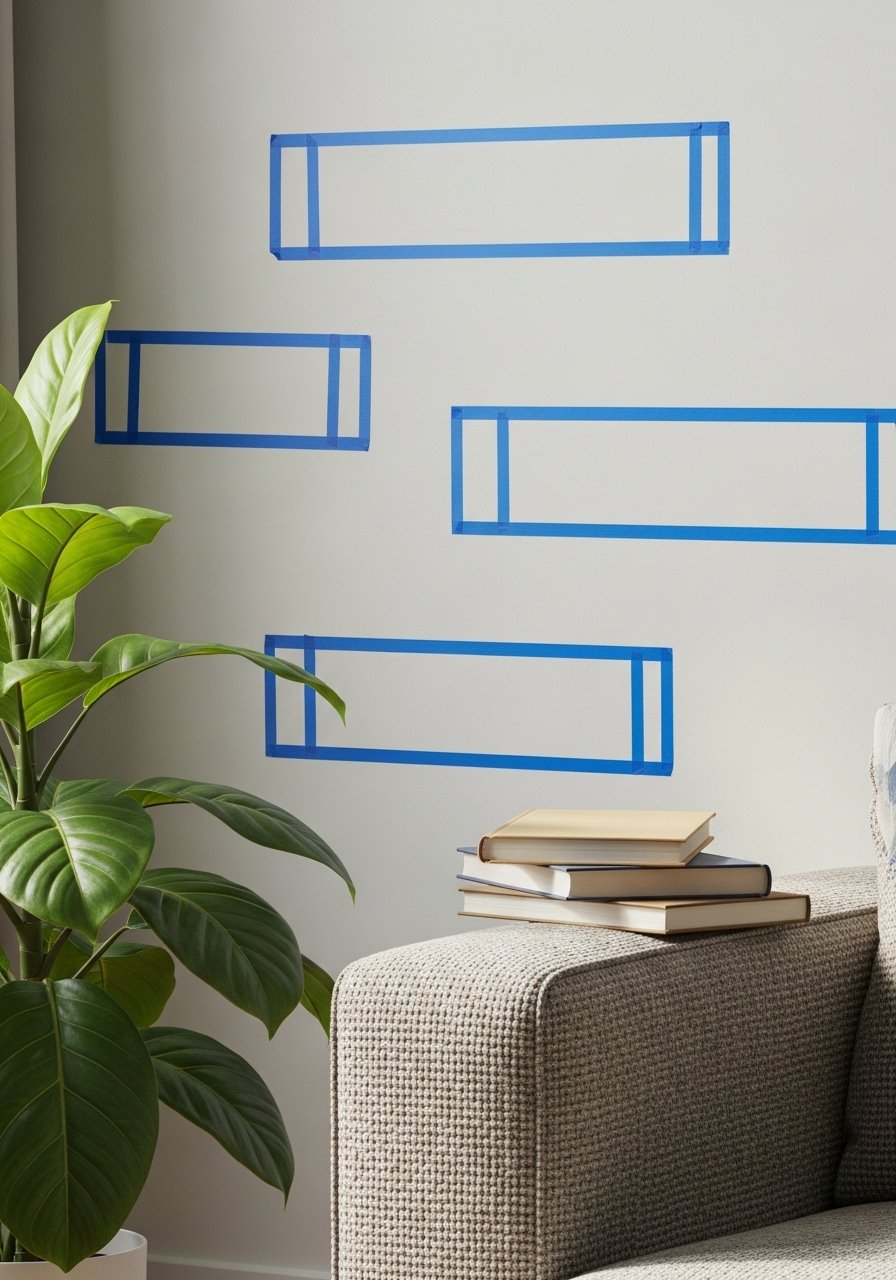
I plan groupings before I style. I think in odd numbers and leave gaps for the eye. That means a vase, a small stack of books, and a plant, rather than five tiny knickknacks scrunched together.
People often overfill the shelves. Don’t worry about empty space — it’s what keeps the shelf feeling calm. Avoid the mistake of centering everything perfectly; slight off-centering feels intentional and lived-in.
Step 4: Layer objects for depth and harmony
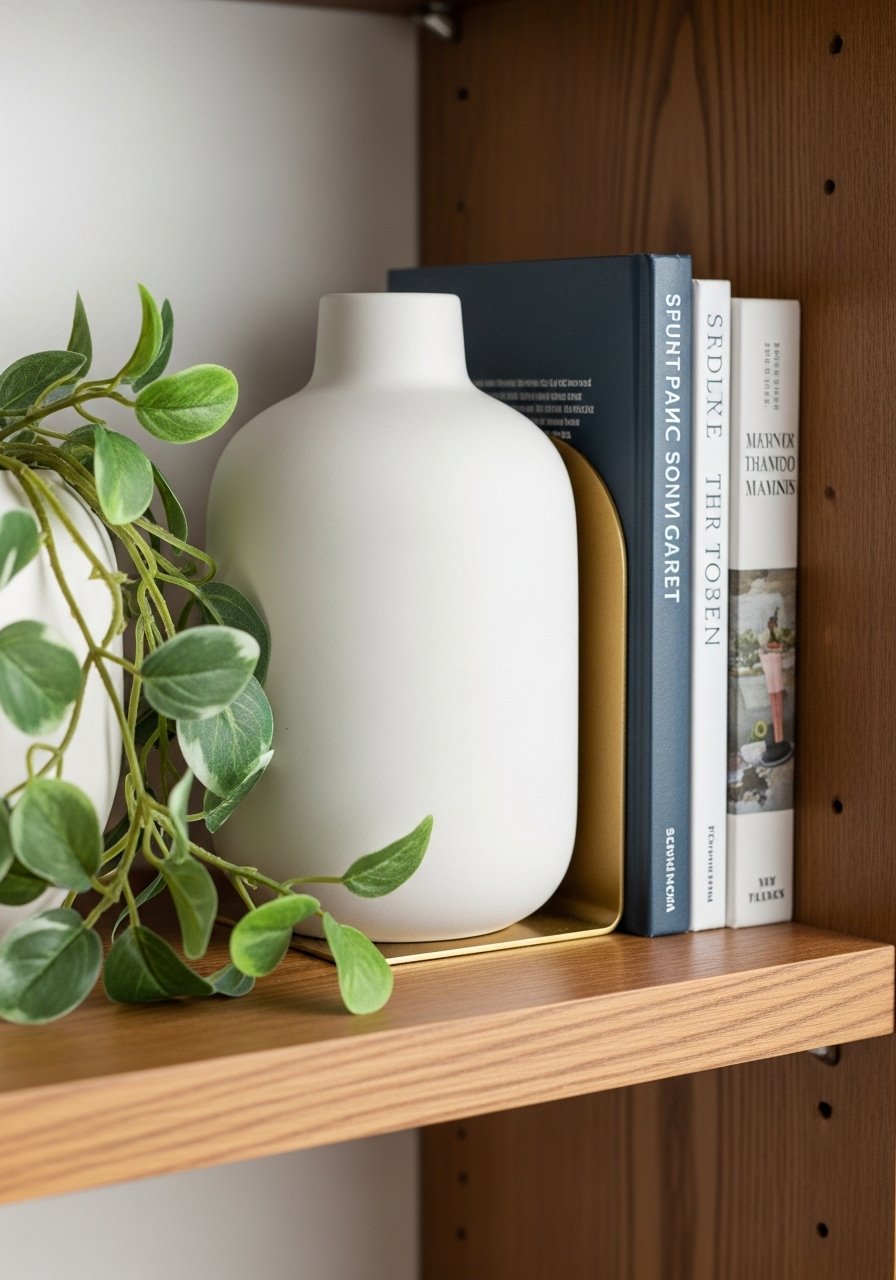
I build layers: a taller object in back, a medium object, and a low, textural piece in front. I mix materials—ceramic, woven rattan, brass—to keep the eye moving. Odd numbers and varied heights are my go-to.
A small insight: repeat one material across shelves (wood, brass, or rattan) to create cohesion. The mistake to avoid is symmetry for its own sake; perfectly mirrored objects often read staged.
Step 5: Edit, light, and live with it
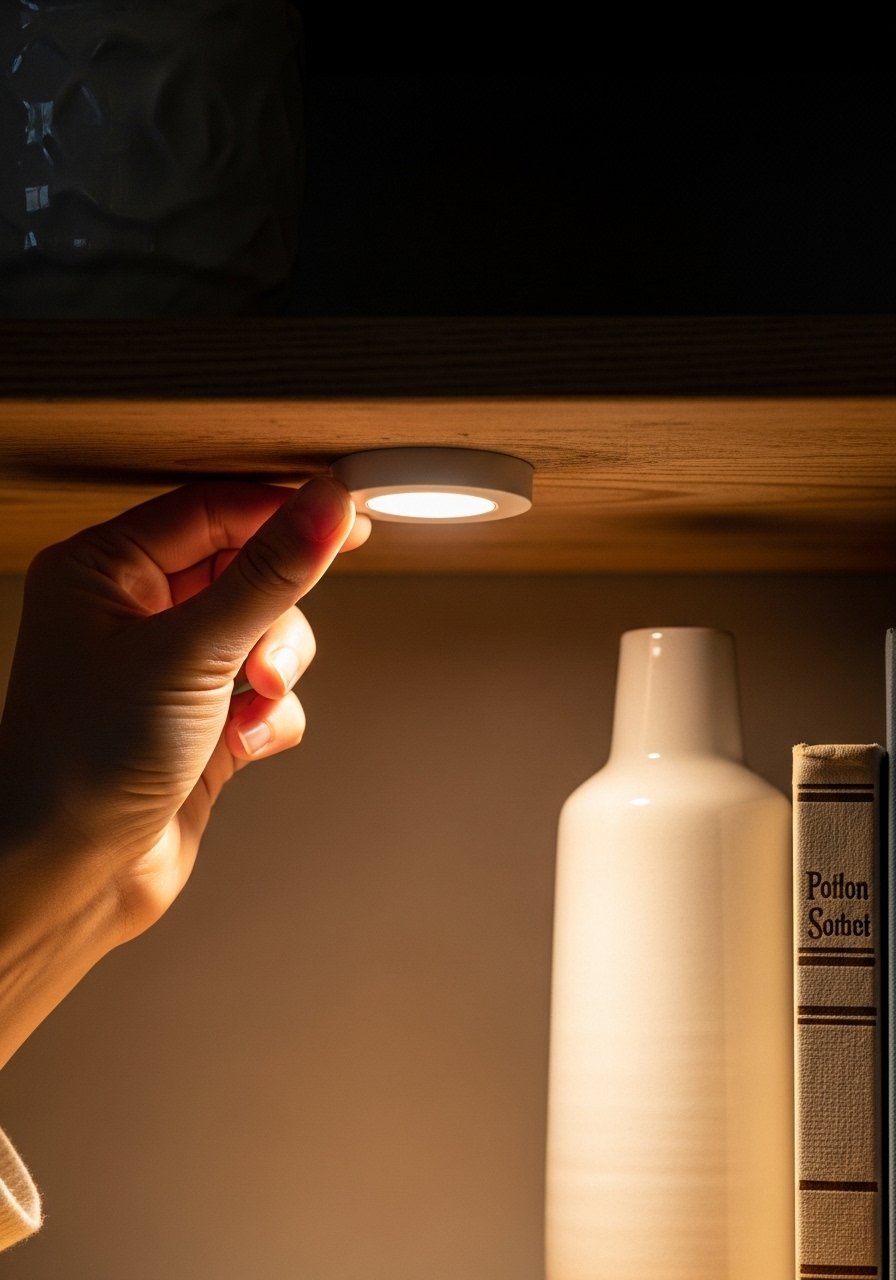
I step back and live with the shelf for a day. I add warm LED puck lights if the shelves feel heavy or the room needs depth. I remove anything that competes with eye-level focal points.
People forget to edit after a week of looking. If a piece never feels right, swap it for something else or remove it. Avoid over-lighting; one soft LED can add warmth without making the shelf the brightest thing in the room.
Common mistakes and easy fixes
I see the same issues often. The shelf is too high for comfortable viewing. Or it’s flush with the ceiling and feels cramped. Another is over-accessorizing so the shelf reads busy instead of calm.
Quick fixes I use:
- Remove every other object for breathing room.
- Repeat one material to tie shelves together.
- Swap a small object for a taller, single piece to give the eye a resting spot.
These small edits make the shelf look edited, not staged.
Adapting shelves to small walls or tight budgets
Shelves can work in tiny spots. I prefer a single narrow floating shelf over a bulky bookcase in a tight hallway. Use one good-looking item (a small vase or plant) as a reference point.
Budget tips I use:
- Choose faux plants under $50 instead of expensive live pots.
- Mix inexpensive books with one nicer decorative object.
- Use a single LED puck light instead of built-in lighting to add depth.
These choices let you create a curated look without overspending.
Mixing styles: keep the shelf cohesive with what you own
I blend styles by repeating tone and texture. If your room leans mid-century, add a brass bookend with a walnut shelf. If you’re in an organic modern space, favor matte ceramics and natural fibers.
A quick checklist I use when styling:
- Pick one or two materials to repeat.
- Keep colors in a 2–3 color family.
- Use odd numbers and varied heights.
This prevents the shelf from clashing with the rest of the room.
Final Thoughts
Start with one shelf and one small change. I often begin with a ceramic vase or a faux plant as a low-commitment anchor. Live with it and edit.
You don’t need perfect symmetry. Small gaps and a single light can make a wall feel calm and intentional. When it feels right, the shelf simply looks like it belongs.
