

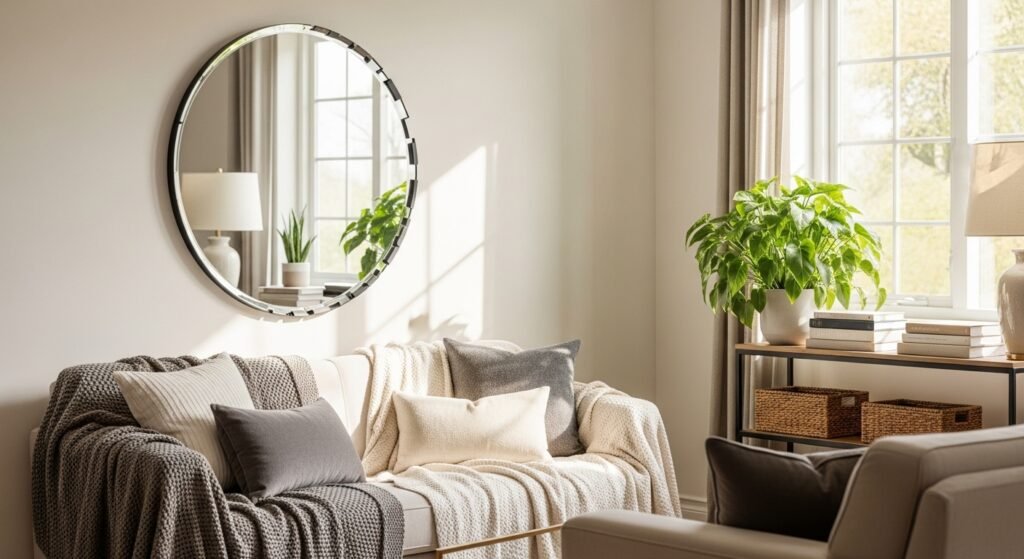
My living room had nice furniture and decent lighting but it still felt like a waiting room. Took me embarrassingly long to figure out it was missing texture. Every surface was smooth, every color was flat, and nothing invited you to sit down. One afternoon I glued a few paper petals around a cheap round mirror and the room stopped feeling staged.
These ideas lean toward modern boho and relaxed transitional looks. Most projects cost under $50, with a few splurges near $100 for nicer hardware. Works for small entryways, bedroom dressers, bathrooms that need space-saving, and leaning mirrors on shelves for renters. Most folks grab dollar store mirrors for their first hack.
Egg Carton Flower Frame For Playful Boho Entries
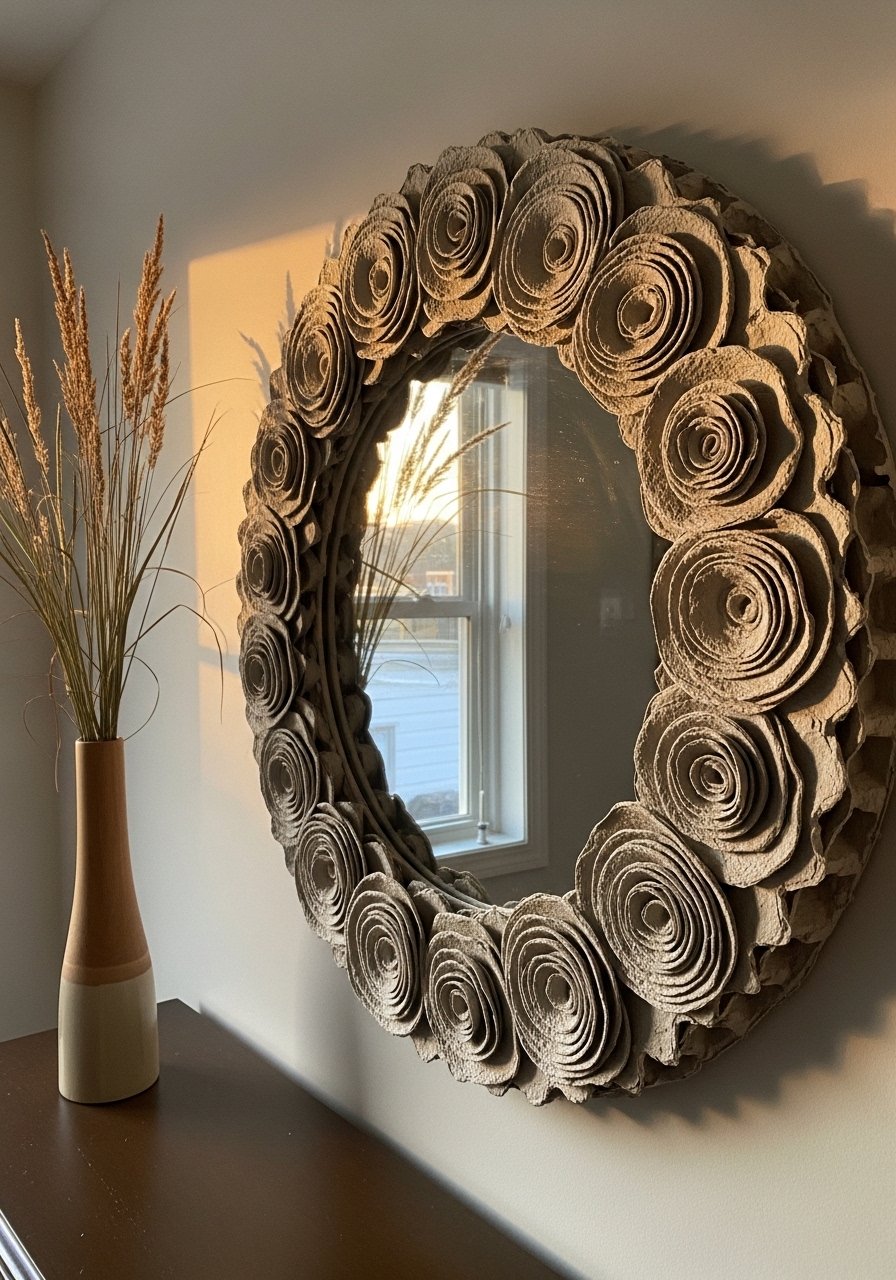
I made these from one saved egg carton and it looked like a boutique paper flower. Cut 12 to 15 petals per bloom, stack three layers, and glue with hot glue. Paint the tips metallic to avoid that too-crafty look. Budget is $5 to $15. Use Mod Podge as a primer if you are gluing to a dollar store frame, I always prime cheap frames with Mod Podge before painting. Common mistake is using thin glue only. Seal with a thin clear coat if you have pets who mouth things.
Copper Foil Geometric Edge For Minimalist Bathrooms
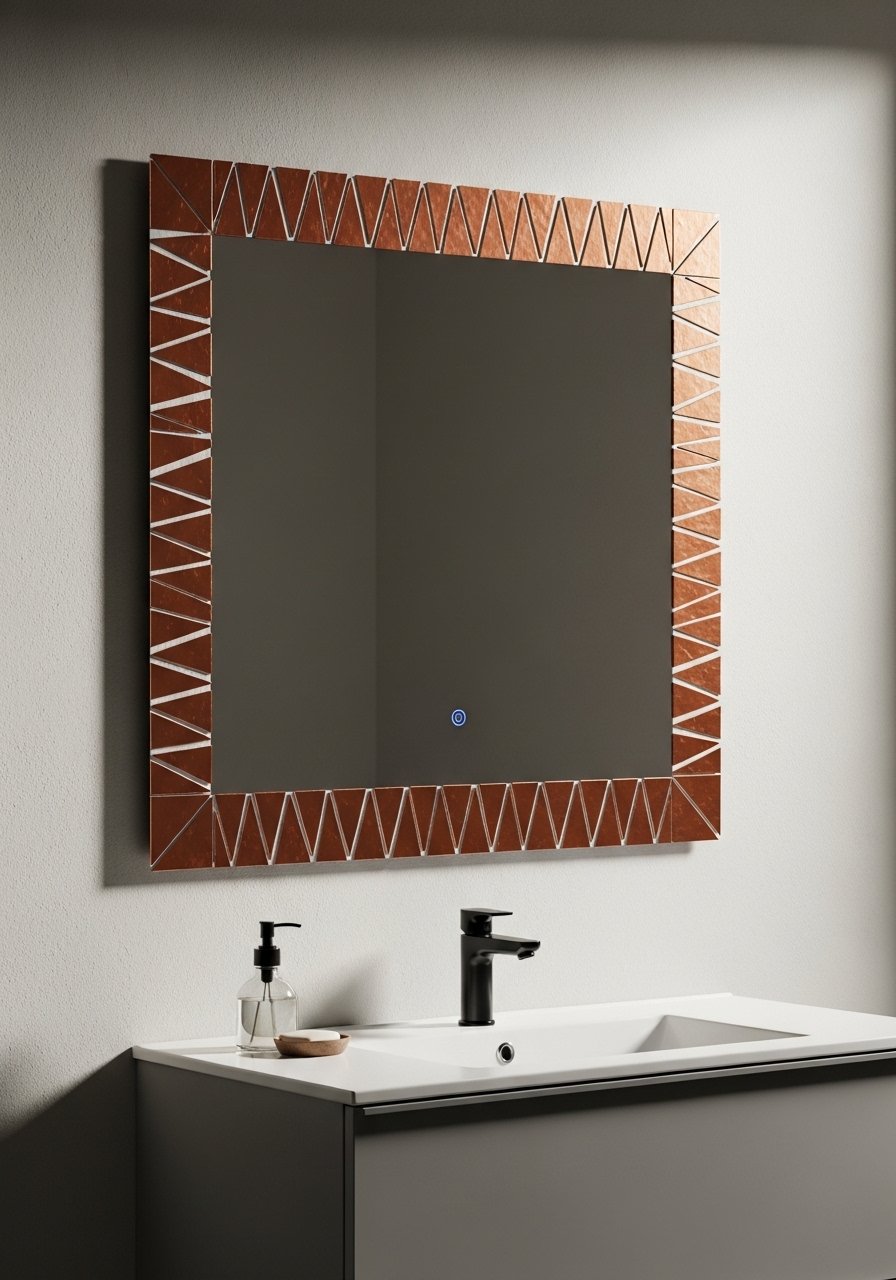
If your mirror feels invisible, 1/4-inch copper foil tape gives a modern edge without overwhelming the glass. Keep to 2 or 3 repeat shapes and burnish flat with a bone folder for clean lines. Budget $10 to $20. I used copper foil tape and a steady hand to make crisp triangles that read modern not busy. A common fail is too many strips. People keep mirror DIYs way under $50 these days, so this is a cheap and renter-friendly way to update above a sink.
Mod Podge Decoupage Compact Mirrors For Purses
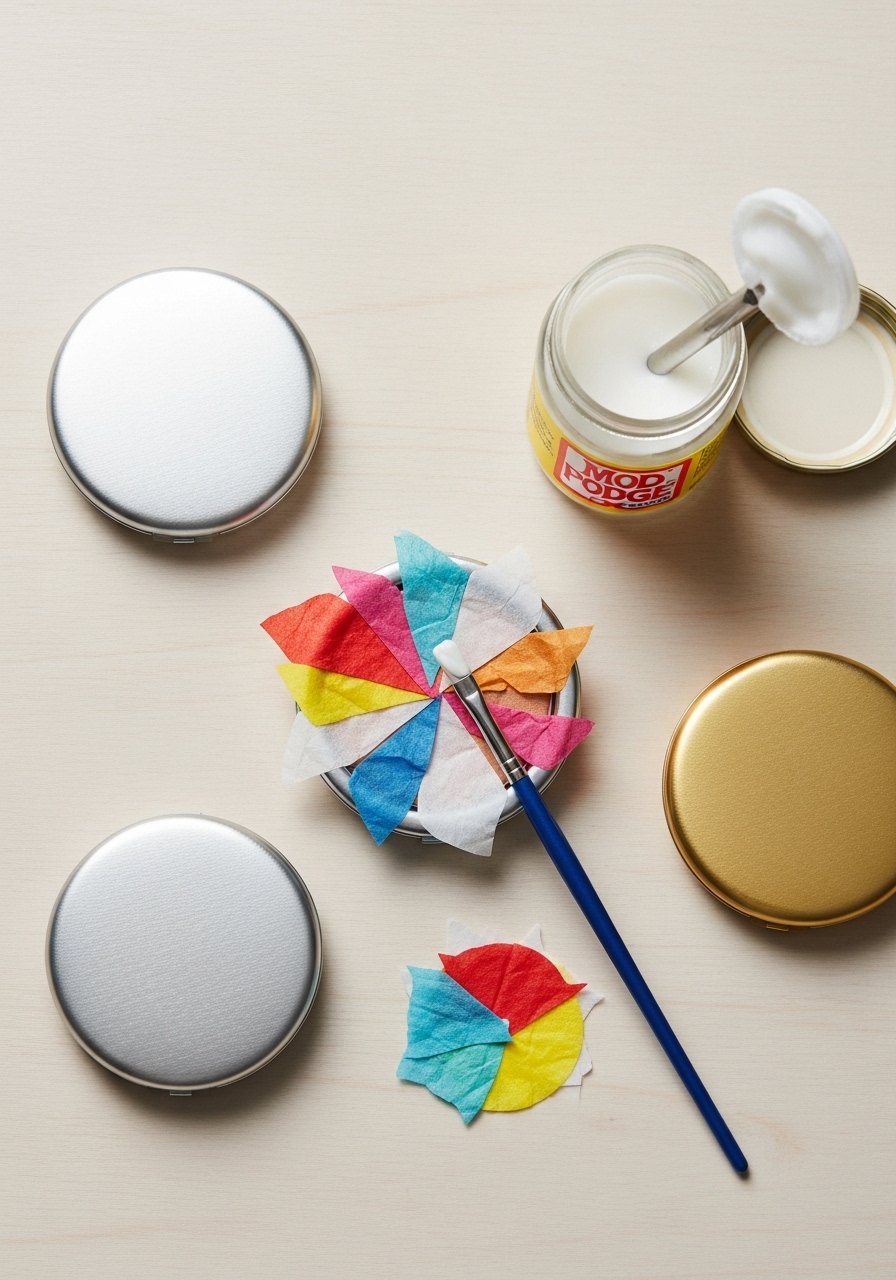
This one saved me from buying cute compacts. Use a thin Mod Podge base coat, press tissue paper or vintage napkins in gently, and seal with two more coats. Budget $3 to $8. The mistake is slapping on paper without a primer. Mod Podge prevents peeling and makes the finish last. Works for purses and makeup bags, and the result feels handmade but not cheap. Swap tissue for a patterned scrap that matches your bag.
Spackle Celestial Texture For Nightstand Mirrors
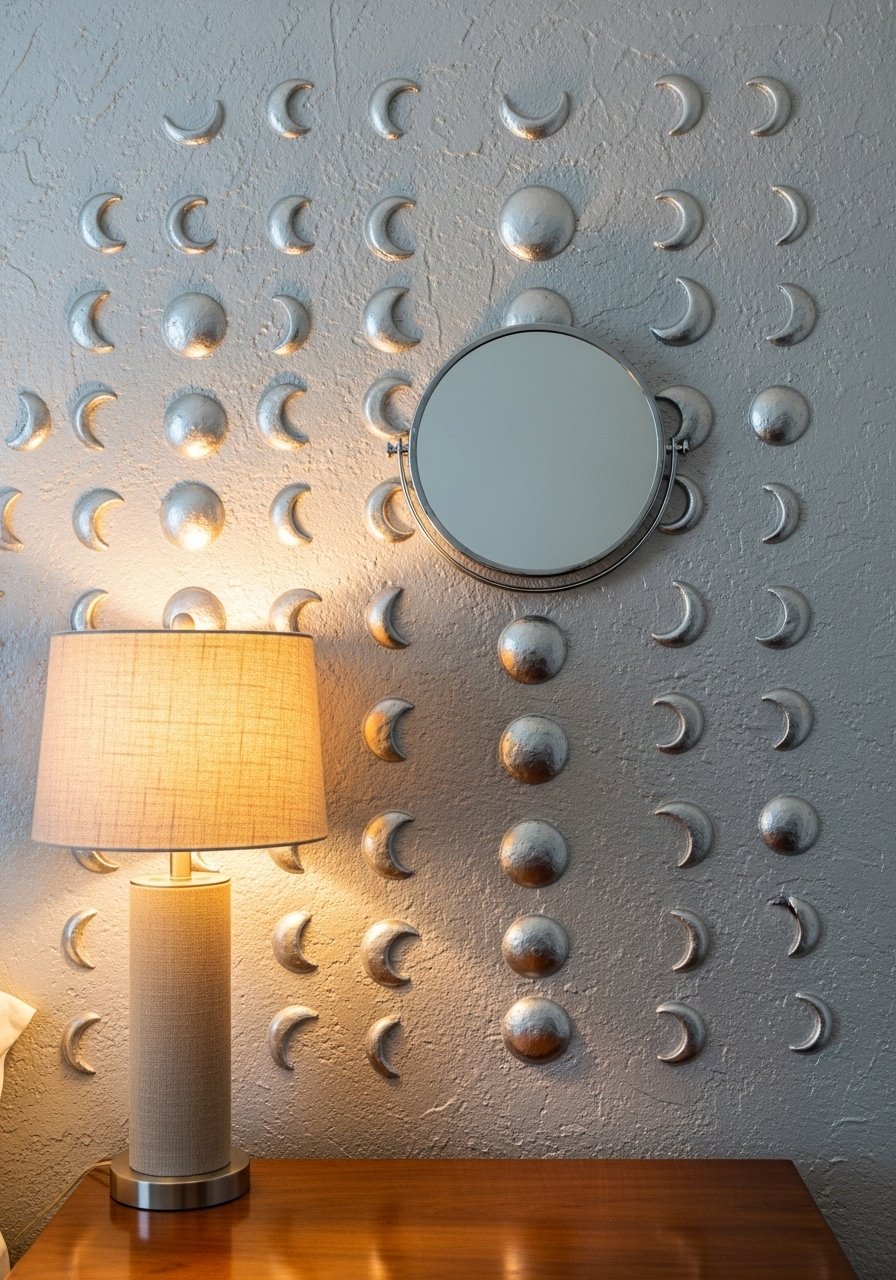
I used spackle like frosting to create a moon-phase look on a round mirror and it suddenly read like a shop piece. Apply peaks about 1/8-inch high with a palette knife, let dry 24 hours, then paint. Budget $8 to $15. A big mistake is rushing the dry time. About half go for bumpy textures now over smooth paint, so this gives depth in dim bedside lighting. For renters, do this on a thrifted mirror you can prop rather than hang permanently.
Thrifted Stone Effect On Oval Frames For Transitional Looks
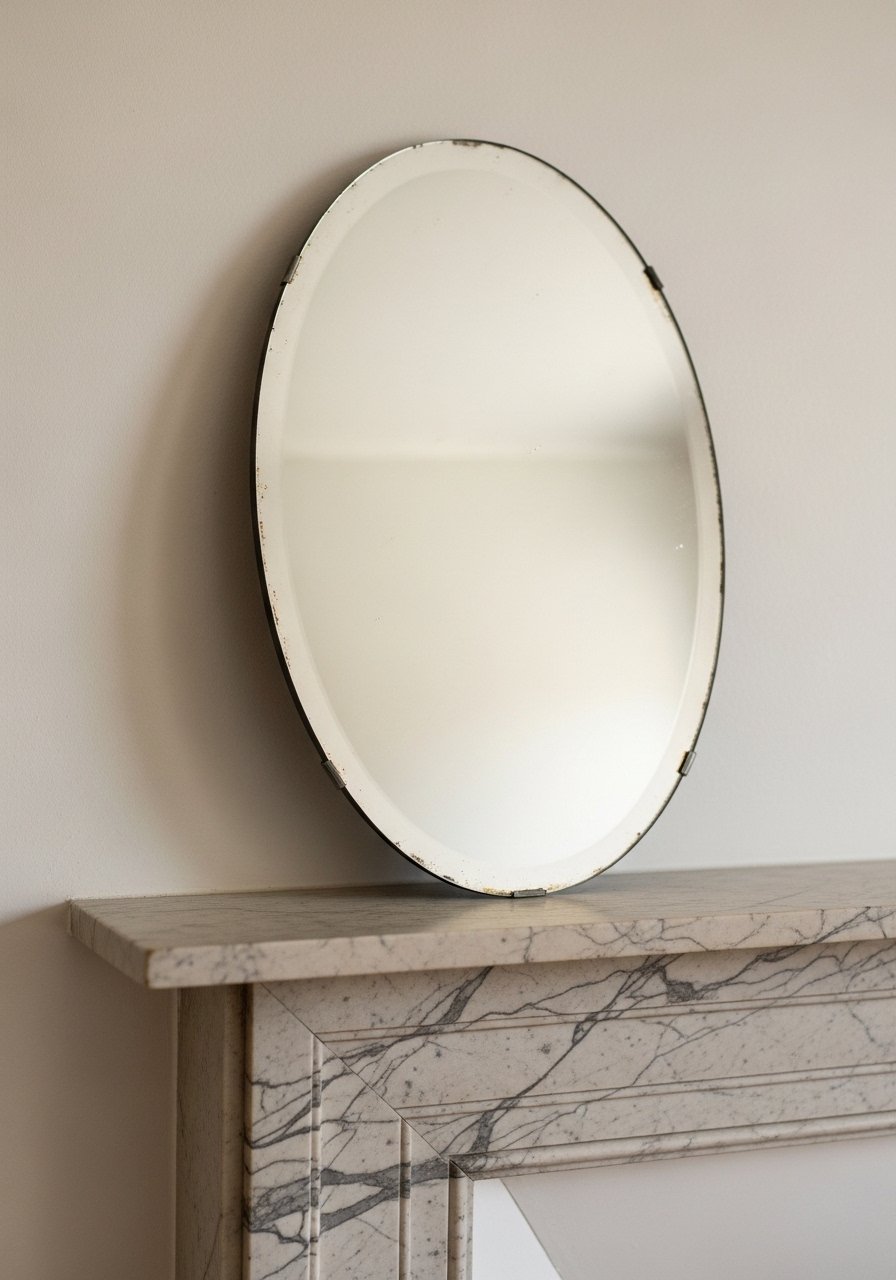
I rescued an oval thrift find with a chalk paint base and a stone wax rub for veins. Budget $20 to $40. Use a darker base, then feather on lighter tones with a dry brush. The common mistake is painting straight marble veins without layering. Try a stone wax topcoat and buff lightly so the finish reads natural. This is permanent so only do it to a piece you own outright. It pairs surprisingly well with the copper tape edge in smaller accents.
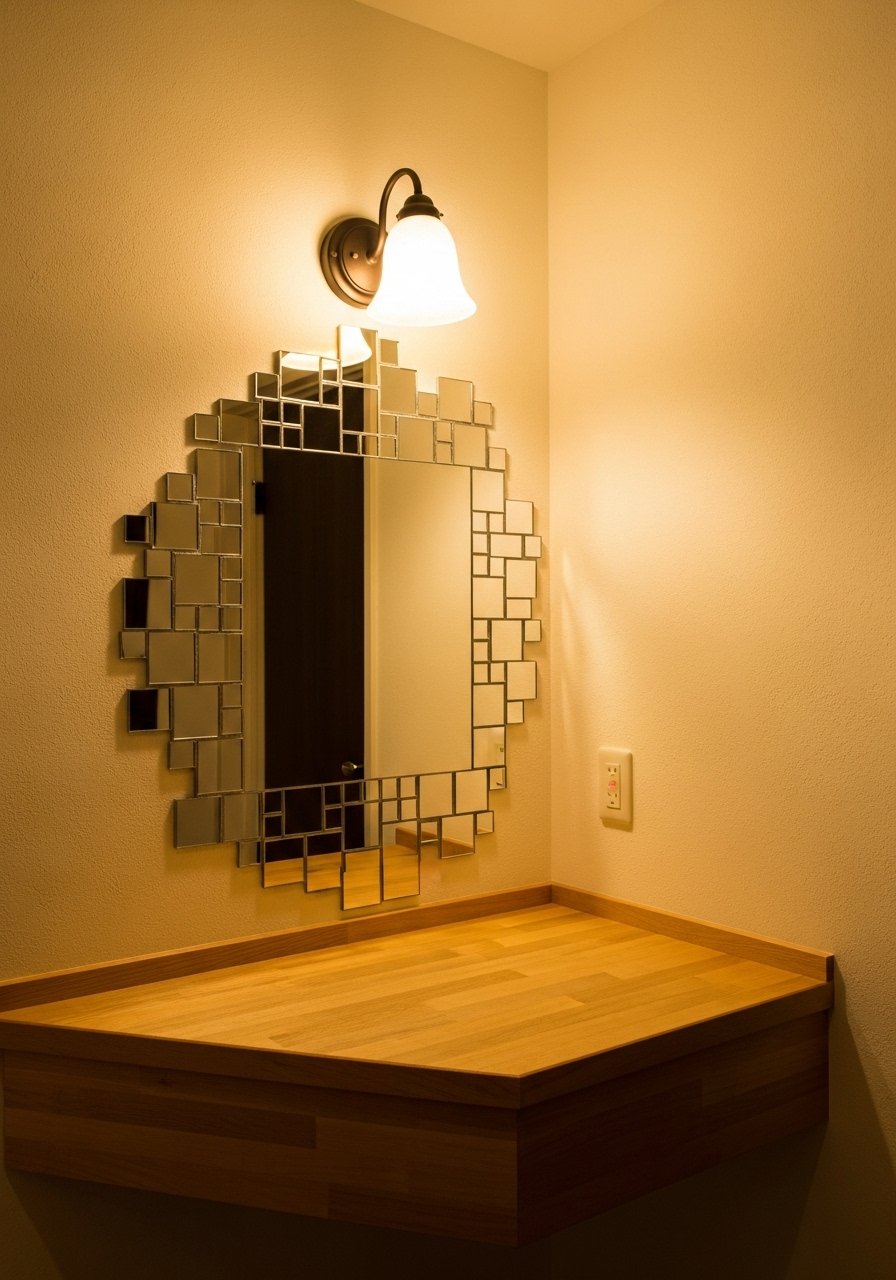
Dollar Tree Mirror Tile Gallery For Lightweight Large Mirrors
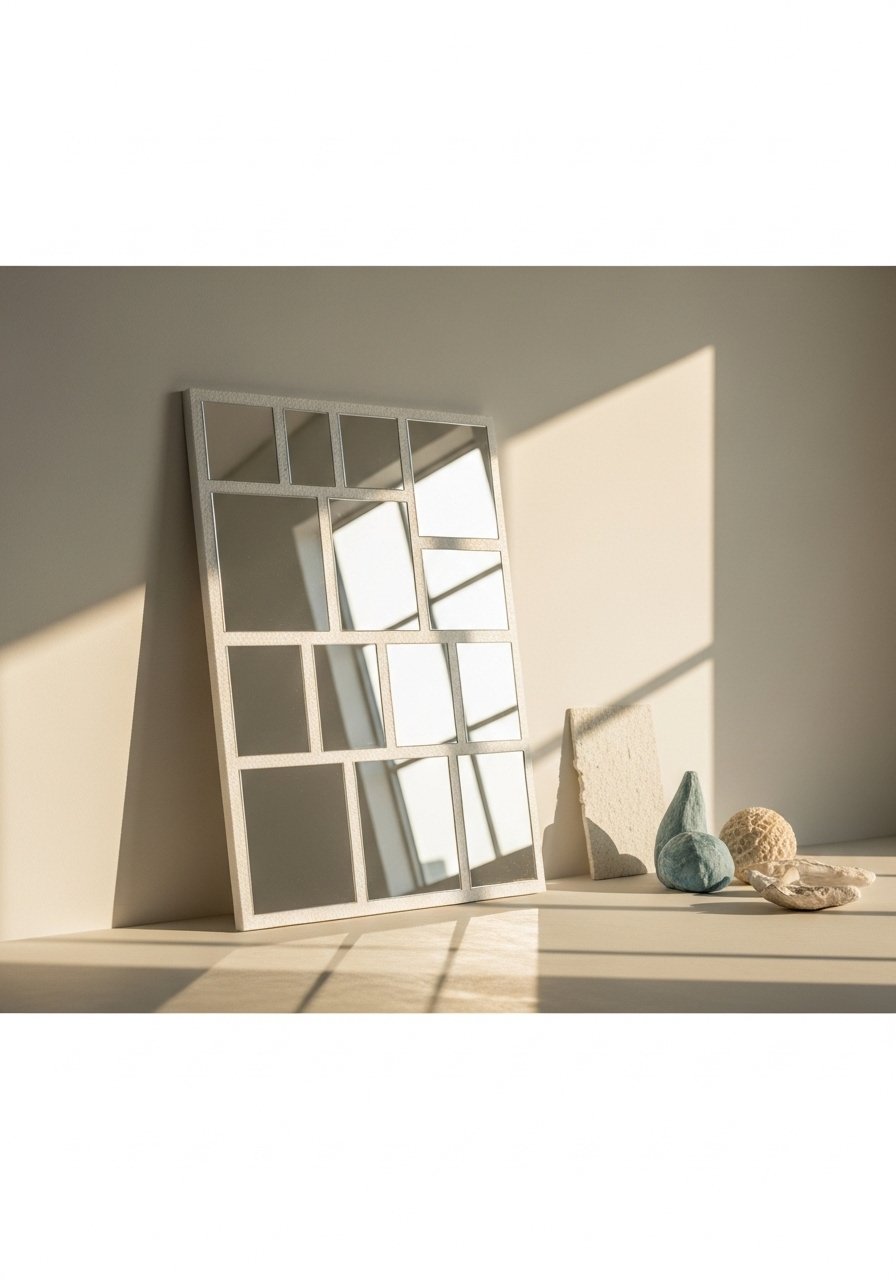
Twenty 12-inch mirror tiles on foam core can fake an oversized, expensive installation without the weight. Budget $15 to $30. Cut 1-inch borders on foam core to frame the tiles and use double-sided tape. The big mistake is ignoring backing, which leaves tiles flappy. Most folks grab dollar store mirrors for their first hack, so this method uses those buys but fixes the finish. Command strip-friendly and renter safe, it brightens narrow hallways.
Dyed Wooden Bead Border For Boho Entry Mirrors
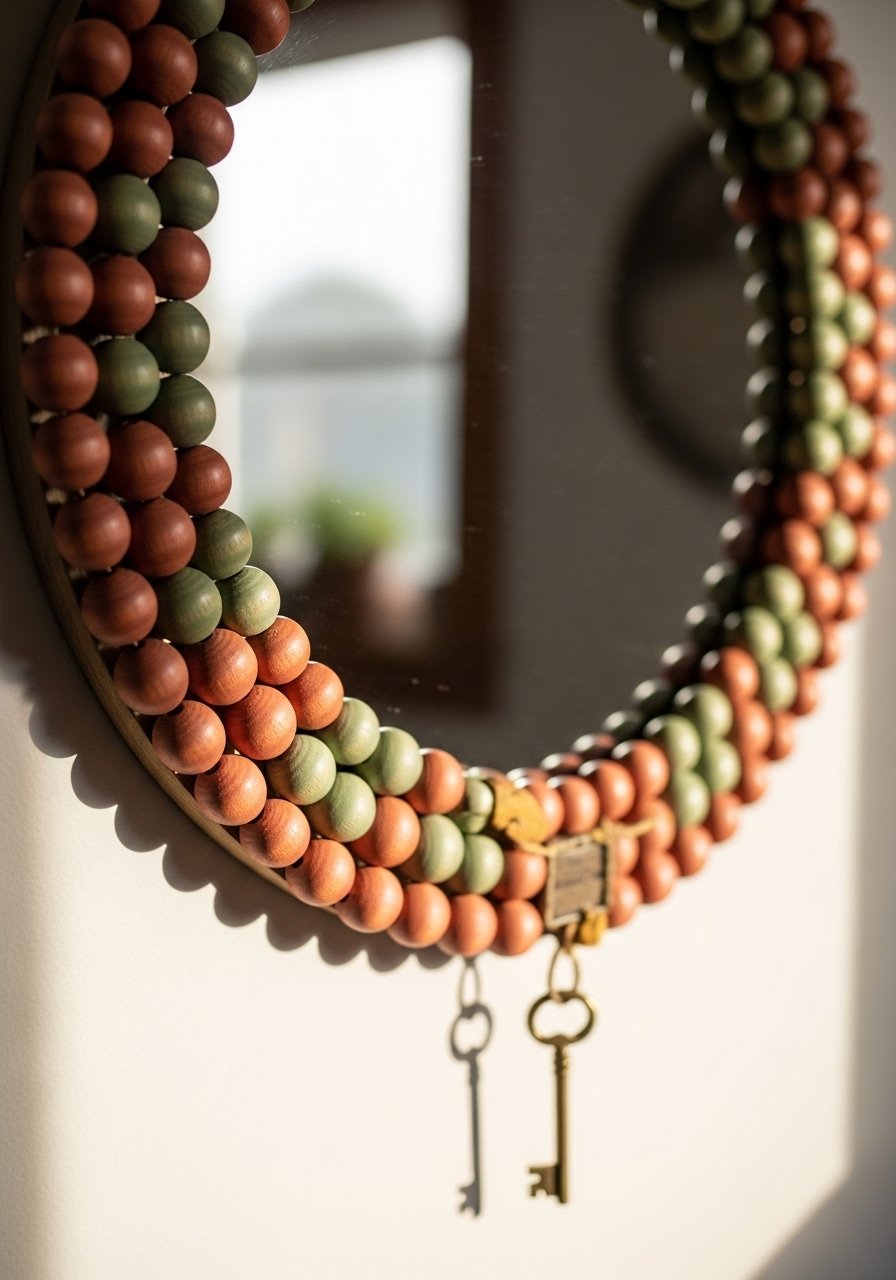
I soaked 50 to 100 wooden beads in a food coloring mix for ten minutes to match my pillow colors exactly. Budget $12 to $25. String tight on twine and glue to the frame. Common mistakes are loose beads that sag and colors that bleed. Seal with clear wax after drying for kid and pet safety. Dyeing gives you custom colors when paint swatches never match the room.
Recycled Cardboard Branch Frame For Rustic Leaners
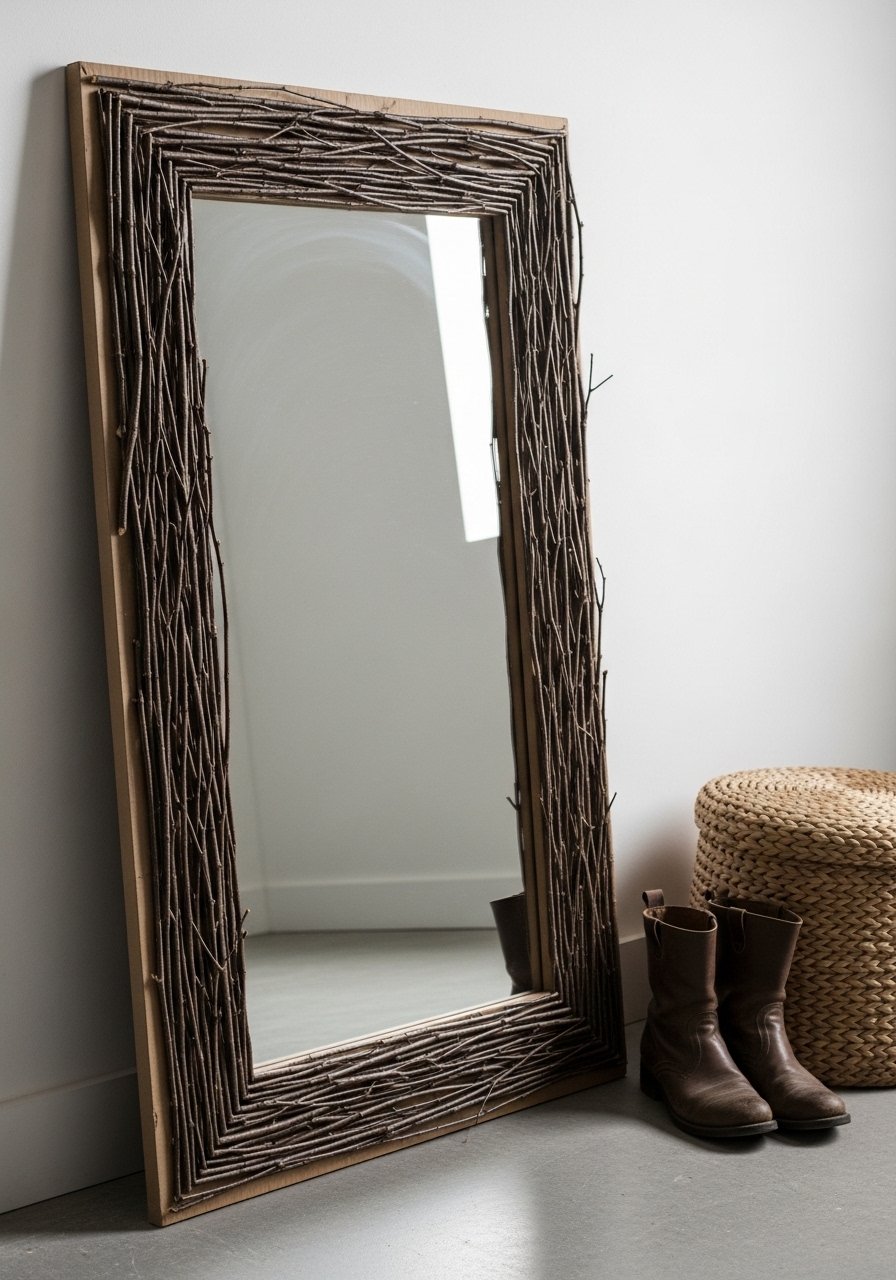
For a zero-cost rustic fix, glue trimmed branches to a cardboard cutout that fits a leaning mirror. Budget $0 to $10. I used hot glue and staggered branch lengths in odd numbers to avoid looking too symmetrical. A common issue is the frame being too heavy to lean, so keep materials light. Works great on a hallway floor or atop a low console. Pair with the bead border for contrast.
Washer Ring Industrial Stack For Small Studio Nooks
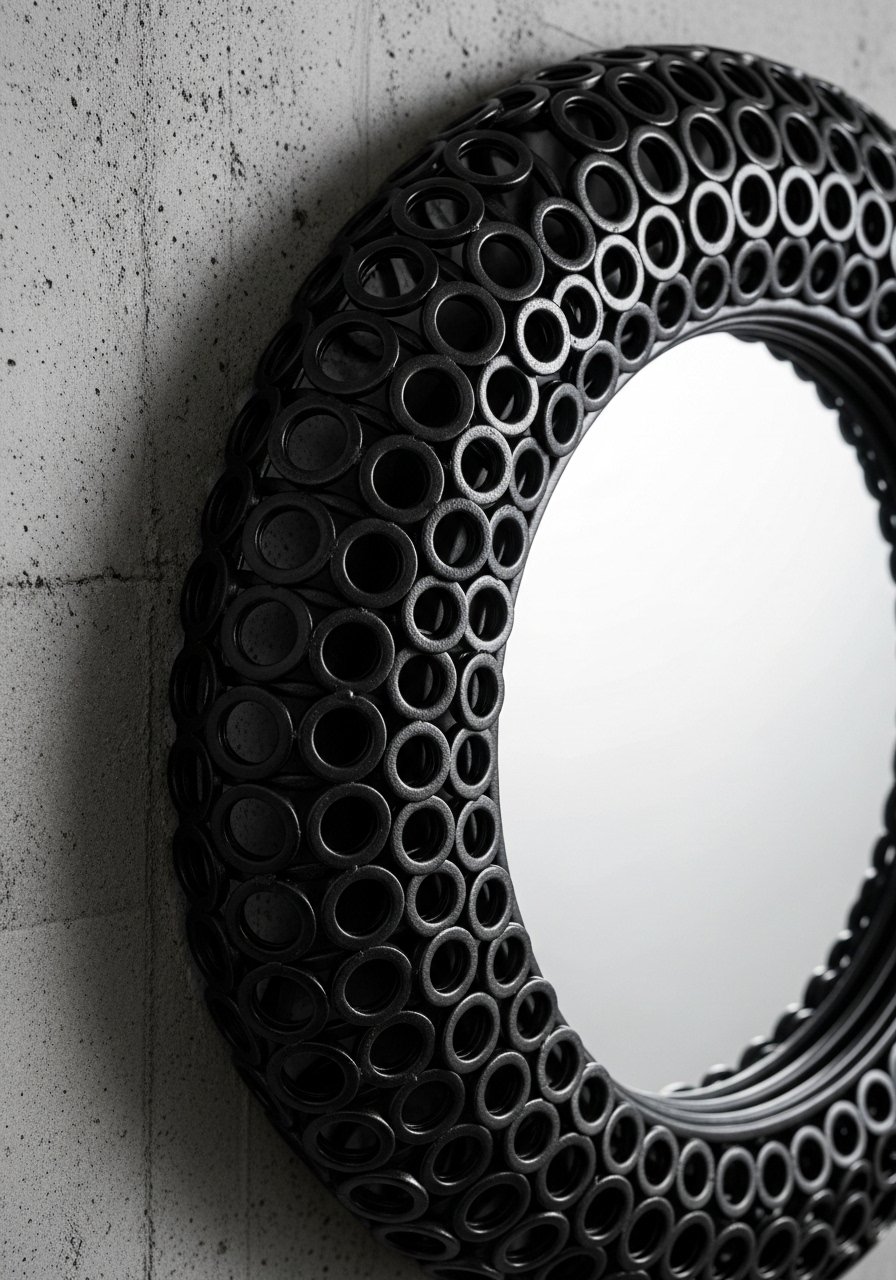
I made a mechanical, industrial cluster by stacking washers around a small circular mirror and spray painting them matte black. Budget $25 to $50. Use strong epoxy so nothing detaches. The mistake is using thin hardware that bends. This is not ideal for rentals unless you mount on a board first. The metal adds weight visually and keeps the mirror from feeling too delicate.
Chalk Paint Medallion For Vintage Vanity Corners
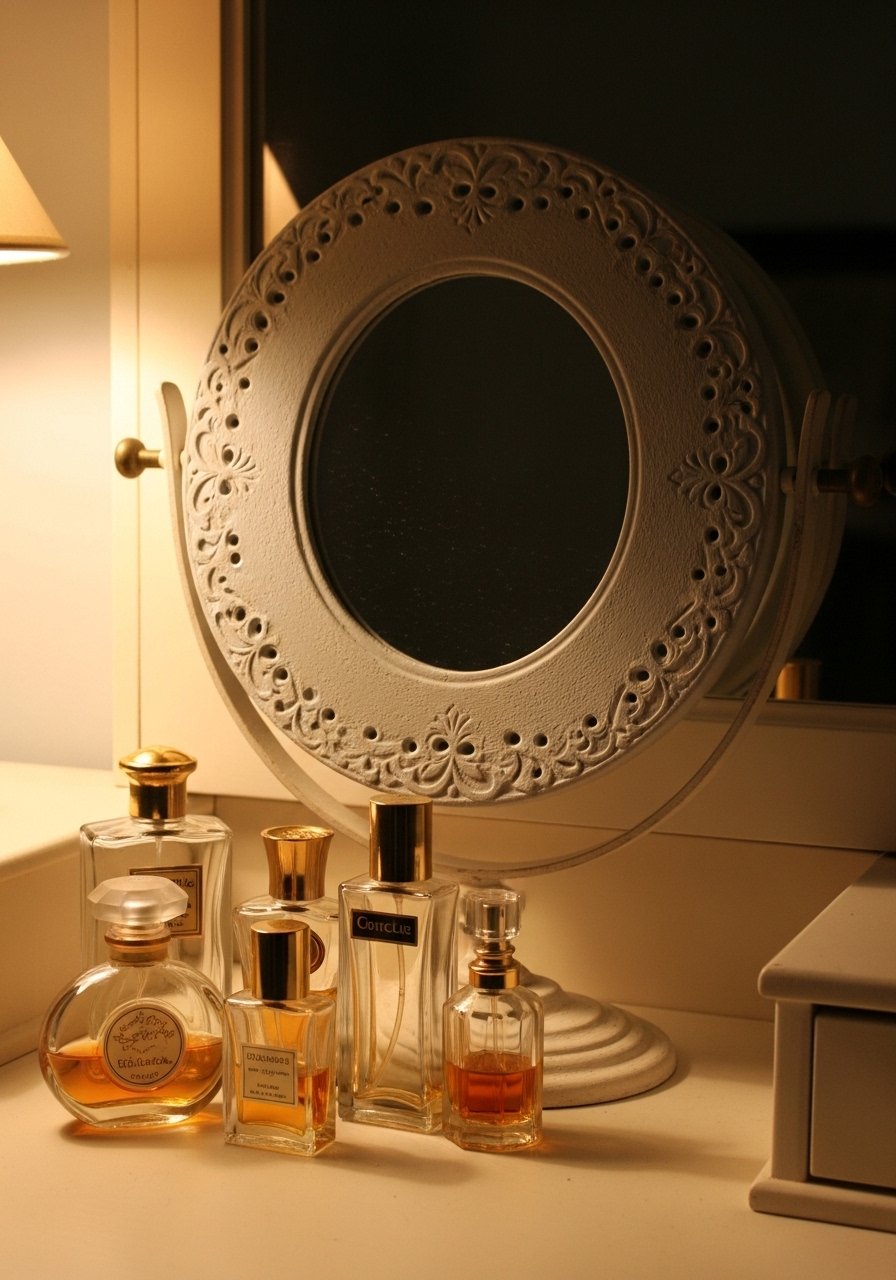
Turning a Dollar Tree mirror into a faux plaster medallion is a fast way to add period detail. Use chalk paint and a textured brush, then rub white wax to age slightly. Budget $10 to $20. The common error is painting too thick and losing detail. Punch the center carefully to recess the mirror and the finished look reads like a plaster shop find. Lean this on a dresser for renter-friendly styling.
Ivy Painted Floral Frame For Cottagecore Bedrooms

I painted simple ivy tendrils with acrylic and added foam-dot blooms for a long-lasting floral border. Budget $5 to $12. Avoid full three-dimensional faux flowers if you have pets. A mistake I see is over-painting and losing leaf shape. Test colors on scrap first so the greens match your bedding. Pair this with the medallion idea for a layered vintage look.
Distressed Pine Wax Finish For Scandinavian Ovals
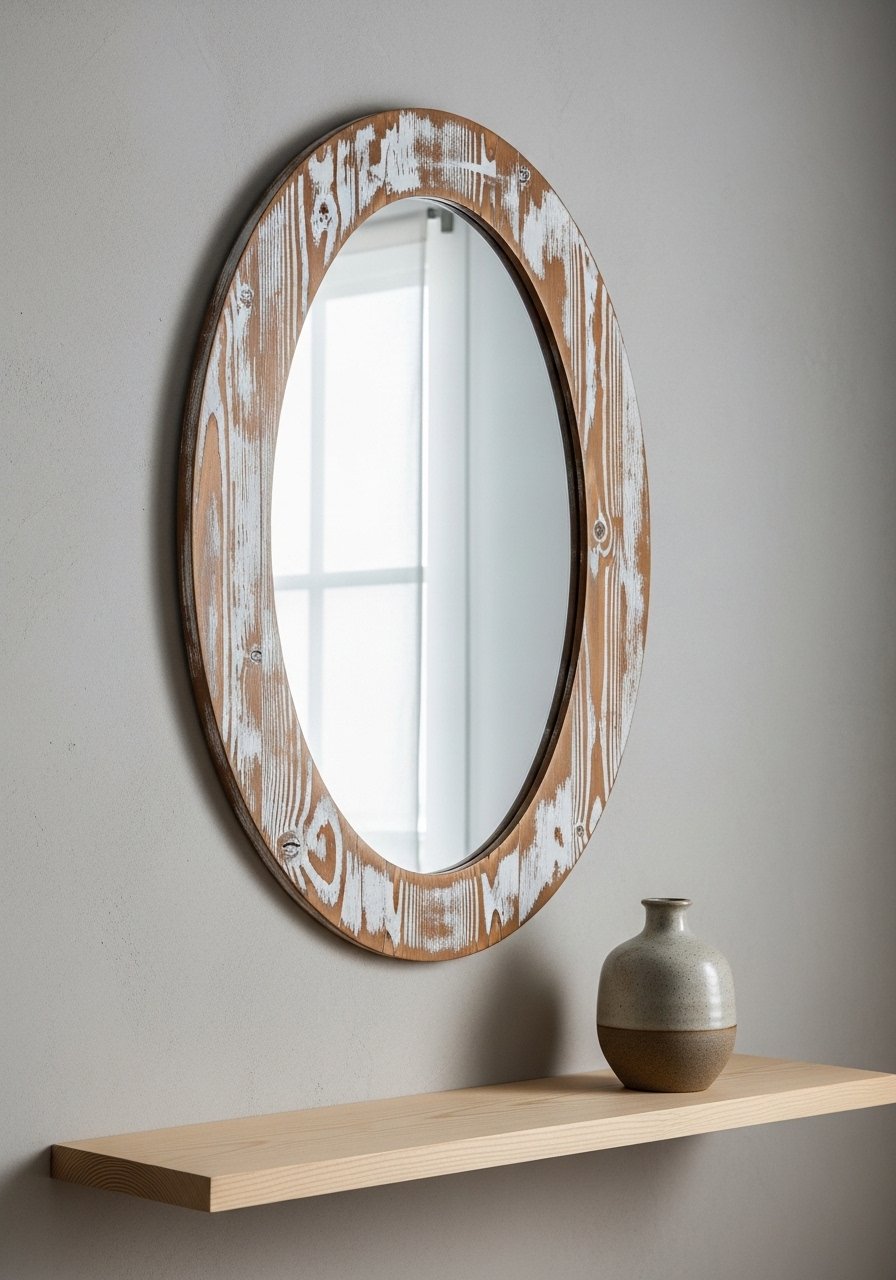
White wax over pine brings a worn Scandinavian feel. Budget $15 to $35. Apply thin wax and buff after an hour for controlled distressing. A common fail is using heavy sanding that damages the frame. For renters do this on a thrifted piece you will replace. I mixed two wax tones to keep the wood grain visible which reads less manufactured.
Foam Core Flower Backdrop For Romantic Vanities
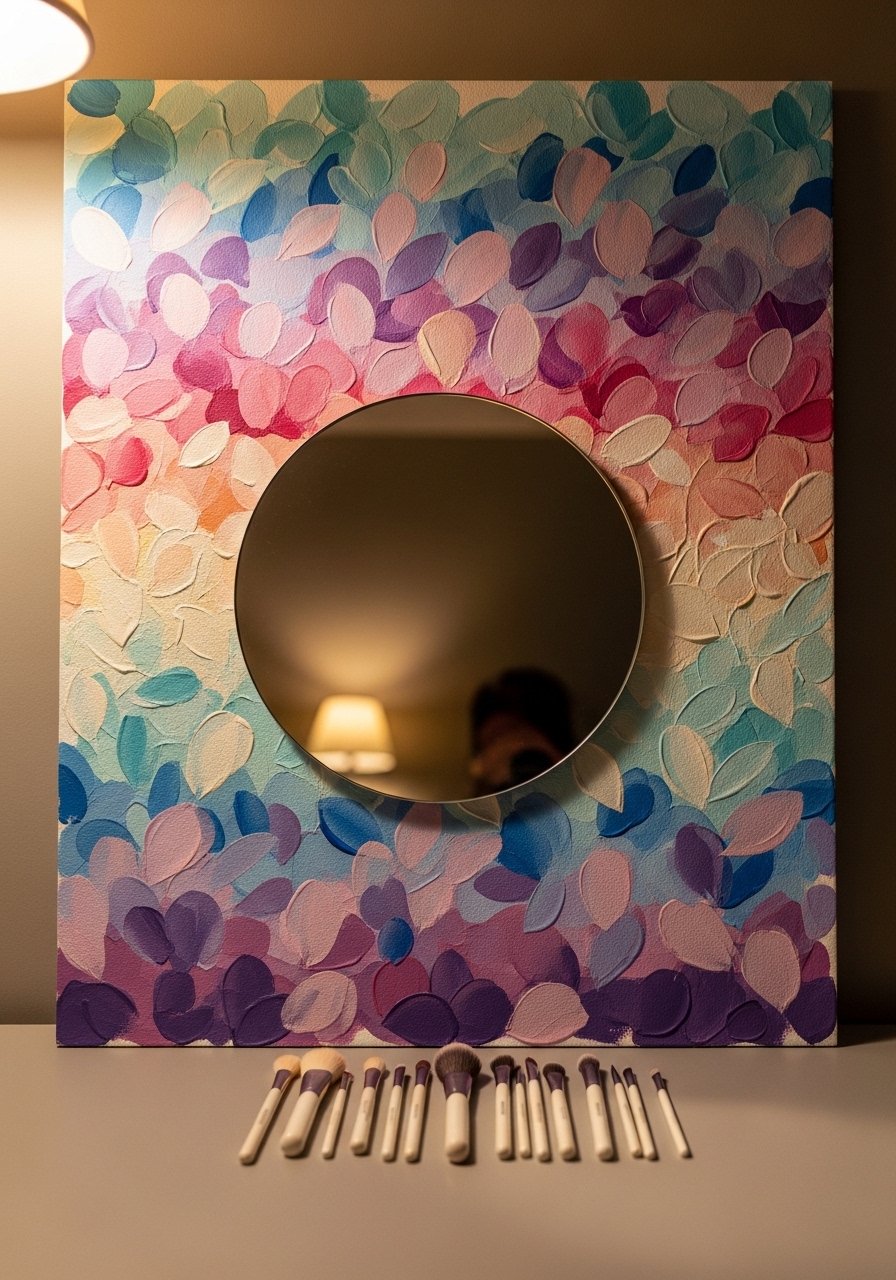
I cut foam core into oversized bloom shapes, painted them, and set the mirror slightly recessed to read like a floral halo. Budget $8 to $18. Foam is lightweight so it is renter-friendly. Mistakes include skimping on adhesive which makes petals peel. Use Mod Podge as a primer if you plan to paint thin tissue over foam. This reads dreamy on a dressing table and pairs nicely with bead borders.
Mirror Tile Mosaic For Small Bathroom Corners
A mosaic of small mirror tiles around a plain mirror can make a tiny bathroom feel larger. Budget $20 to $40. Use tile adhesive and grout sparingly so it does not show. People keep mirror DIYs way under $50 these days, so this is an affordable upgrade. Mistake to avoid is uneven spacing. Use a 1/8-inch spacer and wipe grout residue quickly to keep reflections clean.
Painted Sunburst Trim For Retro Hallways
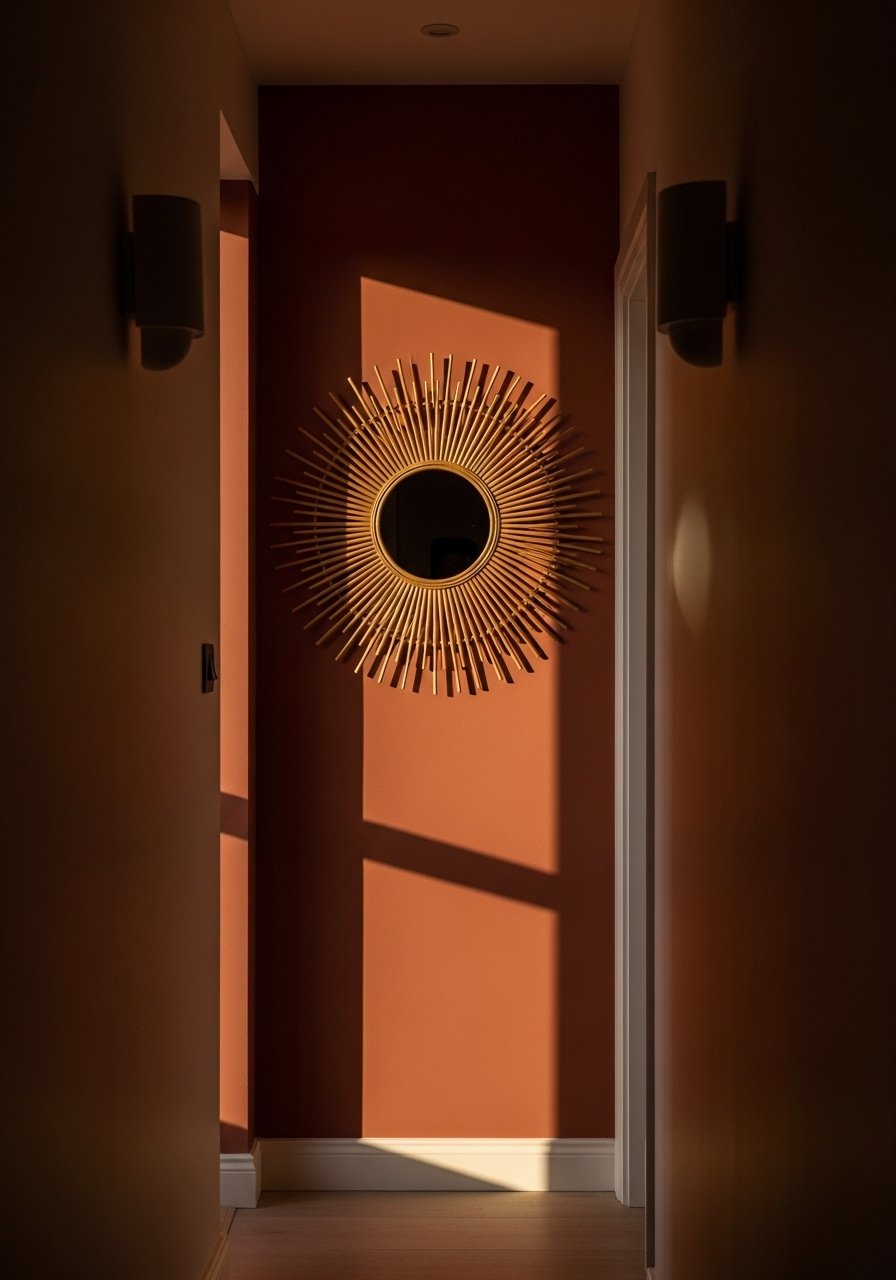
I cut thin wood slats and radiated them around a circle for a sunburst look then painted in terracotta tones. Budget $15 to $30. Keep the slats under 1-inch wide for scale. The usual mistake is making them too long which overwhelms the mirror. This works on a narrow entry where it saves the need for other wall decor and looks great leaning on a side table.
Floating Shelf Frame For Functional Entry Mirrors
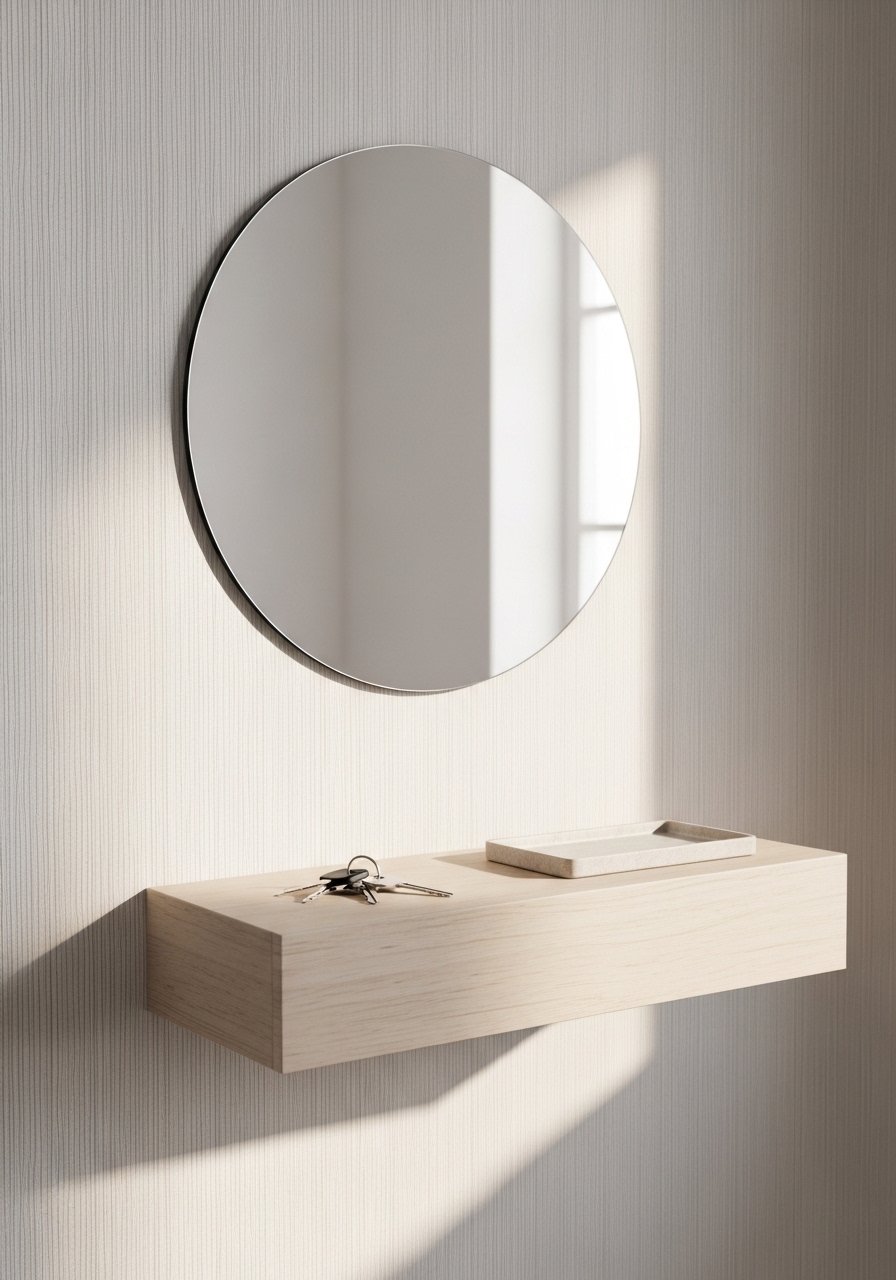
Combine a slim floating shelf with a mirror to create a landing spot. I used a 10-inch shelf and mounted the mirror just above so the two feel attached. Budget $20 to $45. A common mistake is mounting the mirror too high, making it awkward for quick checks. For renters use removable anchors or rest the shelf on brackets you can patch later. These are great next to the bead-trimmed mirrors.
Washable Fabric Fringe For Warm Laundry Rooms
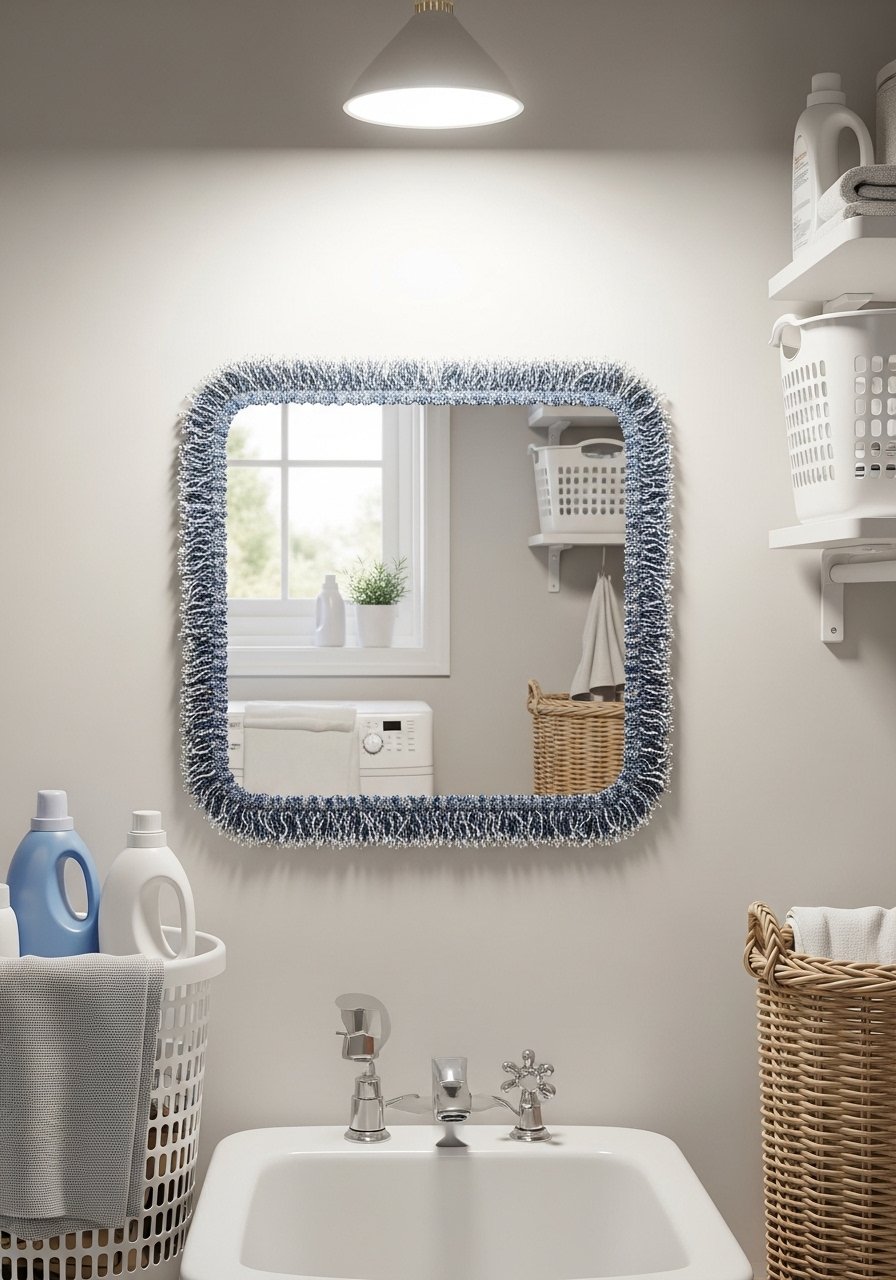
I sewed a fringe from an old linen sheet and glued it to a frame that faces the folding station. Budget $5 to $12. Use washable fabric and a waterproof glue so it survives steam. The mistake is cheap fringe that sheds. This is perfect in a laundry or mudroom where you want softness but also durability. Try a short fringe length for low-ceiling rooms.
Metallic Acrylic Inlay For Modern Studio Apartments
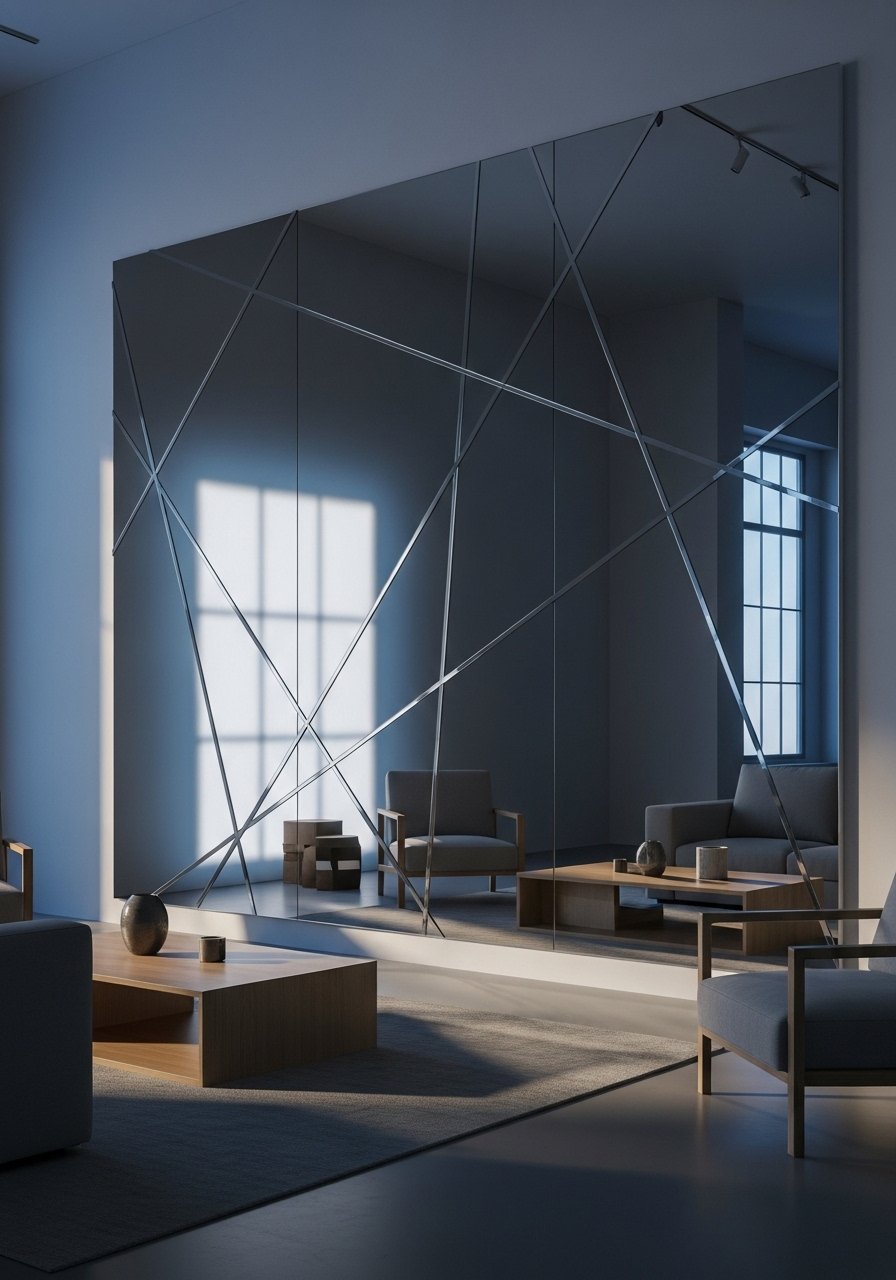
I used metallic acrylic strips adhered with clear tape to create a floating inlay look. Budget $15 to $30. Keep to two metal tones max to avoid visual clutter. A mistake is choosing reflective stripes that mimic the mirror too closely. Mint and copper in thin lines read contemporary and save wall space compared to shelves.
Rope-Wrapped Nautical Look For Coastal Nooks
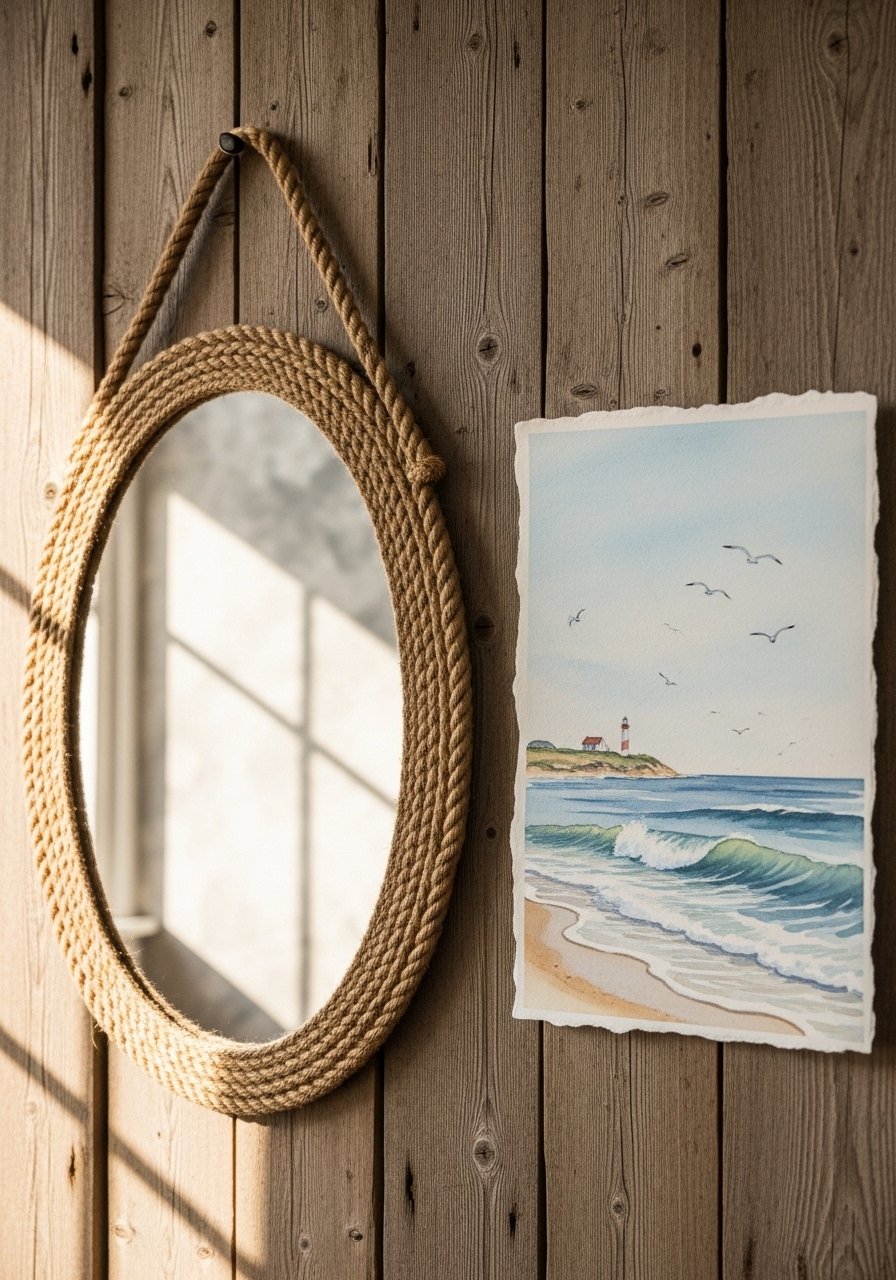
I wrapped jute rope around a mirror frame and sealed it with a matte varnish for a beachy vibe. Budget $10 to $20. Use odd numbers of rope strands for organic texture. Avoid synthetic rope that frays. This is light enough to lean on a shelf by the door and pairs well with the foam tile gallery if you want a mixed-material wall.
Mirror-On-Mirror Layering For Shelf Styling
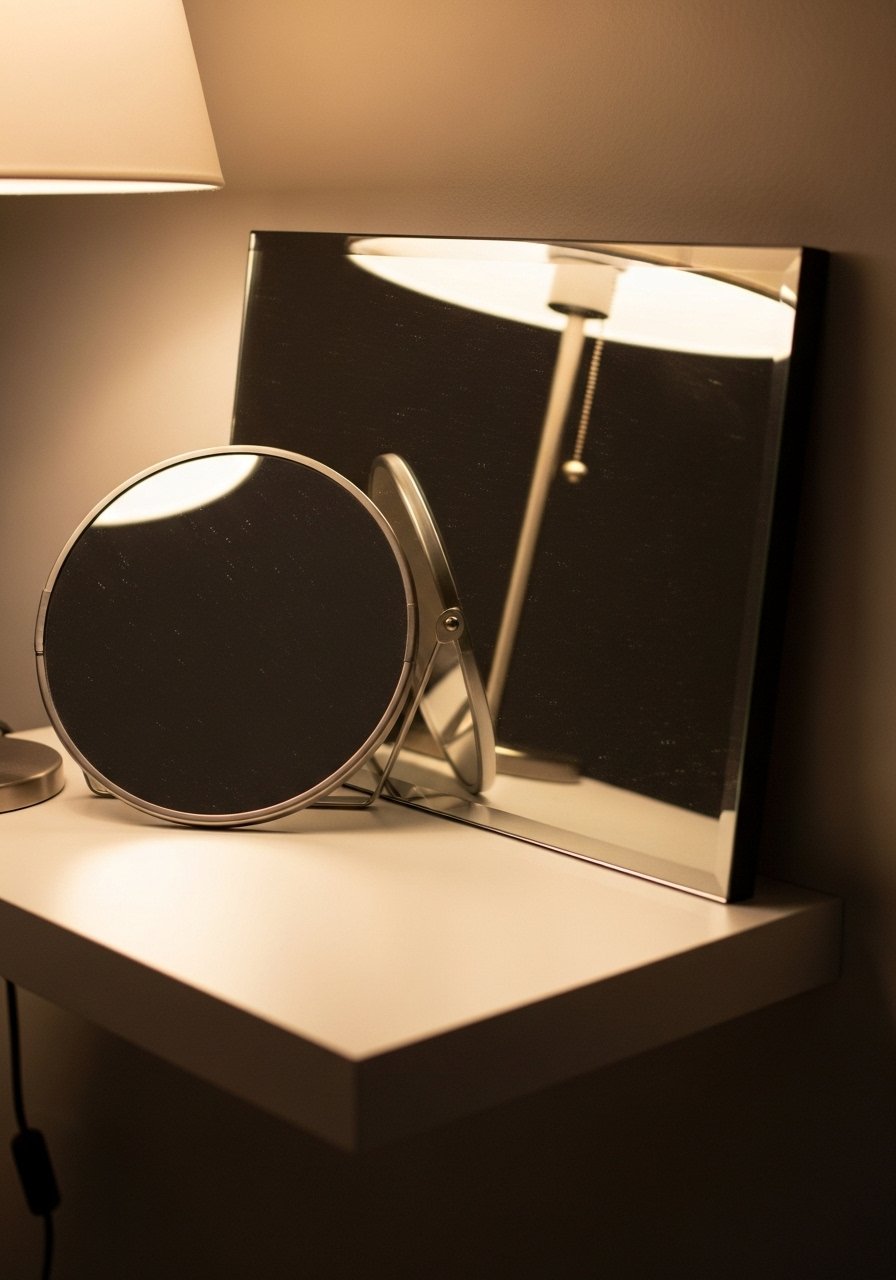
Layering two mirrors on a shelf saved wall drilling and added dimension. I lean a 12-inch round against a 20-inch square and shift them when needed. Budget $10 to $60 depending on sizes. Common mistake is matching frame styles too closely. Mix thin and thick frames for contrast. This is renter-friendly and works on bookcase ledges or mantels.
Painted Edge Ombre For Small Bedrooms
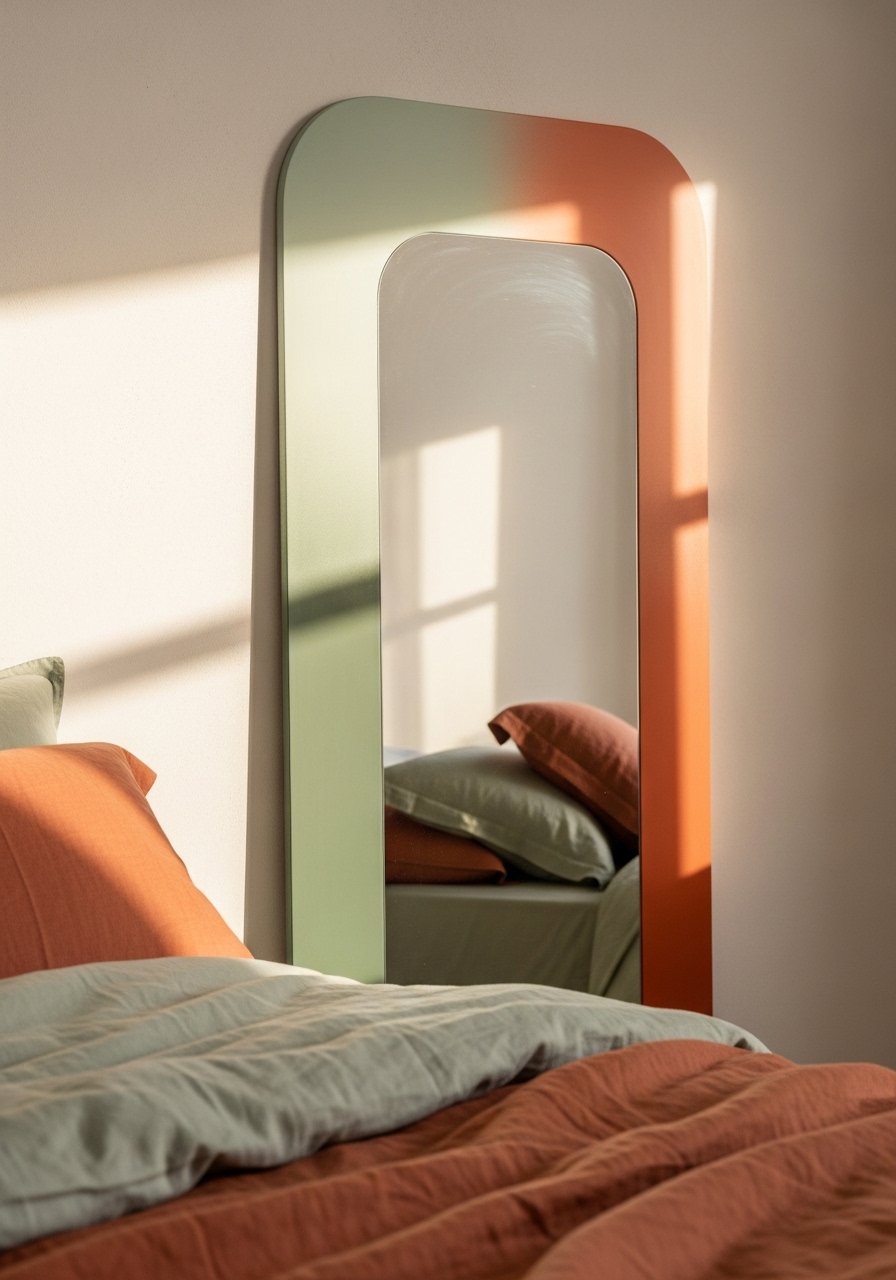
I painted the frame edge in an ombre of two colors to tie into pillows. Budget $8 to $20. Use a sponge to blend and dry 24 hours between coats. Mistakes include harsh transitions that read amateur. Test on scrap wood first and use an 80/20 color ratio where the dominant hue is 80 percent. The result acts like art and saves space above a small dresser.
Spindle Trim For Cottagecore Bathroom Shelves

I salvaged old chair spindles, cut them to size, and glued them vertically to frame a mirror for a cottagecore look. Budget $10 to $25. Use white wax over the paint to age slightly. The common mistake is uneven spindle spacing. Measure and mark before gluing. This pairs with the painted ivy idea if you want a soft, layered wall vignette.
Glow Paint Accents For Low Light Corners
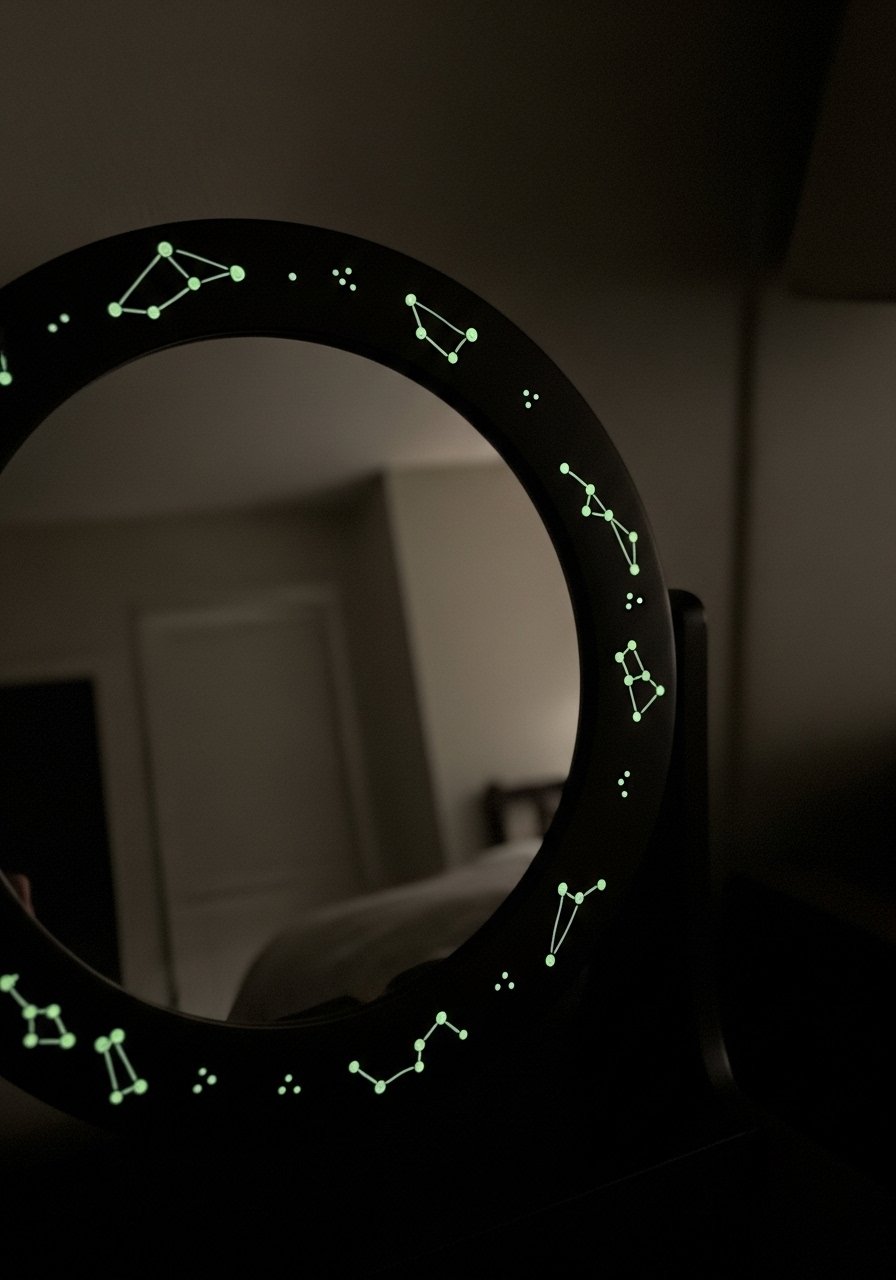
I used tiny glow-paint dots over spackle peaks to make a mirror readable at night and playful in low light. Budget $6 to $12. Apply glow paint sparsely so it reads like interest not a gimmick. The mistake is using bright colors that clash in daylight. Glow paint is great for hall corners that face no direct lamp and works with the spackle celestial texture approach.
Magnetic Frame Panels For Rotating Photos
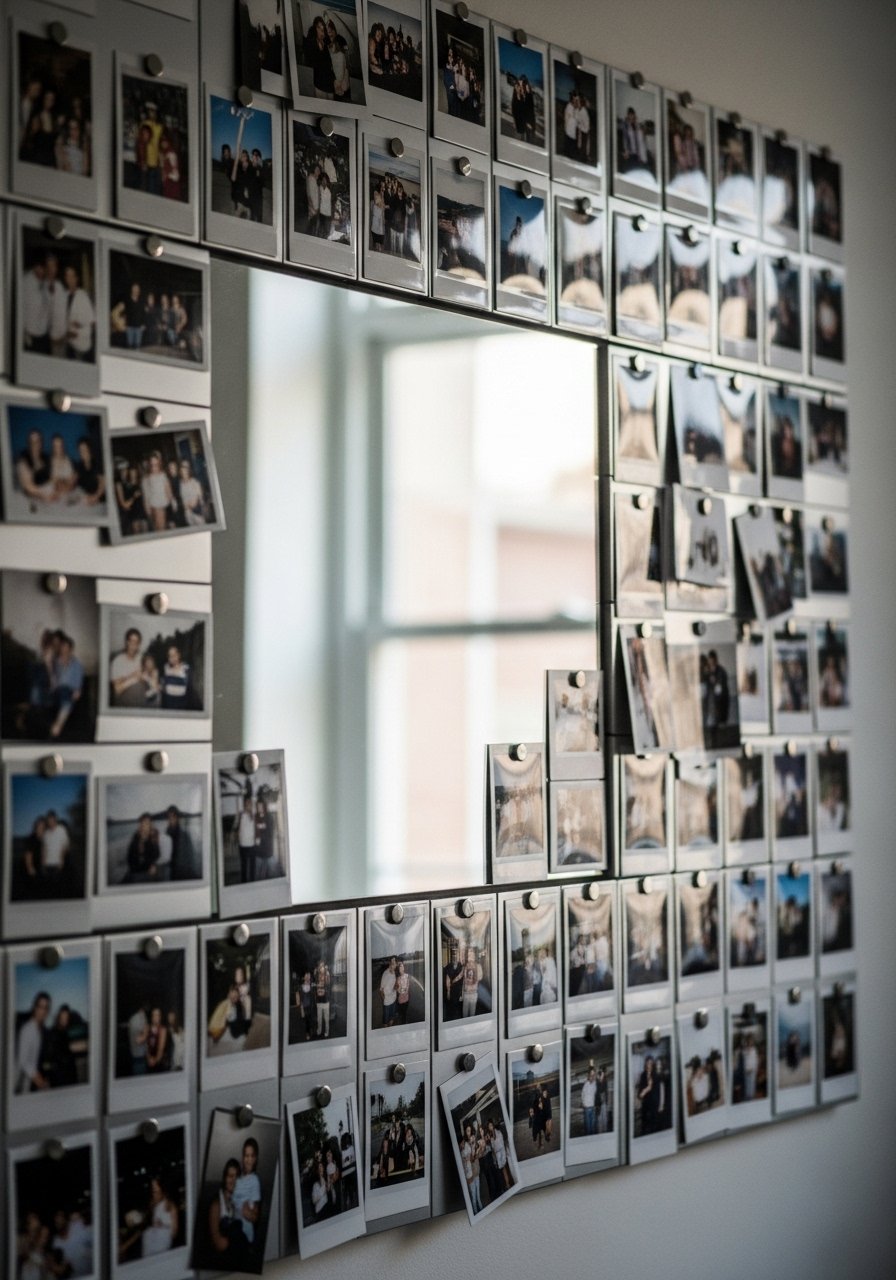
Attach thin magnetic panels around a mirror so you can change photos without holes. Budget $15 to $30. I use small printed Polaroids and swap them seasonally. The mistake is using weak magnets that drop images. Strong magnetic tape or adhesive-backed steel is better. This idea saves space on small walls and keeps your mirror the focal point while allowing personal photos.
Minimal Tape Line Accent For Tiny Powder Rooms
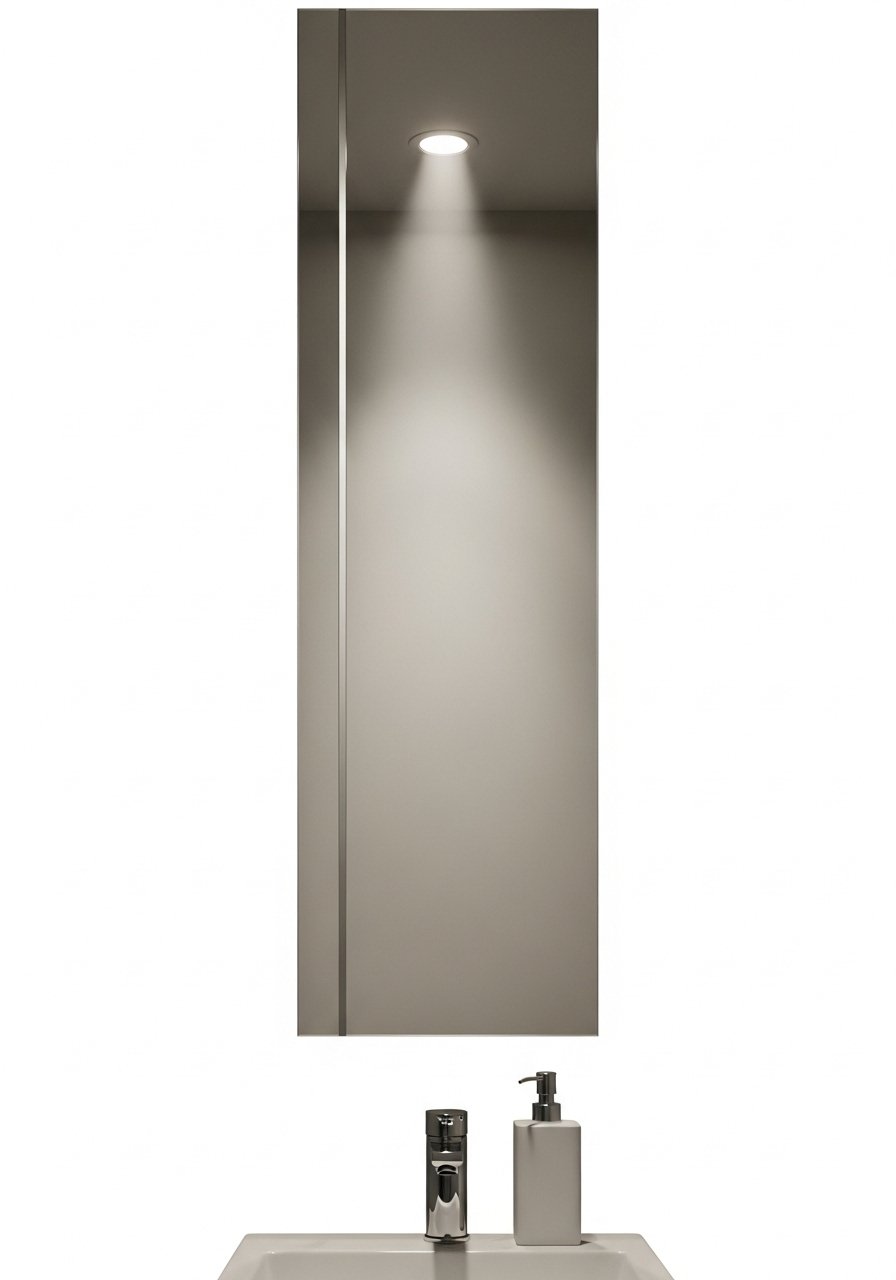
A single metallic tape line across a mirror gives a chic, tailored look without visual weight. Budget $8 to $15. Apply slowly and press with a bone folder. The common fail is crooked application. Use a level and measure at three points to keep it straight. This is a perfect space-saving trick for powder rooms where shelves would be too bulky.
Your Decor Shopping List
Textiles
- Honest favorite throw for layered edges, Chunky knit throw in cream (~$35 to $55). Drape across a console for visual weight.
- Pillow covers, 22-inch linen pillow covers set of 2 in sage, mix with patterned cushions.
Wall Decor
- Mirror tiles, 12×12 clear mirror tiles pack for gallery hacks, buy extra to account for cuts.
- Copper foil tape, copper-foil-tape-1-4-inch roll for crisp geometric edges.
Tools And Supplies
- Mod Podge gloss, mod-podge-gloss-8oz to prime cheap frames and seal paper crafts.
- Hot glue gun, mini-hot-glue-gun for quick assembly.
- Spackle, light-weight-spackle-1lb for textured moons.
Budget Finds
- Wooden beads bulk, wooden-beads-bulk-100-pack for bead borders.
- Foam core board, foam-core-board-20×30 for tile galleries and backdrops.
Finishing
- Clear matte spray, clear-matte-spray-sealer-12oz to seal dye and delicate work.
- White wax, furniture-white-wax-8oz for gentle distressing.
- Small frame hooks, picture-hanging-hooks-small for lightweight mounting.
Many of these items are available at Target or HomeGoods if you prefer to shop in person.
Shopping Tips
White oak beats dark wood in 2026. Design feeds have shifted completely. White oak floating shelves look current, not dated.
Grab copper-foil-tape-1-4-inch for geometric edges. Burnish after placing and the lines won't lift.
Curtains should puddle or kiss the floor, never hang halfway up. 96-inch linen curtain panels are right for standard 9-foot ceilings and make mirrors feel taller.
Found mod-podge-gloss-8oz while fixing a peeling frame. Prime cheap frames with it and paint won't flake.
One tall plant beats five small pots. If you need height without bother try artificial-fiddle-leaf-fig-6ft for a realistic look without upkeep.
Mix a small mirrored tile with a simple frame, not both ornate. 12×12 clear mirror tiles pack are cheap and lightweight for experimental layouts.
Frequently Asked Questions
Q: Can renters do these mirror upgrades without damage
A: Yes. Many ideas use command strips, foam core backing, or lean methods so you avoid holes. For permanent paints and spackle work choose thrifted pieces or mirrors you own outright. When in doubt, mount on a lightweight backboard and use removable hanging strips.
Q: My craft peels off after a week. How do I stop that
A: Prime with Mod Podge before any paper or paint goes on cheap frames. I always prime cheap frames with Mod Podge before painting. Let each coat dry fully and seal with a clear matte spray for high-traffic areas.
Q: Are these ideas kid and pet friendly
A: Some are and some are not. Swap paper petals for foam versions, and seal bead borders with clear wax. If your pet mouths decor avoid small loose bits and choose spackle texture or painted trims that are bonded tightly.
Q: What mirror size should I buy for a small entry
A: Go slightly larger than you think. A 24 to 30-inch round or a 20 by 30-inch rectangle reads intentional and saves you from adding other wall elements. Leaning a bigger piece on a console creates the illusion of more space without extra shelves.
Q: How do I make sure tape lines stay flat
A: Burnish tape with a bone folder and press from the center outward to avoid bubbles. Measure twice and stick slowly. Use 1/4-inch copper foil tape for crisp geometric edges and keep to 2 or 3 repeat shapes.
Q: Which ideas are best for low light corners
A: The spackle celestial texture with glow-paint accents and the layered mirror trick brighten dim spots. About half go for bumpy textures now over smooth paint, and textured edges catch light even when lamps are off.
Q: I have a very tight budget. Where should I start
A: Start with a dollar store mirror and one small upgrade like copper tape or painted edge ombre. Most folks grab dollar store mirrors for their first hack. People keep mirror DIYs way under $50 these days, so small changes make a surprising difference.
