

My entry table had three mismatched candles and a bowl with old keys. It looked like a waiting room, not a home. I kept swapping things and nothing felt seasonal. It took me longer than I want to admit to see the problem, placement not pieces.
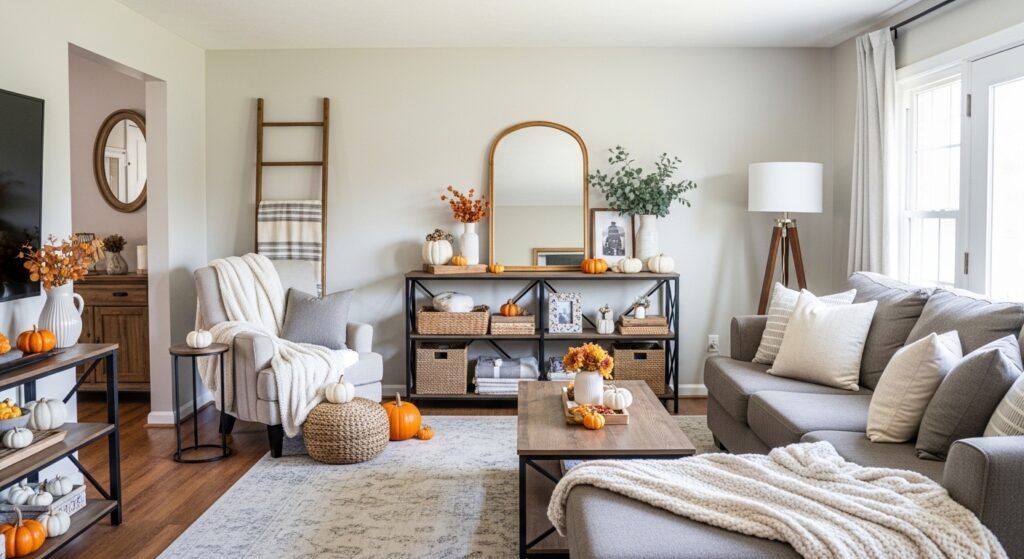
I used this small, repeatable approach when I needed a quick fall reset. You will finish with a warm, balanced room that reads seasonal, not cluttered. It works with both modern and cozy furniture.
I've noticed the easiest wins come from adding texture, a single color accent, and three simple groupings. The look leans organic modern if you like that quiet, layered feel. You can do this in an afternoon with things you already own and a few affordable buys.
What You'll Need
- Chunky knit throw in oatmeal, 50×60 ($40 to 65). I keep one over the arm of the sofa for immediate warmth
- Set of 3 ceramic vases, matte white ($25 to 40). Use odd numbers when grouping
- Brass picture ledges, 24-inch ($18 to 30). Perfect for leaning seasonal prints without nails
- Jute area rug, 8×10 ($90 to 160). Neutral base that adds texture without competing
- Faux eucalyptus stems, bundle of 6 ($10 to 20). Low commitment greenery
- Mini faux pumpkin set, assorted sizes ($20 to 35). Scatter them for instant fall cues
- Small wooden tray, 12×8-inch ($15 to 28). Anchors grouped items on coffee tables or consoles
- Set of pillar candles, neutral tones ($15 to 30). Use real or LED depending on safety
Step 1: Clear and Edit the Surface
Pull everything off the surface. Yes, everything. Starting from blank is the fastest way to see balance and negative space. I used to skip this step and end up rearranging the same clutter.
Lay out the items you plan to use. Keep the largest piece, like the jute rug or a tray, as your anchor. Visually you want one big, one medium, one small in every grouping. People miss that odd-number rule. A common mistake is filling every inch. Leave breathing room, about 2 to 3 inches between grouped objects on a shelf or table so each piece reads.
Step 2: Build One Anchor Area
Start with the tray as the anchor on the coffee table or console. The tray creates a boundary. I keep the tray slightly off center to make the layout feel casual and lived-in.
Place the largest item on one side of the tray, like a ceramic vase or pillar candle. Add medium items next. The look changes from chaotic to curated here. People often center everything. Avoid centering. Lean items toward one edge and let negative space show. If your room is small, choose a shallow tray so it does not overwhelm the surface.
Step 3: Add Texture and Layered Textiles
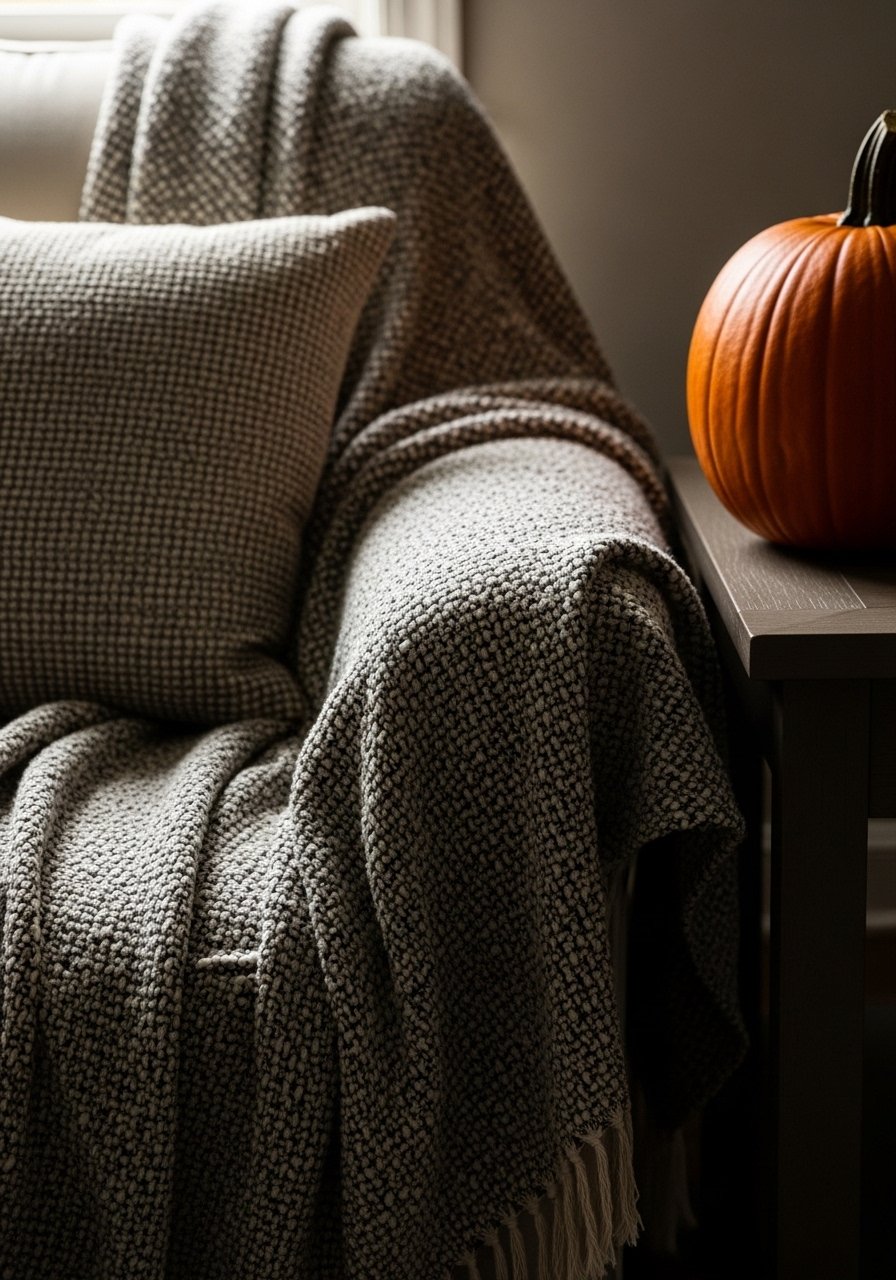
Drape the chunky knit throw over the sofa arm but not perfectly folded. The tactile edge matters. I switched to heavier knits for fall and the room felt grounded immediately.
Add a pillow with a different scale or fabric. Mixing one plain linen pillow with a patterned square keeps the eye moving. People try to match exactly. Do not match everything. Aim for contrast in texture rather than exact color. If your couch is small, choose a 20×20-inch pillow, not oversized, so the seating still looks inviting.
Step 4: Introduce Seasonal Accents with Restraint
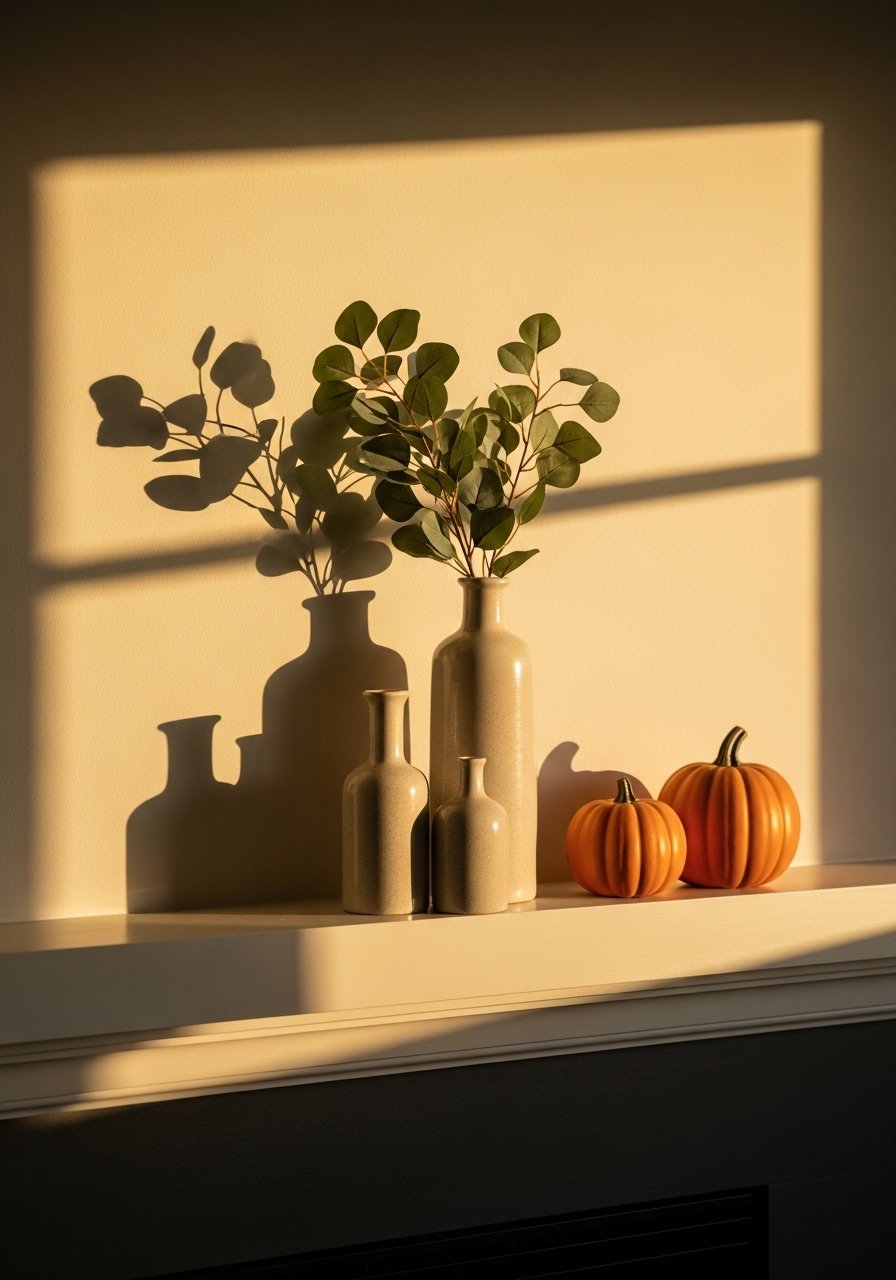
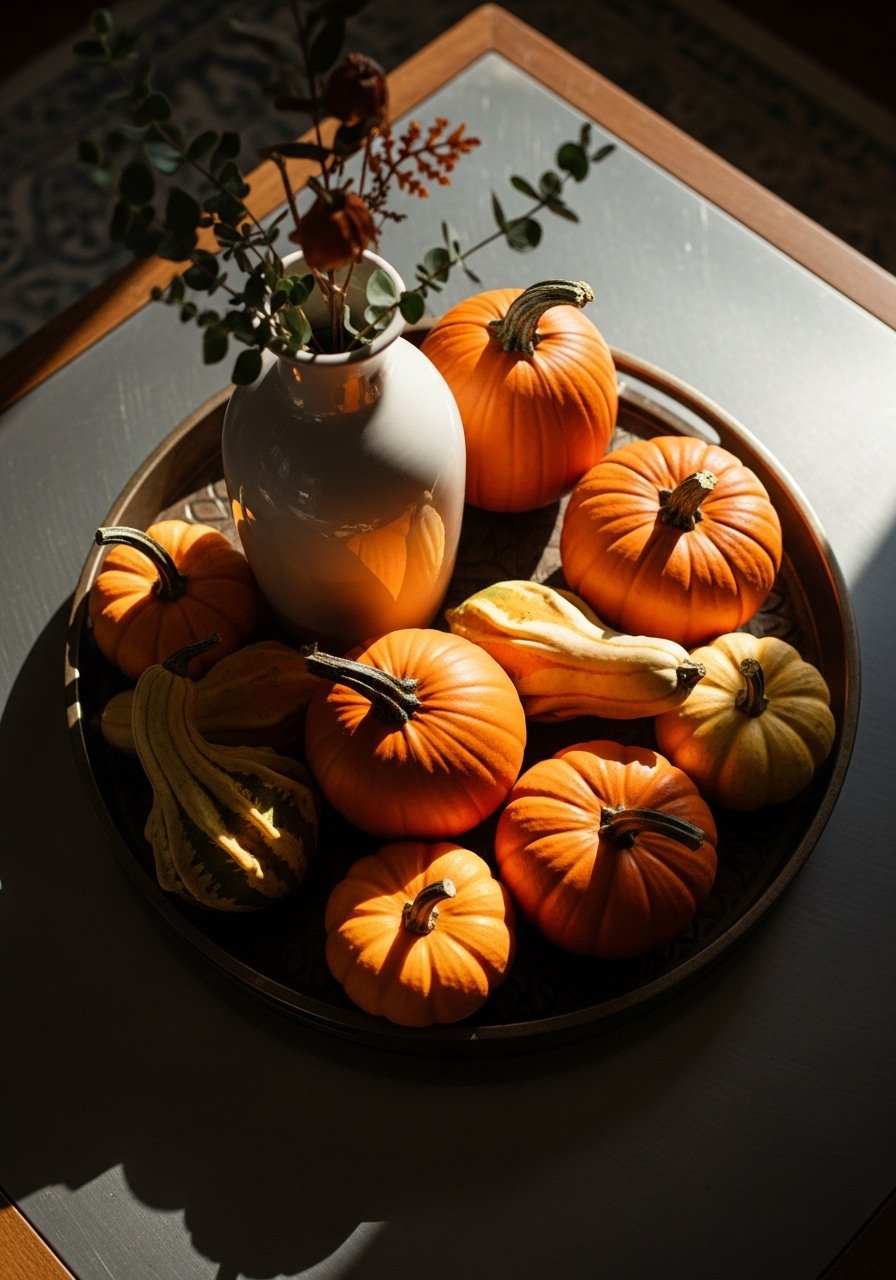
Place faux eucalyptus stems into one ceramic vase. Position two mini pumpkins nearby, not directly beside the vase. This is the step where the season reads clearly without costume jewelry. I keep the pumpkins grouped in threes for balance.
One thing people miss is scale. Tiny pumpkins on a full mantel get lost. Instead, break the mantel into three mini scenes, each about 10 to 14 inches wide. Avoid scattering too many small items. It looks busy and loses impact.
Step 5: Balance Height and Eye Movement
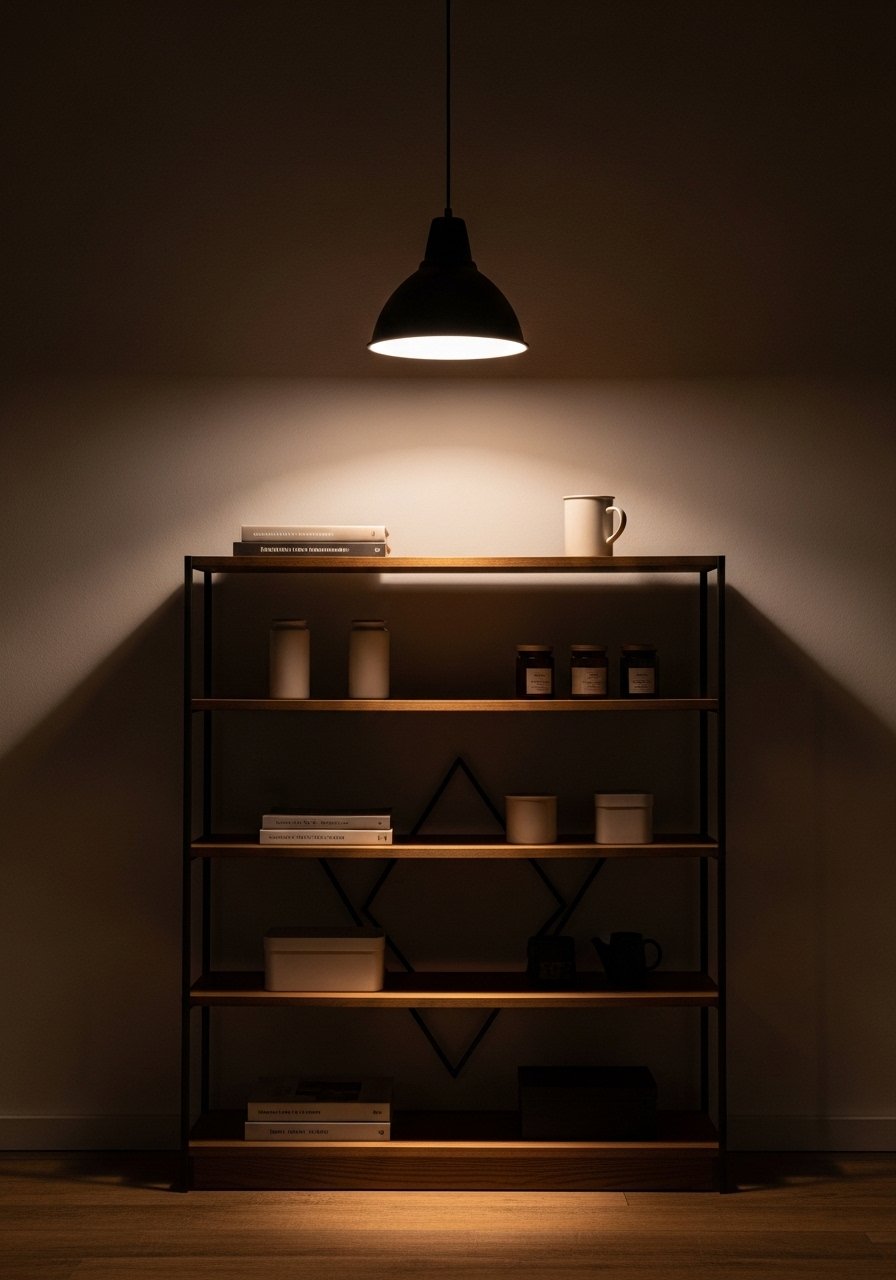
Stand back and look from different angles. The goal is a gentle slope in height across shelves or a visual triangle on a table. I used to place all tall items together. The room looked lopsided. Now I spread heights so the eye moves.
If a shelf feels heavy on one side, add a small stack of books under a vase to raise a lower object by 2 to 4 inches. People are tempted to keep things level. Avoid that. Small height shifts create rhythm. If your room has low ceilings, compress the vertical range so the top of groupings stays below eye line, about 60 to 65 inches.
Why Your Mantel Still Looks Sparse After Adding Pumpkins
I keep seeing mantels with pumpkins lined up like a parade. It reads literal, not styled. Layering is the missing step. Add a back layer of art on a brass picture ledge and lean it slightly for depth. Place a mid layer of vases or candles. Finish with small pumpkins and a sprig of faux eucalyptus.
Quick checklist:
- Back layer: lean one to two prints on a 24-inch ledge
- Middle layer: a set of ceramic vases or candles
- Front layer: pumpkins and a small natural element
The trick is balance, not symmetry. One side should feel slightly heavier, then counter with a lower cluster on the other side.
Making This Work in a Small Apartment
Everywhere I look this year I see people worried about small spaces. I started styling a studio and learned how to scale down.
- Choose the smallest version of an item, like a 12×8-inch tray rather than a large coffee table tray
- Use vertical layers, like picture ledges, to free up surfaces
- Limit your palette to two accent colors plus neutrals
If you lack floor space, pull the rug partially under the front legs of furniture. Leaving 6 to 12 inches of exposed floor at the edge keeps the room from looking chopped.
Mixing Fall Accents with Modern Minimalist Furniture
My feed is full of minimalist sofas and wood tables. You can add fall without losing the clean lines.
I prefer natural textures and muted tones. A jute rug under a mid-century coffee table anchors the seating without competing. Add one chunky knit throw in oatmeal and one ceramic vase with eucalyptus stems. Keep patterns subtle and scale small. The key is contrast in texture, not pattern. If your furniture is all straight lines, soften with rounded vases or a carved wooden tray.
Start with One Corner
Pick a small area you walk past every day and give it a five-minute refresh. I start with the side table or a single shelf. Add a vase with eucalyptus, a mini pumpkin, and a textured throw or pillow. That single corner changes how the whole room feels.
Try one of the faux eucalyptus stems from the list as a low-commitment start. It reads seasonal and stays useful after fall. Small edits build confidence, and they add up fast.
