

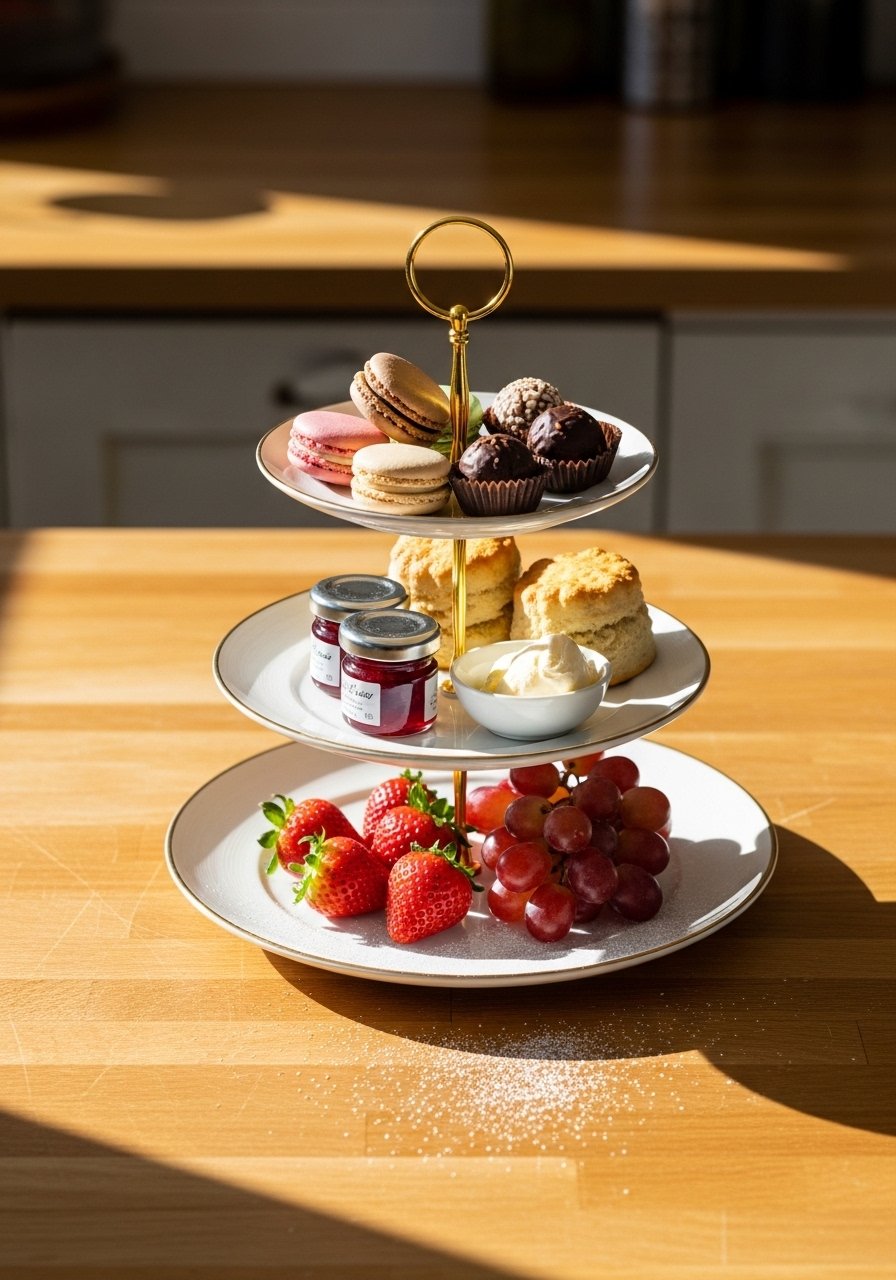
You open a cabinet and find a tiered tray that looks like a cluttered afterthought. Things are piled on but the whole thing still feels empty or confused.
I used to stand there, moving pieces around and never satisfied. The trick is small, intentional accessories that read as a single scene, not a jumble.
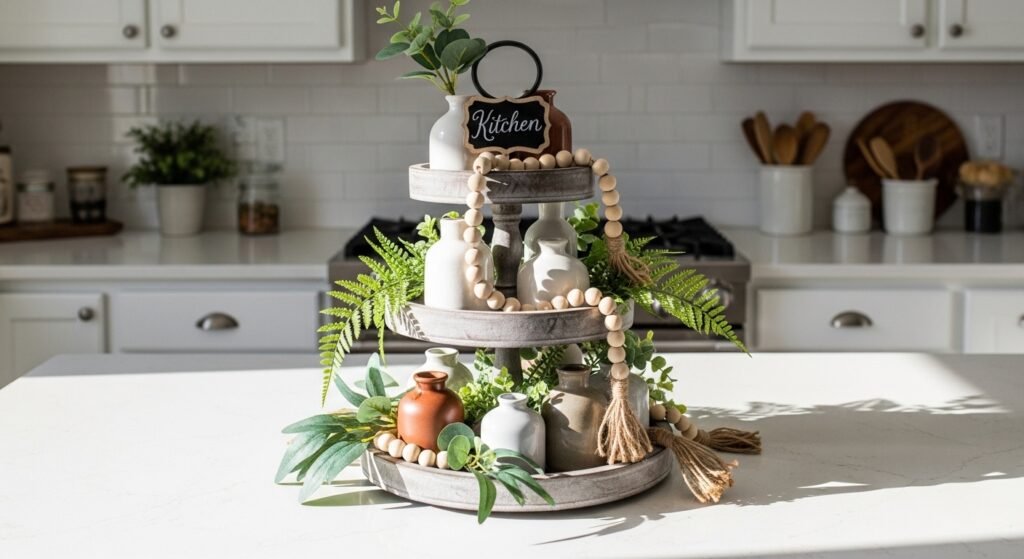
How to Decorate a Tiered Tray with DIY Accessories
This is the method I use every time a room feels unfinished. You’ll learn how to choose a focal anchor, layer height and texture, and use tiny DIY touches so the tray reads calm and balanced. It’s simple, repeatable, and fits organic-modern or cottage styles depending on the pieces you choose.
What You'll Need
- Faux boxwood sprigs, set of 6 (~$8–15)
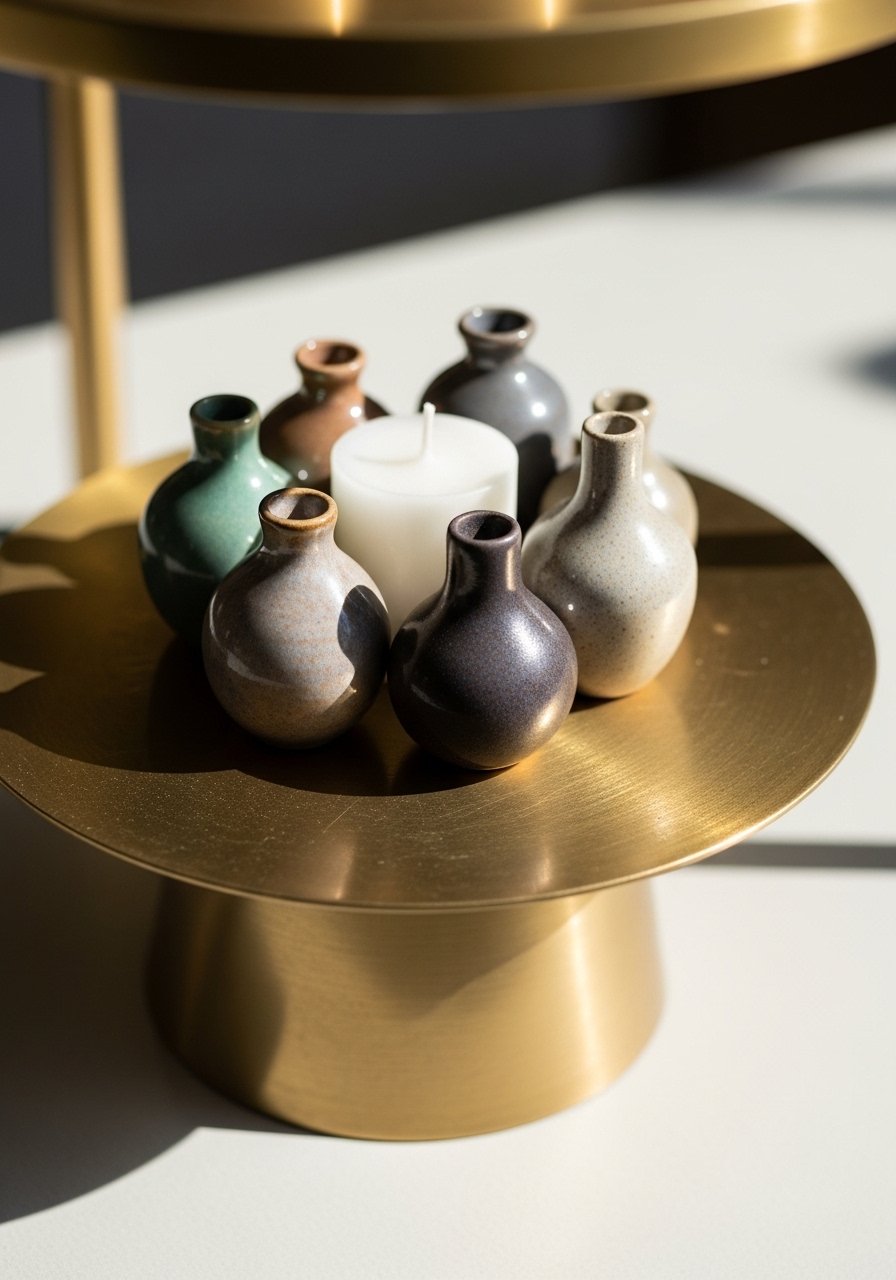
- Mini ceramic vases, set of 3 in matte white (~$12–25)
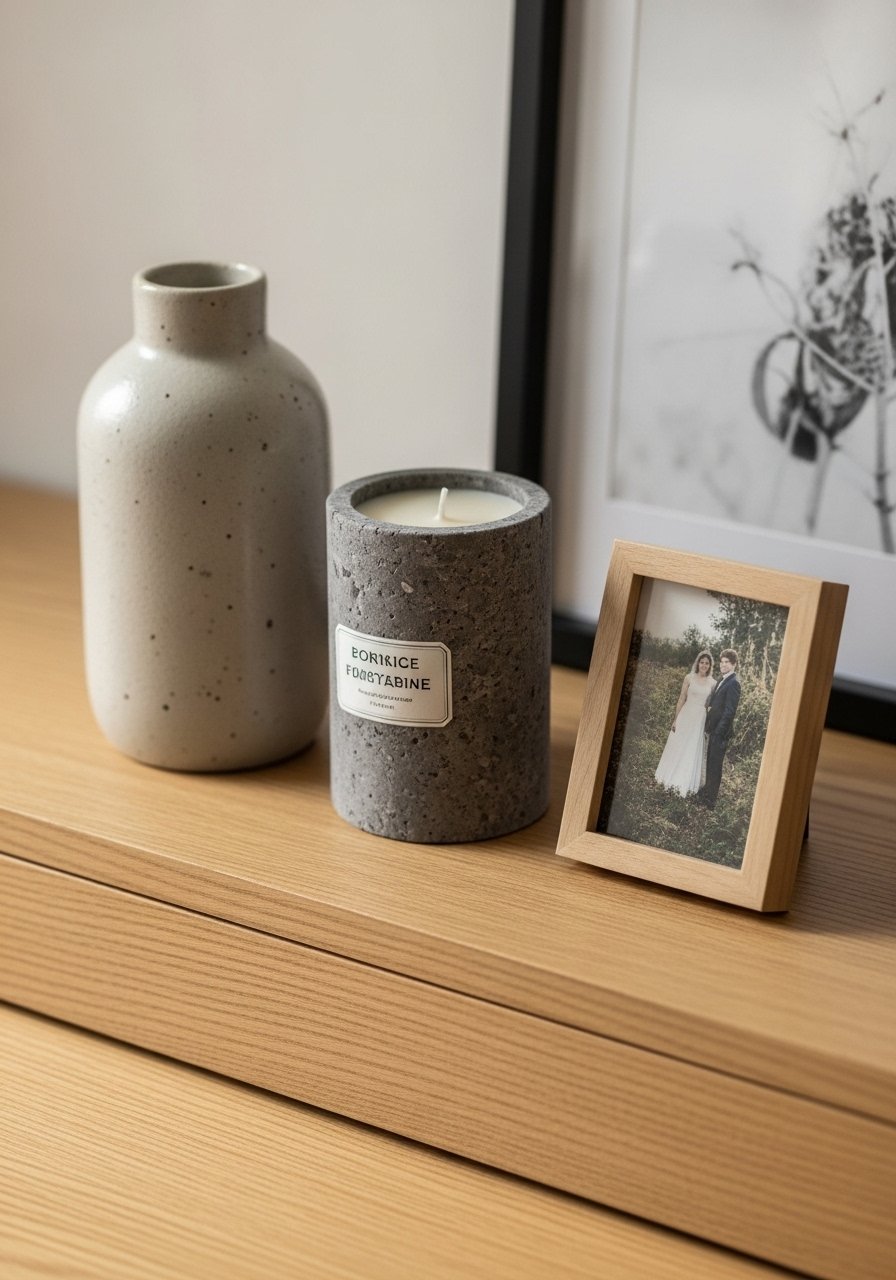
- Small pillar candles, pack of 6 (ivory) (~$8–18)
- Wooden bead garland, 6-foot neutral (~$10–25)
- Mini ceramic pumpkins, set of 4 (cream) (~$10–22)
- Mini chalkboard signs, pack of 6 (~$8–16)
- Decorative mini books, set of 3 (vintage-look) (~$12–30)
- Small brass pedestal cake stand, 6 inch (~$15–35)
Step 1: Start with an anchor on each tier
I always place one anchor item per tier first. A small brass pedestal or a stack of mini books gives the eye a place to rest. This creates a vertical rhythm so your eye moves up and down the tray instead of hopping around.
People often miss scale—anchors that are too small vanish, and too-large items dominate. Don’t cram an anchor against the tray edge; leave a little breathing room so each tier reads as its own vignette.
Step 2: Group in odd numbers and vary height
I arrange objects in groups of three or five. Odd numbers feel balanced and natural. I mix a low object (book), a mid-height object (vase), and a taller object (candle) to create a pleasing silhouette.
Many people put everything the same height and it looks flat. Avoid lining identical items in a row. Instead, overlap edges slightly so the group reads as one composed scene rather than separate parts.
Step 3: Add texture and a touch of greenery
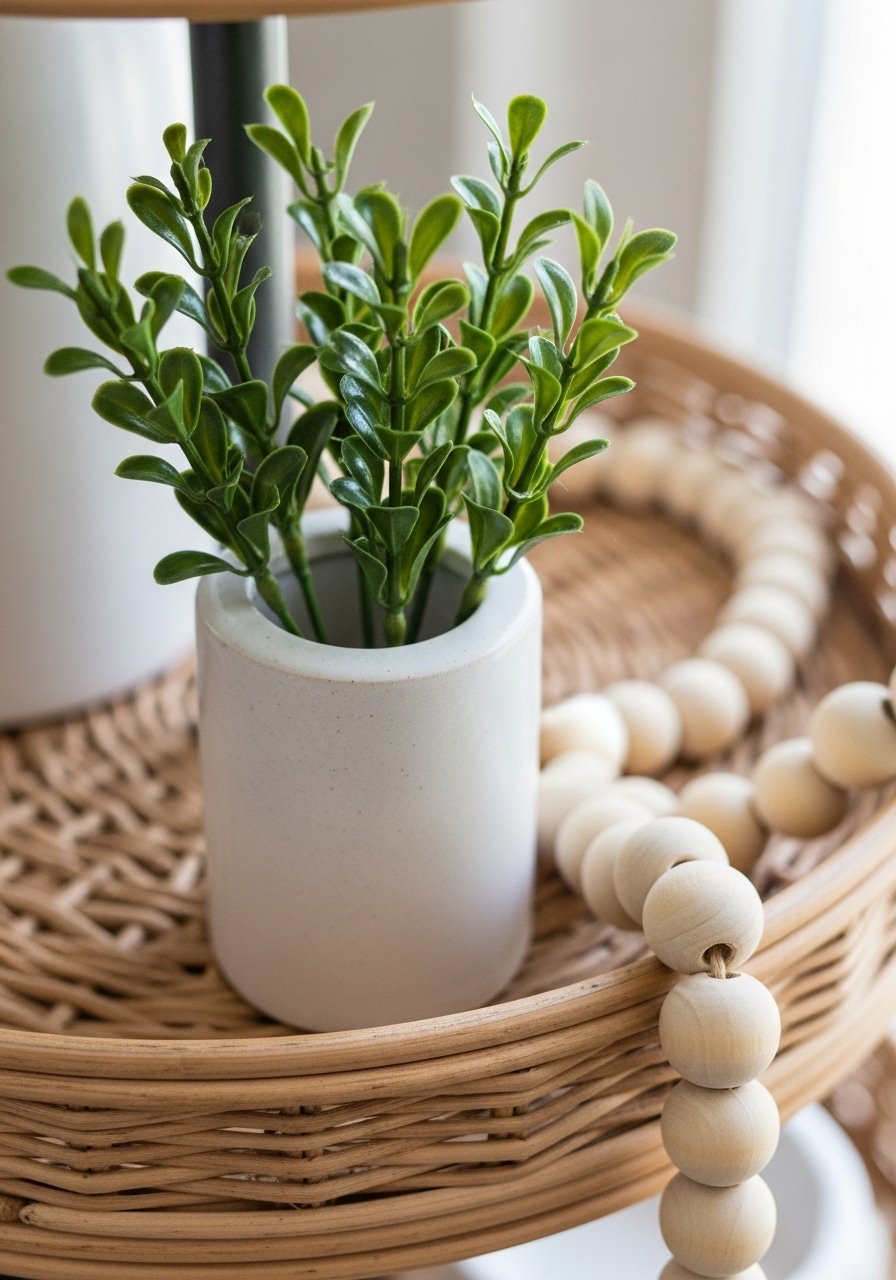
I tuck a faux boxwood sprig into a mini ceramic vase for life without the maintenance. Then I loop a wooden bead garland through the tiers to add movement and texture. Small seasonal items—like ceramic mini pumpkins—anchor the look to the time of year.
A common miss is using only color without texture. Flat color won’t read as curated. Also avoid stuffing too much greenery into one spot; small sprigs spread across tiers look more natural.
Step 4: Respect negative space and step back
I habitually step back after placing pieces. Negative space is as important as what you add. Leaving bare areas gives each grouping room to breathe and prevents the tray from feeling cluttered.
People try to fill every inch. That creates noise. A good rule is to stop when the tray feels composed, not when it’s full. One empty corner often makes the whole vignette calmer.
Step 5: Repeat materials and limit your palette
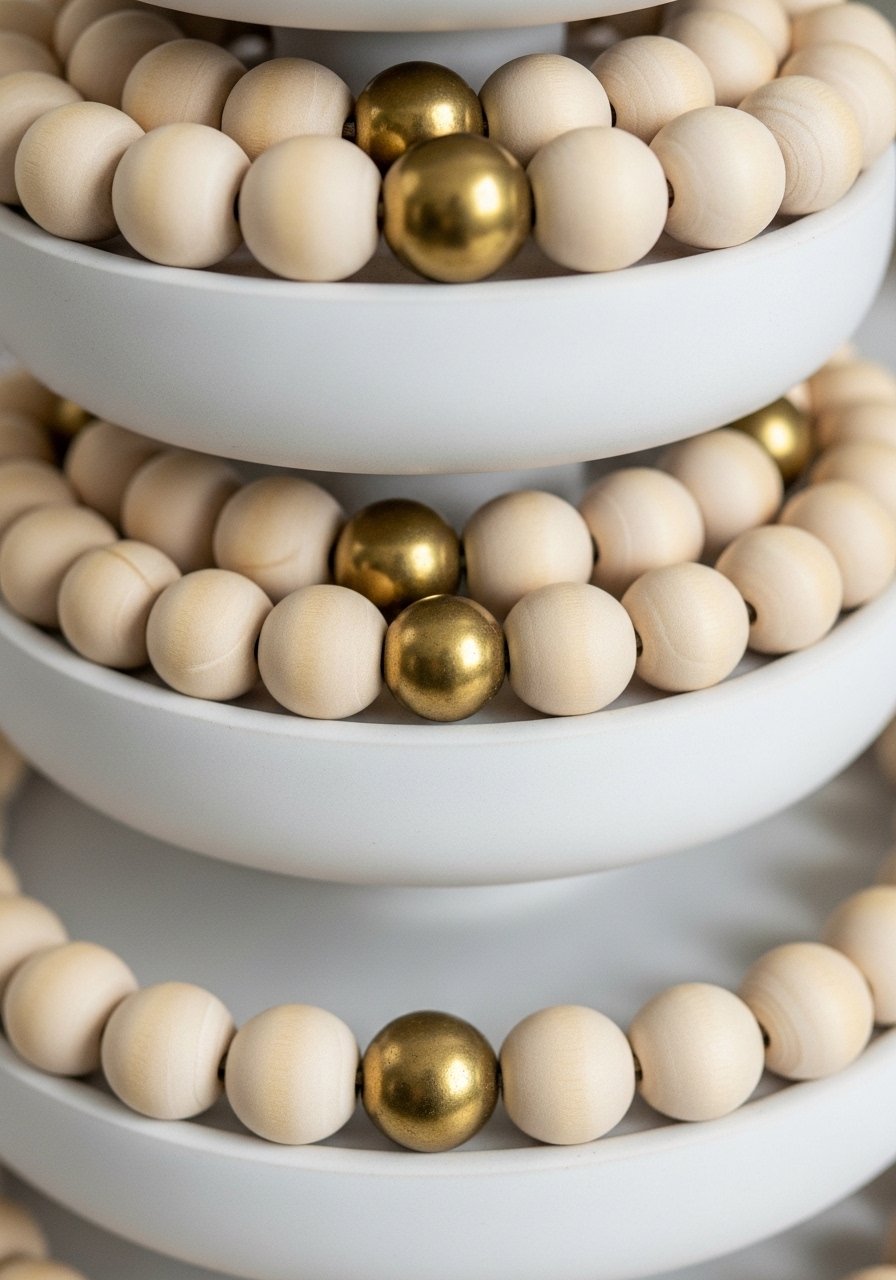
I pick two or three materials—matte ceramic, warm brass, and natural wood—and repeat them. That repetition ties disparate items together and creates cohesion. I also limit color to a neutral base plus one accent color.
A small mistake is adding too many competing colors. If you have a tiny pop of color, let it appear more than once to feel intentional. Repetition is subtle but powerful.
Step 6: Personalize and edit ruthlessly

I finish with a personal detail—a tiny framed photo, a handwritten chalkboard label, or a found object. Then I edit. I often remove one item after a day and the scene reads better. Editing is the step most people skip.
Don’t be afraid to remove things. Less is often more. If something feels “extra,” take it away and live with the tray for a few days before adding anything new.
Common mistakes and quick fixes
I see the same missteps: too many similar heights, competing colors, and ignoring empty space. Quick fixes:
- Swap one item for a lower-height piece to create contrast.
- Remove duplicate colors or materials until two repeat cleanly.
- Use a small book or pedestal as a riser instead of adding a taller item.
I also remind myself to test the tray in place. A styling that looks right on a table may feel off on a crowded counter. Move the tray and re-edit if needed.
Adapting the look for rooms and budgets
I treat the tray as a mood board that echoes the room. In a kitchen I use ceramics and natural wood. In a living room I choose brass and vintage books. For a budget-friendly approach:
- Use faux greenery and thrifted mini frames.
- Buy a small set of vases instead of singles.
- Rotate seasonal DIY pieces (paper pumpkins, dried sprigs).
You don’t need new buys to make it feel fresh. I often repurpose items from other rooms and it keeps the look personal and inexpensive.
Seasonal swaps and trend variations
I switch one tier per season to keep things current without overhauling the whole tray. For fall I bring in ceramic pumpkins and warmer candles. In spring I swap to light linens, white ceramics, and fresh faux sprigs.
If you like a trendier angle, nudge the palette: go japandi with minimal ceramics and natural wood beads, or choose a cozy-cottage mix with muted florals and glazed pottery. Small swaps make a big difference.
Final Thoughts
Start with one small anchor and a faux greenery sprig—it's the easiest way to see change. I edit more than I arrange. That keeps the tray intentional and relaxed.
You don’t need perfect pieces. A set of mini ceramic vases or a wooden bead garland is a low-commitment place to begin. Give yourself permission to tweak and live with it.
