

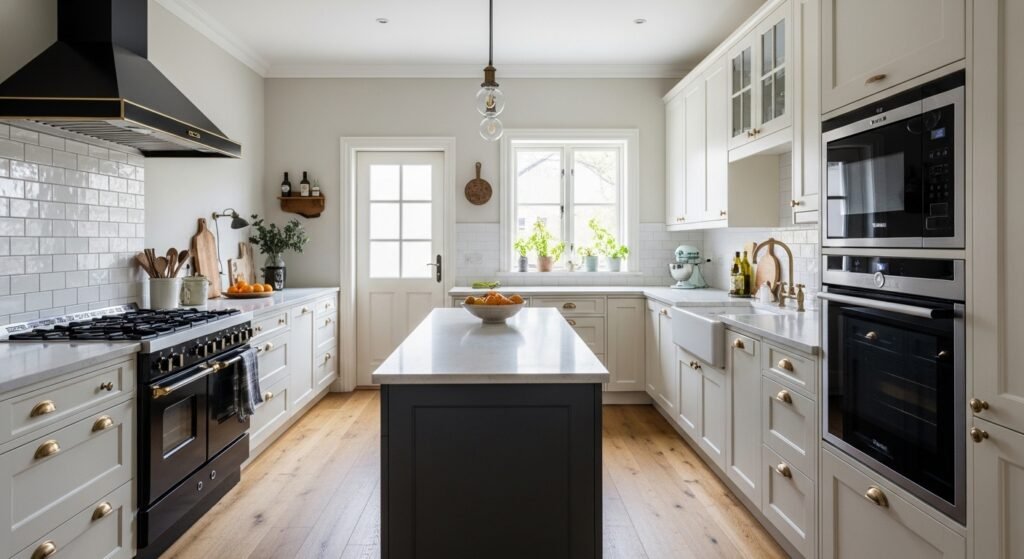
My counters felt like a to-do list. Appliances crowded one side. The opposite wall stayed blank for months. Every small thing I tried looked like an add-on, not part of the room.
I learned the hard way that DIY projects need a plan. You can make small changes that read as intentional, not busy. The room will feel grounded and useful, not cluttered.
This is the method I use when a kitchen feels unfinished. It works in a weekend. You will end up with clear surfaces, a calm focal wall, and places that actually invite use.
What You'll Need
- Peel-and-stick subway tile, white 12×12 ($20 to $45 per 10-pack). Easy for renters and hides uneven plaster.
- Chunky floating shelf, reclaimed wood 36-inch ($40 to $90). Use it above a counter or between cabinets.
- Set of 3 ceramic vases, matte white ($25 to $40). Grouped in odd numbers they read edited.
- Brass picture ledges, 24-inch ($18 to $30). Great for rotating prints and small plates.
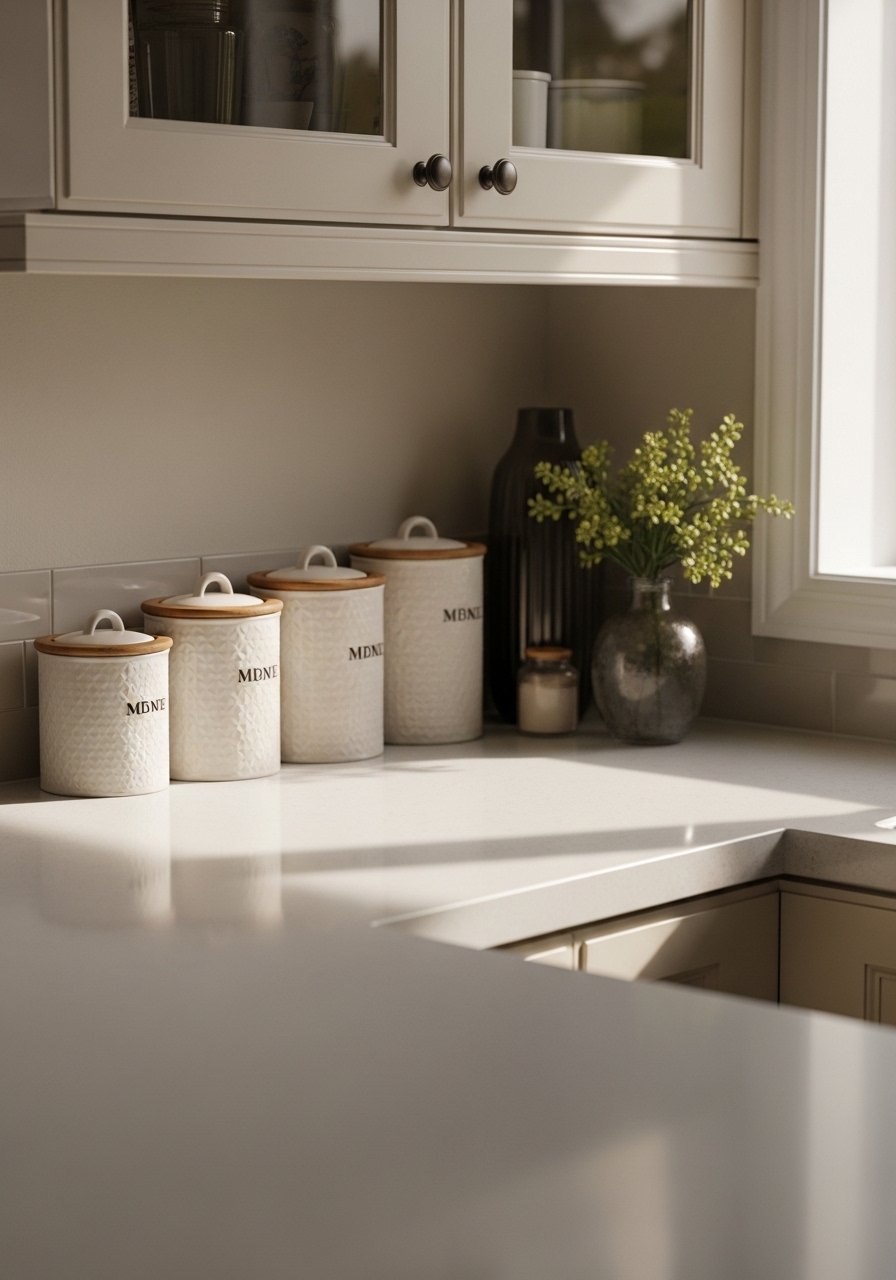
- Labeled glass canisters, set of 4 ($25 to $45). Useful styling and storage.
- Under-cabinet puck lights, battery-operated 6-pack ($20 to $40). Add warmth to work zones.
- Jute runner 2×8 ($35 to $70). Grounds a narrow kitchen and hides scuffs.
Step 1: Clear and Edit Before You Add
Pull everything off the counters and shelves. Yes, everything. I do this because visual clutter hides what matters. When the surfaces are empty, you can spot a true focal point.
Visually, the room goes from noisy to calm. Choose one small cluster for the counter near the sink or stove. I usually leave 6 to 12 inches of clear space on each side of that cluster so the eye can rest.
Most people cram in every appliance. The small mistake is thinking usefulness equals display. Put only what you use daily on the counter. Everything else goes into drawers or the pantry or on a floating shelf.
Step 2: Make a Small Backsplash Upgrade
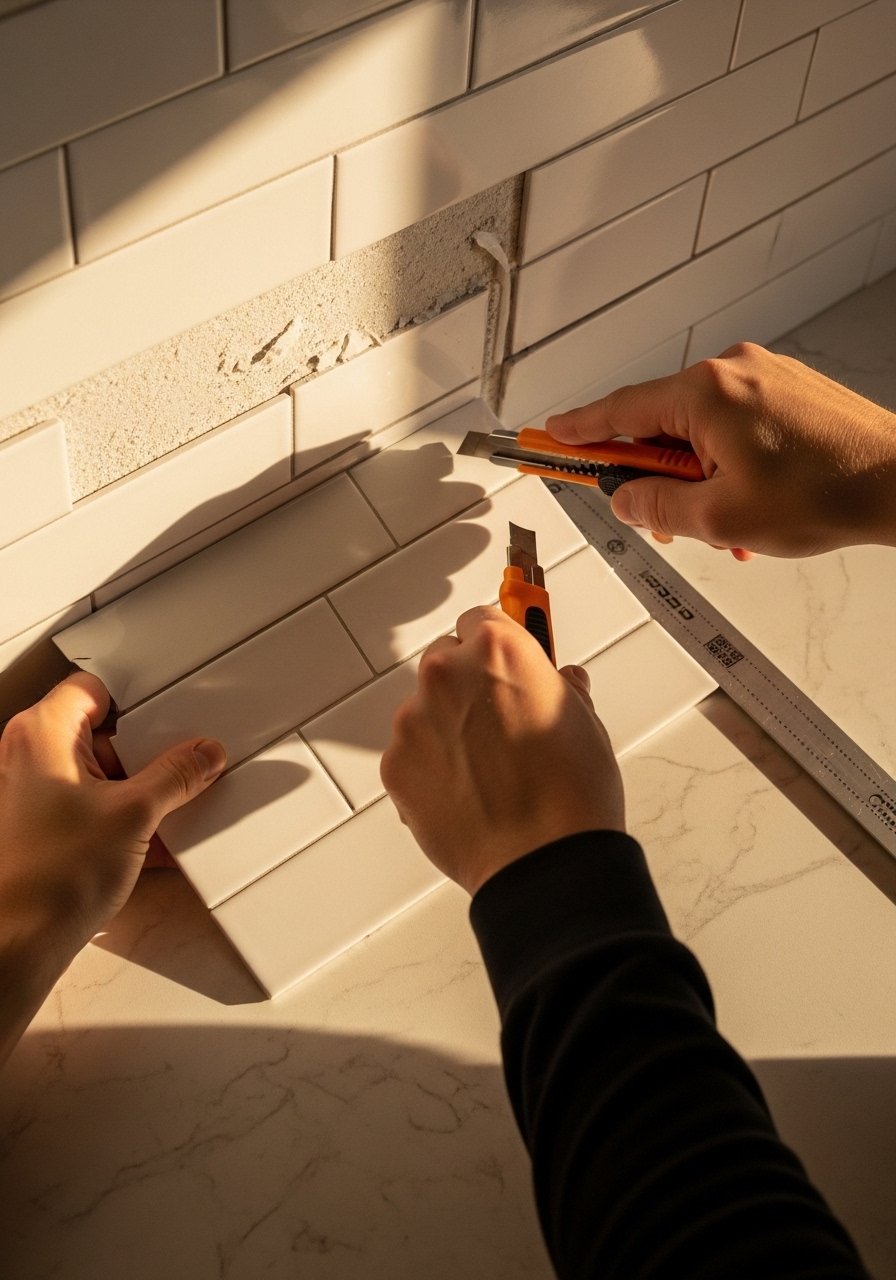
I used to skip the backsplash because it felt like a big job. Peel-and-stick tile changed that. I cover a 2-foot-high strip behind the stove or sink to create a clear focal area.
A visual change happens fast. The wall reads as intentional and clean. Cut tiles to line up with the range hood or the edge of a cabinet, leaving a neat 1 to 2 inch margin where needed for trim.
You will be tempted to cover every wall. Resist that. A narrow band reads custom. If your wall is uneven choose a matte finish tile. It hides small bumps better than glossy versions.
Step 3: Add One Floating Shelf and Style in Threes
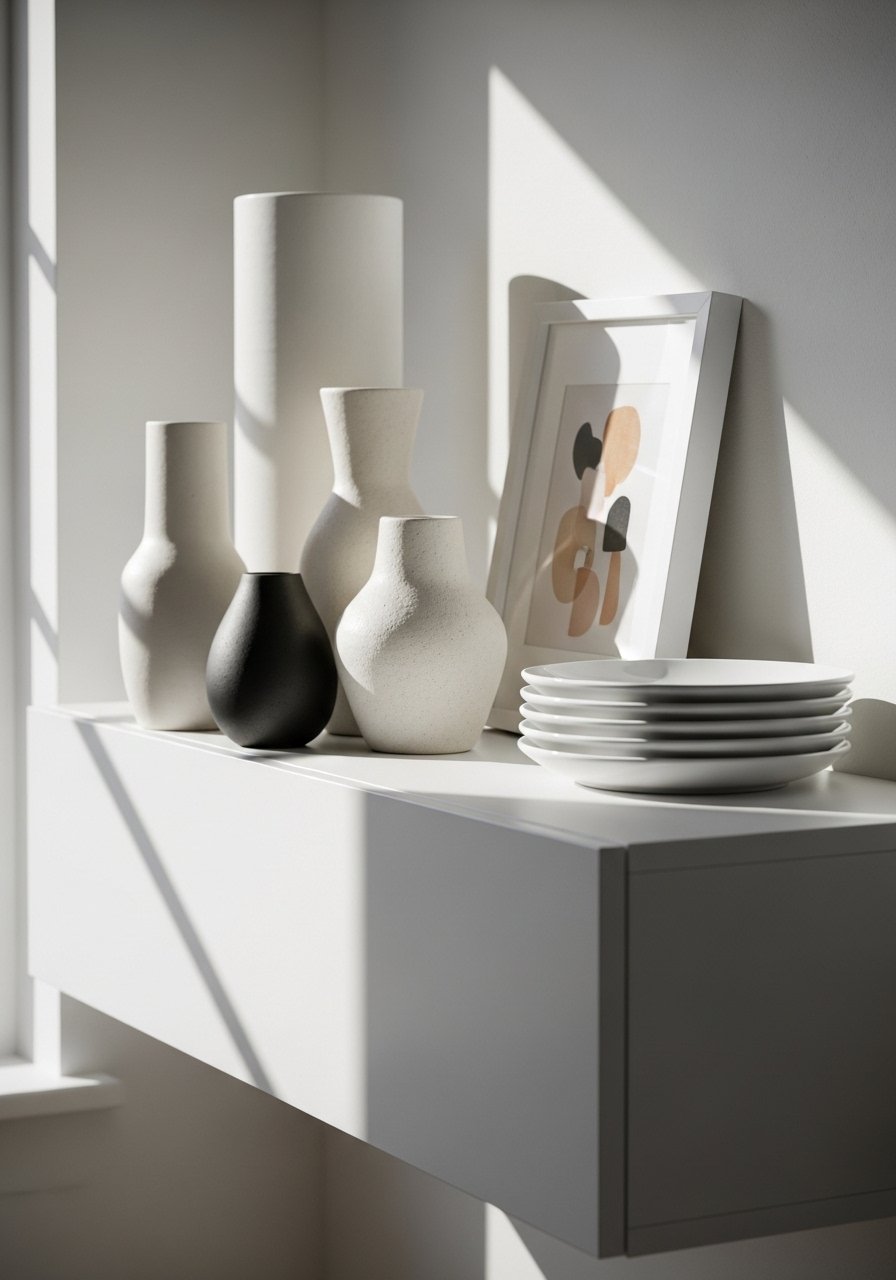
This is the step where the kitchen starts to look styled instead of random. Mount one chunky reclaimed shelf about 12 to 18 inches above the counter. Width should be roughly one third to one half of the wall run it sits on.
Group objects in odd numbers. For example, three ceramic vases to the left, a brass ledge holding a small print to the right. Leave 2 to 3 inches between grouped items so each piece breathes.
A common miss is overfilling the shelf. If it looks crowded from three feet away, remove one item. Shelves need negative space to feel considered.
Step 4: Layer Light and Small Metal Touches
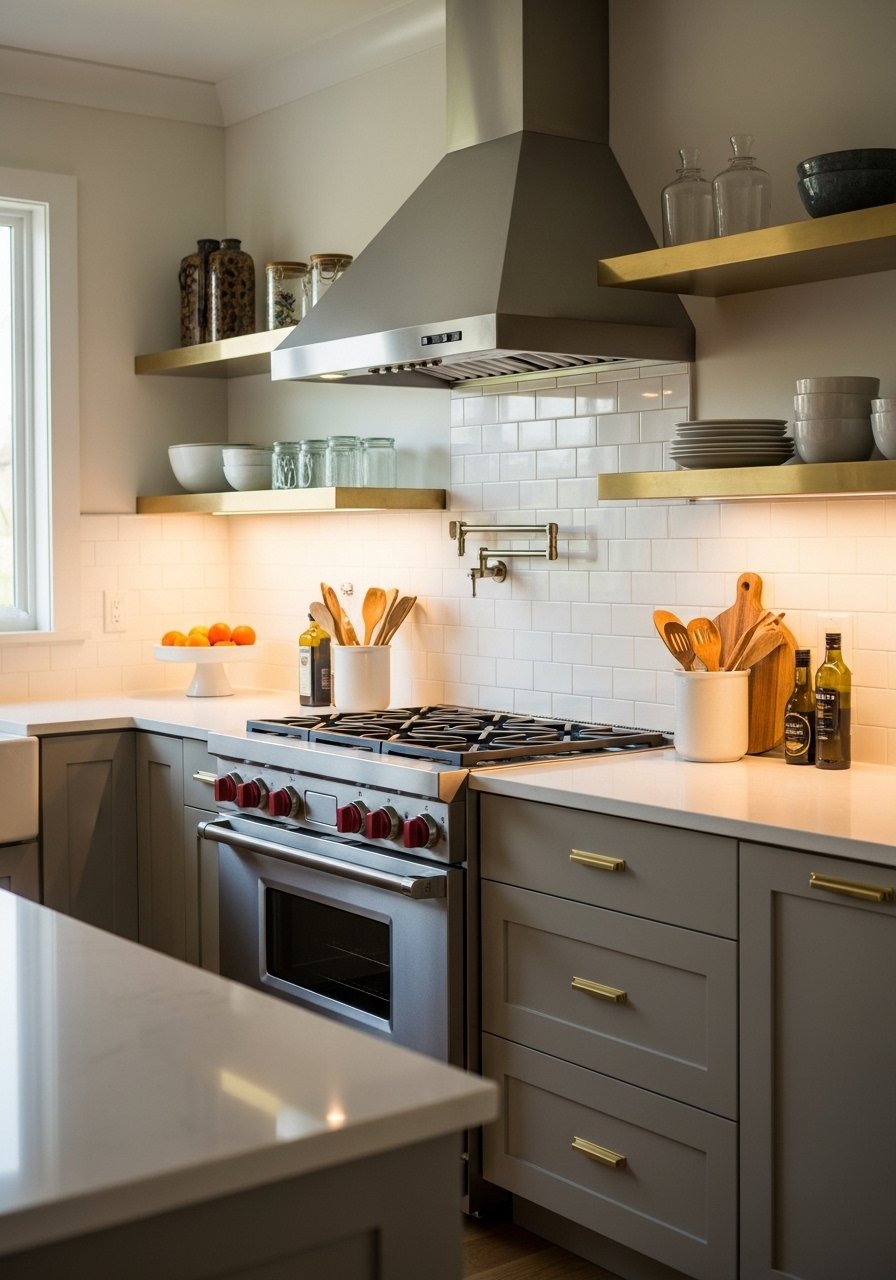
Plug in under-cabinet puck lights or stick-on warm lights under the upper cabinets. Light changes how color and texture read. A warm 2700K light will make wood and brass feel grounded.
Add two small brass accents, like picture ledges or a utensil hook. Metal gives the eye a pause point and ties together the shelf and counter. I used battery puck lights when wiring was not an option.
The cheap mistake is choosing cool white bulbs. They flatten surfaces. Also avoid multiple competing metals. Pick one finish and repeat it in small doses.
Step 5: Ground with a Runner and Final Counter Groups
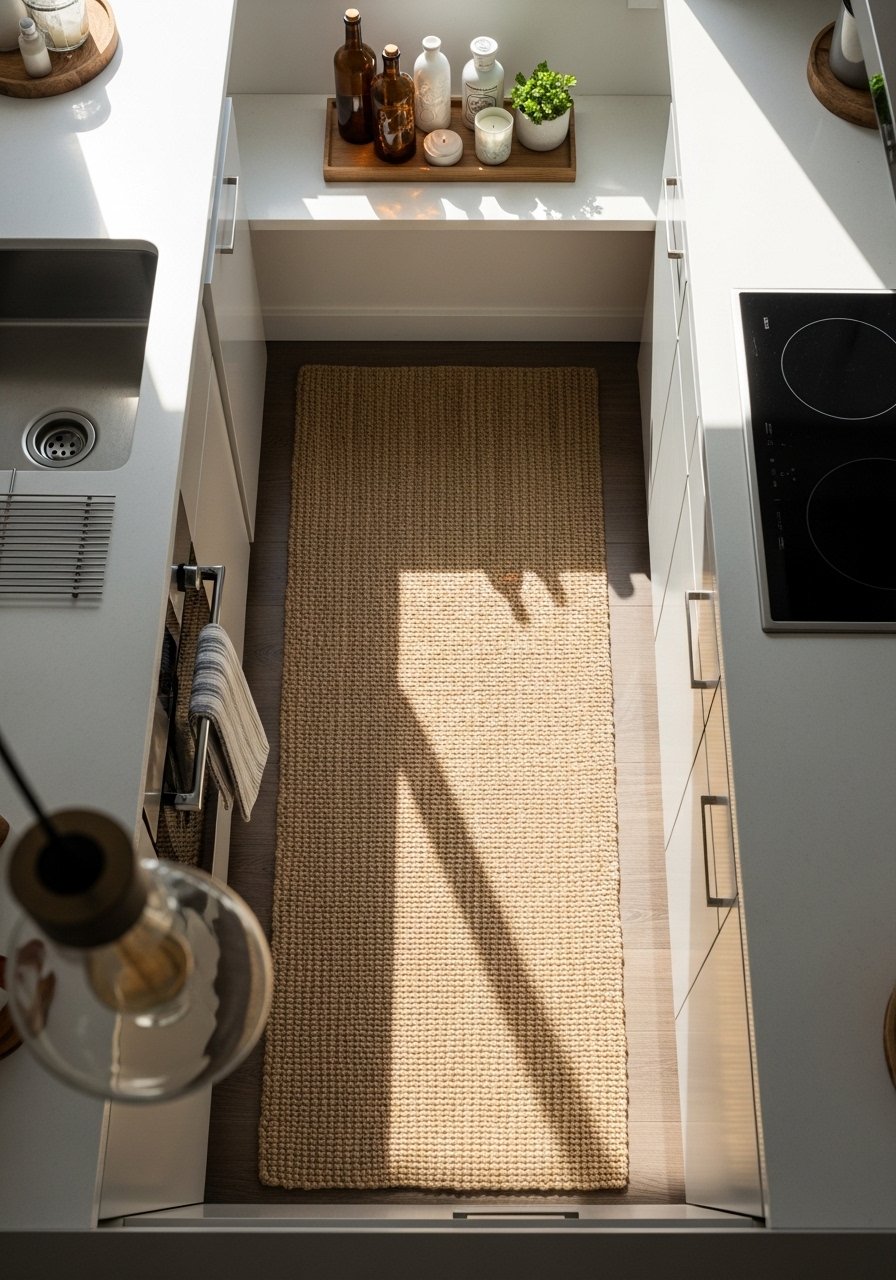
A jute runner roots the path through the kitchen. Choose a width that leaves 8 to 12 inches of floor visible on each side in a narrow layout. That proportion keeps the floor balanced.
Finish the counters with one practical group near prep areas. I use labeled glass canisters, one ceramic vase, and a shallow tray for oils. The visual change is a room that feels used, not staged.
People pick rugs that cover too much floor. That hides cabinetry and makes the room look smaller. Leave the cabinet toe-kick visible for scale.
Why Your Kitchen Still Feels Half Done
I've noticed kitchens get stuck between styled and usable when projects are piecemeal. A single nice piece will float without context. The fix is to glue projects together with repeat elements. Repeat one material, one finish, and one color. Then your eye reads the space as one idea.
Small edits that help:
- One shelf with two matching hooks, same finish.
- Same brass on a ledge and a utensil hook.
- Jute rug plus wooden shelf to repeat natural texture.
The last three rooms I styled moved from messy to coherent by repeating two elements. That repetition makes DIY feel intentional rather than accidental.
Making This Work in a Small Kitchen
I keep seeing the same small-kitchen moves that actually pay off. Scale matters more than quantity. Pick narrow versions of everything and mount things higher to free floor space.
Practical tips:
- Use a 24-inch floating shelf instead of a 36-inch one.
- Try a magnetic knife strip instead of a block.
- Swap a full rug for a narrow 2×6 or runner.
- Mount puck lights to brighten deep counters without wiring.
If you have only one wall, make it count. One well-styled band with tile, a shelf, and warm light will read as a complete makeover.
Mixing DIY Pieces with What You Already Own
Everywhere I look this year I see people blend old and new with small DIY touches. I mixed a thrifted wooden cutting board with fresh white subway tiles and new brass ledges. The board echoes the wood of the shelf and makes the whole wall feel curated.
When you have a sentimental bowl or inherited tray, slot it into a group of three where two items are neutral. That keeps the focus on balance, not on memorabilia. The goal is to make your existing pieces feel edited, not boxed up.
If you have strong color in small items, balance it with neutrals. A single color repeated in two spots unifies the look without adding cost.
Start with One Corner
Pick a corner near your main prep area and do just one cluster. Add tile behind it if you can, hang one floating shelf above, and place a runner to connect the space. That single corner will teach you the scale and finishes that work in your whole kitchen.
Start small. Keep the edits repeatable. If you like peel-and-stick tile, try a two-foot band first and live with it for a week. You will know quickly what to keep and what to change.
