

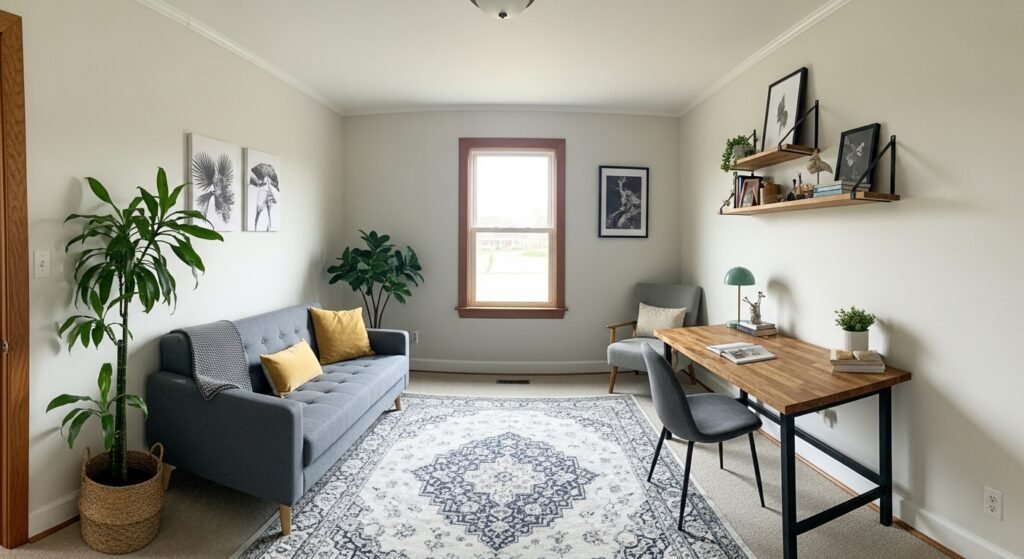
I used to look at my home office and feel it was unfinished. A desk in an awkward corner, bare walls, and a chair that didn’t belong made the room feel cold.
I started adding small DIY touches—textiles, a simple shelf, and a plant—and the room stopped looking like a workspace and started feeling like a place I wanted to sit in. These moves are easy and calming.
How to Decorate a Home Office with DIY Decor
This is the method I use every time a room feels unfinished. I focus on a clear anchor, layered textures, and vertical interest so the space reads as intentional. It’s practical, warm, and leans a little toward organic modern so the room feels calm and current.
What You'll Need
- 5×7 jute textured area rug, natural (~$80–300)
- Adjustable LED desk lamp, matte black (~$30–80)
- Oak floating wall shelf set, 24" & 18" (~$30–80)
- Set of 3 woven seagrass baskets, natural (~$25–70)
- 5ft faux fiddle leaf fig tree in woven pot (~$40–120)
- Cream boucle accent chair, armless (~$150–450)
- Linen curtain panels, 52×84, light gray (~$25–60)
- Leather desk organizer, brown (~$20–50)
Step 1: Anchor the room with a rug and a seating spot
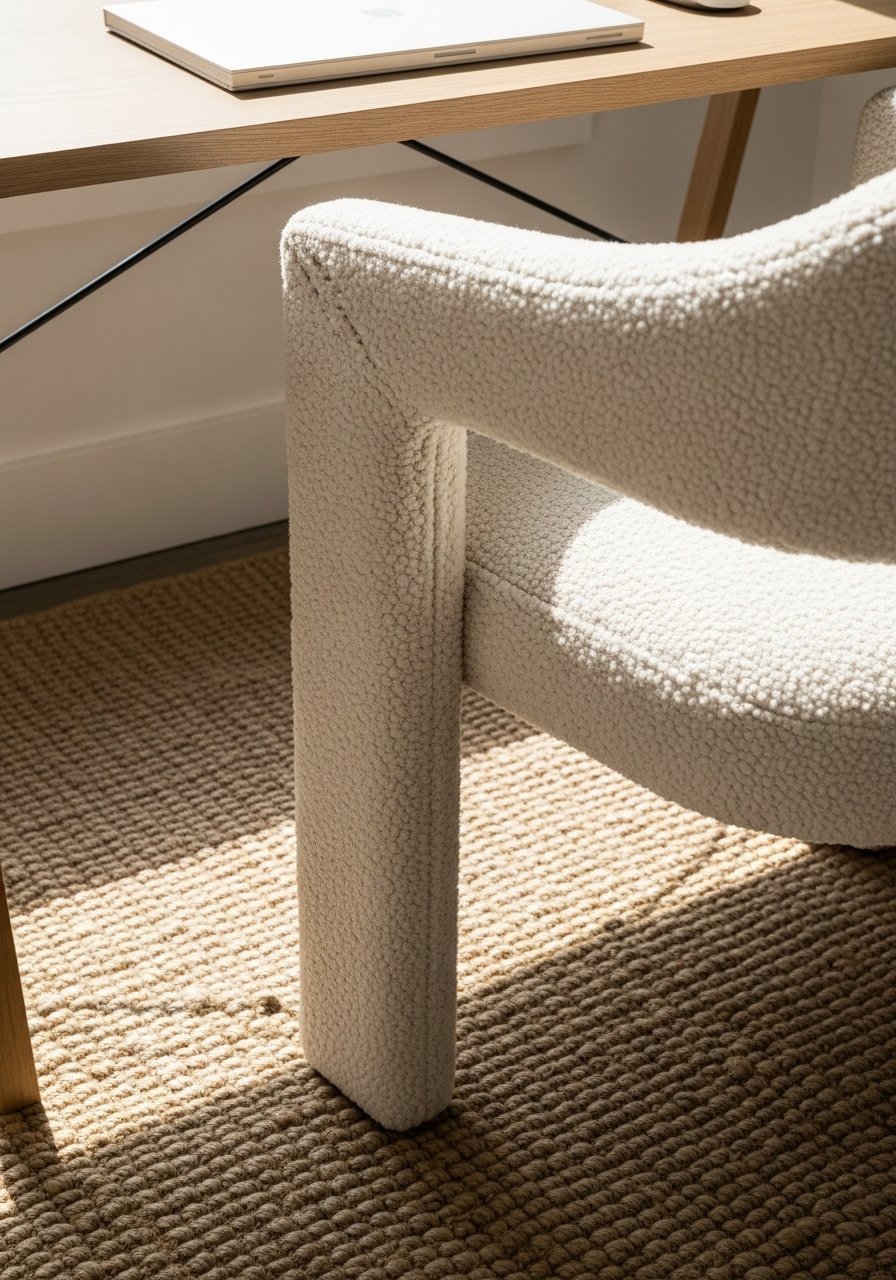
I start with a rug even if the floor seems fine. A 5×7 rug defines the work area and instantly makes the desk feel intentional. When the rug hits the chair legs correctly, the space reads as a focused zone instead of a random corner.
People miss that the rug should sit under both the desk and the front legs of the chair. Small mistake: choosing a rug too small so the desk looks like it’s floating. I pick natural textures for a warm, organic modern feel.
Step 2: Create a clear desk zone with lighting and a tidy organizer
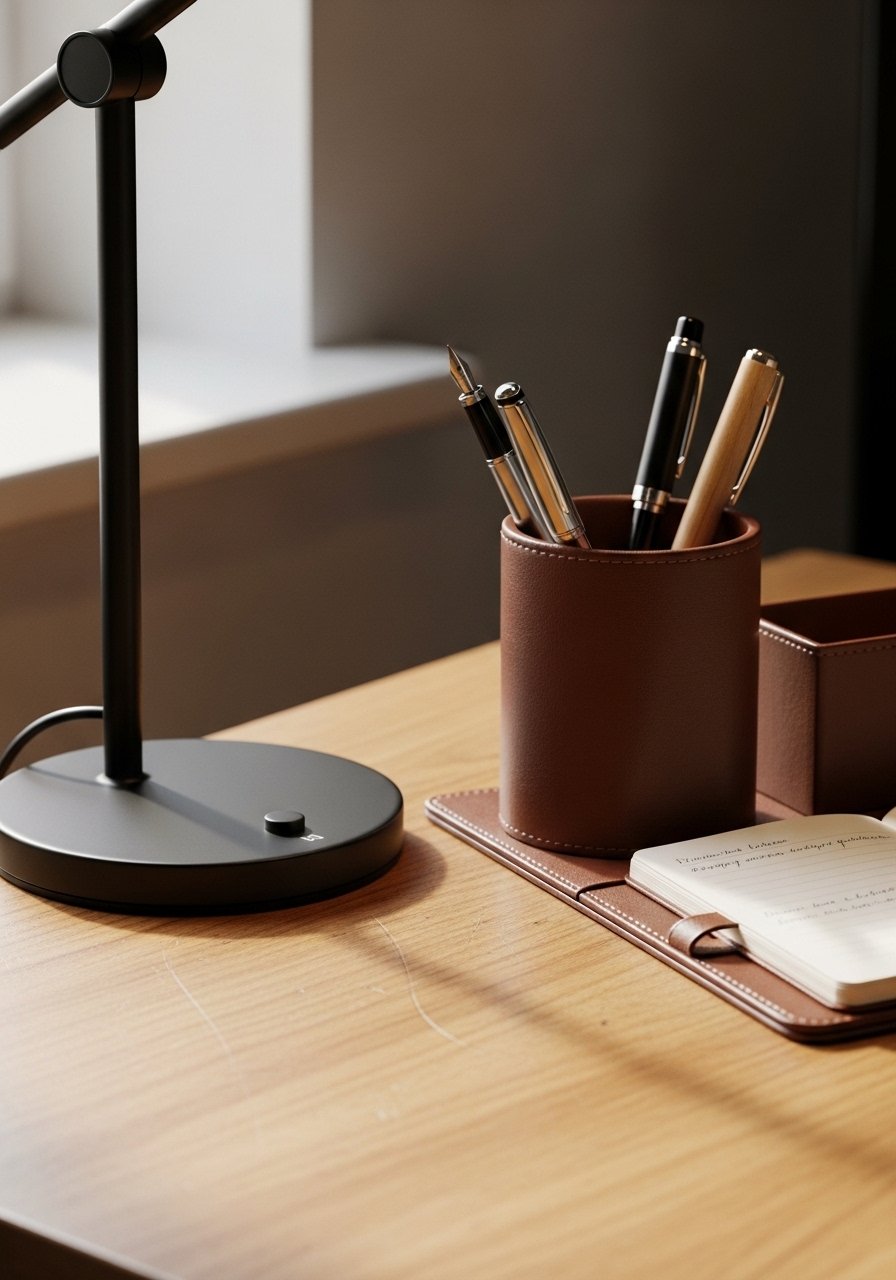
I place an adjustable desk lamp to one side so task light is separate from overhead lighting. That single move makes the work spot feel purposeful. I keep a slim leather organizer on the opposite side so the surface looks tidy without feeling staged.
What visually changes is calm: less cluttered surface and clearer negative space. One insight I learned is to keep the lamp slightly behind the keyboard line so light falls forward, not into my eyes. Mistake to avoid: piling too many trays or gadgets—simplicity wins.
Step 3: Add vertical interest with floating shelves and art
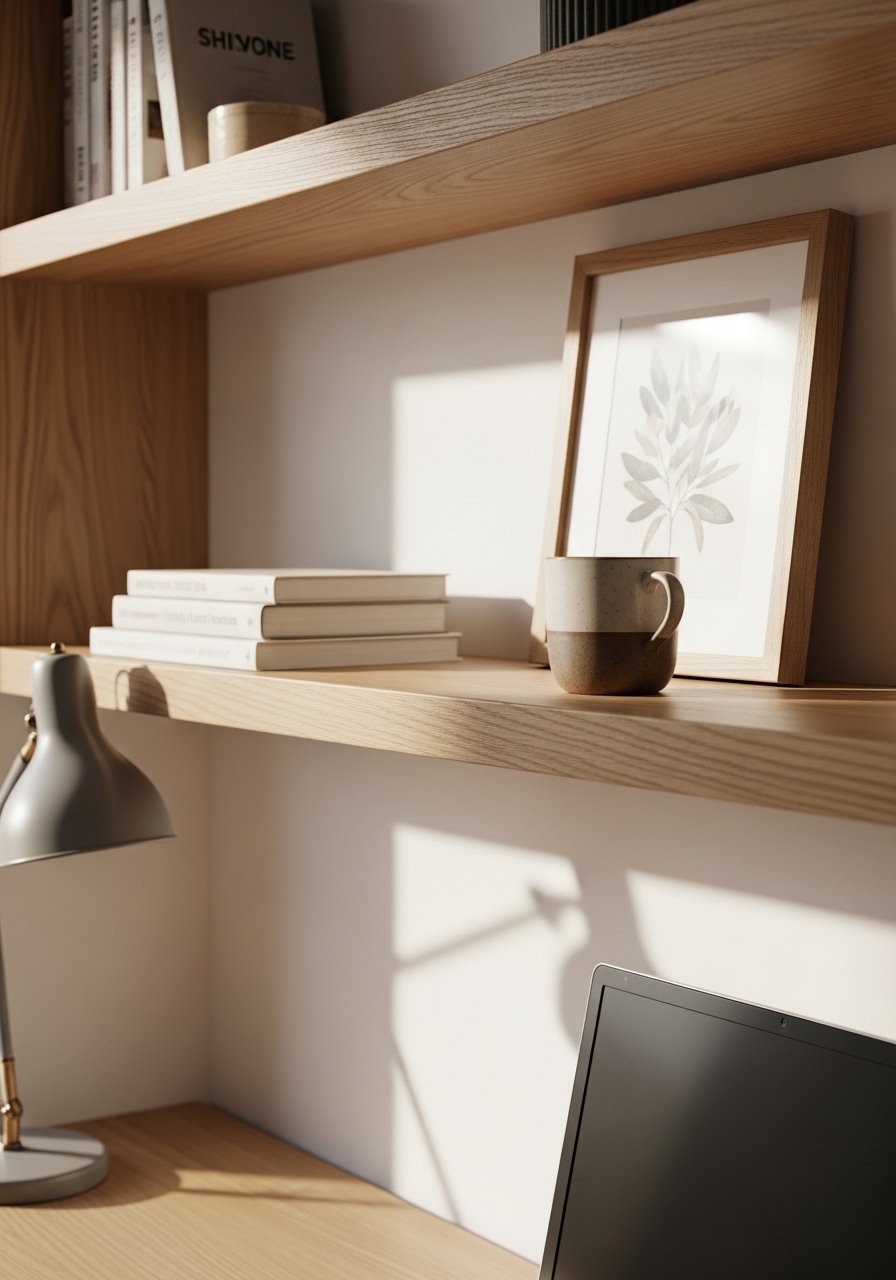
I use floating shelves to lift the eye and break the bare wall. A larger shelf near eye level and a smaller one staggered above it create rhythm. I place one framed print, a small plant, and a stack of books—simple groupings that read like intentional styling.
You’ll see the wall feel less empty instantly. Most people overfill the shelves; I leave breathing room and rotate objects. Mistake to avoid: hanging shelves too high so you can’t easily reach them—shelf height should feel comfortable from a seated position.
Step 4: Soften the room with textiles and a plant
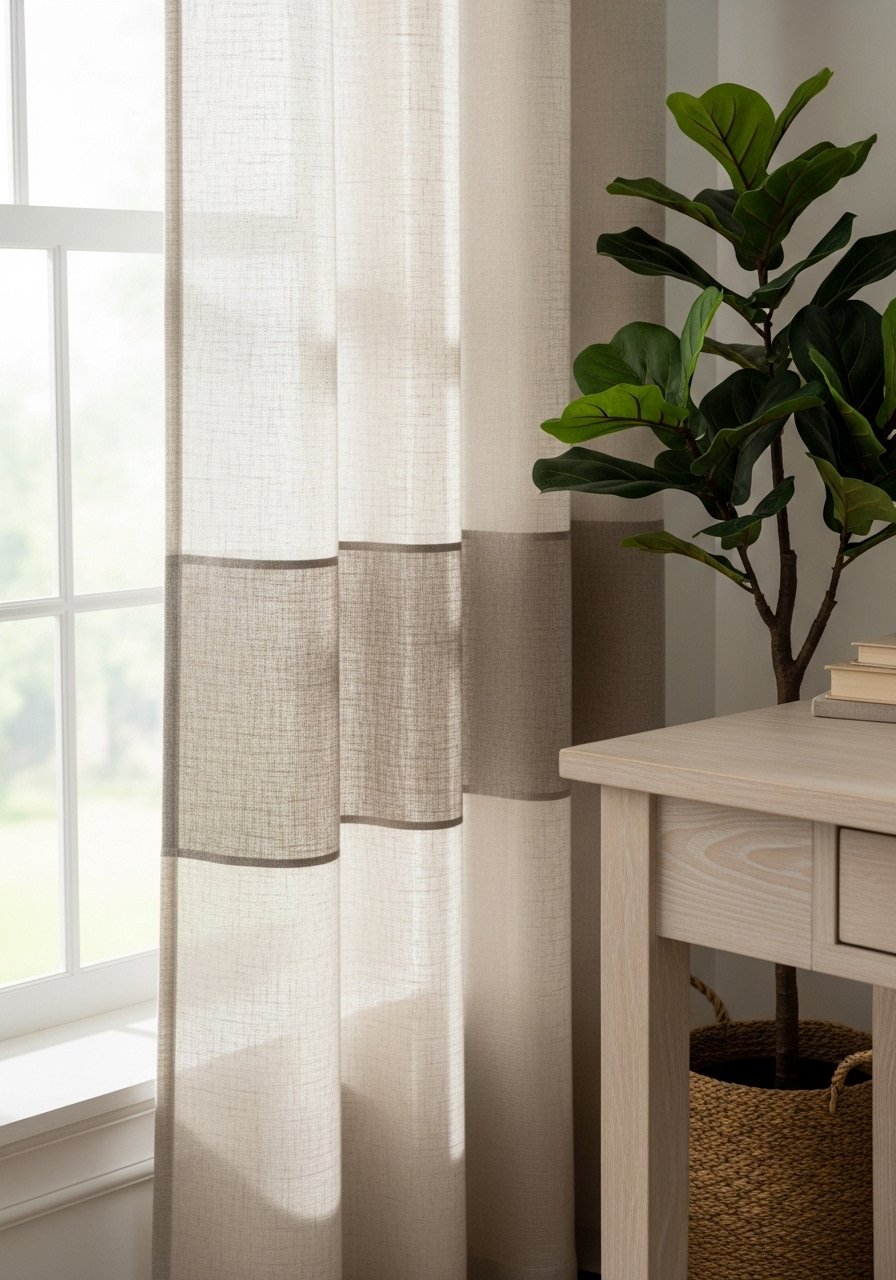
I add linen curtains and a tall faux fiddle leaf fig to soften hard edges and introduce height. Curtains frame the window and add warmth; the plant gives a vertical anchor that balances the shelf area.
The visual change is immediate: softer light and a layered, lived-in look. Insight: textiles don’t have to match; they should speak the same color family. Mistake to avoid: using curtains that are too short—panels should just kiss the floor or puddle slightly for a relaxed feel.
Step 5: Finish with small vignettes and practical storage
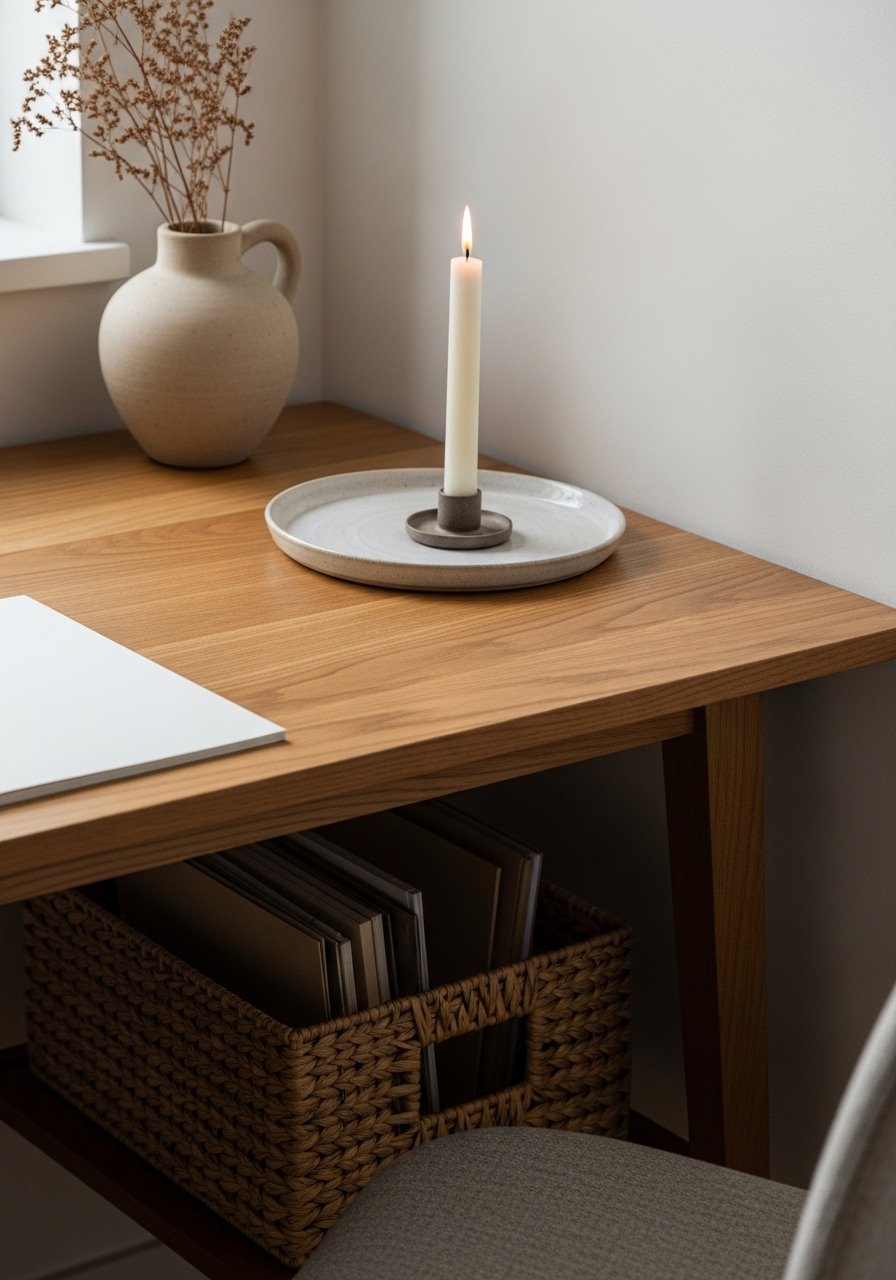
I finish by arranging small vignettes—tray, candle, one framed photo—on the shelf or desk corner. I tuck papers and cables into woven baskets so storage looks intentional, not an afterthought.
The room shifts from functional to comfortable when those small touches appear. People often overcrowd vignettes; I keep them sparse. Mistake to avoid: making storage invisible—baskets should be pretty and accessible so they actually get used.
Common mistakes I see and how I avoid them
I often see people choose scale poorly. Small art over a large desk or tiny rugs under chairs disconnect the elements. I test placement by standing back and squinting; it’s a quick reality check.
I also see too many competing textures. I aim for three key textures—natural fiber rug, soft linen, and a woven basket—and repeat them. Bullets to remember:
- Match scale, not exact color.
- Keep three textures max in a small room.
- Make storage both useful and visible.
Adapting this look for small spaces and budgets
I’ve worked in studios and corner nooks. For small rooms, I skip the large boucle chair and use a smaller upholstered task chair. If budget is tight, linens and baskets make the biggest visual impact for the least cost.
My practical swaps:
- Replace a full rug with a runner or desk mat.
- Use a potted plant instead of a full faux tree.
- Buy one quality piece (lamp or rug) and budget the rest.
Mixing this DIY look with what I already own
I rarely start from scratch. I pair existing furniture with new textures and a single focal point, like a boucle accent chair or an oak shelf. It’s about cohesion, not matching.
I pick one connecting thread—color, material, or shape—and repeat it. Quick checklist:
- Identify one dominant material (wood, metal, or leather).
- Add two supporting textures (linen, woven).
- Keep accessories small and repeat a color for rhythm.
Final Thoughts
Start with one small change—a rug or lamp—and live with it for a week. I find slow edits keep the room feeling like mine.
I trust that a few thoughtful, everyday items create balance. A simple adjustable desk lamp is an easy, low-commitment starting point that makes the room feel complete.
