

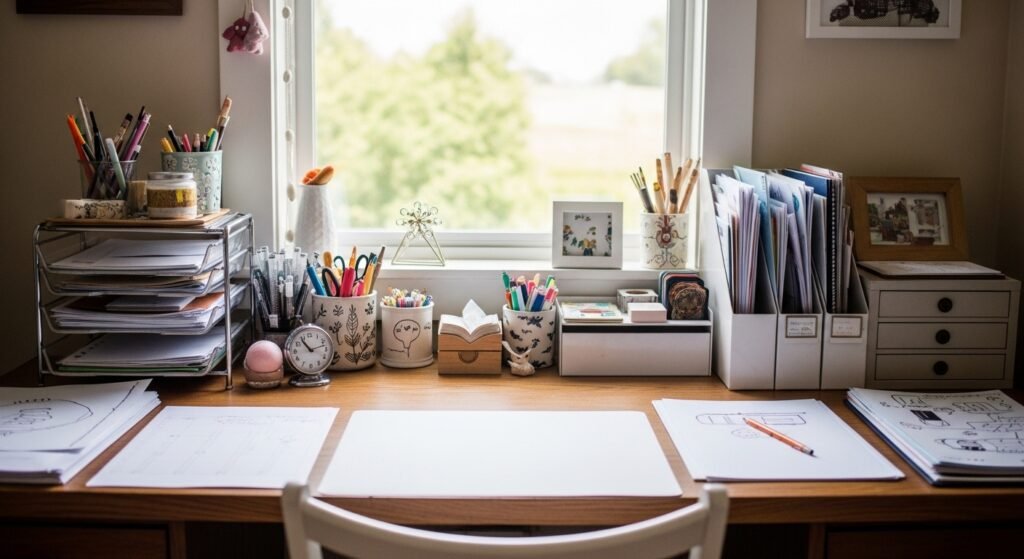
My desk used to feel like a workplace, not a corner of my home. Papers were stacked. A lamp lived on the wrong side. Little things fought for attention and nothing felt calm. I kept moving objects and never solved the clutter.
I keep seeing clean, grounded desks in feeds this year. This method gets you to that quiet, curated look in about an hour. No carpentry. Just things you can make or tweak.
What You'll Need
- Adjustable LED task lamp in matte black ($25 to 70). A focused beam makes everything look sharper
- Felt desk pad, 24×18 inches, charcoal ($20 to 40). Anchors the whole area
- Woven rattan tray, 12-inch ($20 to 45). Use it to corral clutter
- Set of 3 ceramic vases, matte white ($25 to 40). Small group for visual rhythm
- Brass picture ledge, 24-inch (I bought mine in brass for warmth) ($18 to 30). Holds photos or notepads neatly
- Adjustable monitor riser, wood finish ($30 to 60). Improves posture and creates storage underneath
- Small ceramic planter, 4-inch ($12 to 25). A real plant livens the desk
- Stackable desk trays in neutral tones. I use two sizes to make piles look intentional ($15 to 30)
Step 1: Clear the Surface, Keep Only What Matters
Pull everything off the desk. Yes, everything. You need a blank canvas to judge scale and negative space. When I clear mine, I can see which items are essential and which are habitual clutter.
Set a rule. Keep only one work tool, one light, one plant, and one tray for active papers. Visually the desk needs breathing room. Too many small objects makes the surface noisy. People often line up chargers or pens. That looks unfinished. Group them instead.
A common mistake is replacing everything at once. Start with the big shapes first. You will be tempted to keep decorative odds and ends. Put them in a box until the layout feels right.
Step 2: Anchor with a Desk Pad and Light

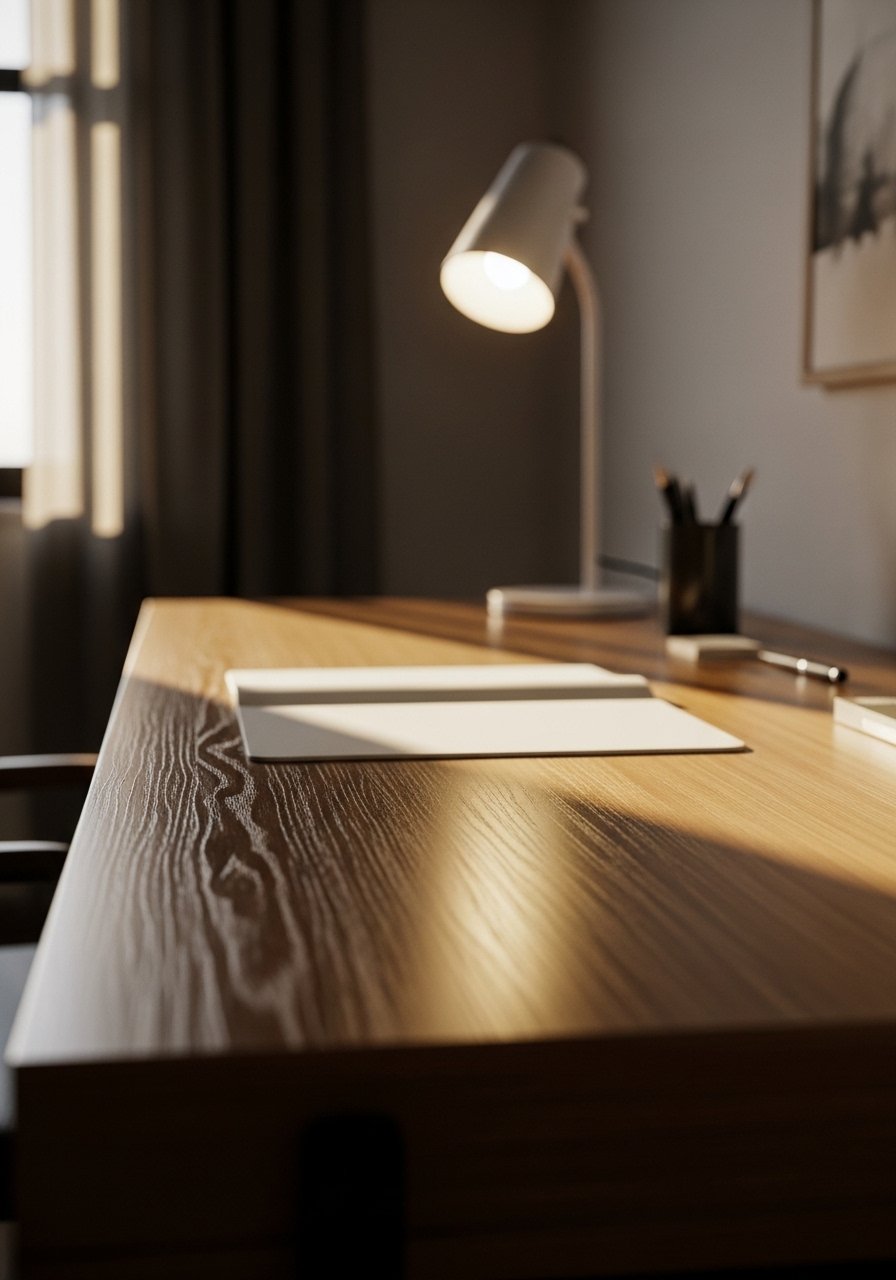
Place the felt desk pad so the front edge sits 1 to 2 inches from the desk edge. That narrow margin keeps the surface feeling intentional. The pad creates a visual field. It tells your eye where work happens.
Add the lamp on the dominant side of use. If you are right handed, place the lamp left of center. That prevents shadows. The desk looks finished now. The pad and lamp form a single plane. Everything else can read against them.
Many people pick flashy lamps. That distracts. Choose a slim lamp with a narrow footprint. If your lamp is heavy, it will pull the eye.
Step 3: Create a Triad with Trays, Vases, and a Plant
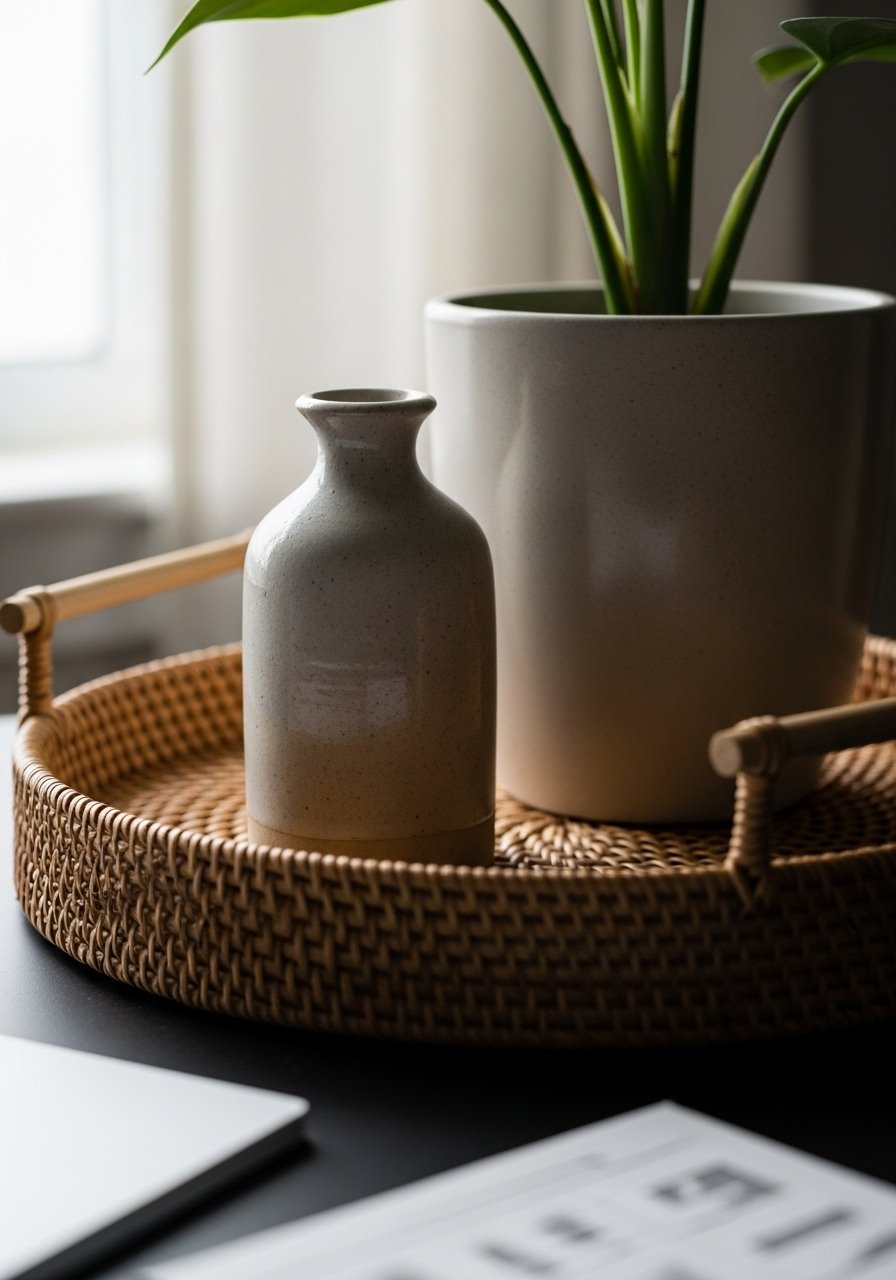
Group three objects in an odd number. I use the woven tray, one ceramic vase, and a small planter. Place the tallest at the back, the medium in the middle, and the shortest in front. That stepped arrangement reads clean from a distance.
Leave about 2 to 3 inches between items. Too close looks cluttered. Too far apart looks disconnected. When done right the group becomes a single focal cluster. When done wrong each object competes.
You will want to fill every empty inch with stuff. Resist that urge. The triad makes the desk feel curated. If you need more storage, swap the vase for stackable trays.
Step 4: Add Function That Looks Good
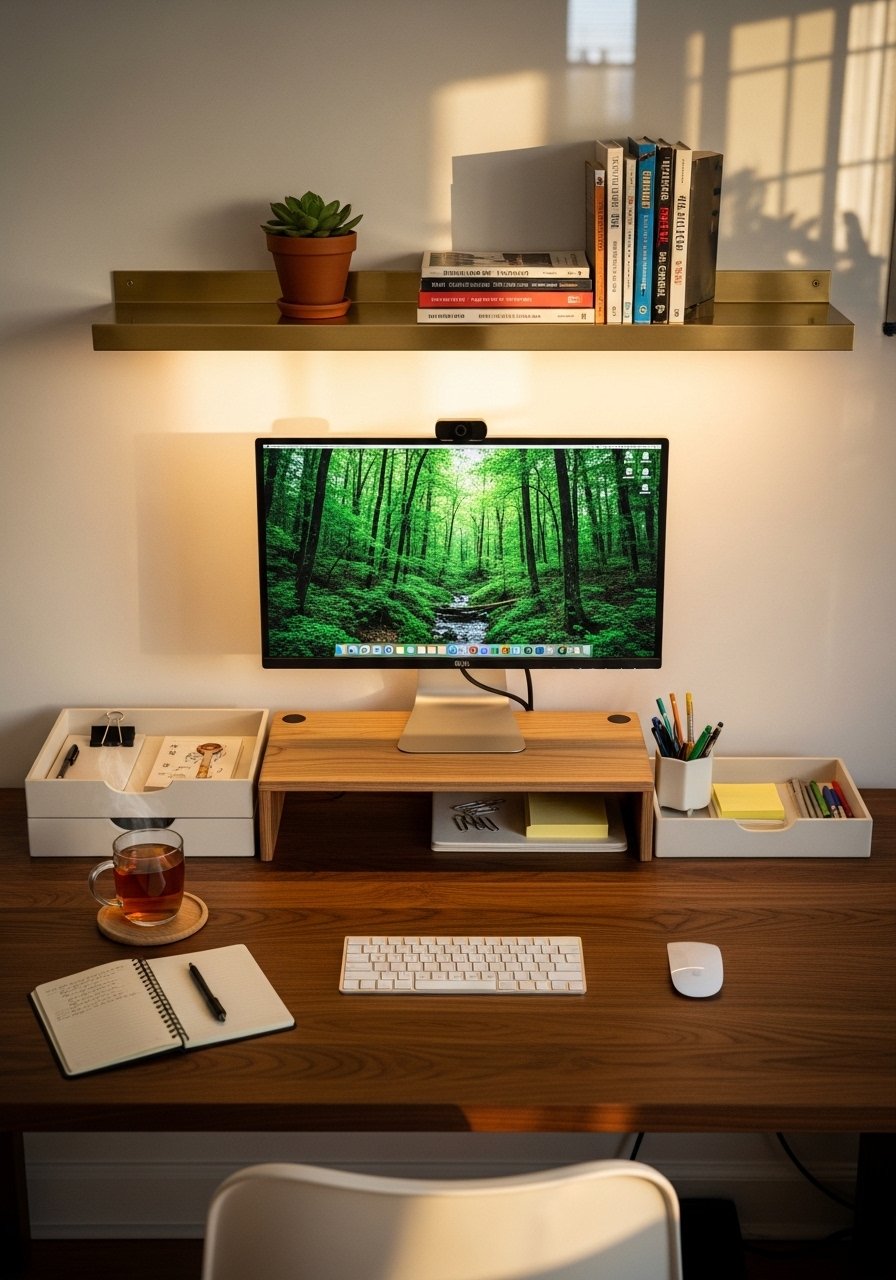
Raise your monitor on a wooden riser. It frees space underneath for a keyboard or a slim notebook. The riser also gives the desk vertical layers. I slip a stackable tray under mine. It holds current papers and keeps piles tidy.
Install a brass picture ledge on the wall, about 6 to 8 inches above the monitor. Lean a small framed print and a notepad against the wall. It is easier to swap art than to rehang frames. The ledge keeps eye level interesting.
A small mistake is adding too much vertical clutter. Keep the ledge simple. One or two objects read better than a crowded shelf.
Step 5: Final Balance Check and Softening Touches
Step back. Look for balance across left and right. The heavier visual weight should be near the lamp or monitor. Counterbalance with a low object on the opposite side, like a small book or ceramic vase. I often use a closed notebook to anchor one side.
Soften hard edges with a textile. A folded linen napkin or small throw on a nearby chair carries warmth. Add one or two personal items only. A photograph or a favorite pen gives the desk identity without crowding it.
A temptation is to keep tweaking every day. Put the rule in place. If it still feels off after ten minutes, swap one item only.
Why Your Desk Still Looks Like a Workspace
I've noticed rooms that feel sterile often lack layered scale. A desk needs three planes, not just surface stuff. The pad or tray makes the foreground plane. A monitor or lamp forms the middle plane. A ledge or art gives you the background plane.
Small checklist:
- Keep one visual anchor per plane
- Use odd-numbered groupings for ornaments
- Leave breathing room, 2 to 3 inches between groups
- Stick to a restrained color palette, two neutrals plus one accent
When those pieces are in place the desk stops looking like a temporary setup.
Making This Work in a Small Desk Nook
A friend asked me about tiny nooks last week, and I found a few reliable moves. Use a narrow desk pad, about 20 inches wide, to define the working zone. Choose a slim monitor riser that doubles as storage. Mount a single brass ledge rather than shelves.
Bulleted plan:
- Keep vertical storage minimal
- Use a wall lamp if desk surface is very small
- Favor low planters and slim trays
- Avoid two matching lamps, one is enough
This approach keeps the nook functional and visually light.
Mixing This Look with What You Already Own
From what I've seen, you do not need to replace everything. Match materials more than styles. If your chair is modern, pick a rattan tray to add warmth. If you have brass hardware, the brass picture ledge ties in naturally.
Try a simple swap:
- Replace plastic pen cups with a ceramic cup
- Trade a bright mouse pad for a felt pad in charcoal
- Swap an old lamp for an adjustable LED lamp in a neutral finish
Small changes make the desk feel cohesive. They also cost less than a new desk.
Start with One Corner of Your Desk
Pick one corner to style first. Make it the side the camera would see. Arrange a tray, a small plant, and a lamp there. Live with it for a week.
That one corner becomes your visual anchor. After a few days you will know if you need to remove or add anything. Start small. Adjust only one item at a time.
