

My tiny bathroom felt like a storage closet pretending to be a room. Towels were folded and shoved. Walls were a flat, uninspired white. Every time I used it I felt rushed and a little annoyed.
I kept changing towels and art and nothing stuck. It took me a weekend to realize I needed simple edits that work together, not more stuff.
This method focuses on small swaps that change how the room feels. You will end with a cleaner layout, clearer focal points, and easy rhythms that make the space calm and useful.
What You'll Need
- Peel-and-stick tiles for bathroom accent wall ($20-80). Pick a matte finish so water spots hide
- Floating wood shelf, 24-inch ($25-60). Sturdy, not flimsy
- LED wall mirror, 24-inch round ($60-180). Warm light option works best
- Set of 3 waterproof art prints, 8×10 ($20-40). Simple lines or botanicals
- Woven seagrass baskets set of 2 ($25-45). Use for extras and toilet paper
- Wool or cotton bath mat, 20×30 ($20-50). Natural texture softens tile
- Brass towel hook set, 4-pack ($12-30). Small and easy to install
- Small wall planter, ceramic, 6-inch ($15-35). Use faux if light is poor
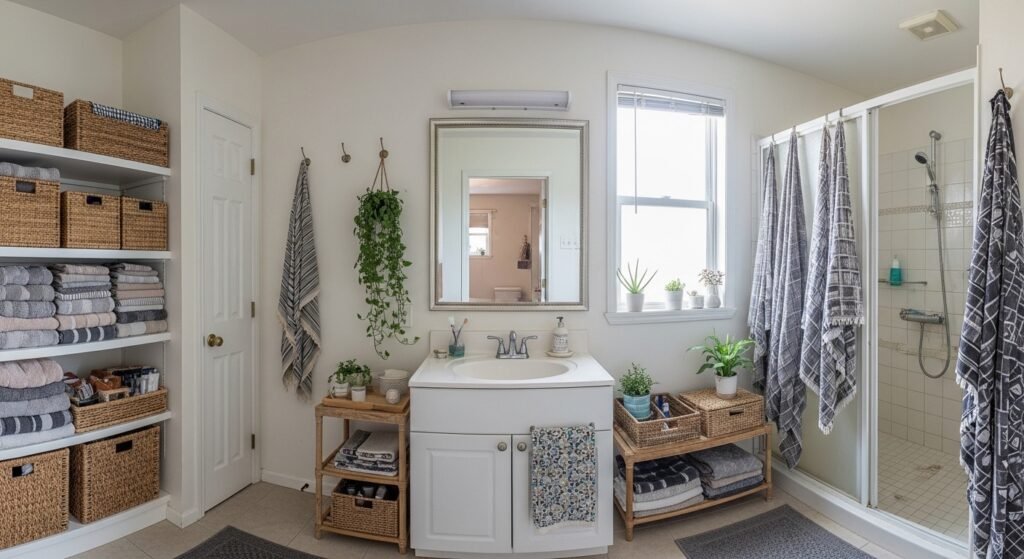
Step 1: Clear the Surfaces, Then Pick a Focal Point
Pull everything off counters and shelves. Yes, everything. You need to start blank. I do this even in a guest bathroom. It makes choices obvious.
Decide on one focal point, a mirror or an accent wall. When you pick a single anchor the room stops fighting itself. Mine was a round LED mirror. It reads as the center of the room and the rest becomes supporting parts.
Common miss: trying to make three things the focal point. That creates visual noise. Mistake to avoid: leaving travel-size clutter on counters. Store them in a basket instead. Aim for 2 to 3 items on a counter, not more.
Step 2: Add Texture and Pattern with Small Scale Changes
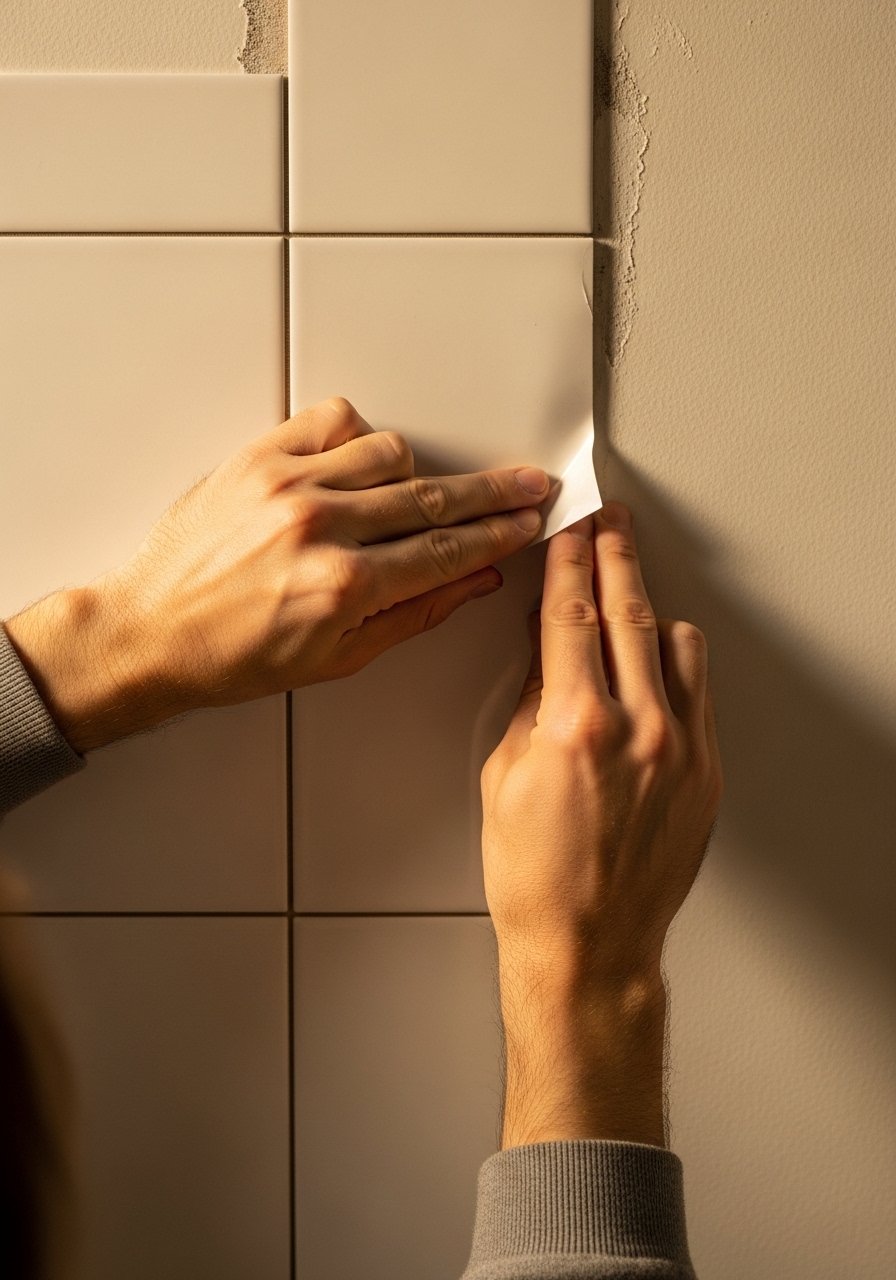
Most people think full wall tile is required. That is backwards for a budget update. I instead apply peel-and-stick tile to a single strip behind the sink or inside a shower niche. It reads like a built-in detail.
This step changes the surface you look at. Texture matters more than color. Matte tiles hide wear. If the area is narrow, run tiles vertically to make the ceiling feel taller. Faulty move: choosing a high-gloss busy pattern. It ends up dominating the room. Keep tiles to a 6 to 24 inch band for a subtle effect.
Step 3: Layer Storage That Looks Intentional
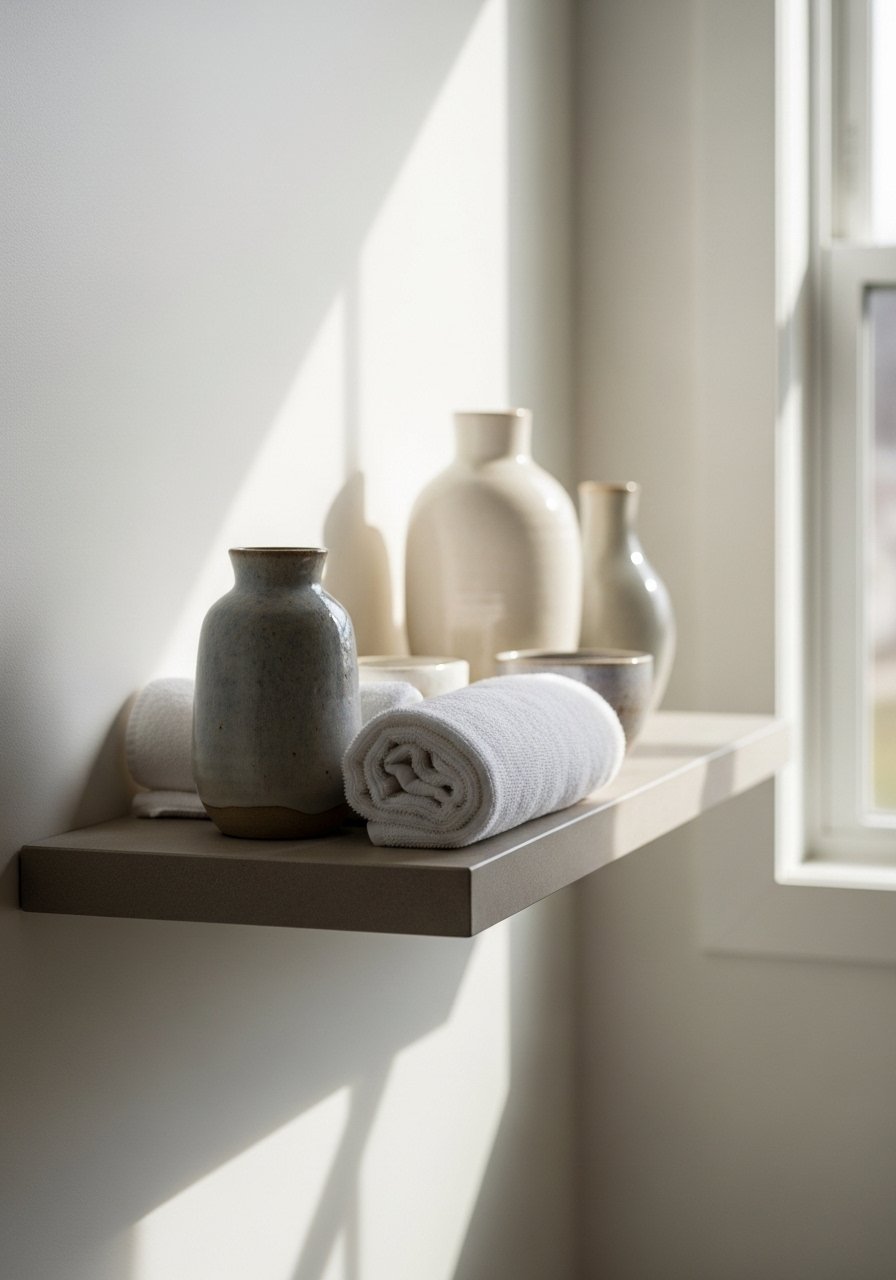
Install one floating shelf above the toilet or beside the mirror. That single shelf is the easiest way to add personality and keep counters clear. I use it for a small plant, two folded towels, and one jar of cotton swabs.
Visual change is immediate. The room goes from scattered to edited. Leave 2 to 3 inches between grouped items. Grouping in odd numbers makes a display feel natural. Pitfall: overloading the shelf. If you have a 24-inch shelf do not place five bulky items on it. Choose items that are 6 to 8 inches tall or shorter.
Step 4: Replace Hooks and Textiles for a Cohesive Feel
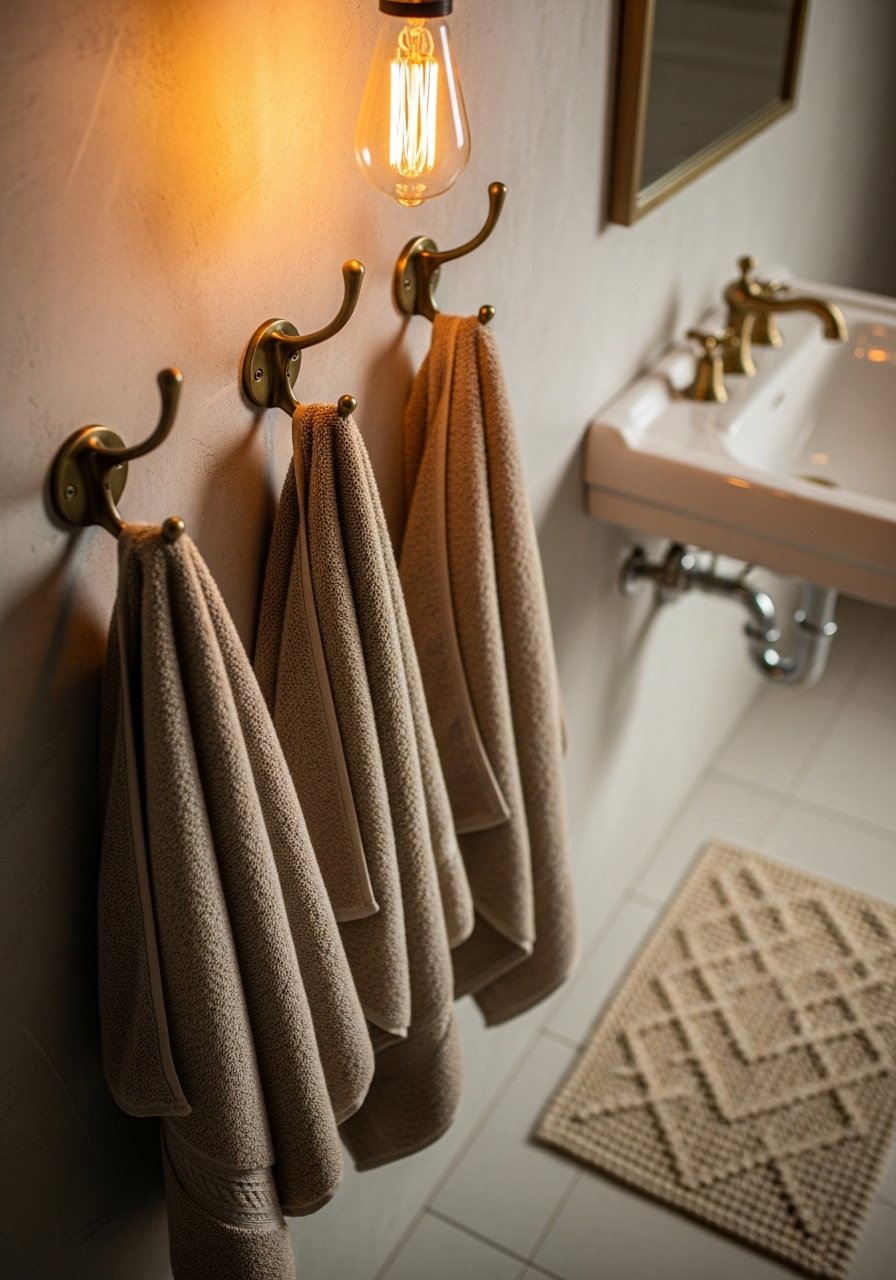
Swap mismatched towel bars for a set of matching hooks. Small hardware changes add cohesion fast. I swapped three old plastic hooks for brass ones and the room looked put together immediately.
Choose towels in one tonal family, not a rainbow. That reduces visual chaos and makes the space feel deliberate. Mistake to avoid: buying towels that are too bright for the palette. Texture beats pattern here. A neutral towel in a bouclé or linen weave reads richer than a busy print.
Step 5: Add Art, Greenery, and a Habit to Keep It Calm
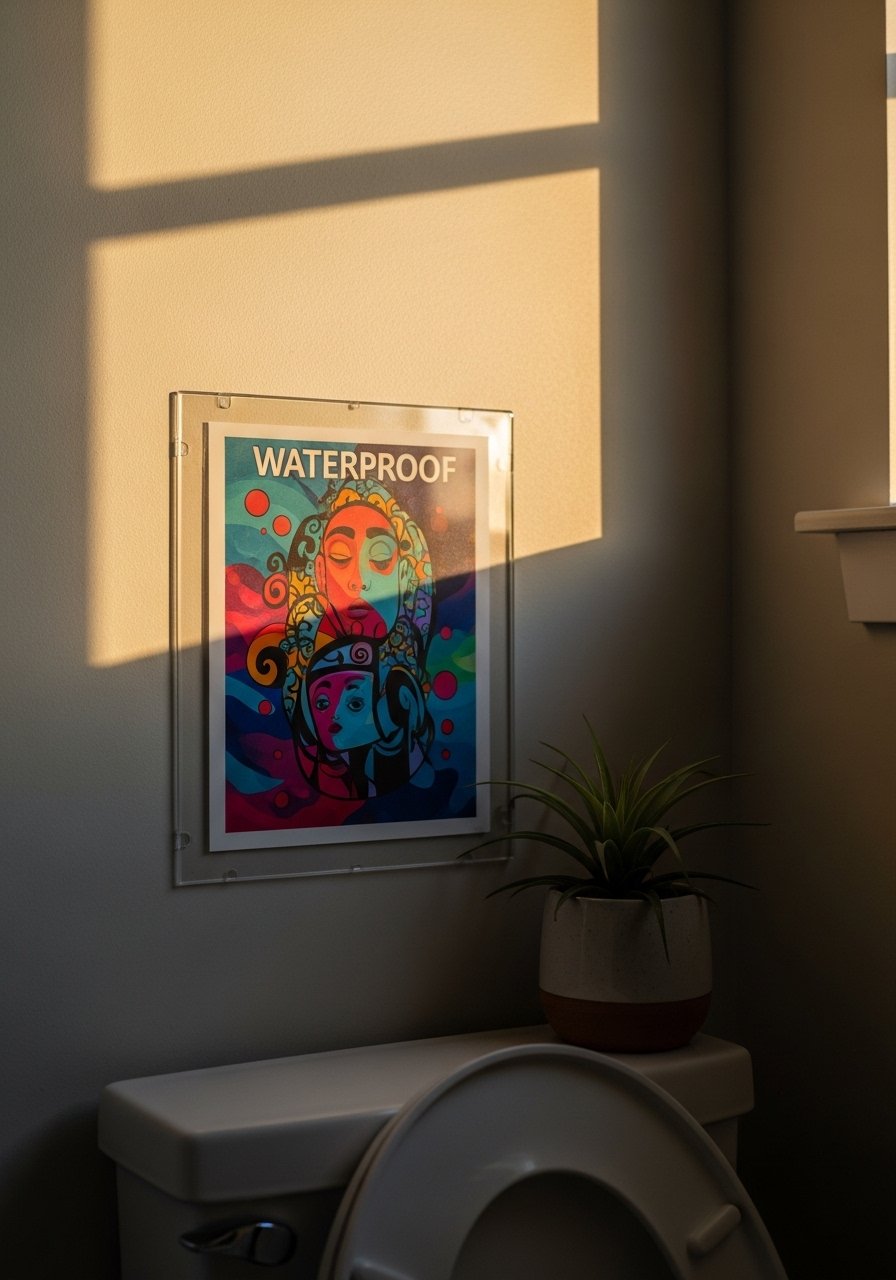
Hang one small waterproof print where empty wall space nags you. Add a tiny wall planter if you have light. Plants or a faux alternative give the room life without needing much care.
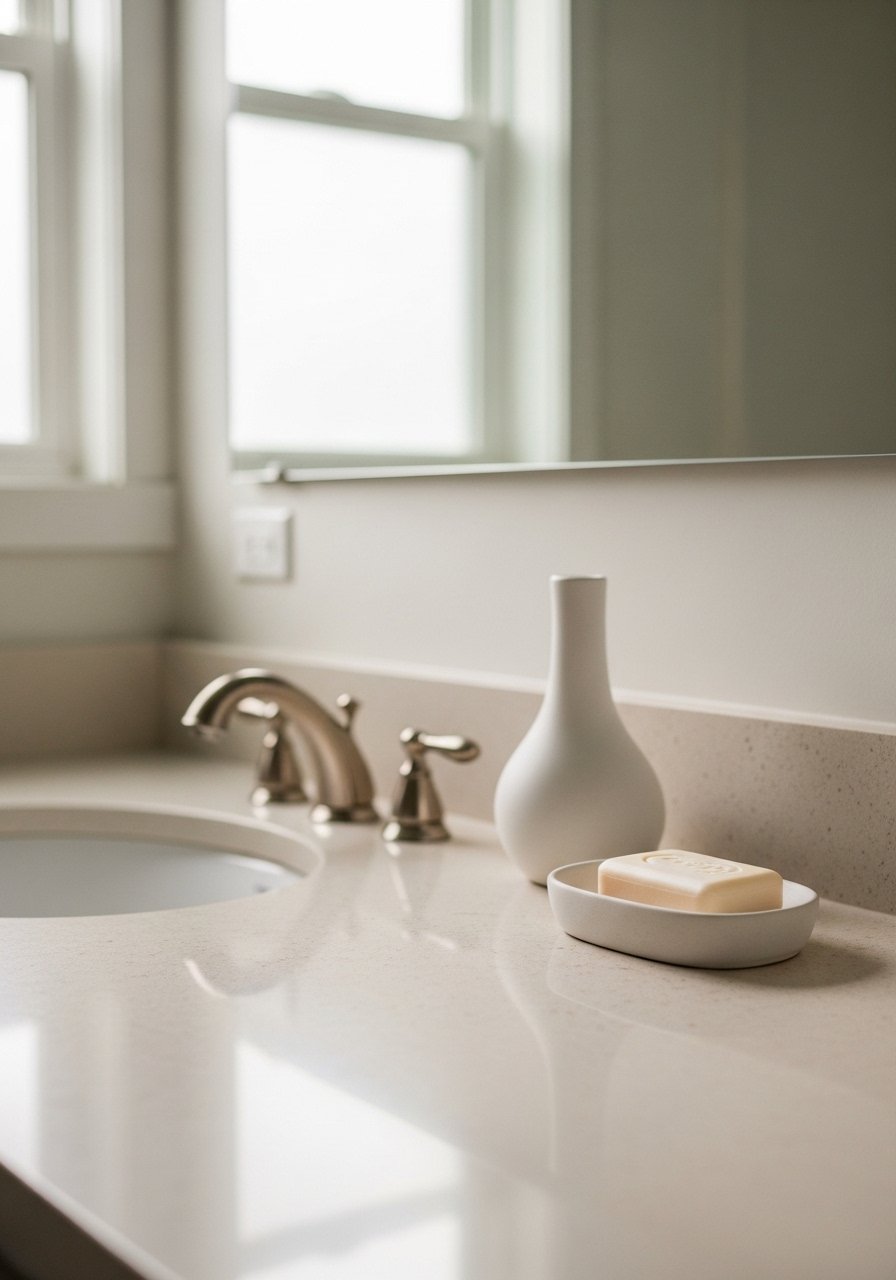
The visual difference is in scale and repetition. Match the print frame color to hooks or shelf tone. People often over-accessorize. Resist adding many small pieces. Keep one art piece, one plant, and one functional item like a soap tray. The habit I use is a quick five-minute tidy after showers. It keeps the calm going.
Why Your Bathroom Still Feels Cluttered
I've noticed bathrooms stay cluttered because people layer storage without a clear plan. You have to decide what stays visible and where. Choose one surface to be decorative and one to be functional. Examples you can try right away. – Counter: keep only daily essentials in a small tray – Shelf: decorative objects and rolled towels – Basket: overflow items like extra soaps or toilet paper A single plan across surfaces makes the room read as one space. It cuts decision fatigue.
Making This Work in a Small Bathroom
I keep seeing tiny bathrooms with big ideas. If your room is under 40 square feet go vertical. Use a tall, slim shelf or stack two narrow shelves with 10 to 12 inches between them. Use hooks rather than a towel bar to save depth. Choose a round mirror to break hard angles. Use light colors on the upper half of walls to keep the space airy. Small rugs should be 20×30, not bigger. These swaps make the room feel wider without costing a lot.
Styling When You Rent or Have Little Light
A friend asked me about a windowless rental bathroom. My approach was simple. Use an LED mirror with warm light and waterproof prints to add color. Opt for faux plants with matte ceramic planters. Put peel-and-stick tile in a removable form or use a temporary wallpaper behind the mirror. Keep installation basic. Hooks and adhesive shelves work without drilling. The change is about mood, not permanent fixtures.
Start with One Surface
Pick one surface tonight. A shelf, a vanity top, or the wall behind the mirror will do. Edit everything off it. Then place one anchored item, one useful item, and one textural item.
Make one small investment, like a round LED mirror or a peel-and-stick tile strip. Take five minutes after each use to return things to the basket. The room will start to feel calmer in days, not months.
