

I used to open the closet and find a pile of jackets, cords, and shoes. In a small home, every surface becomes a catch-all and the space feels crowded.
I want storage that reads calm and intentional, not hidden chaos. This is about placement and feel, not building complicated systems.
How to Create DIY Storage Solutions for Small Homes
This is the method I use when a room feels unfinished. You’ll learn how to make storage look like part of the room—furniture that hides things, vertical moves, and simple editing. It’s achievable, quiet, and keeps a small home feeling balanced and lived-in.
What You'll Need
- Woven seagrass basket, medium, set of 2 (~$25–45)
- Floating wood shelf, 24", oak finish (~$25–45)
- Narrow entry console table, slim, black metal (~$70–150)
- Under-bed storage bag, 4-pack, breathable fabric, queen (~$30–55)
- Over-the-door hanging organizer, 6 pockets, canvas (~$15–30)
- Wall pegboard organizer, wooden, 24×18 (~$40–80)
- Foldable storage ottoman, 30×15", linen, beige (~$40–75)
- Clear stackable plastic bins, 12L, set of 4 (~$25–50)
Step 1: Zone the space so each area has a job
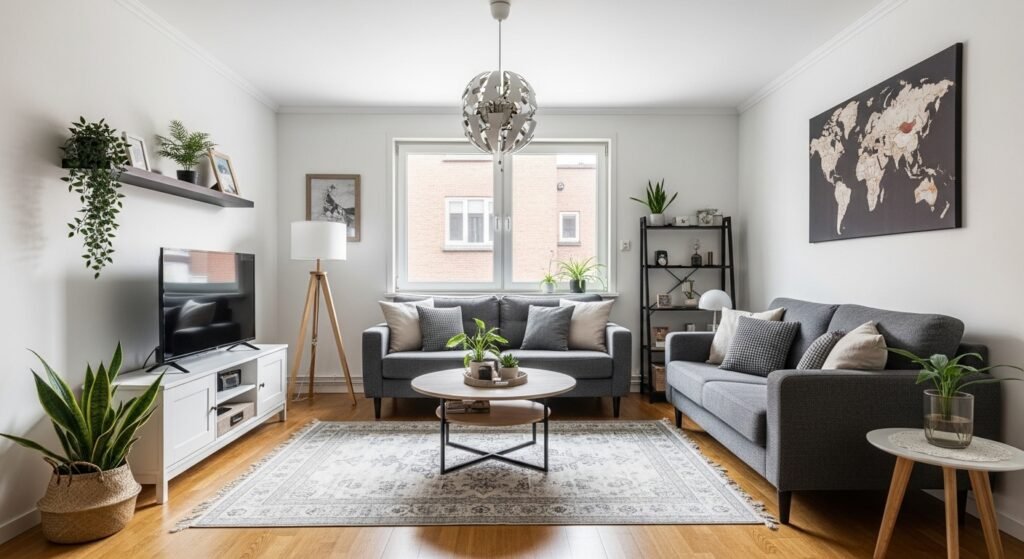
I start by standing in the room and naming three zones: arrival, living, and sleep. Giving each zone a job—drop keys, store linens, keep daily items—changes how I place storage. Visually, the room reads calmer when things have a home.
Insight people miss: you don’t need storage in every corner — a single well-placed piece can serve two zones. Mistake to avoid: scattering tiny containers everywhere; that makes the room look cluttered, not tidy.
Step 2: Choose furniture that stores and looks good
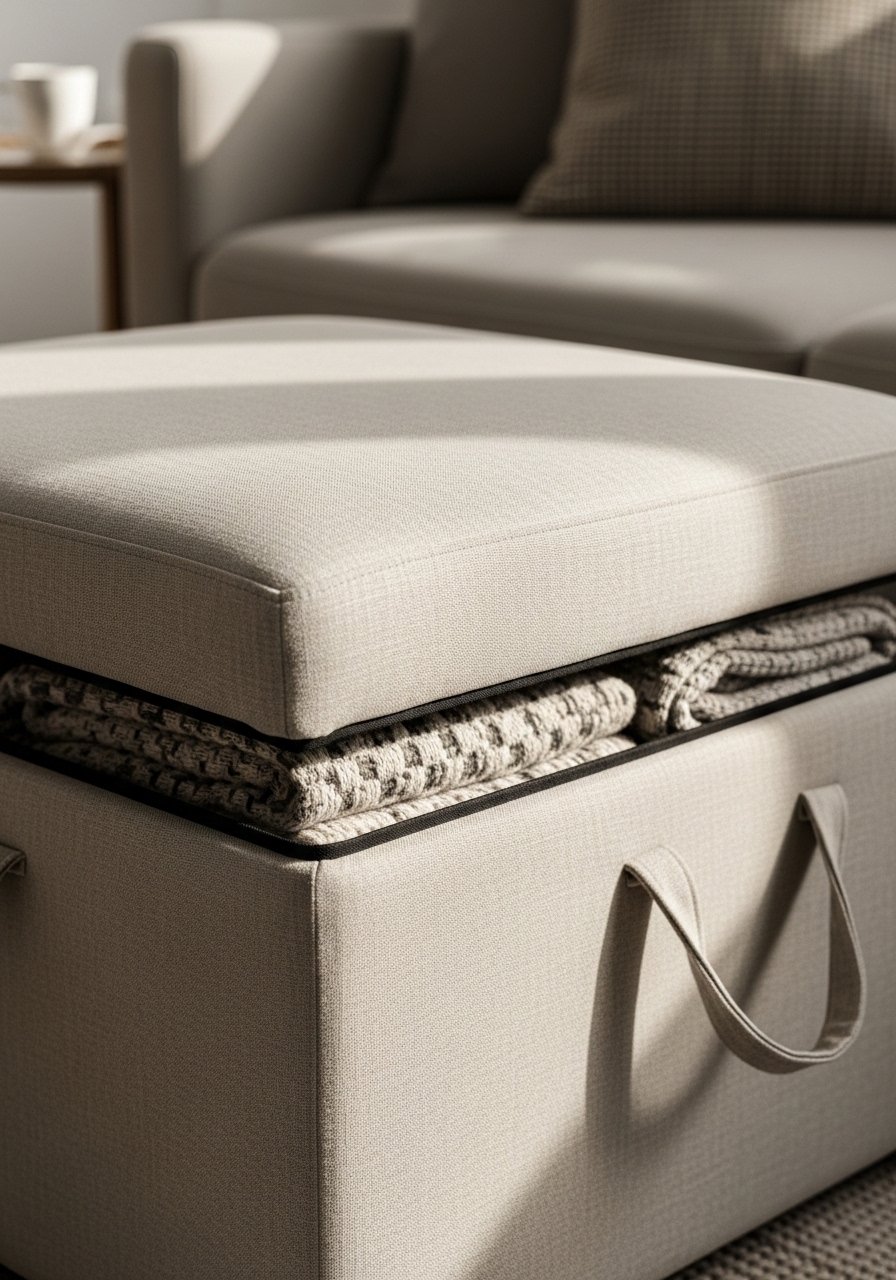
I pick pieces that do double duty: a slim console at the entry, a foldable ottoman as seating and stash. These make storage feel intentional instead of an afterthought. The room instantly looks more finished when storage is integrated into the furniture.
Insight people miss: the best pieces are slightly scaled down for the room—oversized storage swallows visual space. Mistake to avoid: buying a storage piece that’s too tall or bulky; it disrupts sightlines and makes the room feel smaller.
Step 3: Move up—use walls for both function and mood
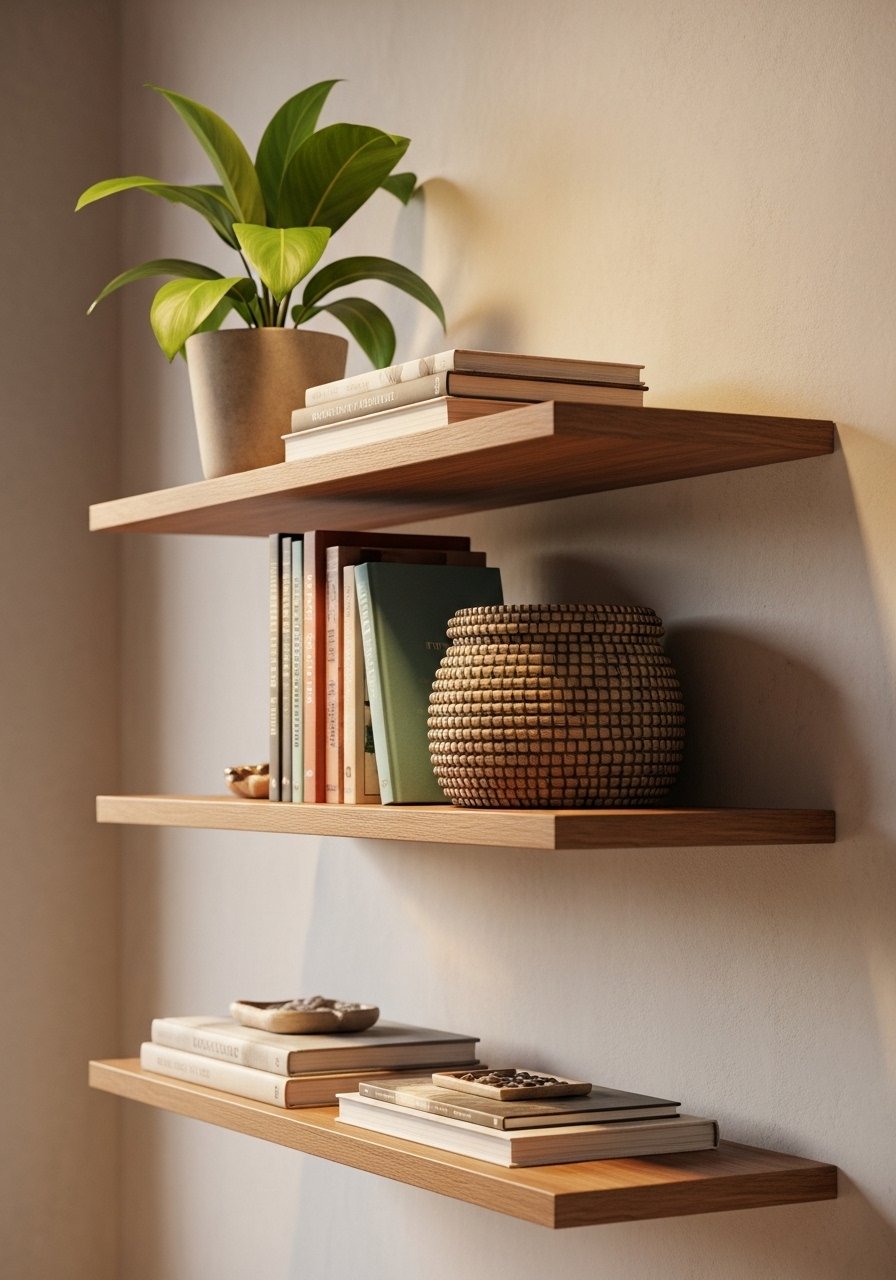
I use floating shelves and a pegboard to lift storage off surfaces. It opens counters and tables and creates a vertical rhythm. Staggering shelf heights keeps the wall from feeling flat and allows storage for both display and hidden bins.
Insight people miss: leave some empty space on shelves to let the room breathe. Mistake to avoid: filling every shelf edge-to-edge; that looks busy and defeats the point of opening up surfaces.
Step 4: Make baskets and bins part of the look
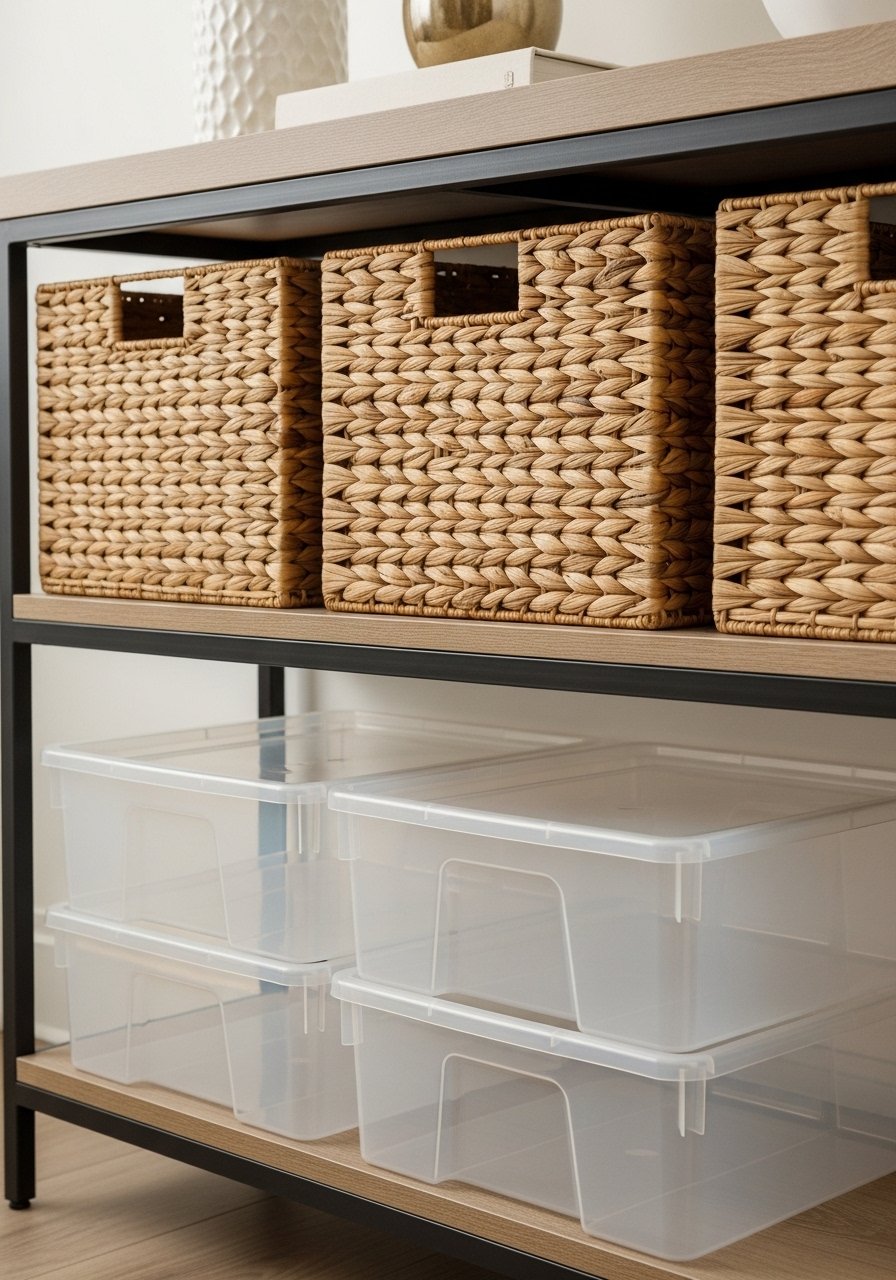
I group baskets and clear bins to separate what’s hidden from what’s visible. Natural-fiber baskets warm the room and conceal irregular items; clear bins keep things tidy and findable. Consistent materials or colors unify the look.
Insight people miss: uniform basket sizes or a tight color palette reads calm. Mistake to avoid: over-stuffing baskets — they should look approachable, not bulging.
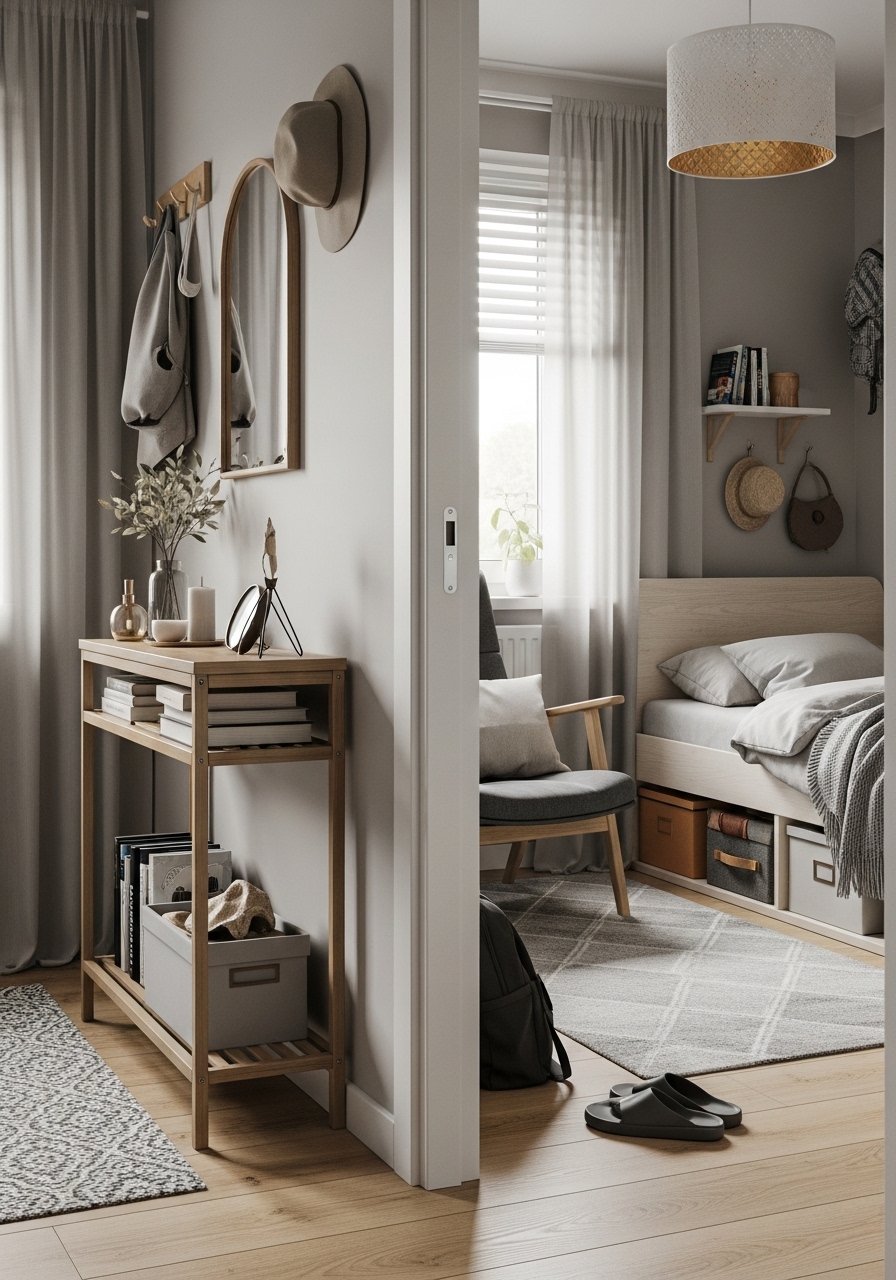
Step 5: Use doors and narrow gaps—small spaces add up
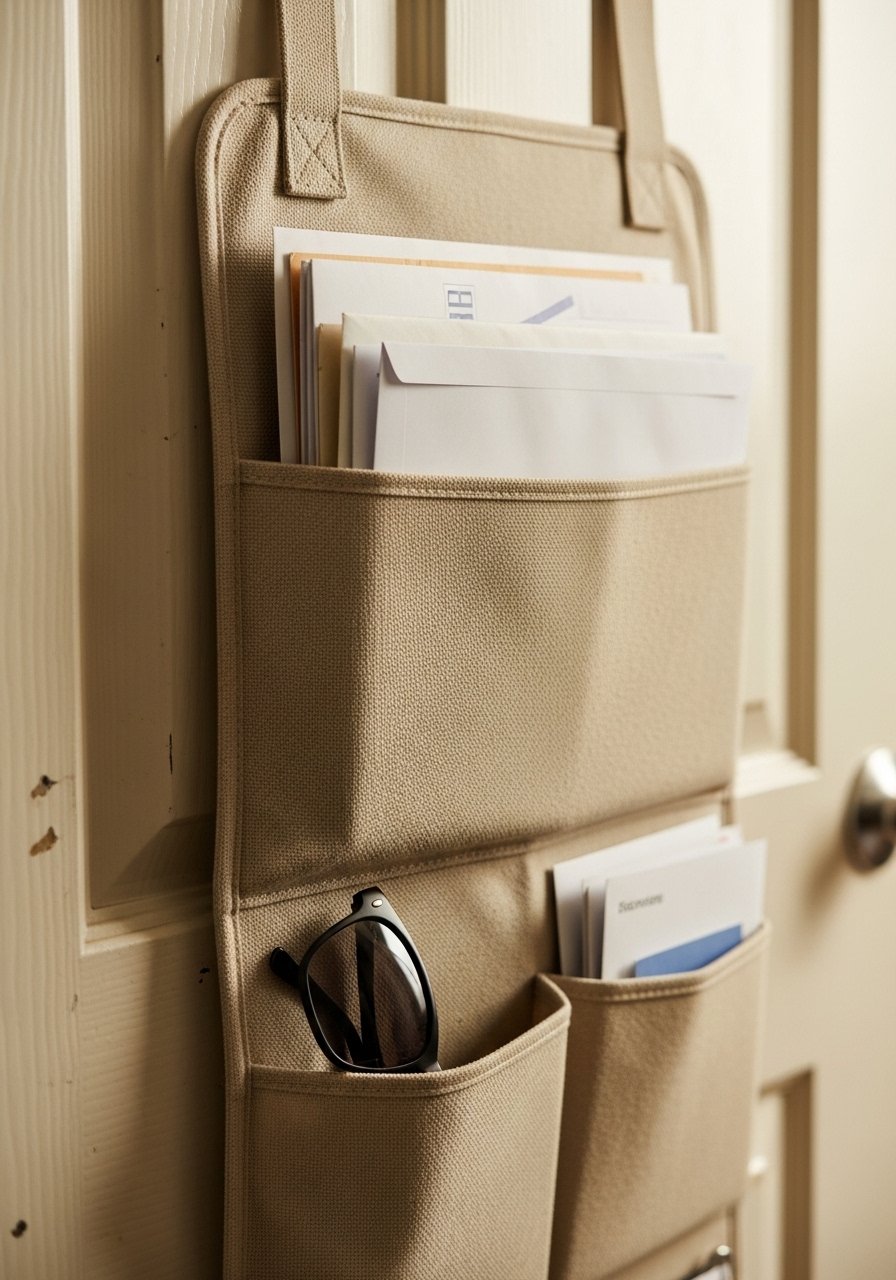
I take advantage of the back of doors, the side of a bed, or a 6-inch gap beside furniture. Over-the-door organizers and slim trays capture daily items without new furniture. These moves free up visible surfaces and keep essentials within reach.
Insight people miss: small gaps can be functional storage without altering the room’s flow. Mistake to avoid: loading door organizers with heavy items that pull the door and look saggy.
Step 6: Edit regularly and style with intention

I edit monthly. I remove duplicates, archive off-season items under bed, and re-evaluate what’s used daily. Styling is the last step: a couple of curated objects, a low plant, and neat baskets make storage feel like decor.
Insight people miss: editing is maintenance, not a one-time fix. Mistake to avoid: trying to hide everything; a few visible, tidy items keep the room feeling lived-in.
Common mistakes and quick fixes
I see the same missteps in small homes. Here’s how I fix them.
- Mistake: Too many small containers. Fix: Consolidate into two sizes of baskets.
- Mistake: Storage that blocks light or flow. Fix: Choose low-profile or wall-mounted options.
- Mistake: Hidden chaos behind closed doors. Fix: Use clear bins inside cabinets to make contents obvious.
A quick fix I use often: swap out mismatched containers for two matching baskets to instantly calm a shelf.
Adapting solutions by room and budget
I adapt these moves depending on the room and my wallet. In a studio, I prioritize under-bed and ottoman storage. In a one-bedroom, I add a pegboard in the kitchen for utensils.
Budget swaps:
- Instead of a custom shelf, use a budget floating shelf (~$25–45).
- Swap woven baskets for simple canvas bins (~$15–30) if needed.
Small investments in a few pieces go farther than many tiny buys.
Mix storage with your existing style and seasons
I always think about texture and tone so storage blends with what I already own. For a japandi or organic modern look, I pair wood shelves with neutral linen baskets and simple ceramics.
Seasonal tweaks:
- Summer: swap a wool throw for a cotton one in the ottoman.
- Winter: rotate lighter hats/scarves into visible baskets near the door.
Keep the changes small. That preserves continuity while refreshing function.
Final Thoughts
Start with one zone and one well-chosen piece—like a woven seagrass basket—to feel the change. Small edits and consistent materials make storage read as part of the room, not a fix. I promise: once storage feels intentional, the whole place settles and becomes easier to live in.
