

I had a tiny entryway that swallowed anything I tried to drop in there. Keys, bags, umbrellas, scarves, they all multiplied and looked chaotic. For months I left the door shut on the mess.
I learned to treat storage like styling. Every piece has to earn space and look calm. It changed how the whole apartment felt.
This method focuses on making smart storage look like design, not an afterthought. You will end up with more surface, less clutter, and a small home that breathes. It works with modern and timeless looks and is doable in an afternoon.
What You'll Need
- Storage ottoman with lift-top, 36-inch ($85-140). Doubles as seating and hidden storage. I use one as a coffee table.
- Floating shelves, set of 3, 24-inch ($30-55). Mount low on narrow walls to create a landing zone.
- Set of stackable plastic bins, medium ($20-40). Clear sides help you see what's inside.
- Worth every penny: Over-the-door organizer with pockets ($18-30). Great for shoes or cleaning supplies in tiny closets.
- Pegboard wall organizer, 24×16 ($22-40). I mounted one behind my desk for small items.
- Under-bed storage bag, 36×18-inch ($15-28). Flat and breathable for off-season clothes.
- Adhesive wall hooks pack of 10 ($10-18). Use on tile and painted walls for light items.
- Set of 3 woven baskets, large-medium-small ($35-60). Texture that hides clutter while looking intentional
Step 1: Empty the Space and Start Fresh
Pull everything out and look at the bones. I do this every time. The visual change is immediate. The shelf or corner stops being a storage graveyard and becomes a field of possibilities. You will see what the space actually needs, not what you think it needs.
Most people skip this and rearrange on top of clutter. That leaves the same sense of disarray. Measure width and height before you buy anything. Leave 2 to 3 inches of breathing room above stacked items. Avoid packing items tight against the wall, which makes the shelf look heavy.
Step 2: Define Zones by Function
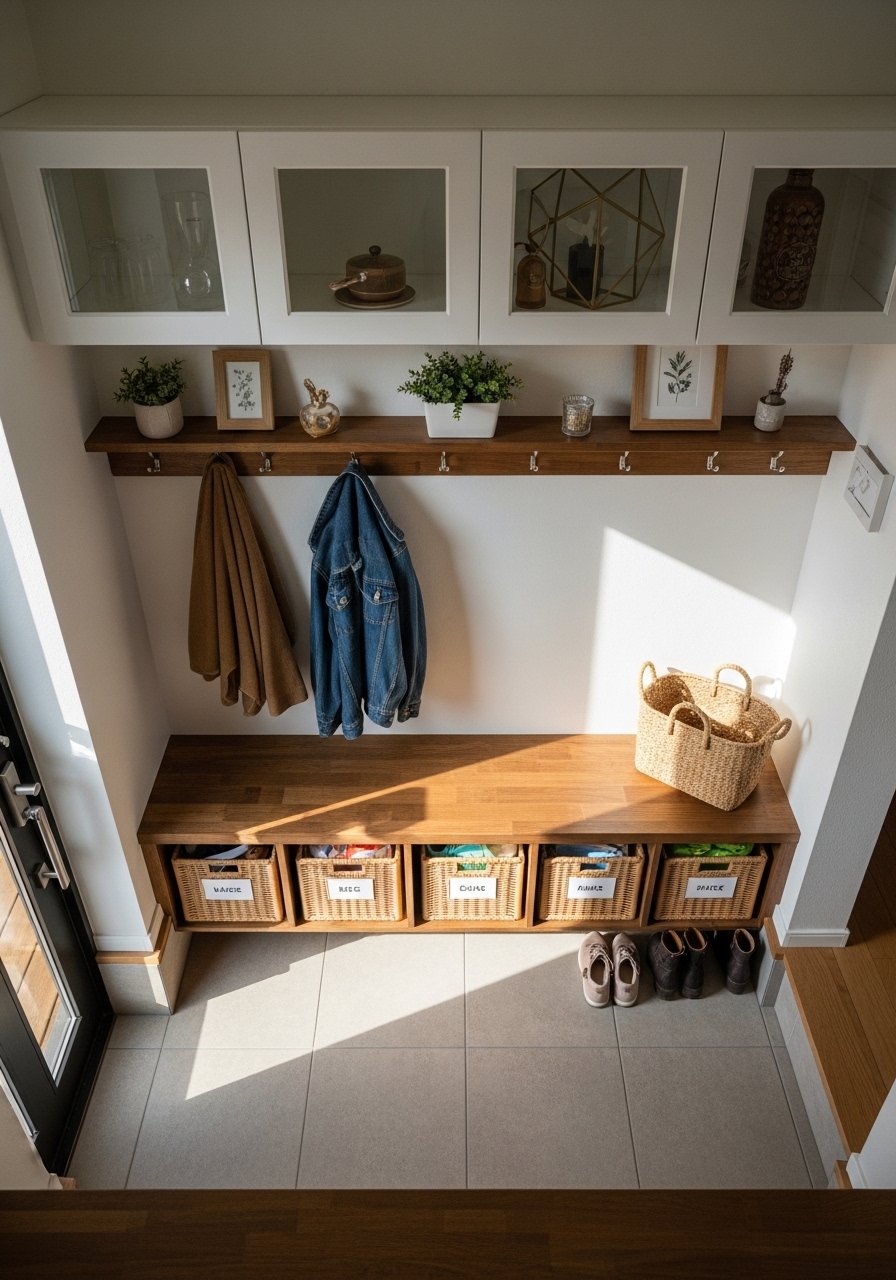
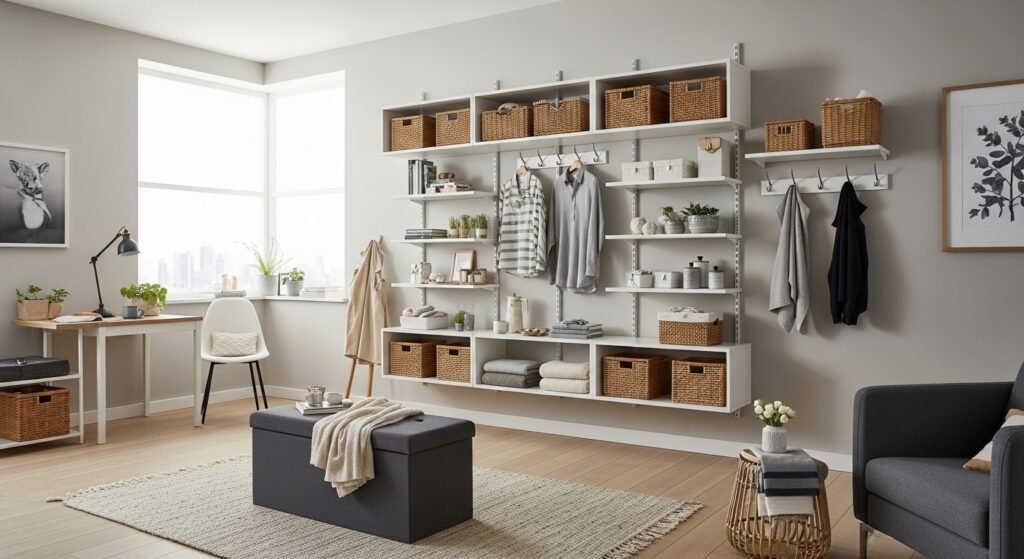
This is where the room starts to feel usable. I group functions, not things. Landing zone for keys and mail, daily wardrobe zone for bags and coats, and a supply zone for pantry overflow. Visually it reads as calm when each zone has one primary container, one hanging spot, and one decorative object.
People often mix functions in one basket. That creates mystery and stress. If a basket is for mittens, keep mittens there. Choose containers that fit the scale. A narrow floating shelf reads cleaner than a deep one in a skinny hallway. Add an adhesive hook nearby for quick hangs.
Step 3: Use Vertical Space with Intent
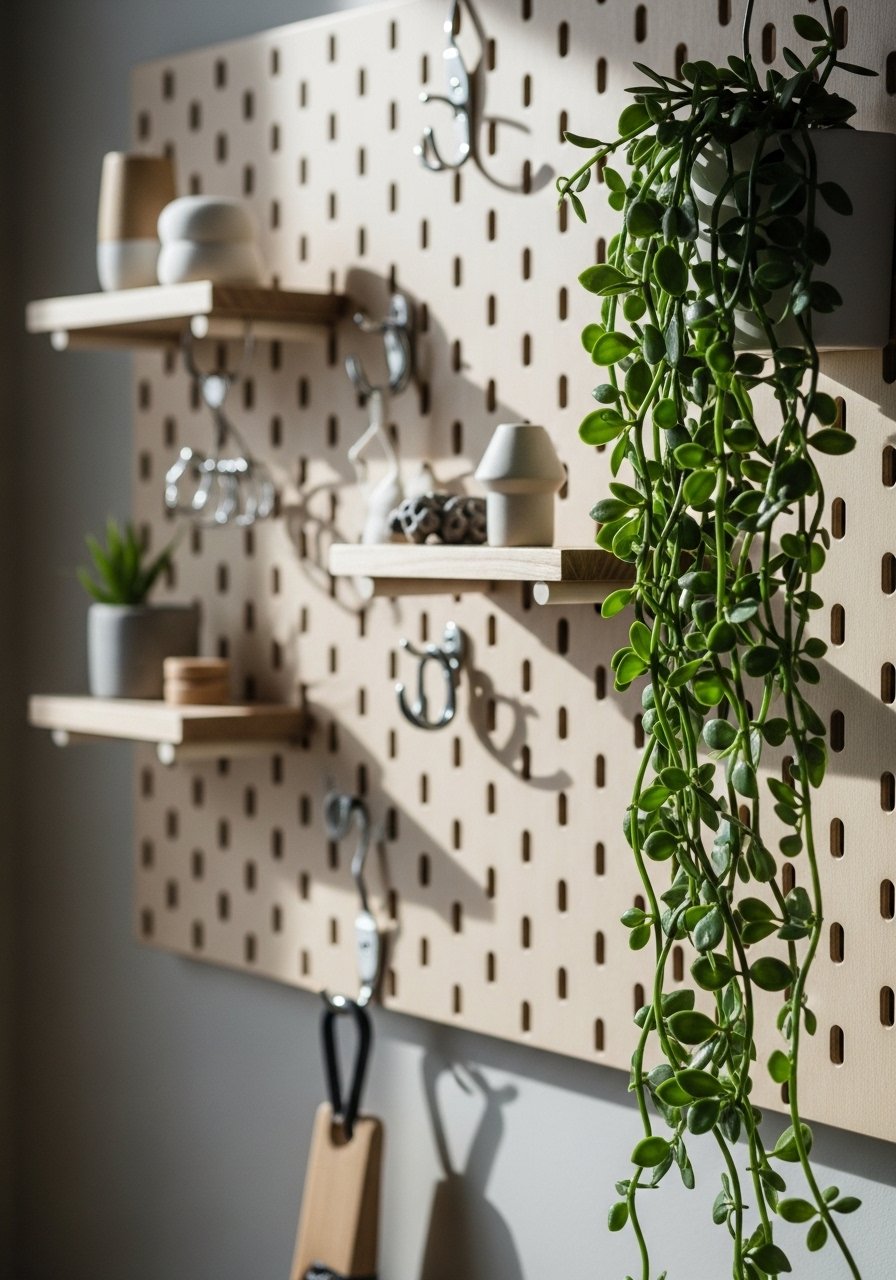
Most people start with the biggest item on the floor. That leaves walls empty. Mount floating shelves or a pegboard to move storage up. The visual change is a lighter floor and a layered wall. Small homes feel taller when storage climbs the wall in a measured way.
One insight I keep repeating is to stagger shelf heights by about 6 inches. It looks intentional rather than random. Mistake to avoid: overfilling upper shelves with heavy items. Keep heavier things lower, and decorative or lighter boxes higher. If you use a pegboard, choose metal hooks with rubber tips for a cleaner look.
Step 4: Choose Containers That Read Like Design
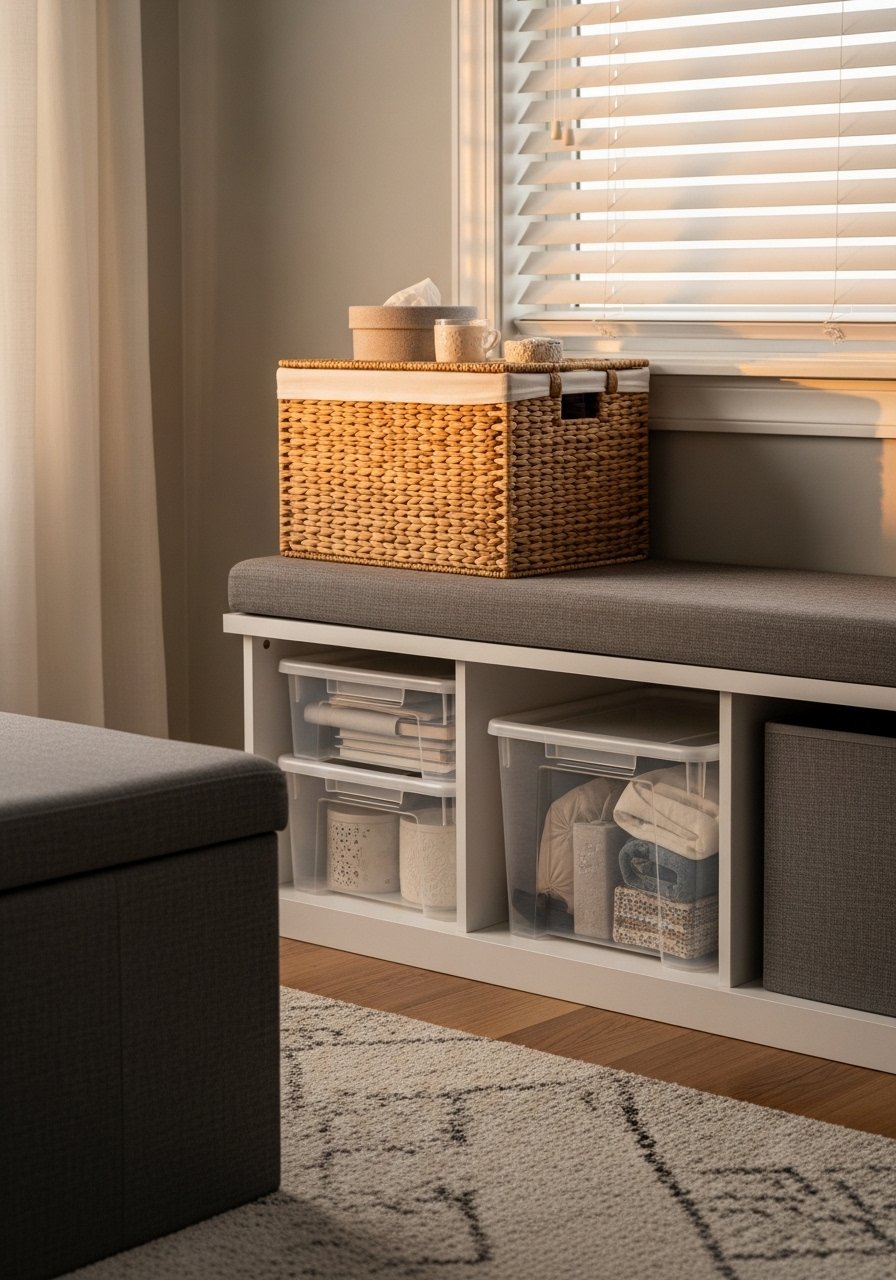
I used to grab whatever bin was cheap. Then I started matching materials. Woven baskets, linen bins, and clear tubs each tell a different story. The visual change is huge. Matching materials make clutter look curated.
A good test is to limit three materials in a small room. Too many finishes look chaotic. One mistake is buying oversized baskets because they feel cheaper. They swallow items and look clunky. Use the under-bed bag for flat items and the ottoman for bulky but infrequently used things. A stack of clear bins at the foot of a bed keeps things accessible but tidy.
Step 5: Edit Regularly and Make Small Rules
Set one rule you can keep, like "return keys to the top hook" or "one basket for incoming mail." I pick one small habit and train it for two weeks. The visual change becomes a calm rhythm rather than a chore.
People assume storage is a one-time fix. It is not. The mistake is making complicated systems you will not maintain. Keep labels simple, or skip them and use clear bins. For busy households, choose open baskets for frequently used items so they are easy to drop into. A little editing every Sunday keeps a small place from becoming a burden.
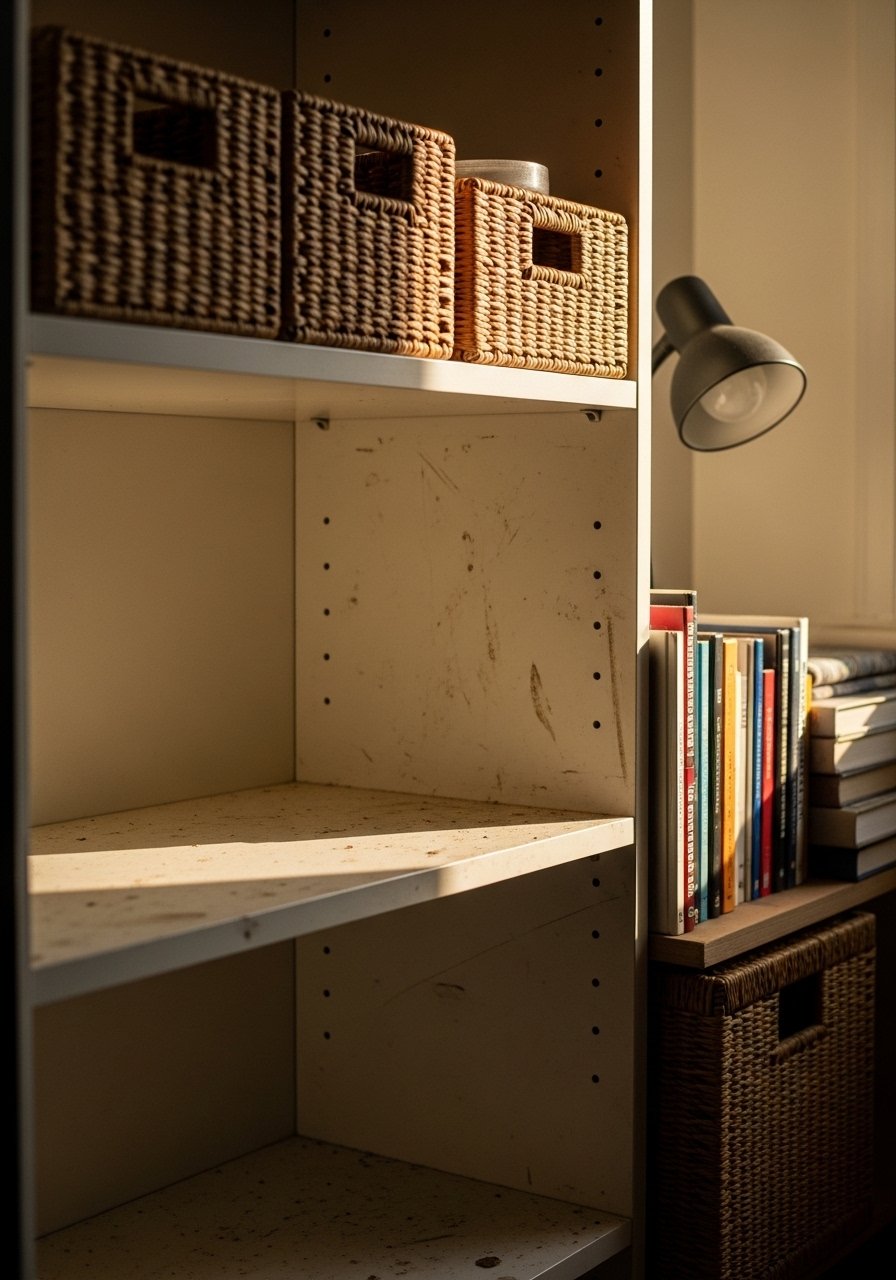
Why Your Shelves Still Look Cluttered After Styling
I've noticed shelves look messy when items are all the same depth. Depth creates rhythm. Mix thin and thick items. Place a thin stack of magazines behind a small vase to give depth. Leave negative space, about the width of a paperback, between groups so each cluster breathes.
Common visual missteps:
- Too many small things in one cluster. Aim for 3 to 5 meaningful items.
- Symmetry used all the time. Asymmetry feels more relaxed in small rooms.
- Ignoring scale. A giant vase on a tiny shelf looks top-heavy
Making This Work in a Very Small Room
I keep seeing compact solutions that act big. Focus on dual-purpose pieces and vertical storage. Quick wins:
- Use a slim bookcase as a room divider and storage
- Hang a pegboard instead of a bulky cabinet
- Swap a side chair for a storage ottoman for extra seating and concealment
If ceilings are low, mount shelves slightly above eye level to avoid crowding the floor. Low-profile rugs help make the space feel wider.
Mixing New Storage with What You Already Own
A friend asked me about blending family pieces with modern bins. Start by matching tones. Keep a single neutral color for storage containers, and use existing furniture as anchors. If a vintage chest is heavy, balance it with lighter woven baskets nearby.
Example: Place a woven basket under a mid-century console. Add a slim floating shelf above for daily items. That keeps the look cohesive and usable.
Start with One Nook
Choose one small spot and make it work. I always start at the entry or a single shelf. Set one rule and pick one container you like. Work in a 60-minute session. You will feel the improvement immediately.
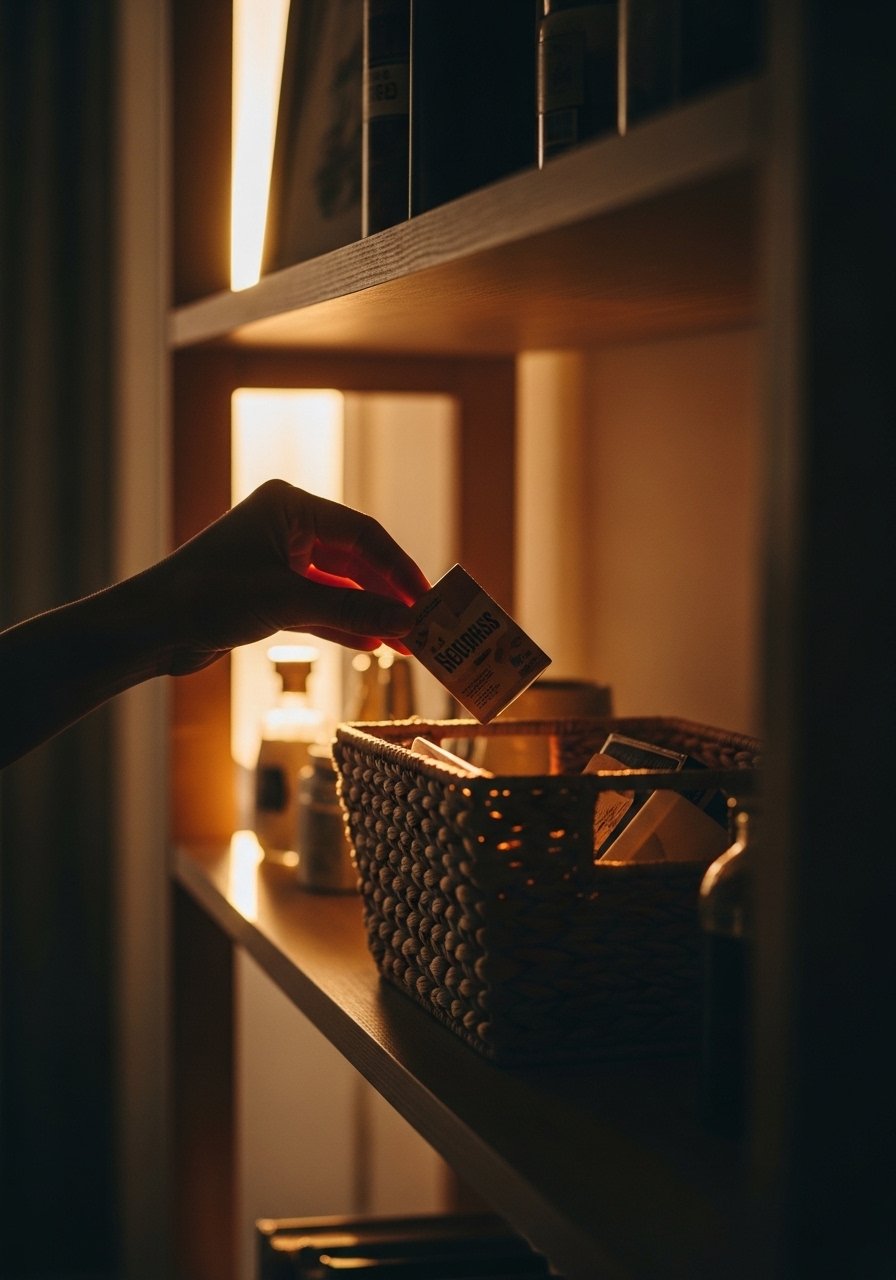
If you need a low-commitment swap, try a set of woven baskets to hide visual clutter and add texture. Small changes keep a small home feeling calm and lived-in.
