

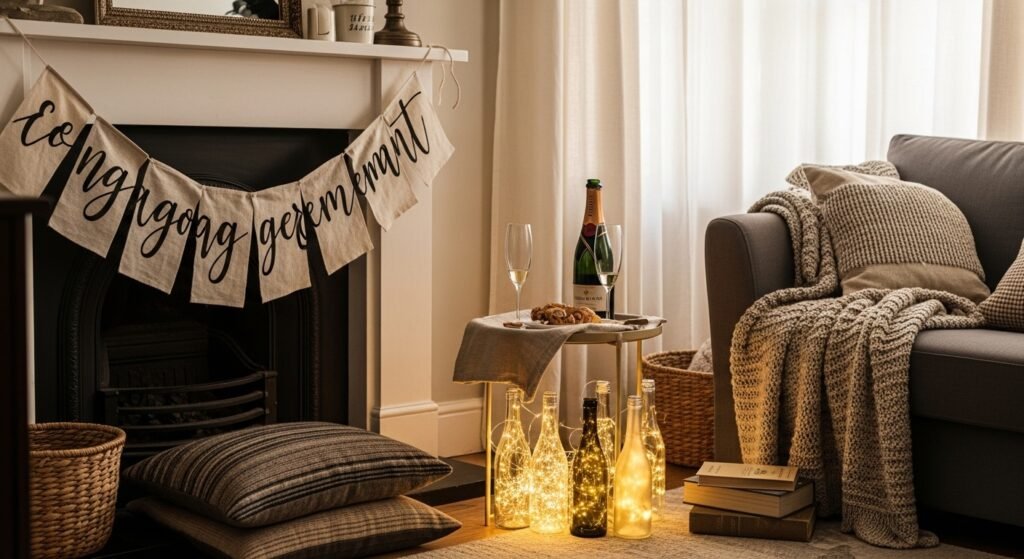
Spent $400 on an expensive wreath once for a party and it looked like a prop. For the engagement we hosted, I stopped trying to impress and started making things that actually felt like us. Little handmade bits, a tidy vignette here and a personal photo string there, turned an awkward living room into somewhere people lingered. Most of this is cheap, simple, and doable in an afternoon.
These ideas lean playful modern with a touch of rustic charm. Budgets run from free to about $60 for a splurge piece. They work across living rooms, dining tables, mantels, and entryways, and center on small handmade touches you can swap in for store-bought fluff.
Rustic Paper Garland For Living Room
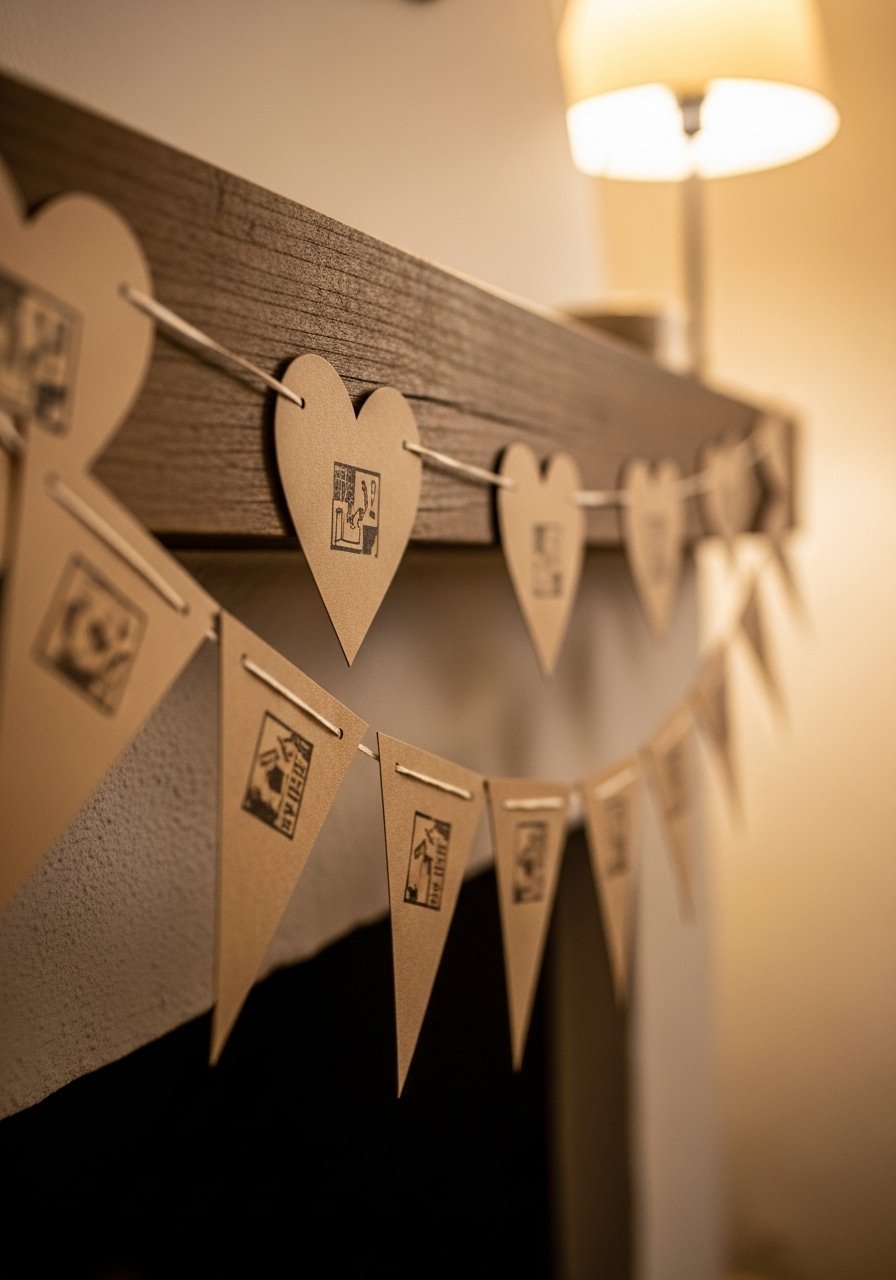
The moment I cut a stack of kraft paper into triangles and stamped our initials, the mantel stopped looking generic. This garland works visually because the scale matches the mantle length. Cut triangles 6 inches wide and space them 3 inches apart. It reads homemade without feeling messy when you stick to three repeating shapes. Budget is under $15 if you own a hole punch. I used cotton twine and a pack of kraft paper from Amazon, which made assembly fast. Kraft paper rolls are the backbone here. Common mistake is making pennants too small. Tiny pieces disappear in photos. Pair this with fairy lights for evening photos and keep color to an 80/20 ratio, one bold accent and the rest neutral.
Intimate Photo Timeline On The Staircase
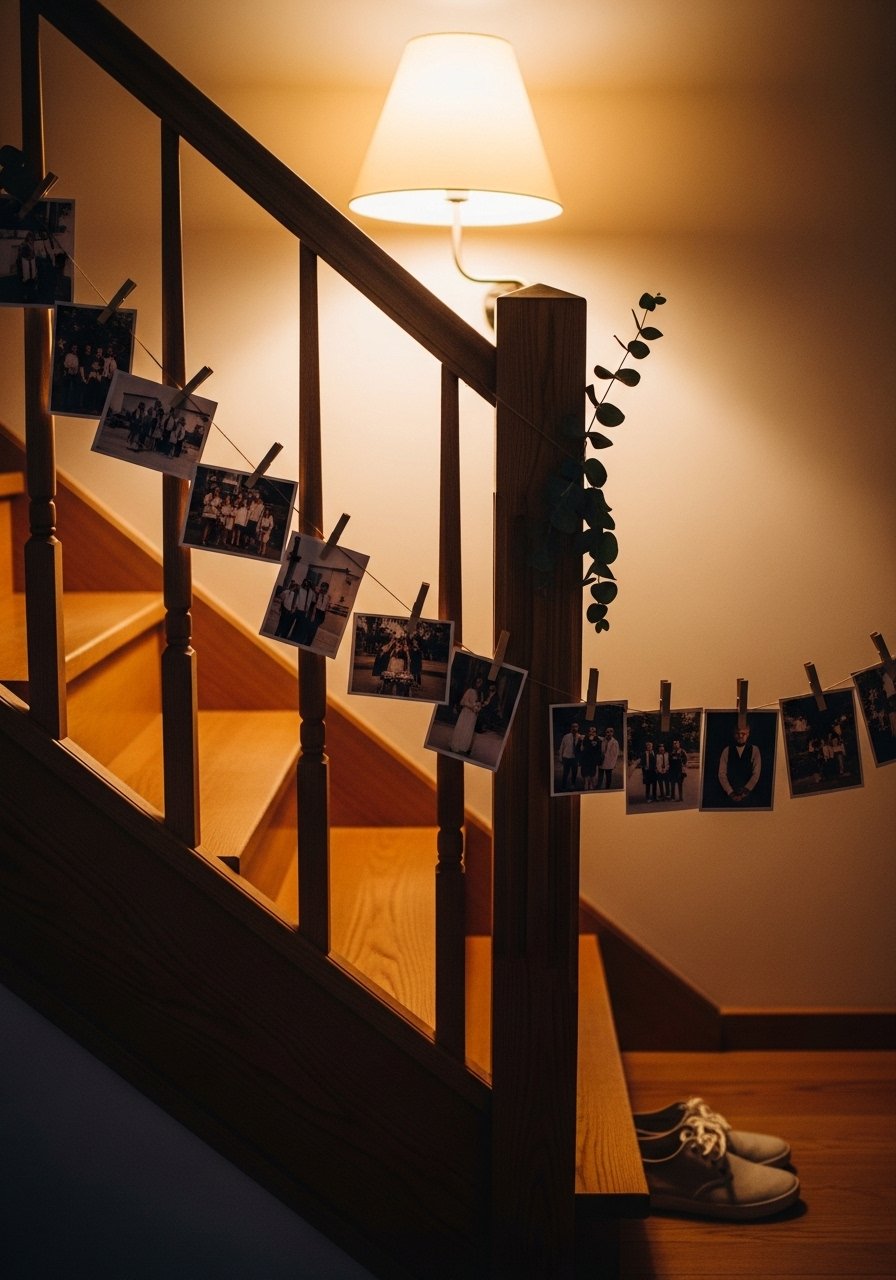
I printed 4×6 photos from the couple’s early dates through the proposal and clipped them along the stair railing. Using uniform 4×6 prints keeps things tidy and makes the timeline readable from a distance. Use two clips per photo to avoid flapping when doors open. Mini wooden clothespins are cheap and look intentional. Most people hang pictures too high. Keep the bottom row about 48 inches from the floor so photos sit at eye level during conversation. This idea solves the "what do we put on blank walls" problem and doubles as a conversation starter. If you have a long hallway, start the timeline there to lead guests toward the party space.
Champagne Corner With Handmade Labels For Dining
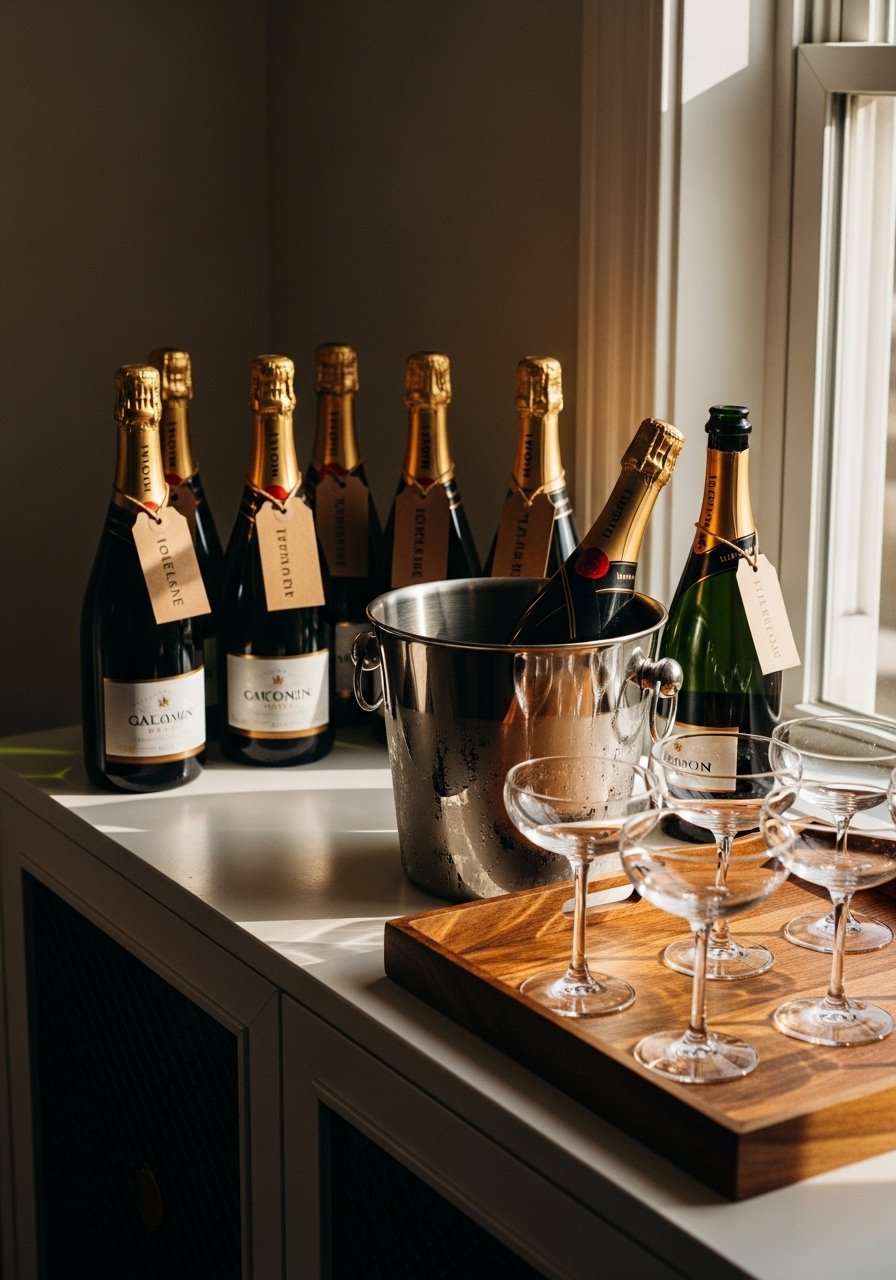
Setting up a dedicated champagne corner makes pouring casual and keeps guests from clumping around the kitchen. I printed simple kraft tags with a sharpie note for "Bride" and "Groom" and tied them with twine. Use an ice bucket, a wooden tray, and three coupe glasses for the rule of three on the countertop. Reusable champagne flutes make cleanup easier. A common mistake is overfilling the station with decor. Keep it to one sign, one ice bucket, and one floral sprig. Budget: $20 to $60 depending on glassware. For a personal touch, add a tiny framed print of the proposal date.
Mason Jar Posies For The Dining Table
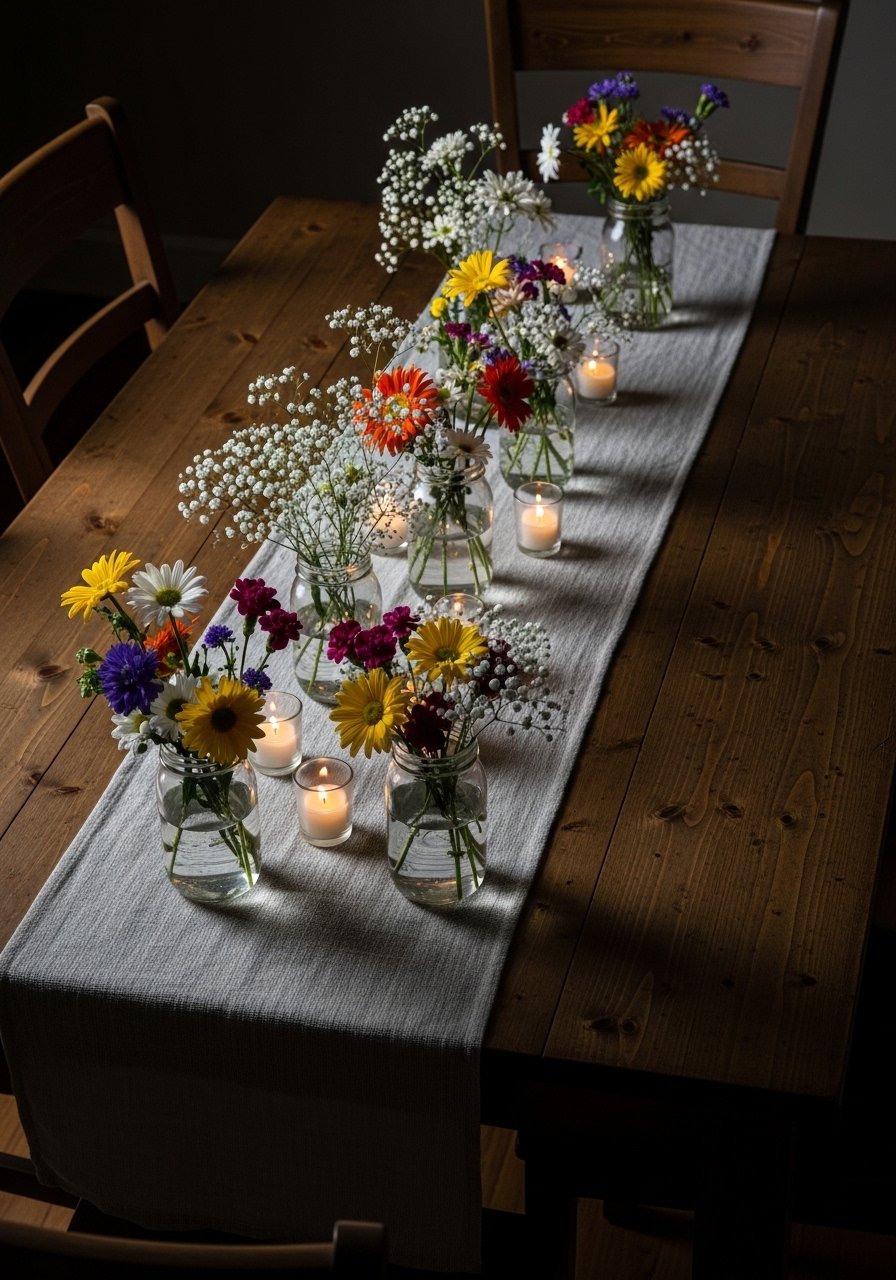
Fresh flowers feel costly until you split a grocery bouquet across multiple jars. I used three 16-ounce mason jars down the center, each with different short stems to create a casual staggered height. Cut stems at varying lengths, tallest in the middle jar, shortest on the ends. 16-ounce mason jars are cheap and dishwasher safe. Common mistake is over-arranging each jar. Keep clusters to 6 to 10 stems total per jar for a relaxed look. This works for dinner parties and the engagement cake table. If you want longer-lasting decor, mix one real jar with two faux eucalyptus jars.
String Light Bottles For Soft Ambient Lighting

I swapped blunt overhead light for a cluster of old wine bottles with tiny LED strings inside. The bottles act as diffusers and give a warm, flattering glow for photos and talking. Use a mix of clear and amber bottles for depth. Battery-operated fairy lights are safer and easier than cords. A common mistake is spacing bottles too far apart. Grouping them in odd numbers, like five, makes the light read as intentional. Budget under $30 if you already have empty bottles. These are great on mantels, windowsills, or tucked into planter corners for late-night ambiance.
Mini Chalkboard Signs For Food And Drinks

Hand-lettered mini chalkboards give food tables personality and reduce questions. I like small 4×6 boards set at plate level so guests can read them without bending. Use chalk markers for clean lines and easy corrections. Small slate chalkboards are inexpensive and reusable. People often write too much. Keep copy to three words or a short date to avoid cluttered signage. Budget under $20. This tip solves the "is this gluten free" panic and is especially useful for DIY dessert spreads where guests want to know what they are grabbing.
Linen Banner With Hand-Stitched Date For Mantel
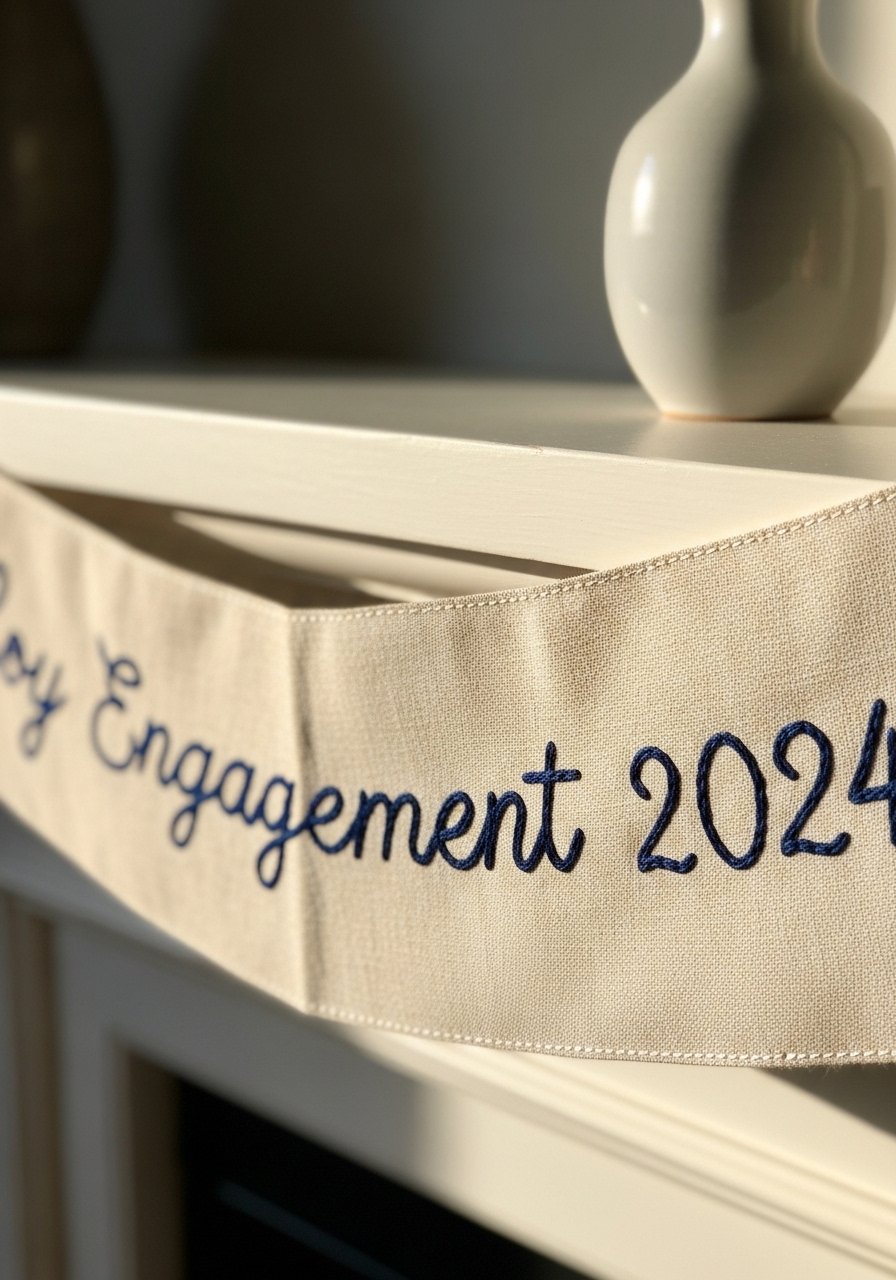
I sewed a simple linen banner with the engagement date in navy thread. The tiny running stitch took less than an hour and looks grown-up next to farmhouse decor. Cut each pennant to 7 by 9 inches and space 4 inches apart for a balanced mantel display. Linen fabric by the yard is affordable and keeps the banner light. Mistake to avoid is using floss that blends into the fabric. Pick a contrasting thread and keep the stitch length consistent for photos. Budget is about $12 to $40 depending on tools. This is a fresh angle a lot of party guides skip, and it stores flat for future anniversaries.
Ring Display Dish And Memory Tray For Entry
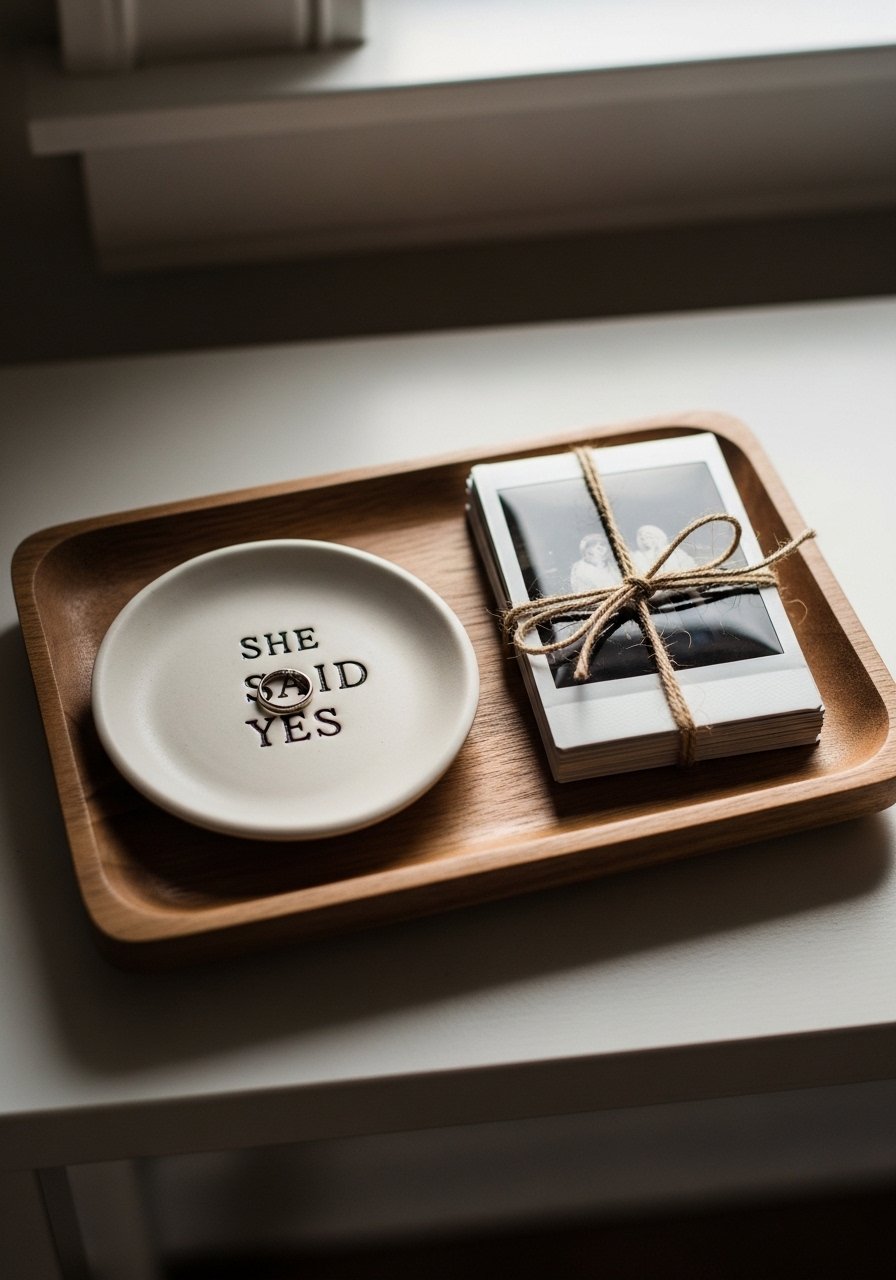
Make a tiny display where people can drop cards or rings for photos. I use a wooden tray with a small ceramic dish to hold the ring for safe keeping while guests take pictures. Ceramic ring dishes with simple text are affordable and feel special. The specific detail most guides skip is sizing: a 6×9 inch tray fits on a narrow console without crowding mail. A common mistake is crowding the tray with too many props. Keep one dish, one short stack of prints, and a pen. Budget under $30 and it doubles as a place to keep the proposal card afterward.
Balloon Cluster Upgrade With Tulle And Ribbon For Living Room
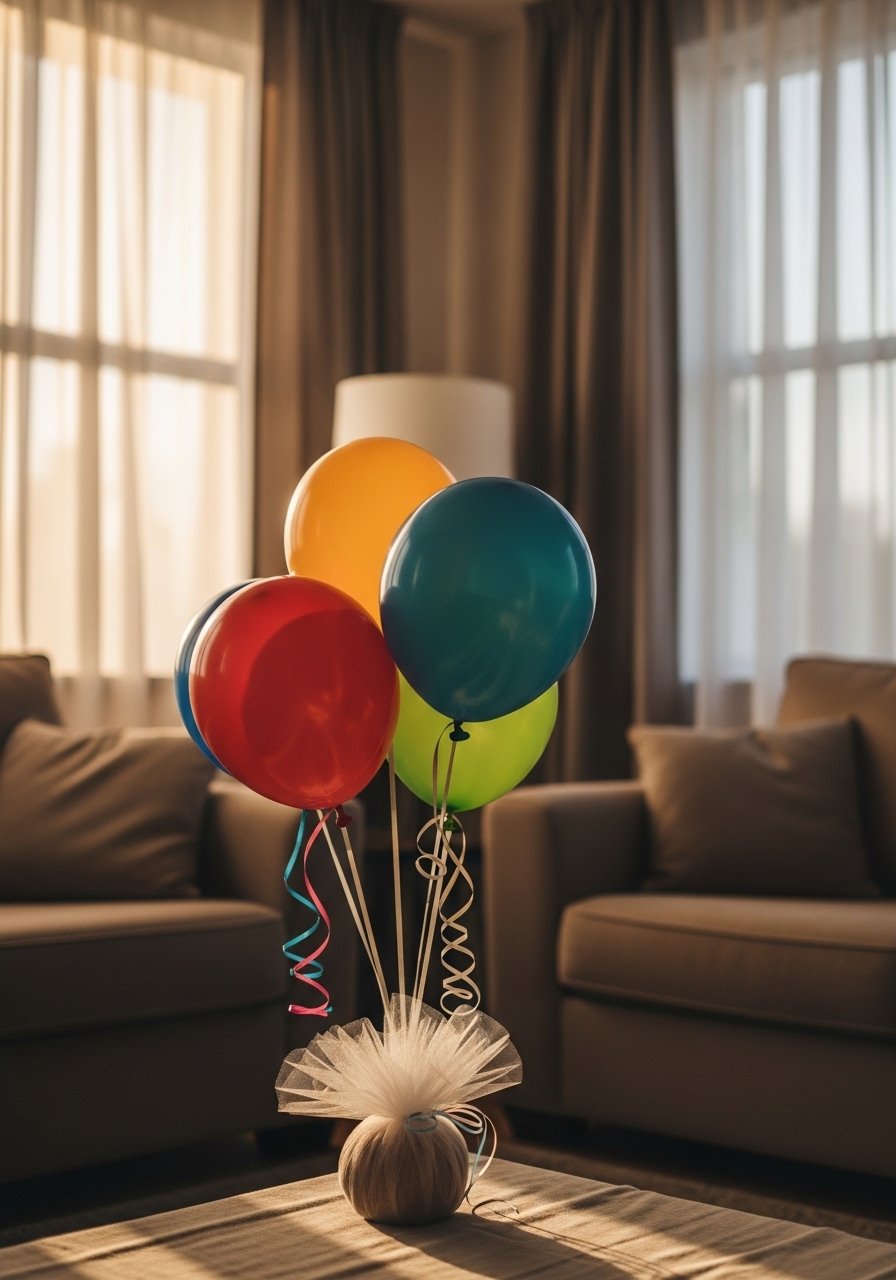
Balloons can look cheap fast. Wrapping the balloon weights in tulle and using varied ribbon lengths makes them read romantic rather than party-store. Use three balloons per cluster and vary the heights by 8 to 12 inches. Balloon ribbon set and a roll of tulle go a long way. The mistake I see is using too many balloons in a small room. Keep clusters to one or two corners or flank the photo backdrop with them. Budget around $15 to $40 depending on balloon type. This method keeps the vibe handmade and photo-friendly.
Your Decor Shopping List
Textiles
- Honestly the best $35 I have spent. Chunky knit throw blanket in cream for draping over a sofa to add texture
- For the banner and table linens, natural linen fabric by the yard (~$12 per yard)
Wall Decor
- For the photo timeline: mini wooden clothespins, pack of 50 so you can clip 4×6 prints without fuss
Lighting
- Battery-operated fairy lights, warm white for bottle lights and vignettes
Tabletop
- 16-ounce mason jars, set of 6 for posies and utensil holders
Signage
- Small slate chalkboards, set of 4 for food labels and tiny welcome signs
Ceramics
- Ceramic ring dish, small to keep the ring safe during photos
Most of these are available in-store at Target or HomeGoods if you want to touch before you buy.
Shopping Tips
Grab battery-operated fairy lights for any vignette. They look cozy and let you hide cords.
Mini clothespins are cheap. Buy an extra pack. You will need them for photos, place cards, and last-minute signage.
Buy 16-ounce mason jars as your go-to vase. They are dishwasher safe and serve as inexpensive centerpieces.
If you want better photos, pick warm bulbs over daylight bulbs. Warm LED bulbs make skin tones look nicer and make textiles read richer.
Curtains should either kiss the floor or puddle. For most homes, 96-inch linen panels are a safe, elevated length.
Frequently Asked Questions
Q: Can I mix paper garlands and fabric banners without it looking messy?
A: Yes. Keep color to an 80/20 rule, where 80 percent is neutral and 20 percent is your accent. Use matching twine or ribbon to tie the pieces together visually.
Q: How do I make a photo timeline feel cohesive?
A: Use identical print sizes, like 4x6s, and the same clip style. Space photos about three inches apart so the timeline reads as one installation instead of scattered snapshots.
Q: What size tray should I use for a ring dish and cards on an entry console?
A: Aim for a 6 by 9 inch tray on narrow consoles. It fits a ring dish, one small stack of Polaroids, and still leaves room for keys.
Q: Are battery fairy lights bright enough for photos?
A: For close-up vignettes they are. Place them behind objects to create a soft glow rather than as the primary light source. Combine with one lamp for better overall exposure.
Q: How many mason jar posies do I need for a standard six-person table?
A: Three jars spaced with one in the center and two offset work best. Use staggered stem heights and keep each jar to about 6 to 10 stems so the centerpiece feels relaxed.
