


My living room had nice furniture and decent lighting but it still felt like a waiting room. Took me embarrassingly long to figure out it was missing texture. Everything was the same height and nothing drew your eye up. Floating shelves fixed that by adding horizontal layers and a place to show the things that make the room mine.
These ideas drift modern farmhouse toward Scandinavian-clean, mostly under $50 with a few $100 splurges. Works for kitchens, entryways, bedrooms, bathrooms, and small apartments. People drop about $75 to get shelves up. Nearly half go floating to hide the mess behind.
No-Sag Kitchen Spice Rack Shelves, Modern Farmhouse
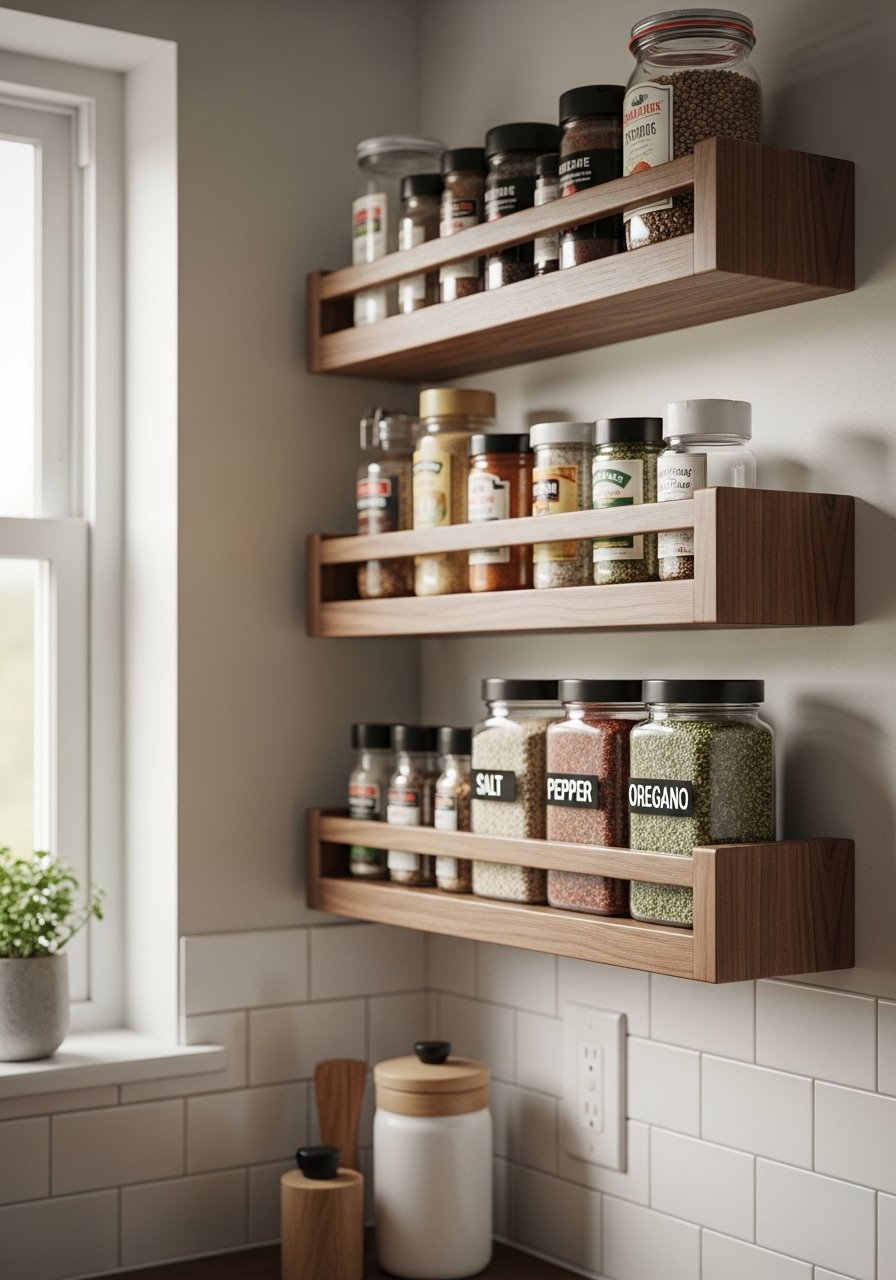
If your spice jars make a brittle mess on the counter, this is the shelf to build first. Use 3/4-inch pine cut to 8×24 inches and plan for hidden supports or a French cleat if you store heavier tins. I used heavy-duty shelf brackets in the back so the front looks like it floats while holding 20 to 30 pounds. A common mistake is making the shelves too deep for jars, which wastes wall real estate. Measure the jar height, then give 1-inch overhang in front and back to hide hardware. I used a set of heavy-duty shelf brackets from Amazon to speed the install and stained the boards walnut for that warm farmhouse feel. Most folks botch their first shelf, usually measuring wrong.
Entryway Minimalist Key Trio, Clean and Functional

My entry used to be a phone drop zone that looked like chaos. A trio of 6×18-inch Baltic birch ledges cleared the clutter and still looks intentional. Drill pilot holes if you are mounting on plaster or use a no-drill alternative for renters. I picked brass hooks and slim picture ledges to lean small prints, which solves the "too many nails" wall. Budget was under $60 and installation took 30 minutes. A rookie mistake is mounting them unevenly; use a laser level and 1/8-inch shims for walls that bow. If you are renting, try heavy-duty command strips rated for picture frames, they hold surprisingly well when paired with a shallow ledge.
Living Room Book Ledge at Eye Level, Scandinavian Reading Nook

I wanted my favorite reads visible, not hidden on a shelf. Mount a shallow book ledge at 60 to 72 inches and let covers face out. Use oak-veneer 1×10 boards and an Everbilt-style cleat or internal bracket so the ledge can hold 40 pounds of hardcover books. The design goal is one third empty space, two thirds filled across the shelf to avoid clutter. Buy pre-cut boards if you hate the table saw. A mistake is making the ledge too shallow for thicker books, so keep it at least 8 inches deep for most living rooms. Pair this with the gallery ledge idea later for a layered wall.
Bathroom Towel Shelf With Lip, Coastal Bath Upgrade
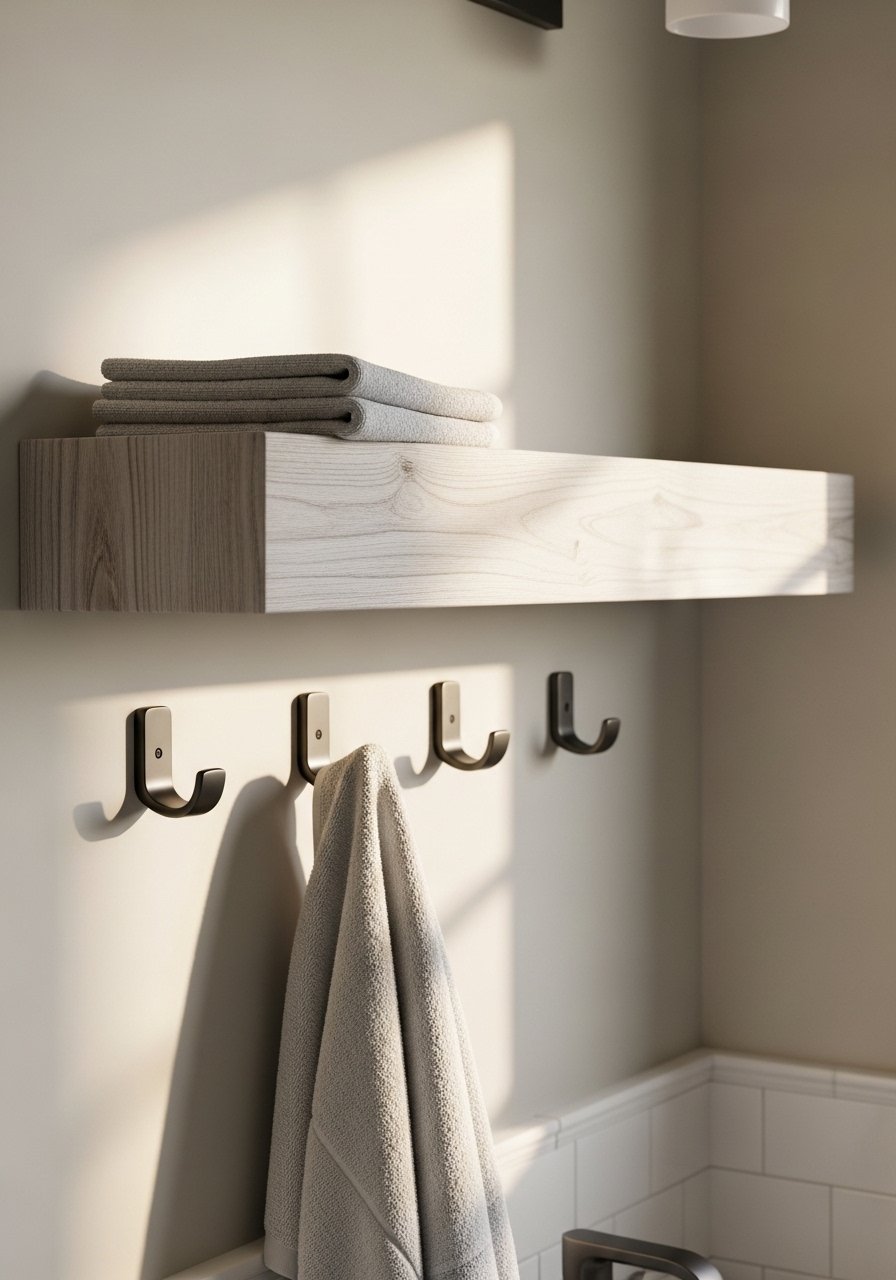
Wet towels slide off thin ledges. I built a cedar shelf with a 1-inch lip on the front to stop slippage and treated it with a waterproof satin topcoat so it survives steam. Use 1×6 cedar for an 8 to 10-inch depth and hidden brackets or an IKEA-style support if you want a quick hack. The lip doubles as a place to fold a towel neatly, and cedar smells nice. Budget was about $30. Don’t skip sealing the underside near the wall or you will see water stains over time. For renters, short tension shelves under the towel bar can hold rolled towels without drilling.
Nursery Low Toy Display, Kid-Height Boho
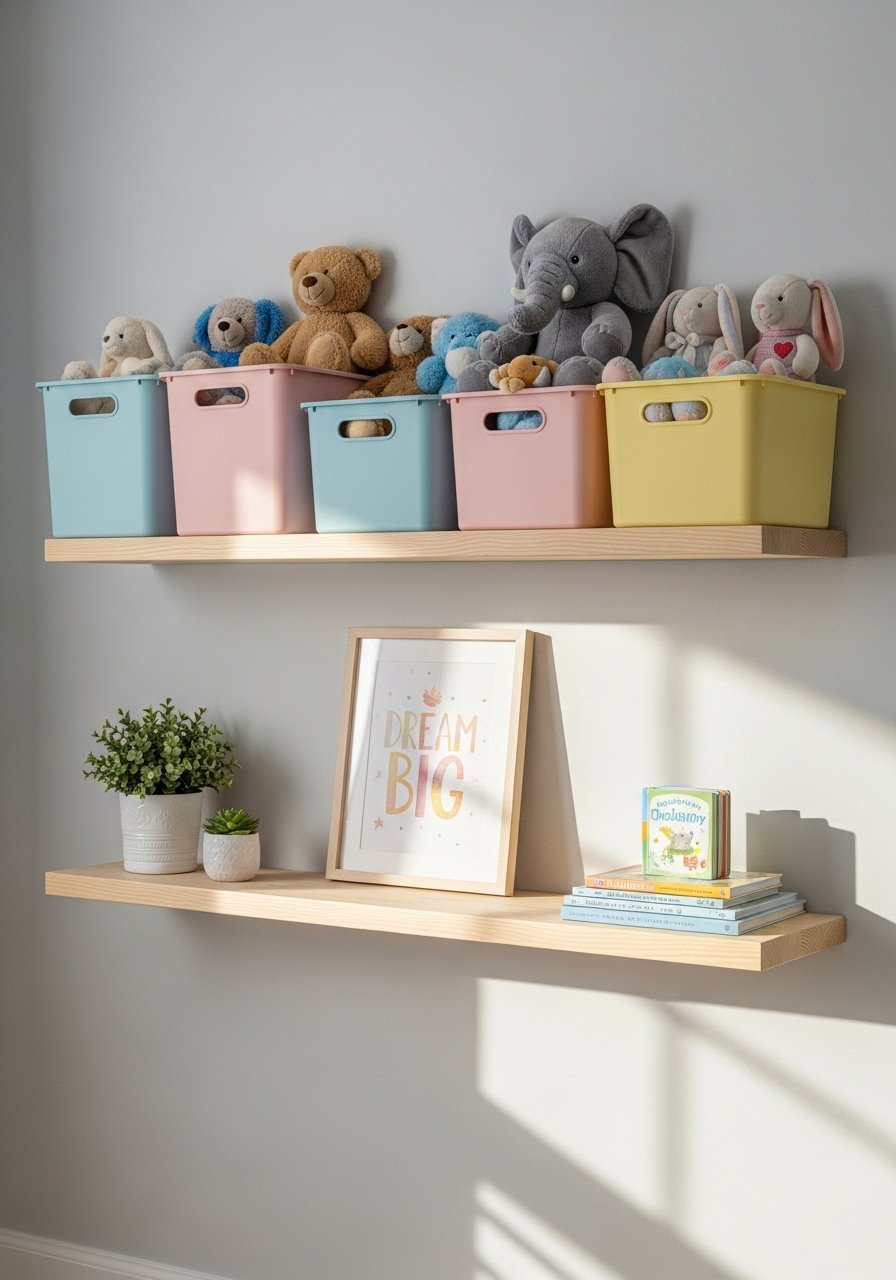
Kids pull things down, so mount toy shelves at kid height and anchor everything. I used poplar 3/4×12 boards, painted them a fun color, and anchored the cleat into studs with toggle bolts. The shelf depth was 12 inches so bins fit snugly without falling. A real trick is rounding edges with a 1/8-inch router bit so little heads and hands are safer. Budget ran $60 to $120 depending on bins. If you have a toddler, add a metal L-anchor under the shelf for extra hold. This setup makes cleanup feel like a game for small kids.
Floating Nightstand Shelf, Industrial Bedroom Hack
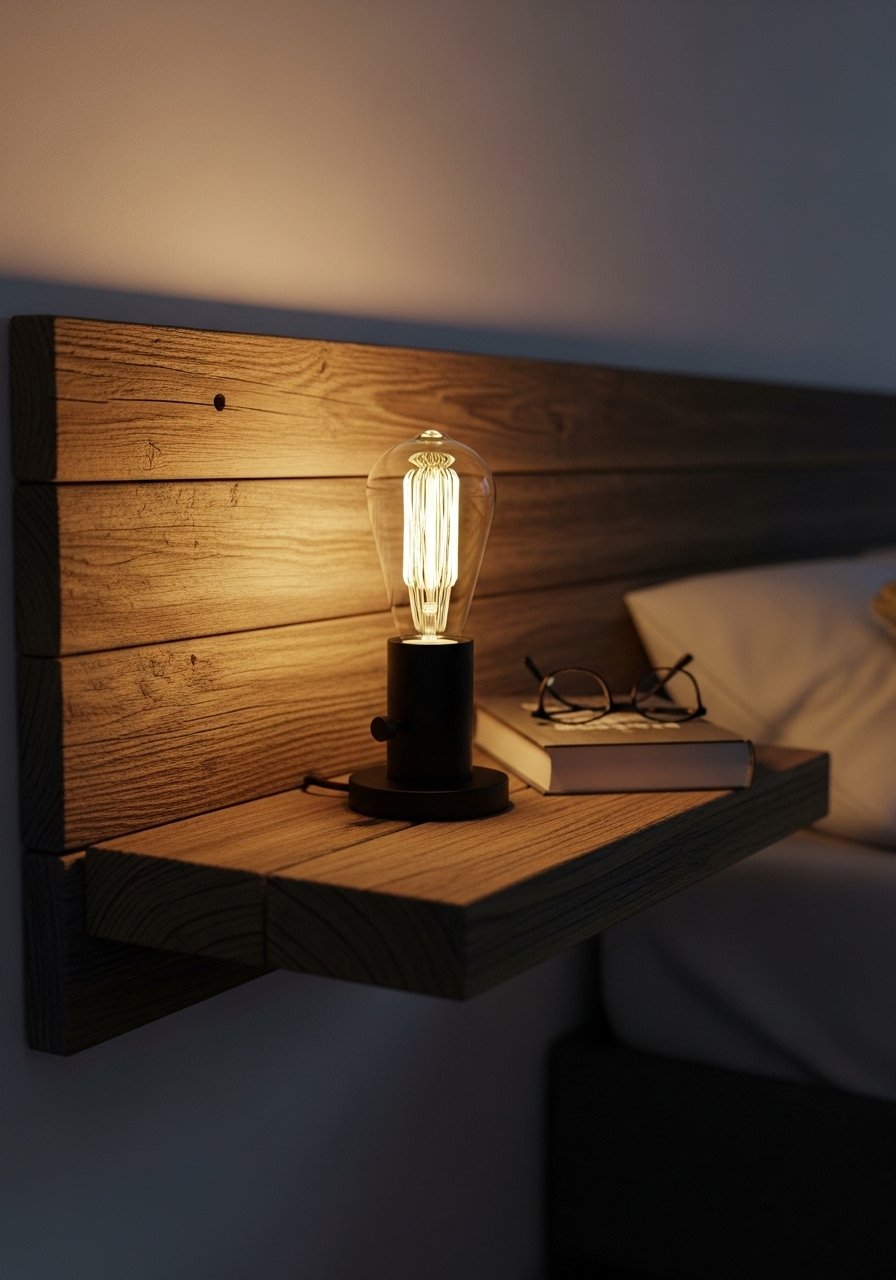
I ditched a clunky nightstand by adding a single wall shelf at the right height beside the bed. Reclaimed wood about 12×8 inches with pipe-style hardware makes it feel industrial. One wide plank, sanded, sealed with matte wax, and mounted into studs is all you need for a compact night caddy. Common faults are picking a board too thin; 3/4-inch is the sweet spot. Budget is $35 to $70 depending on hardware. If your walls are drywall, use anchors rated for the weight of a lamp and a stack of books. This is perfect for small bedrooms that need floor space.
Gallery Wall Ledge, Transitional Art Display
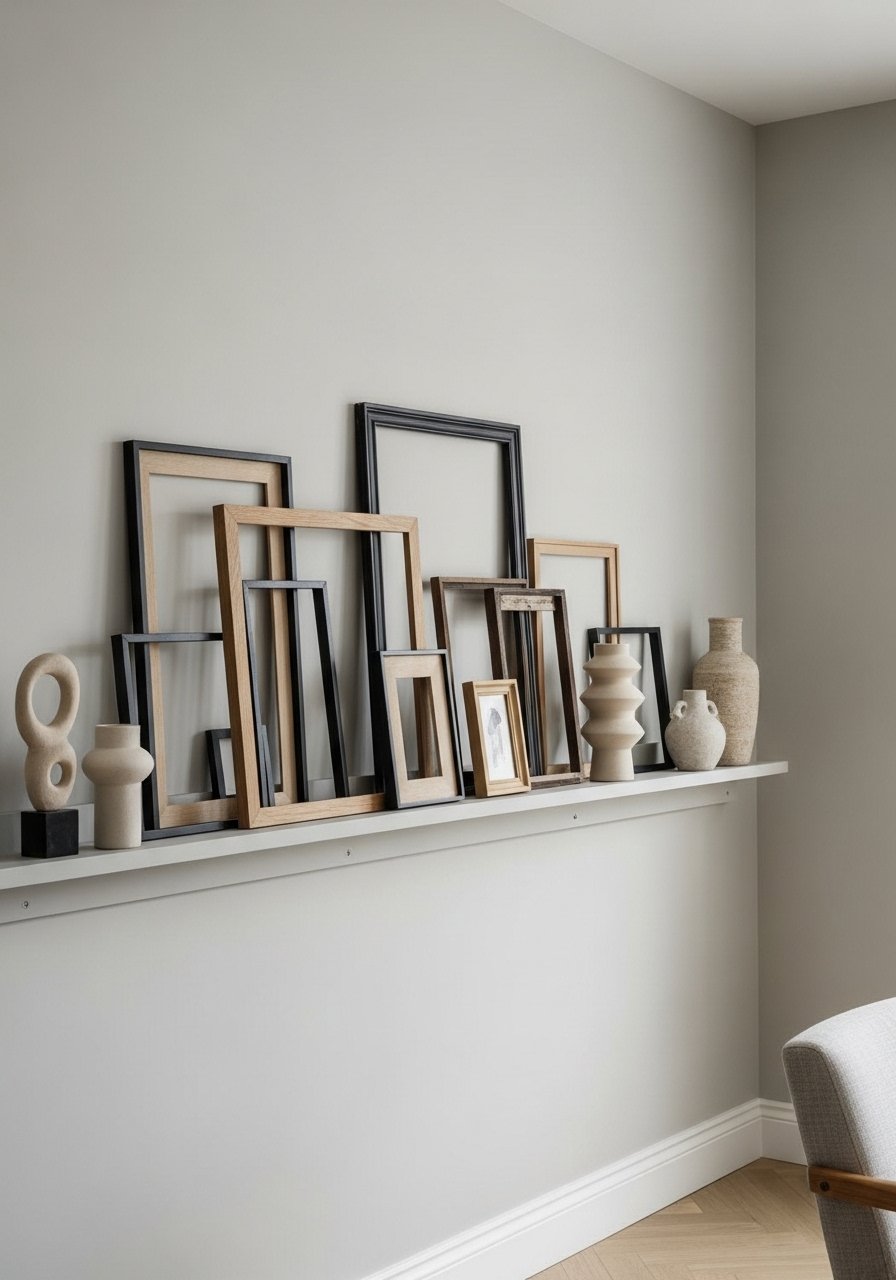
I hate drilling a hole for every frame, so I made a gallery ledge to lean art and swap pieces easily. Use MDF 7×24 shelves painted in a matte finish and mount at staggered heights with 12 to 16 inches between rows for balance. The rule of thirds works here: group odd counts of items and leave one third of the ledge intentionally empty. I used brass picture ledges to hold smaller prints and a set of mixed metal frames to avoid matchy-matchy vibes. Budget sits $45 to $90. A common mistake is overfilling the ledge; leave breathing room so each piece reads.
Deep Pantry Dry Goods Shelves, Organized Pantry Joy

Canned goods roll if your shelves are too shallow. I built 18-inch deep maple shelves with Blum invisible brackets so they look seamless and handle weight. For heavy loads pick 1-inch overhangs and edge-glued panels to reduce sag. Space vertically 12 to 16 inches to fit cereal boxes and mason jars. Budget is $70 to $140 for materials. Many skip load testing and end up with sag; test one shelf with 40 pounds before finishing the whole set. Drawer-style wire baskets under lower shelves help with overflow and keep dust down.
Outdoor Patio Plant Ledge, Weatherproof Display
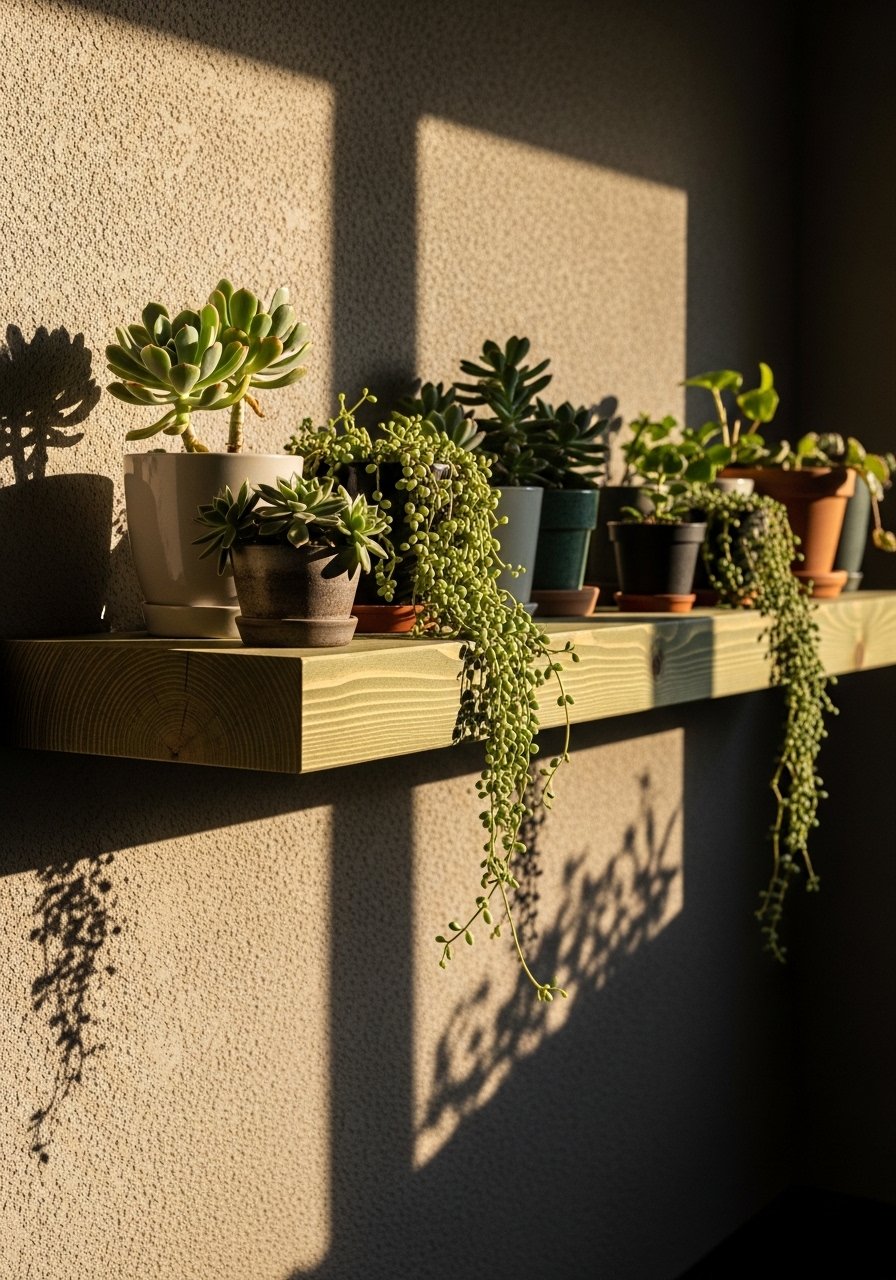
An outdoor ledge turns a bland fence into a green wall. I used pressure-treated pine sealed with a waterproof stain and stainless steel hidden brackets to resist rust. Keep boards 10 to 12 inches deep for planters and allow a 1/4-inch gap at the back for drainage airflow. Budget $20 to $50. Don’t use interior wood or water will rot it fast. If you need renter-friendly options, tension-mounted corner shelves work on covered balconies. For heavy pots switch to a French cleat at a 45-degree angle for a stronger hold.
Home Office File Shelf Duo, Modern Productivity
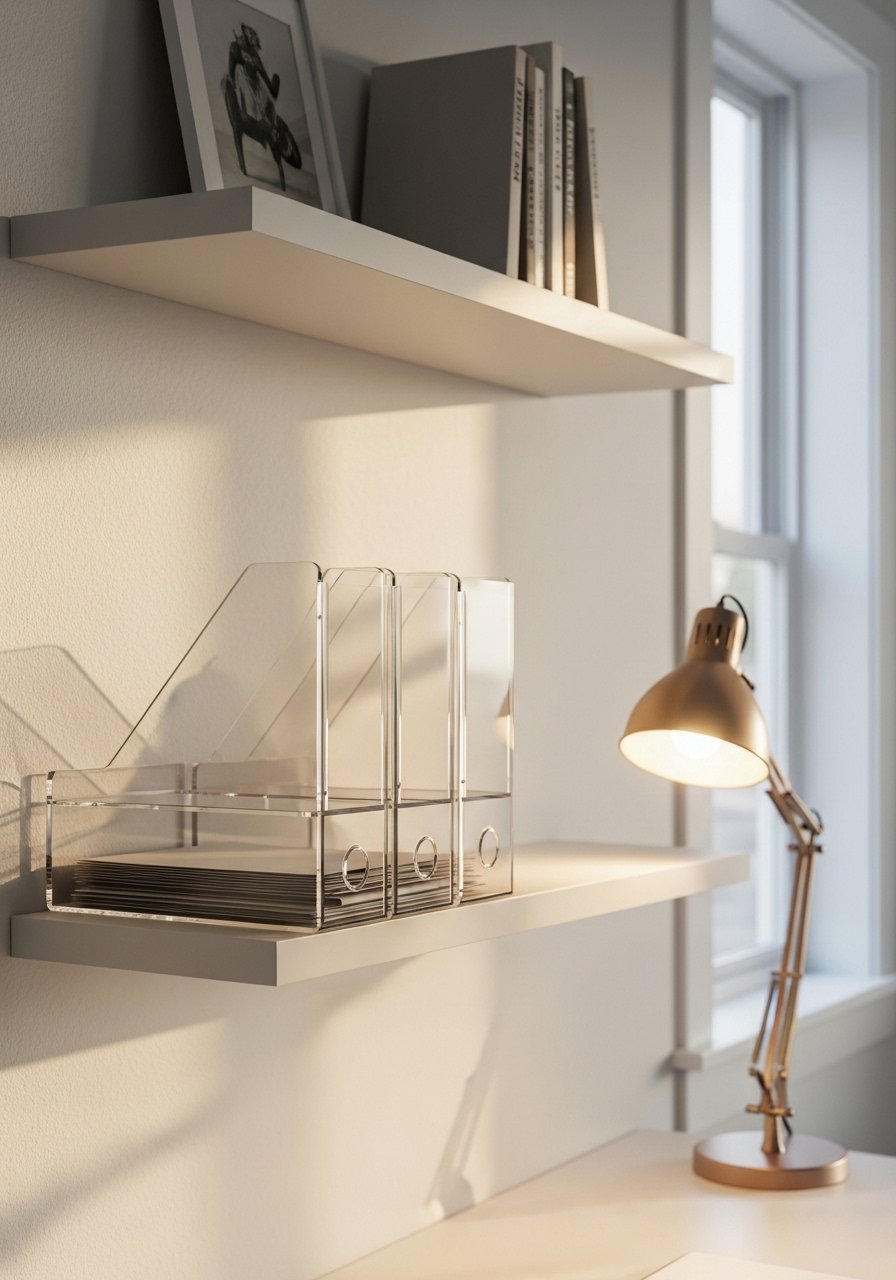
Cluttered desks make work feel messy. Mount two floating shelves at desk level for active file holders and a small plant to balance the setup. Acrylic file holders on 10×16-inch shelves keep papers visible and reachable. I used no-mar brackets so the shelves do not slide and kept spacing at 12 inches to stack binders. Budget runs $50 to $100. A mistake is placing the shelf too high, which causes you to reach and drop things. If your walls are thin plaster, toggle bolts are the safer anchor choice.
Mudroom Boot Shelf With Drip Edge, Farmhouse Entry

Wet boots ruin floors. I made a cedar shelf with a 1-inch drip lip and slotted gaps so water drains through to a tray below. Cedar holds up to moisture and looks rustic. Use galvanized brackets or a cleat anchored into studs and plan for 12-inch clearance above so boots fit. Budget about $40 to $80. A usual mistake is leaving the shelf level front to back, which traps water. Slight tilt to the tray area helps runoff. This pairs well with the towel shelf idea for a cohesive utility wall.
Horizontal Wine Bottle Display, Industrial Living Room Accent
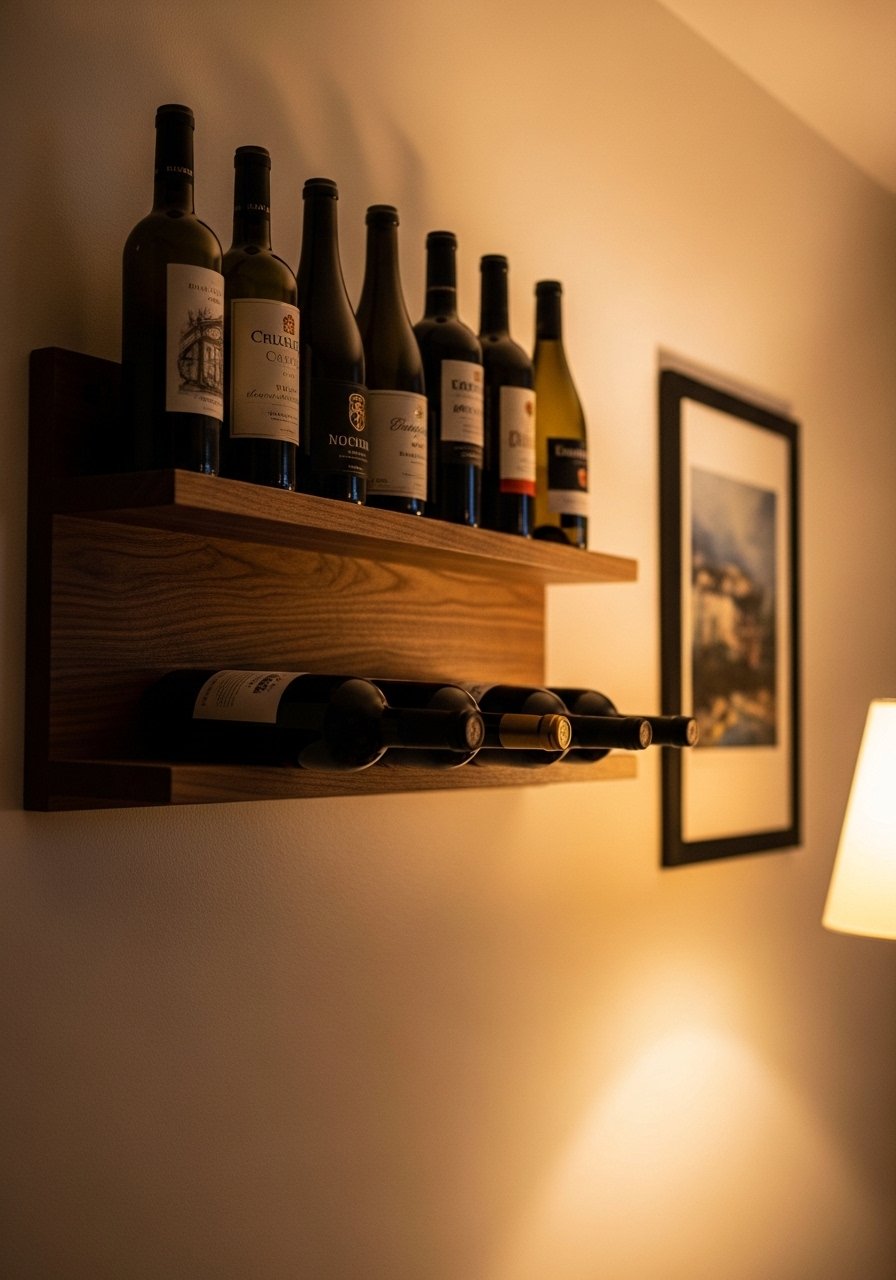
I wanted bottles to be part of the decor, not hidden in a cabinet. A walnut 12×36 floating shelf with bottle slots turned wine into art. The shelf sits on a cleat and supports the weight of several bottles without sag when built with edge-glued plywood. Keep bottle slots about 3.5 inches wide and space shelves vertically 12 to 14 inches if you include stemware. Budget $55 to $110. Avoid particle board for this project because it will bow under weight. If you rent, a freestanding top-shelf display plus wall anchors is a compromise.
Your Decor Shopping List
Textiles
- Honestly the best $40 I have spent. Chunky knit throw in cream in a 50×60 size for layered sofas
- 22-inch down-filled linen pillow covers in oatmeal and slate, mix with cheaper inserts from Target
Wall Hardware
- Heavy-duty shelf brackets for no-sag kitchen builds, set of two
- French cleat hanging kit 45-degree cut style for heavier shelves
Finishing & Protection
- Waterproof satin wood finish for bathroom and outdoor use
- Edge banding tape, oak for cheap boards to look custom
Organization
- Acrylic file holders set of 2 for office shelves
- Brass picture ledges set of 2 to lean frames without new holes
Shopping Tips
Bold finish matters. These white oak floating shelves look current, not dated. Pick oak or walnut for warmer tones.
Grab heavy-duty command picture strips if you are renting. They hold a surprising amount when used with a shallow ledge.
For towels and outdoor wood, use a sealer. Exterior wood sealer prevents stains and stops dog-nose wear faster than stain alone.
If you hate cutting wood, buy pre-cut baltic birch panels. Pre-cut baltic birch shelves save time and avoid splintered edges.
One big plant beats five small ones. Get a 6-foot faux fiddle leaf fig for corners that need height without maintenance.
Frequently Asked Questions
Q: How do I stop floating shelves from sagging under books?
A: Use 3/4-inch thick boards and hidden back supports or a French cleat. A 45-degree cleat cut holds more weight and keeps shelves level long term. Test with weight before finishing to avoid surprises.
Q: Can renters have floating shelves without drilling holes?
A: Yes. Heavy-duty command strips paired with shallow ledges work for light items. For heavier loads use tension-mounted options or freestanding ledges that rest on top of furniture instead.
Q: What wall anchors should I use for plaster or drywall?
A: Use toggle bolts for thin plaster and heavy anchors rated for 50 pounds for drywall. If you can hit studs, screw into them. Also check with a stud finder because studs are not always where you expect.
Q: How high should I mount a book ledge or gallery shelf?
A: Mount most ledges between 60 and 72 inches from the floor for eye-level viewing. For a reading nook set the shelf at about 65 inches so covers face forward and read naturally.
Q: How do I make shelves kid and pet proof?
A: Round the front edges with a router, anchor cleats to studs, and use polyurethane or waterproof sealers near wet areas. Add L-anchors under lower shelves and pick finishes that resist nose oils and fingerprints.
