


My living room had nice furniture and decent lighting but it still felt like a waiting room. Took me embarrassingly long to realize my tiny houseplants needed a scene to live in, not just a pot. These fairy garden crafts lean cottagecore with a bit of thrifted edge, most projects run under $50, and they work on a balcony, kitchen windowsill, or a backyard stump.
Clustered Polymer Clay Toadstools For A Mini Forest Feel

The classic red toadstool cluster is what stopped me from buying plastic minis. Make 3 to 5 mushrooms, each 1 to 2 inches tall, to keep scale right. I bake Sculpey-style clay at 275F for about 15 minutes per inch of thickness, then seal with a thin coat of Matte Mod Podge so rain or watering won’t make the paint run. A common mistake is making caps too large for the base. Keep stems short, glue them into a 1/2 inch play dough layer so they don’t tip, and tuck them beside a twig arbor for a believable forest corner.
Twigs And Wood Slice Swing For Playful Motion

I built this swing from gathered twigs, a 1-inch wood slice seat, and jute twine. Wrap thin craft wire where the twigs meet so it holds under a kid’s curious poke. Use natural jute twine and drill two tiny holes in the wood slice seat for secure knots. The trick is keeping the swing small, about 2 to 3 inches across, so it reads as a detail not a toy. If your garden keeps shifting, set the whole thing on a 10-12 inch terracotta saucer to stop tipping when little hands reach in.
Toilet Paper Roll Cottage Stack For Quick Rustic Charm

If you have a pile of toilet rolls, this is the fastest cottage I have built. Stack a TP roll with a 2-inch seed starter pot for the roof, paint with craft acrylics, and glue felt scraps for doors. For renters, avoid heavy glue on furniture by anchoring the stack to a terracotta saucer instead. Most folks grab toilet rolls or cups before buying anything new, and this is why. Keep roofs waterproof by sealing the paint if it will live outdoors.
Pea Gravel Path With A Mini Faux Pond To Guide The Eye
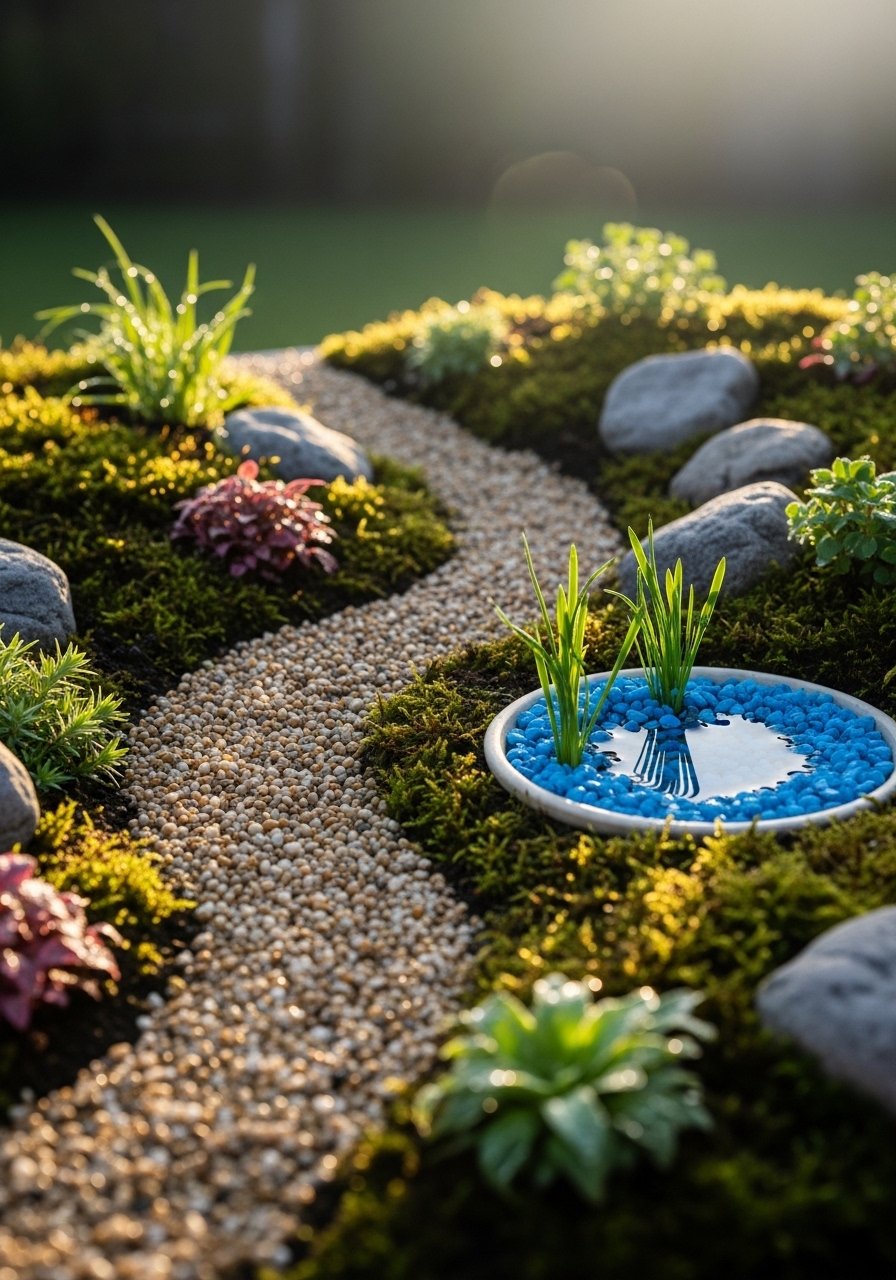
Paths make these scenes readable. Lay pea gravel in 1/4 to 1/2 inch wide strips and use a tiny shallow dish filled with blue aquarium gravel for a pond. I used a 10-12 inch terracotta planter plate as the base so everything stays contained. Use aquarium gravel for color that won't wash out. People usually drop about 25 bucks to kit one out, and a bag of pea gravel goes a long way. A mistake I see is making paths too wide for the scale, which flattens the scene.
Beaded Pipe Cleaner Garland For Draping Over Arbors

Kids can make this while you sip coffee. Thread pony beads onto pipe cleaners, twist the ends, and drape the garland over an arbor or swing. Use bright but muted tones so it reads like a playful detail instead of a toy. I buy plain pony beads and cut the pipe cleaners to 3-inch sections. The beaded garland looks best paired with a cluster of three accessories, like a bench, lantern, and swing. If you intend the garden for outdoors, pick acrylic beads that resist fading.
Upcycled Plastic Cup Bridge Over A Gravel Stream

This bridge started as trash and ended up being the centerpiece for my nephew’s fairy route. Cut recycled cup halves, flatten, and glue craft sticks across for traction. Anchor each end into the play dough base 1/2 inch deep so it does not slide. Use craft sticks and hot glue for a fast build. The common error is skipping reinforcement under the bridge which leads to sagging when the kids test it. Make the arch low, about 1 to 1.5 inches tall, so it matches the scale.
Four-Step Clay Pot Fairy House That Holds Up Outdoors

Stacking 3 to 4 terracotta pots is my go-to when I want a durable tiny home. Paint, distress with sandpaper, and seal with outdoor Mod Podge. For short-term outdoor use this holds much better than paper houses. Start with a 10-12 inch saucer base so the stack is stable, and use a dab of hot glue between pots if pets or kids are around. One thing competitors skip is the sanding step; it makes paint stick and gives a lived-in texture.
Twigs Arbor Entrance To Frame Your Scene

An arbor at the entry draws you into the mini garden. I bundle twigs and secure them with thin floral wire, then wrap sheet moss to hide the ties. Aim for 4 to 6 inches tall so the proportions feel right against 1-3 inch accessories. Use floral wire for a cleaner look than hot glue alone. If you pair this with a pea gravel path it immediately reads like a deliberate entrance rather than a random decoration.
Pom Pom And Felt Lakes For Kid-Friendly Sparkle
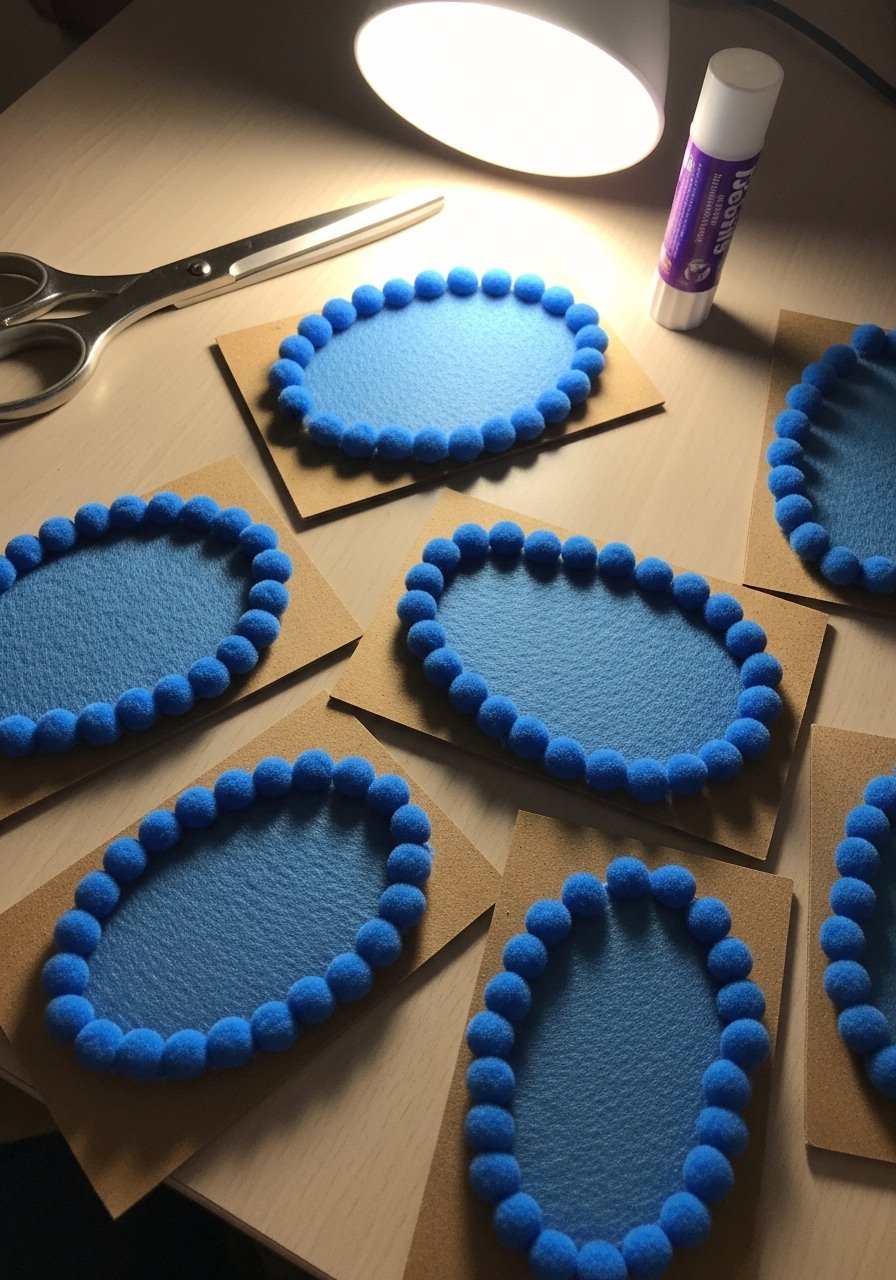
For an indoor tray that survives toddler storms, glue pom poms to felt ovals and press them onto cardboard. Use a tiny dab of tacky glue and seal with a clear acrylic sealer if the tray will be outdoors temporarily. I picked a mixed-color pom pom pack and trimmed felt so the lakes sit flush with the base. The mistake to avoid is using thin paper bases outside; they fall apart in a single rain. This idea pairs nicely with the toilet roll cottages.
Thrifted Metal Cage Village For Pet-Proof Display
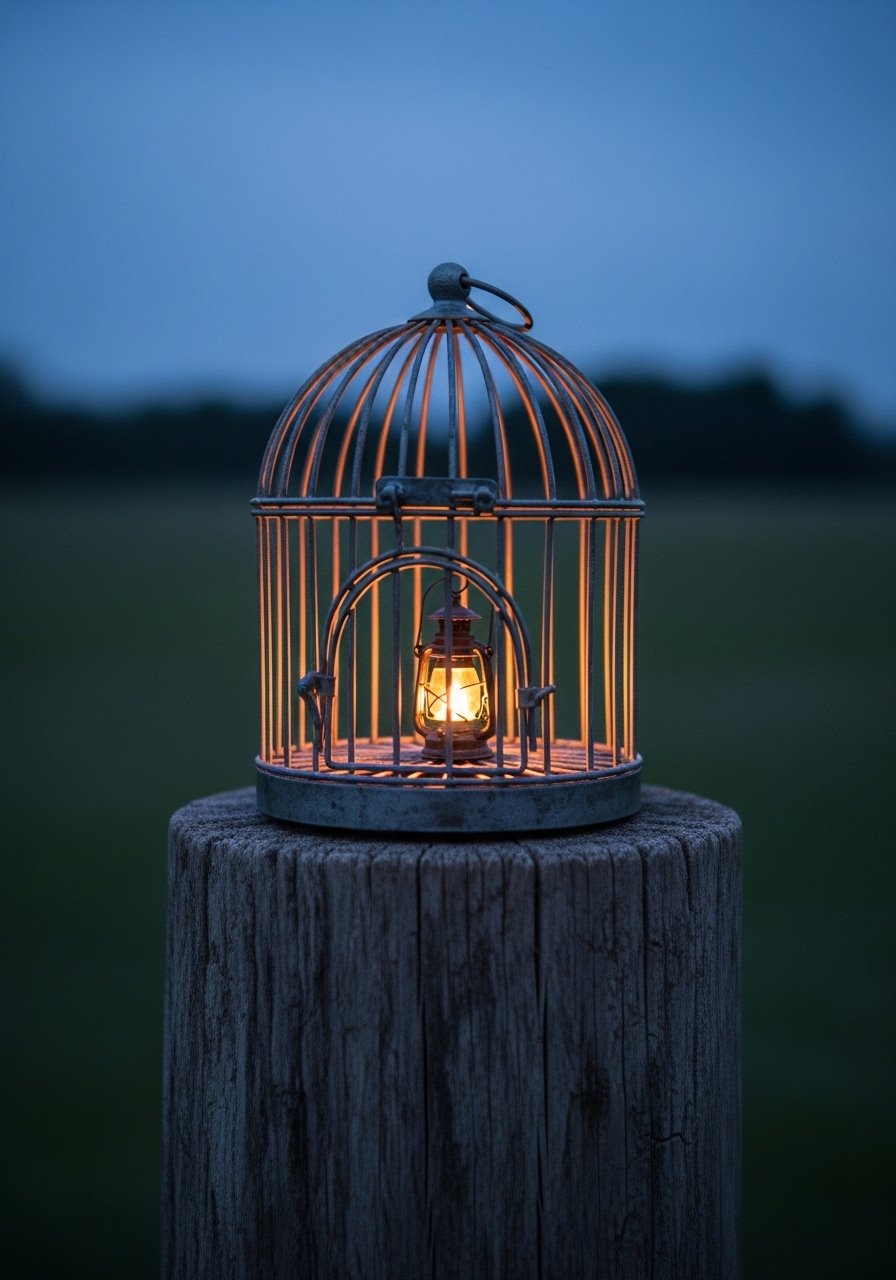
I love using small thrifted metal cages because they keep curious dogs from nosing everything. Look for decorative birdcages or display domes and place the whole mini scene inside, anchored to a heavy base like a tree stump or weighted terracotta. I once found a small metal dome and sealed the base with heavy-duty adhesive putty so it would not slide. Thrifted cages give a lived-in vibe and solve the pet problem most DIYs ignore.
Wood Doll Figures On Stepping Stones For Human Scale
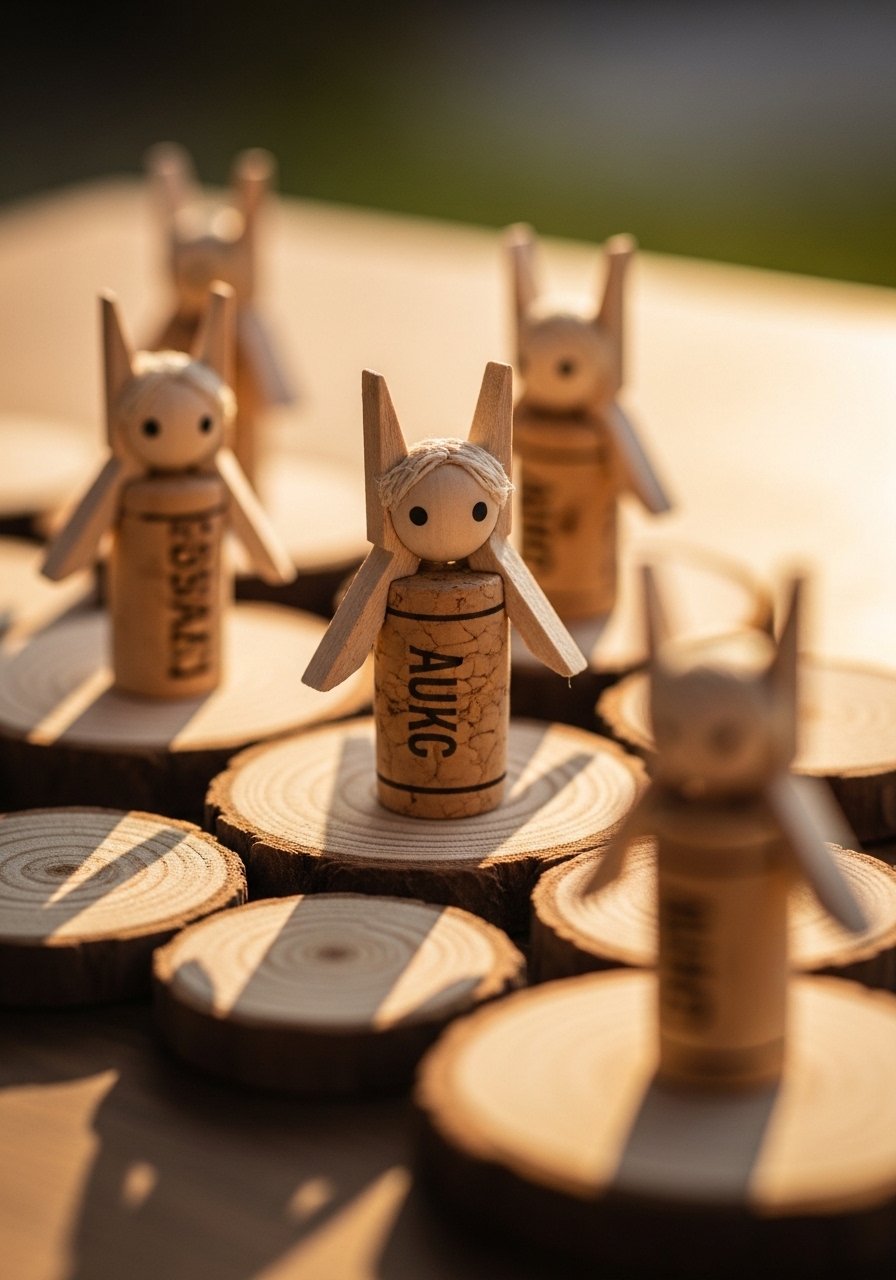
Mini people change the whole narrative. I painted clothespins and corks into simple dolls and set them on 1-inch wood slice stepping stones. Use a steady hand and waterproof acrylics if they will be outdoors, then seal with a light coat of clear acrylic sealer. The 1-3 inch rule is crucial here. Anything taller than 3 inches reads as a toy. Group your dolls in odd numbers to avoid the staged feel.
Popsicle Stick Arbor With Climbing Vines For Cottagecore Corners
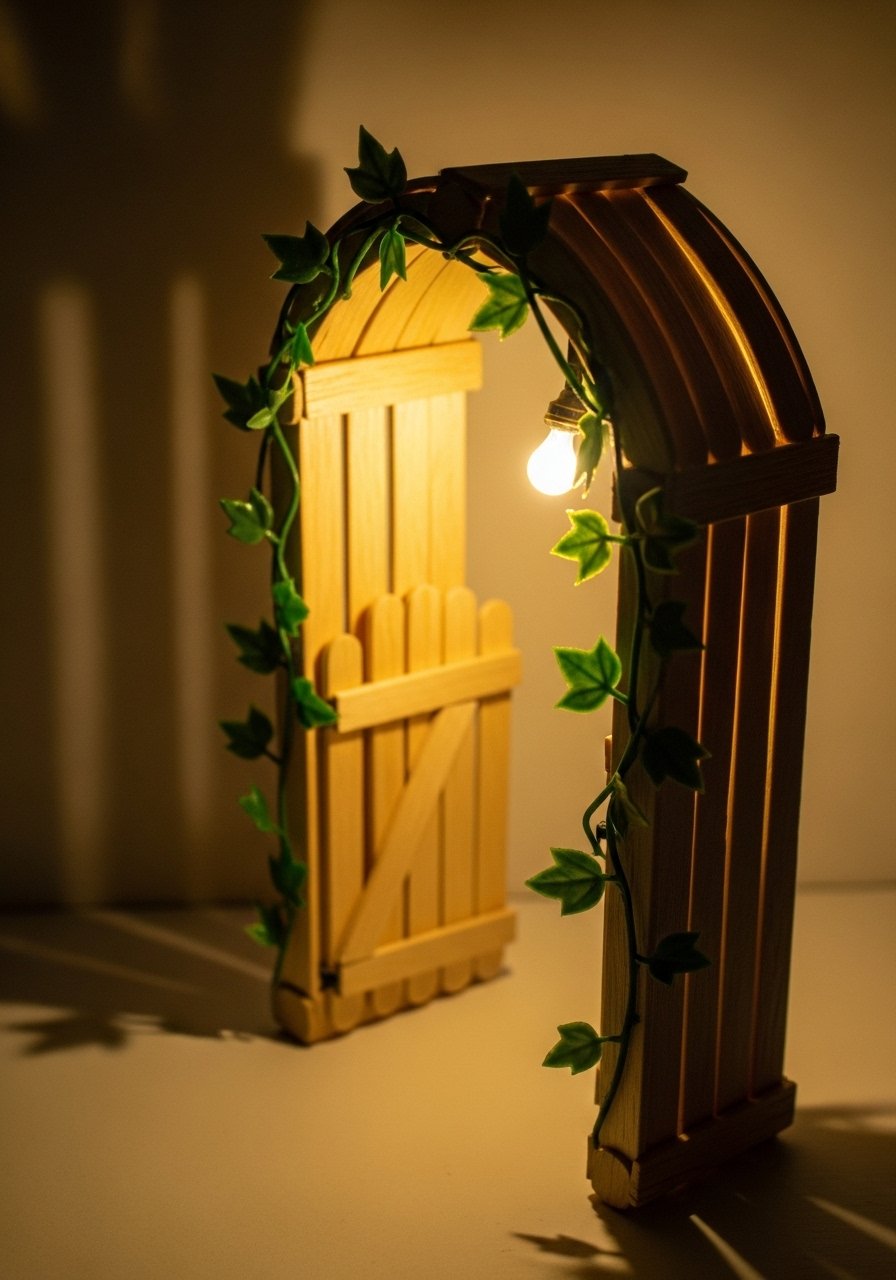
Glue popsicle sticks into an arched frame and wrap faux vines for instant cottage charm. I used 20 sticks to build a sturdy arch and faux ivy garland cut into short sections for realism. Keep the arch under 6 inches so it frames rather than dominates. One thing I learned is to stagger vine placement instead of wrapping evenly; it looks more natural. This pairs well with the beaded garland for a layered canopy effect.
Tree Stump Moss Pedestal For Elevated Displays
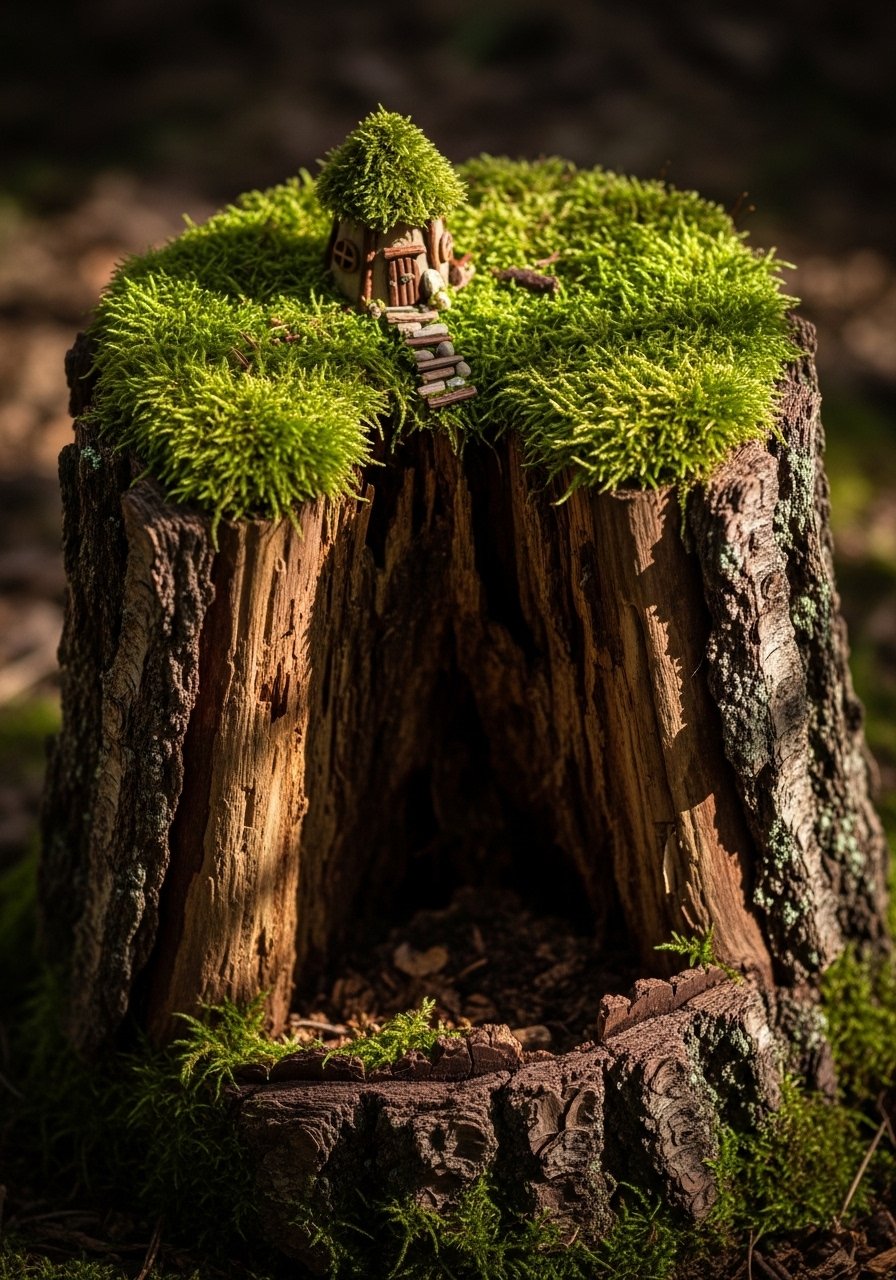
Turning a small tree stump into a base is my favorite way to create height and keep things stable outdoors. Hollow the top slightly and press sheet moss into the cavity. Use a 1/2 inch base layer of play dough under any loose pieces so wind or paws do not shift them. I buy sheet moss in packs and trim to fit with preserved sheet moss. This solution is great if you do not want to glue to the surface below.
Tiny Polymer Clay Creatures For Personality And Scale

Making miniature snails and turtles from polymer clay adds personality and beats cheap plastic animals. Keep bodies around 1 inch and flatten shells slightly so they sit. I use a simple polymer clay tool set to texture shells and then bake and seal. A common mistake is making limbs too thin so they break after baking. Seal outdoor pieces with two light coats of Mod Podge and avoid leaving paper parts exposed to rain.
Dollar Store Planter Refresh For Fast Seasonal Swaps

If you need a weekend fix, raid the dollar store for minis and plant them in a terracotta saucer. I replace the plastic flowers with real moss and a few polymer clay animals, then tuck in a tiny sign. Over half of these projects happen with little ones helping out, so this is a great family starter. For quick supply replenishment pick up a pack of mini seedling pots as a backup. The pitfall here is overfilling the scene; less is more on a small saucer.
Your Decor Shopping List
Textiles and Bases
- Honestly the best base decision I made. 10-12 inch terracotta planter plate for any tray-style fairy garden
- Preserved sheet moss 12×12, green, natural texture
Building Materials
- Polymer clay starter pack with primary colors, for mushrooms and critters
- Craft sticks natural 100pc, cut for bridges and arbors
Tools and Fasteners
- Thin floral wire 25 ft for twig bundles and structural support
- Matte Mod Podge outdoor to seal painted and clay pieces
Decor Details
- Assorted craft pom poms 200pc for lakes and accents
- Pony beads multi-color 500pc for garlands
Weighting and Stability
- Adhesive putty reusable 2-oz to anchor light objects without glue
Budget Finds
- Mini seedling pots 2-inch 12pc for roofs and stackable cottages, similar at Dollar Tree
Shopping Tips
Bold choice on base size. A 12-inch terracotta saucer holds a full scene and stops tipping.
Grab polymer clay packs when they are on sale. Swap colors seasonally and your garden will look different for little spend.
Curtain for display? No. Use a clear acrylic display dome to protect outdoor pieces from pets while still showing everything.
Mix natural and thrifted pieces. I found a small metal cage that made my garden pet-proof. Check local thrift stores or get a decorative metal birdcage.
If you plan to move things, buy adhesive putty instead of glue so pieces stay put but come off cleanly.
Frequently Asked Questions
Q: What size should miniature accessories be so they do not overwhelm the scene?
A: Keep accessories between 1 and 3 inches. My rule is smaller than a golf ball and taller than a pea. Anything bigger destroys the miniature scale and looks like a toy.
Q: How do I stop pieces from shifting when kids or pets touch my garden?
A: Start with a 1/2 inch base layer of play dough or packed dirt, then press items in. For extra safety use adhesive putty or a weighted terracotta saucer. Thrifted metal cages also make great pet-proof displays.
Q: Do polymer clay pieces survive outdoors?
A: Short term yes if sealed. Bake properly at 275F for about 15 minutes per inch of thickness, then seal with a waterproof Mod Podge. Avoid leaving paper or felt details exposed to rain.
Q: Can I make these on a windowsill in a small apartment?
A: Absolutely. Use a 10-12 inch terracotta saucer and low-light plants or faux moss. For movable displays use a clear acrylic dome so you can take the whole scene outside when you want.
Q: How do I avoid a toy-like look when crafting with kids?
A: Swap plastic figurines for natural twigs, clay creatures, or wooden clothespin dolls. Group accessories in odd numbers and stagger heights, and you will get that lived-in, not-playset, appearance.
