

I stared at my builder-grade kitchen for months. The cabinets were fine. Everything else made the room look cookie-cutter. Small custom touches fixed that. Most cost under $150. A few pieces ran $200 to $300. I felt like I finally had a kitchen that belonged to me after one weekend of shopping and styling.
These ideas lean modern farmhouse and transitional, with a nod to minimal and boho accents. They work for kitchens, breakfast nooks, and open-plan dining areas. Most items are budget friendly. I have noticed warm neutrals and tactile materials everywhere this year, and swapping in wood tones changed the whole feel.
What You'll Need to Get This Look
Textiles and Soft Goods.
cream chunky knit throw ($35-55). I drape mine over a breakfast chair to add depth.$30-50 per panel). Great for filtering light.
linen blend curtains 84-inch (
velvet pillow covers set of 4 (~$40-50). Use two colors for contrast.
Wall Decor and Art.
white oak floating shelves set of 3 ($45-70). Stagger heights.$80-120). Opens a tight kitchen.
large round mirror 36-inch (
Lighting.
rattan pendant light shade ($30-60).$15-20).
LED edison bulbs warm white (
Plants and Greenery.
artificial fiddle leaf fig tree 6ft (~$60-90). One tall plant beats several small ones.
Budget Finds.
peel-and-stick wallpaper panels neutral linen (~$20-35). Great for renters. Similar at Target and HomeGoods.
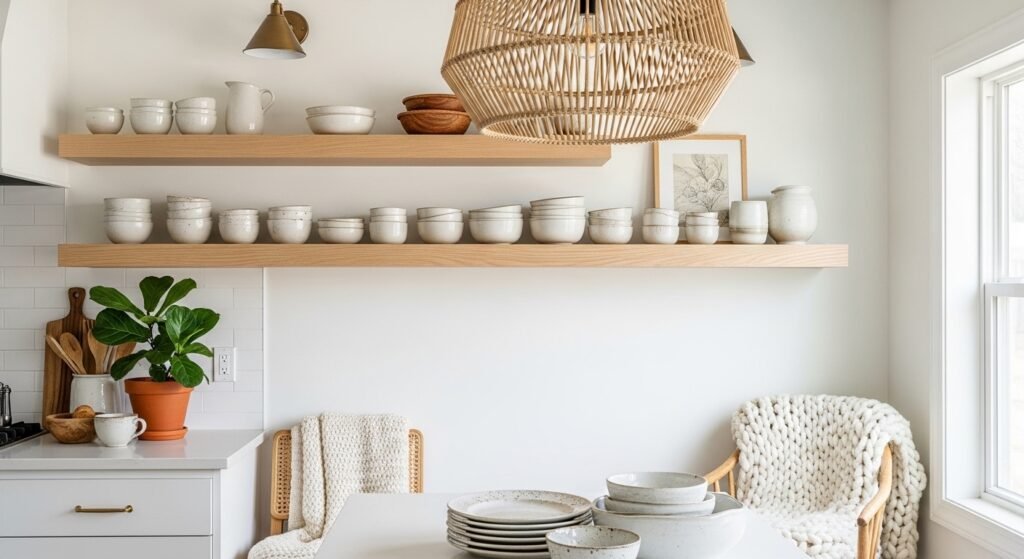
Painted Open Shelves For A Modern Farmhouse Kitchen
A fresh coat of paint on the back wall makes open shelves read custom. I painted my niche Benjamin Moore's Revere Pewter and added white oak shelves. It reads warm and edited. Budget: $50 to $120 for paint and hardware. Use odd numbers on a shelf, like three bowls and five mugs, for balance. Avoid overcrowding. Too many knickknacks looks messy in photos and in real life. I used white oak floating shelves and simple bracket hardware.
Swap Cabinet Hardware For Transitional Polish
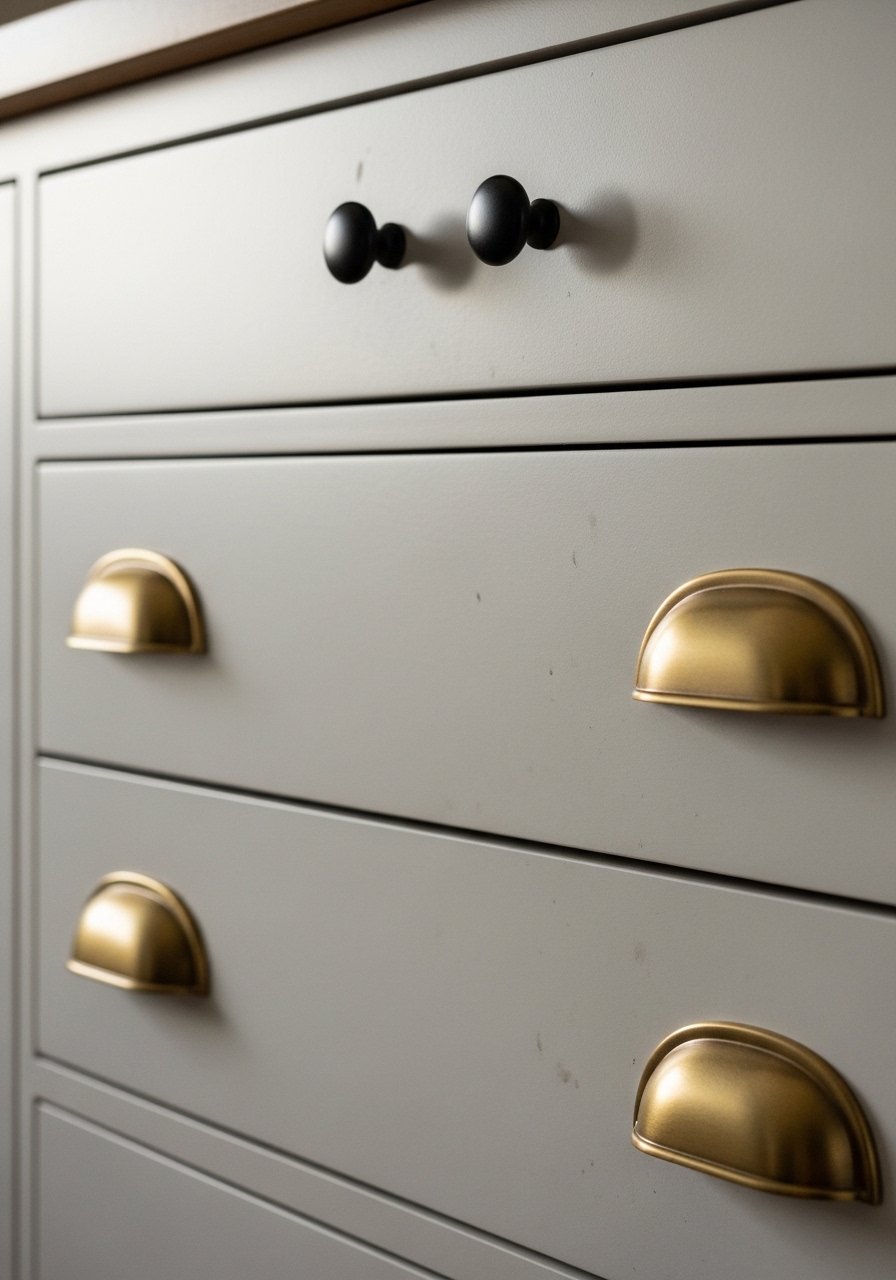
One brass pull and one matte black knob changed my outdated kitchen. Budget is $30 to $150 depending on finish. I found a set at Home Depot and paired it with brass hinges from Amazon. The trick is consistent scale. Use a 3-inch pull on drawers and 1-inch knobs on doors. Mixing metals gives depth. Avoid tiny hardware on large shaker doors. mixed-metal cabinet pulls make it easy.
Rattan Pendant For A Boho Breakfast Nook
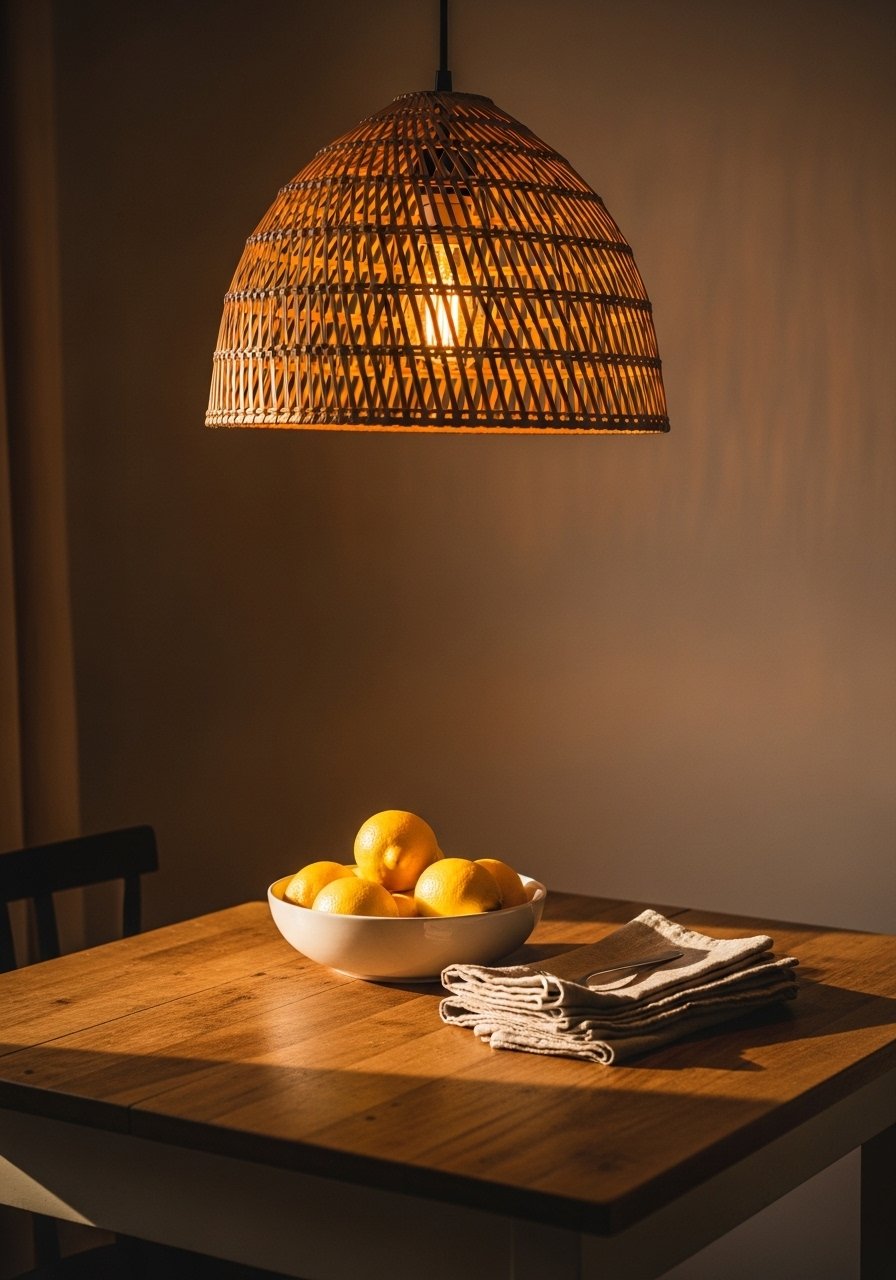
I swapped my glass fixture for a rattan shade and the breakfast nook felt relaxed and curated. Works in boho and coastal kitchens. Budget $40 to $80. Rattan reads far more intentional than a random drum shade. In photos it looks airy. In person it hides imperfect ceilings. Avoid very dark rattan in tiny spaces. Pair with warm LED bulbs. I bought a rattan pendant light shade.
Peel-And-Stick Backsplash For Instant Wallpaper Chic
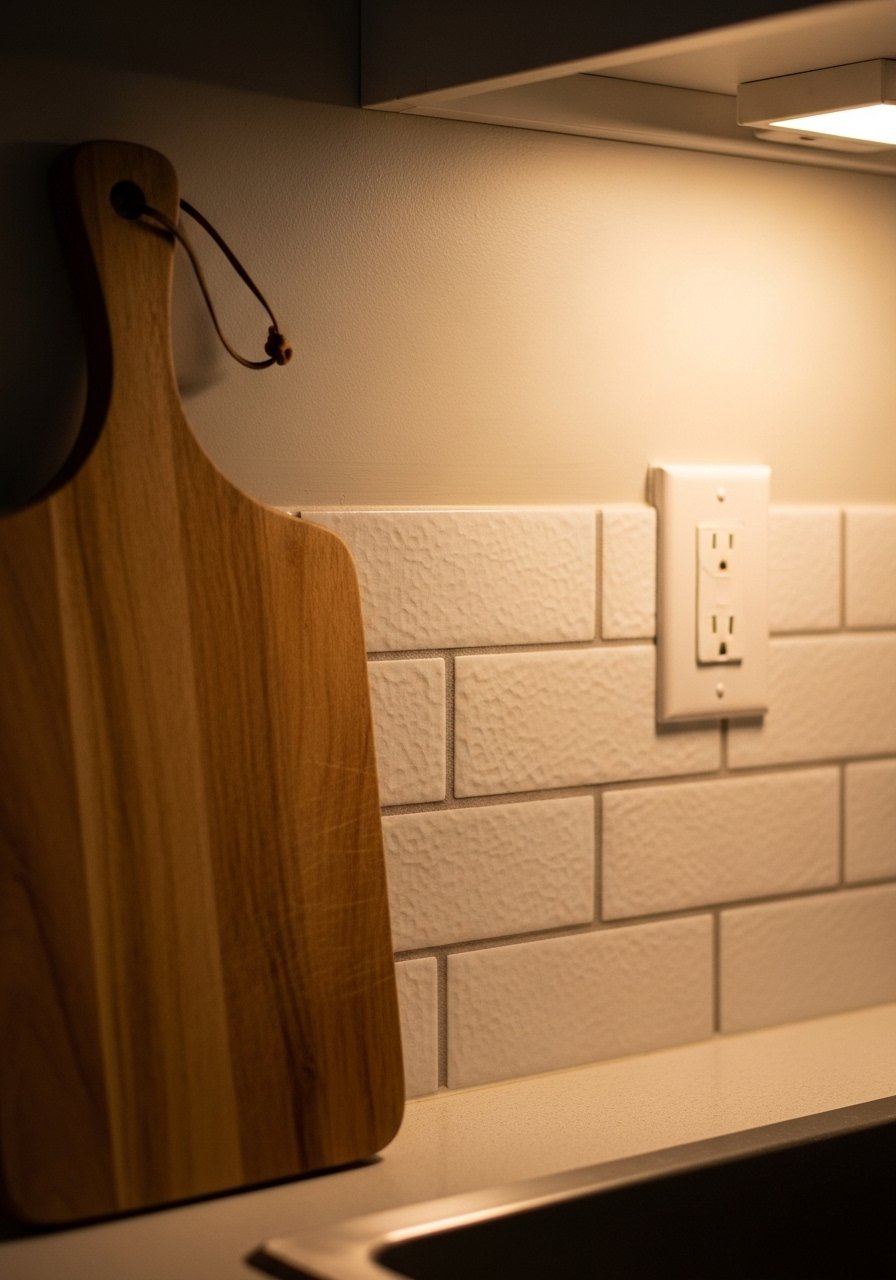
Peel-and-stick backsplash panels made my rental feel permanent without damage. I used a neutral linen pattern behind the stove and it reads high-end. Budget $25 to $60. In photos the pattern registers as tile. Up close you can see seams. Use smaller panels for awkward cuts. Avoid glossy patterns that scream sticker. I used peel-and-stick wallpaper panels neutral linen and trimmed carefully.
Under-Cabinet LED Strips For Warmth And Function
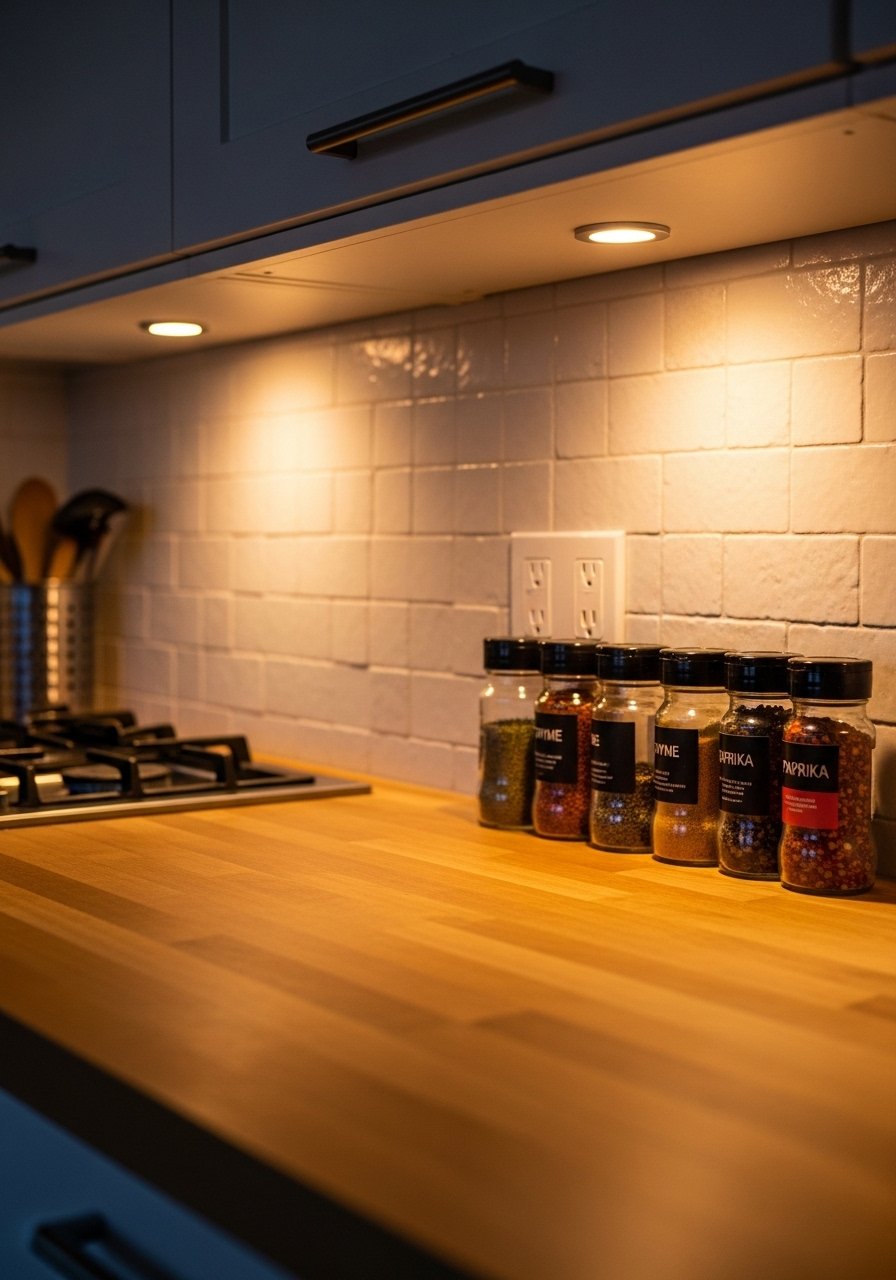
Adding LED strips under cabinets solved my shadow problem. It makes food prep safer and gives a soft glow for night. Budget $20 to $45. I chose warm white and dimmable options. In photos it softens contrast. In reality it hides messy countertops during evening. A common mistake is installing too-bright lights. I used LED edison bulbs warm white for fixtures and a warm strip under cabinets.
One Large Plant For Scale And Life
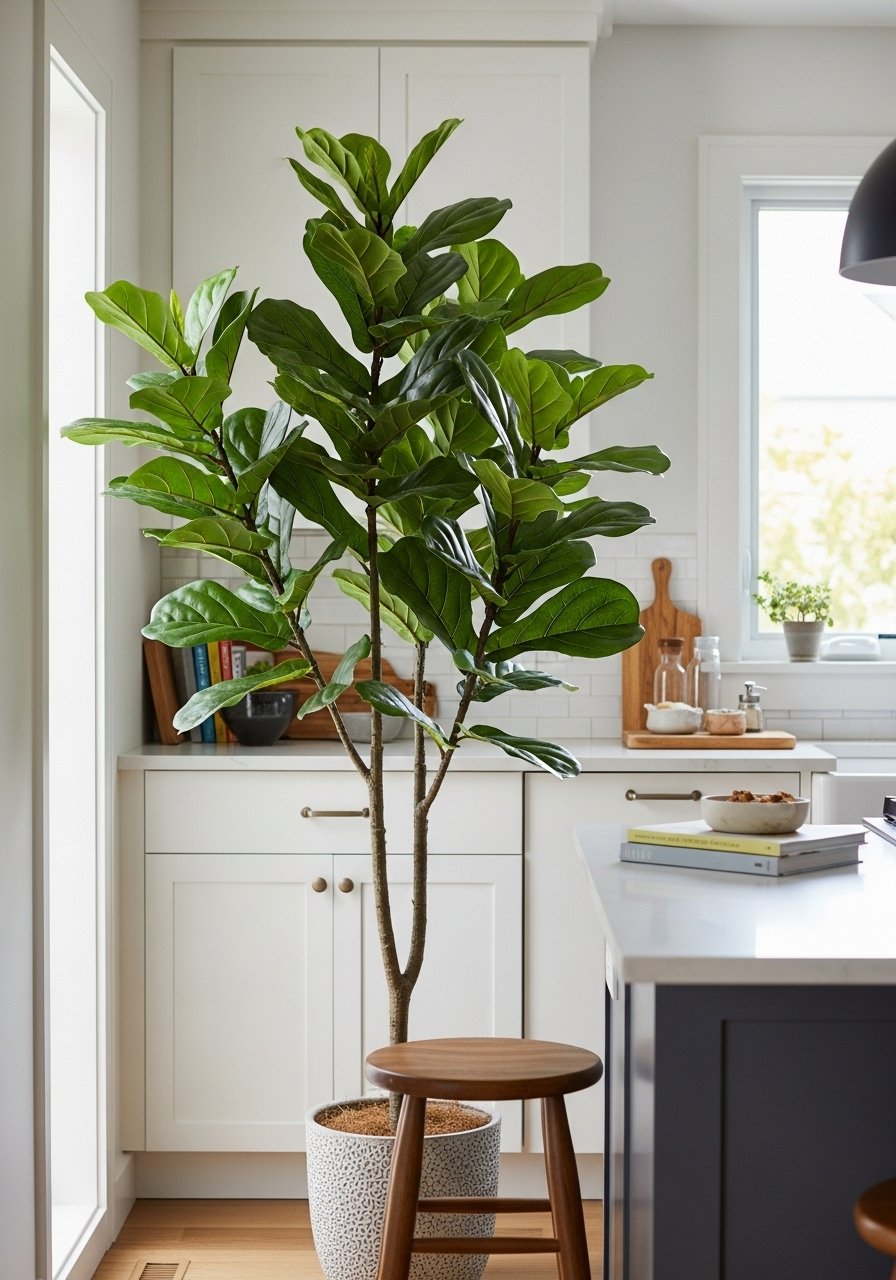
I traded five tiny succulents for a single 6-foot fiddle leaf fig and the room finally felt balanced. Works for open-plan kitchens and corners. Budget $60 to $120. One tall plant anchors scale. In photos multiple small plants can clutter visual flow. In small kitchens pick a narrow trunk. Avoid fake plants that look plastic. I used an artificial fiddle leaf fig tree 6ft and a heavy ceramic planter.
Install a Large Round Mirror To Open A Dark Corner

A 36-inch round mirror made my galley kitchen feel wider. I hung it across from the window. Budget $80 to $160. Round mirrors spread light differently than rectangular ones and soften a hard kitchen. In photos they photograph well. Real life shows fingerprints easily. Avoid low-quality frames that warp. I recommend a large round mirror 36-inch and hanging it at eye height.
Countertop Styling With Trays For Curated Clutter
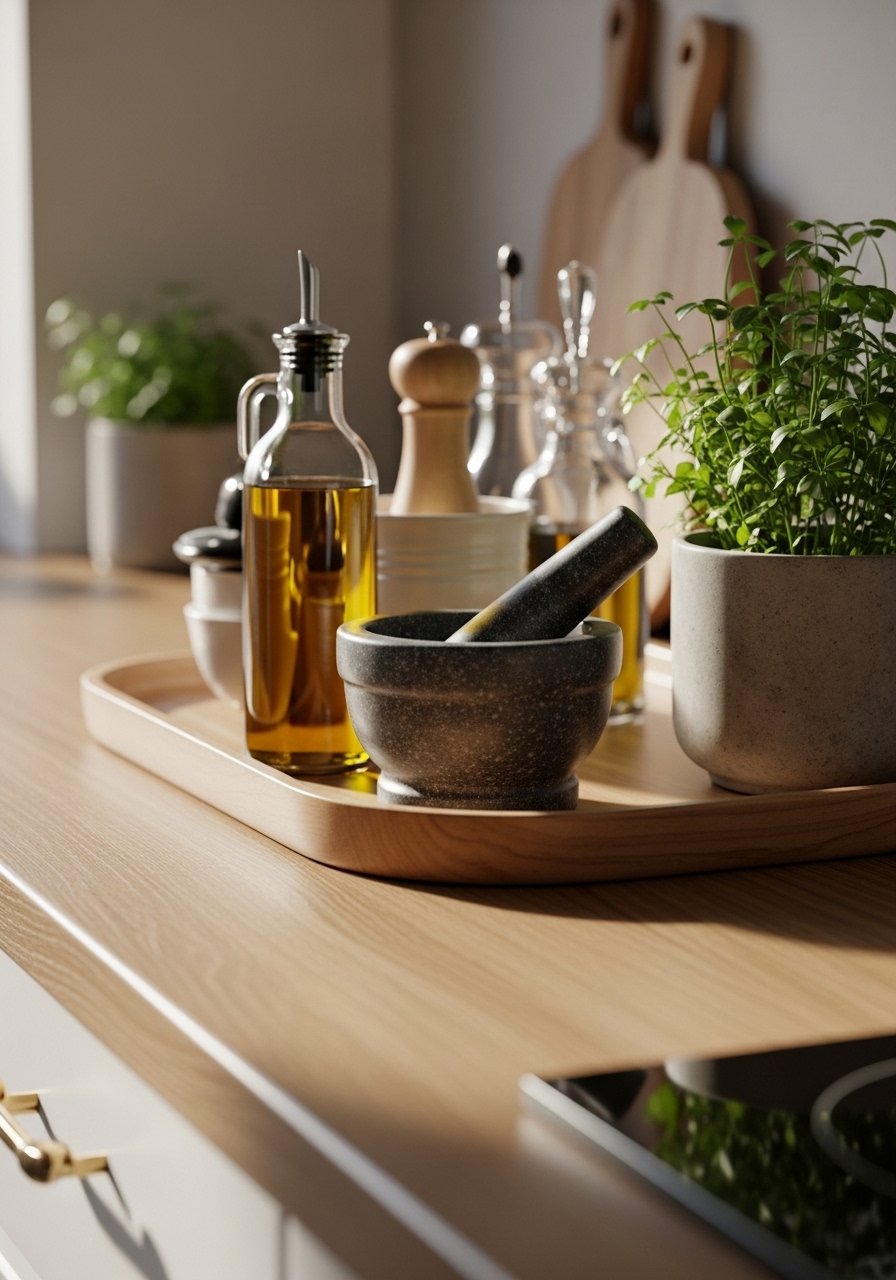
Countertops look busy fast. I group essentials on a wooden tray to make clutter intentional. Budget $20 to $60. Use odd numbers, like three items, for a composed look. In photos trays read editorial. In real life they keep things from spreading. Mistake to avoid: using a tray that is too small. wood serving tray works well and looks elevated.
Open Shelf Styling With Height Variation For Visual Interest
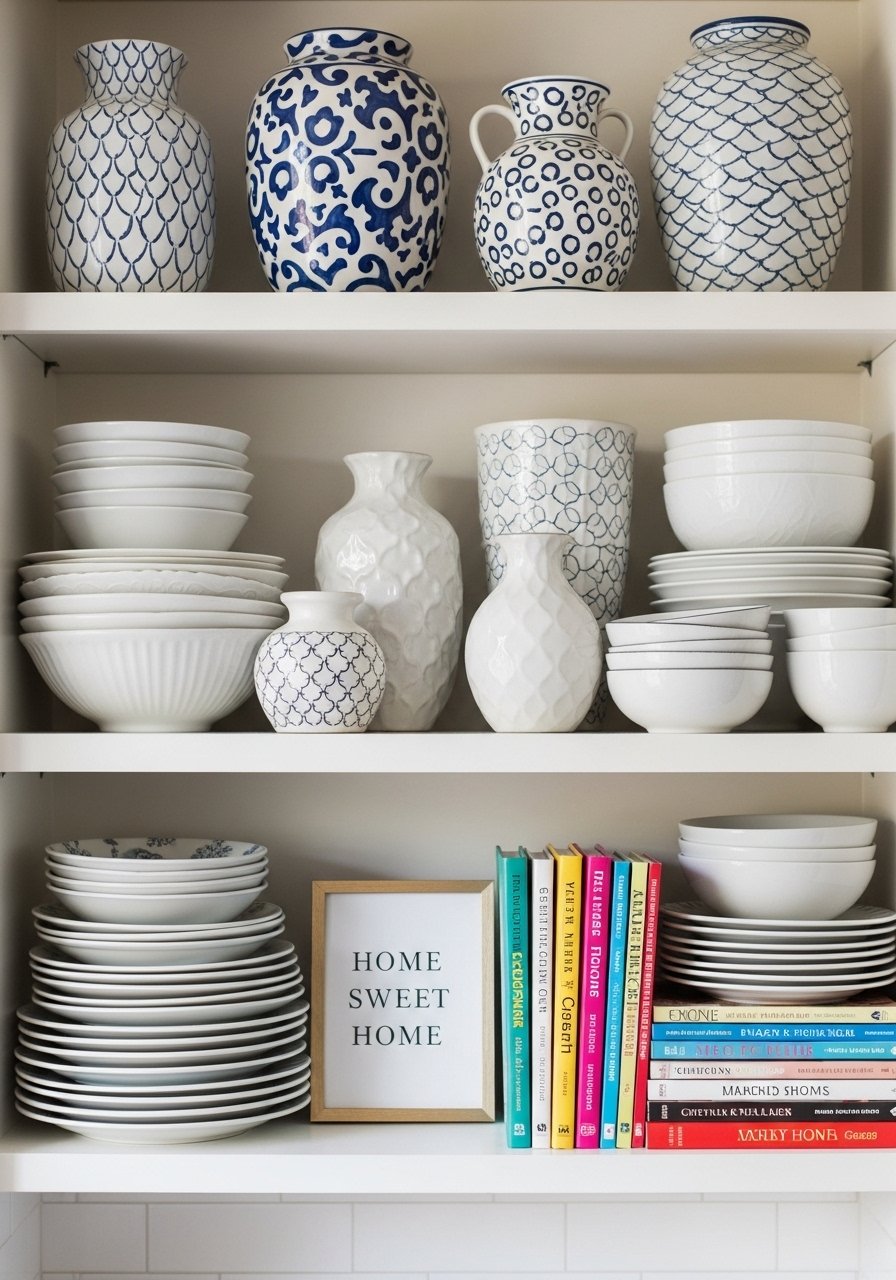
I learned to stagger heights on open shelves. Tall vase, medium bowl, low stack of plates. Budget for styling pieces $10 to $80. The 60-30-10 color rule is great here. Use 60 percent neutrals, 30 percent warm wood, and a 10 percent accent color. In photos symmetry looks tidy. In person slight asymmetry feels natural. Avoid tiny matching items lined up. I keep a set of stackable ceramic bowls handy.
Magnetic Knife Strip For A Professional Edge
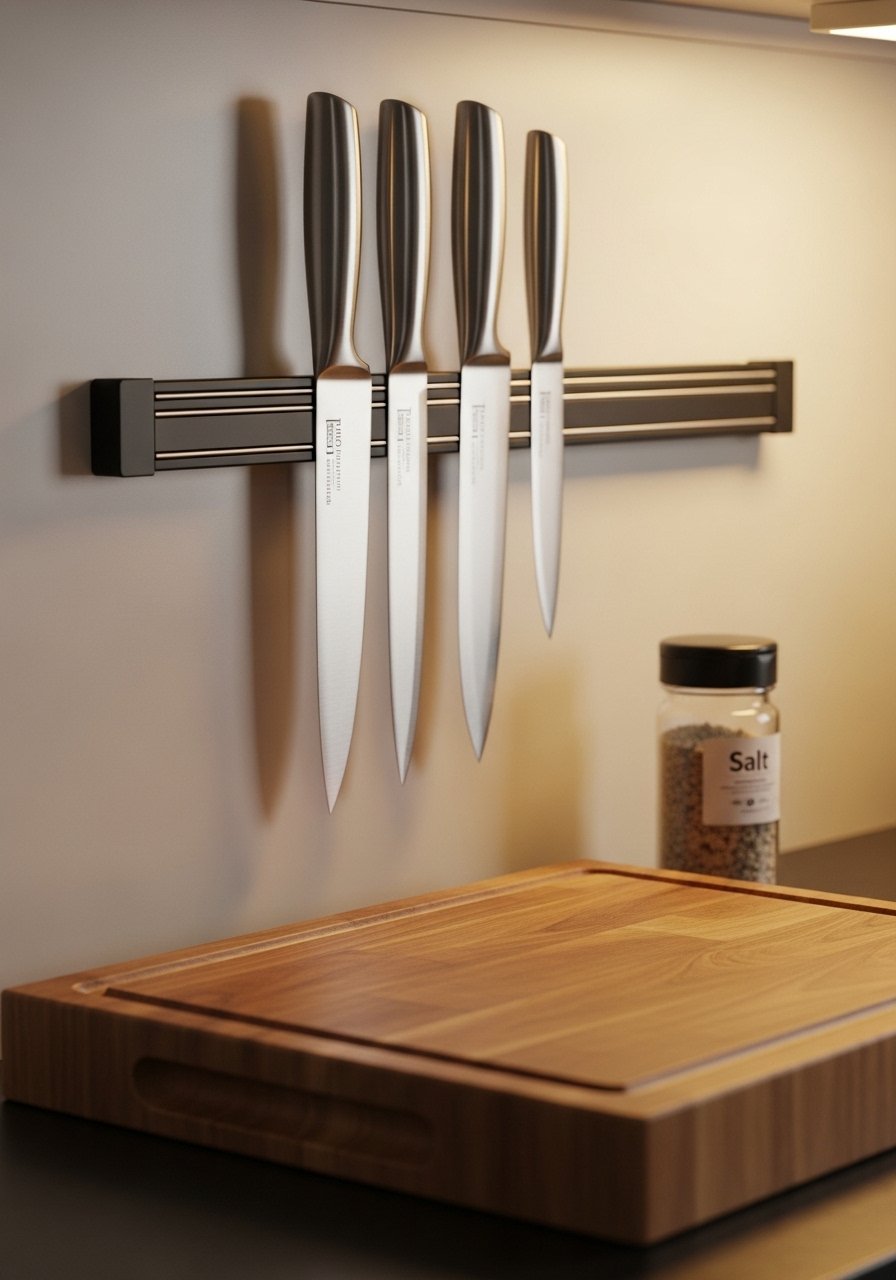
Swapping a bulky block for a magnetic strip made my counters feel streamlined. Budget $20 to $50. It looks professional and frees counter space. In photos the knives read modern. In person you must wipe fingerprints more often. A common mistake is mounting too low. Keep blades above toddler reach. I installed a magnetic knife strip stainless steel at eye level.
Painted Island For A Two-Tone Custom Look
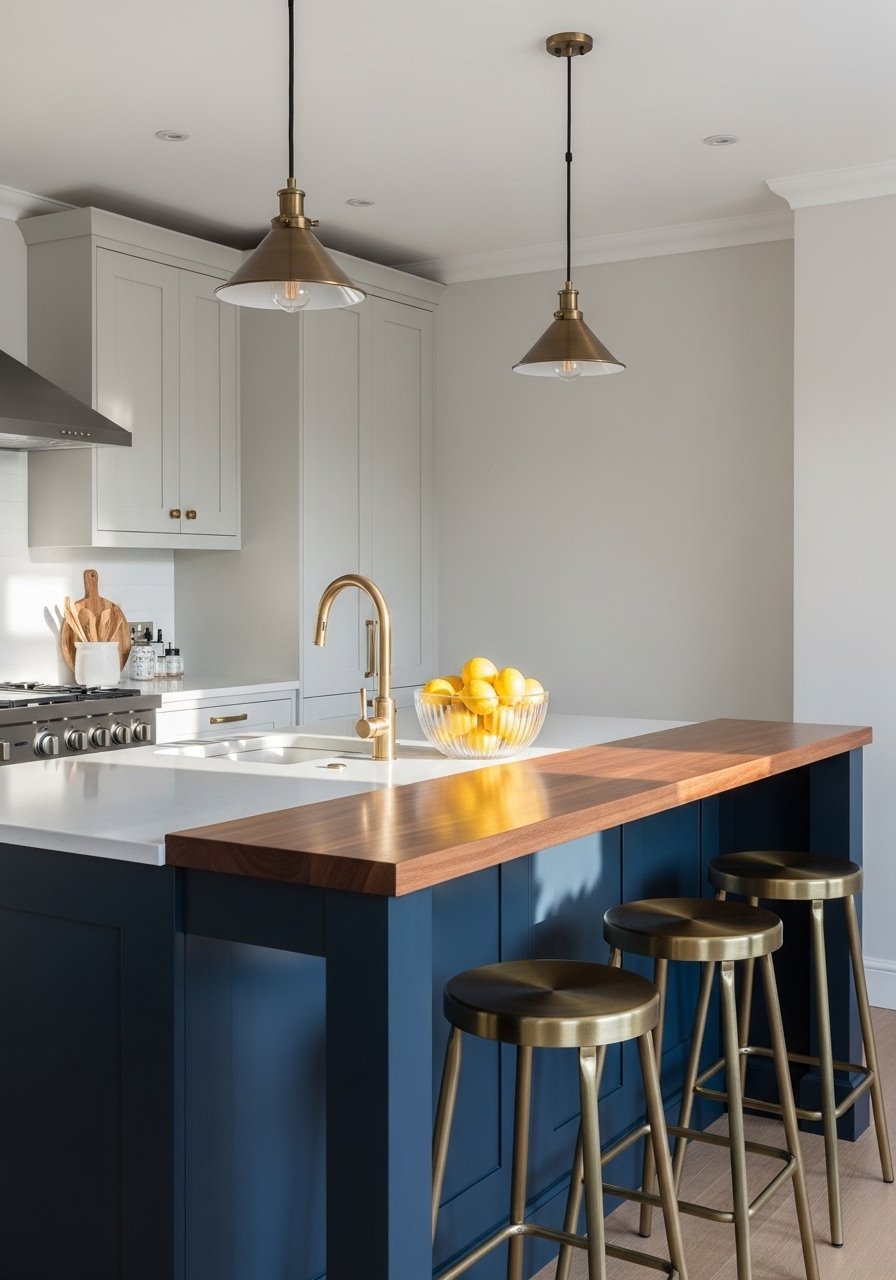
I painted my island deep navy and the room instantly read custom. Budget $50 to $150 for paint and primer. Two-tone cabinetry looks current. Use a darker base and lighter uppers. In photos the contrast pops. In small kitchens pick a muted tone to avoid feeling boxed in. Avoid glossy finishes that highlight imperfections. I used Benjamin Moore Hale Navy and updated stools from Target.
Hidden Pull-Out Pantry For Seamless Storage
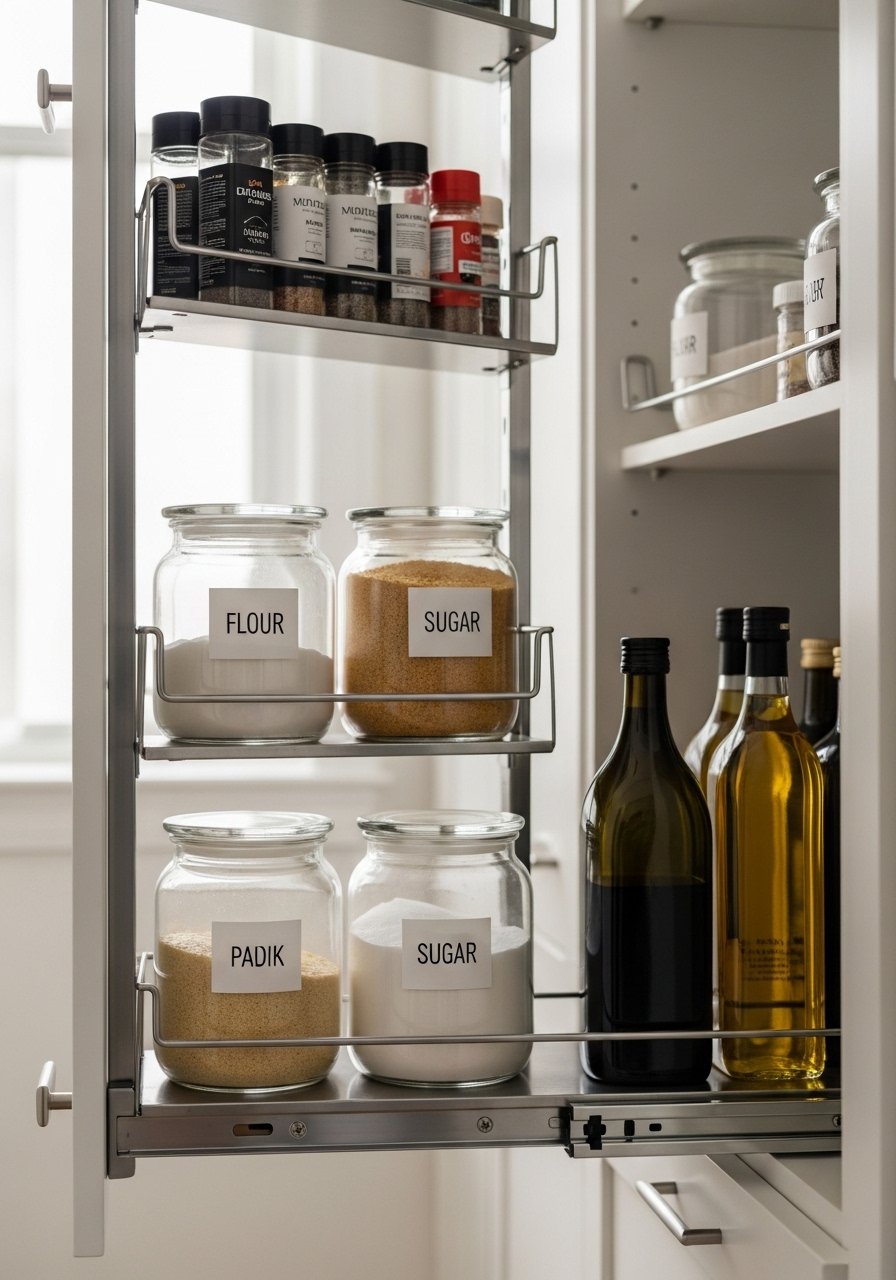
A slim pull-out pantry made my awkward gap functional. Budget $100 to $300 depending on size. It keeps small appliances and food off counters. In photos pull-outs look neat. In reality you must measure depth precisely. Mistake I made was ordering one too shallow. Measure twice. I recommend a narrow pull-out pantry organizer.
Frame The Window With Floor-To-Ceiling Curtains For Height
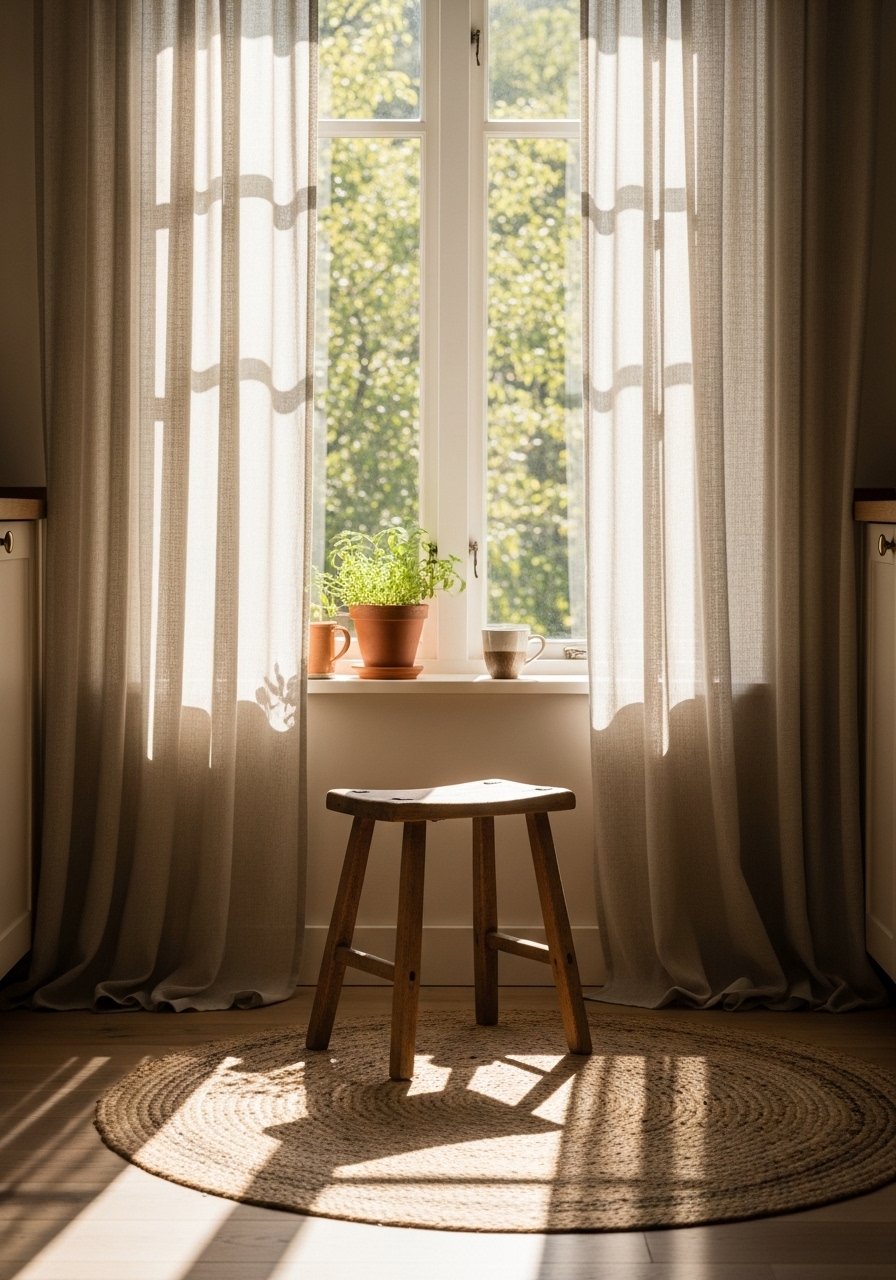
Hanging curtains high makes the ceiling feel taller. I used 96-inch linen panels and mounted the rod four inches above the frame. Budget $30 to $80 per panel. In photos tall curtains look dramatic. In real life they hide trim flaws. Avoid cheap polyester that shines. I used linen blend curtains 96-inch and a simple black rod from Home Depot.
Add A Tiered Tray For Seasonal Styling On The Island
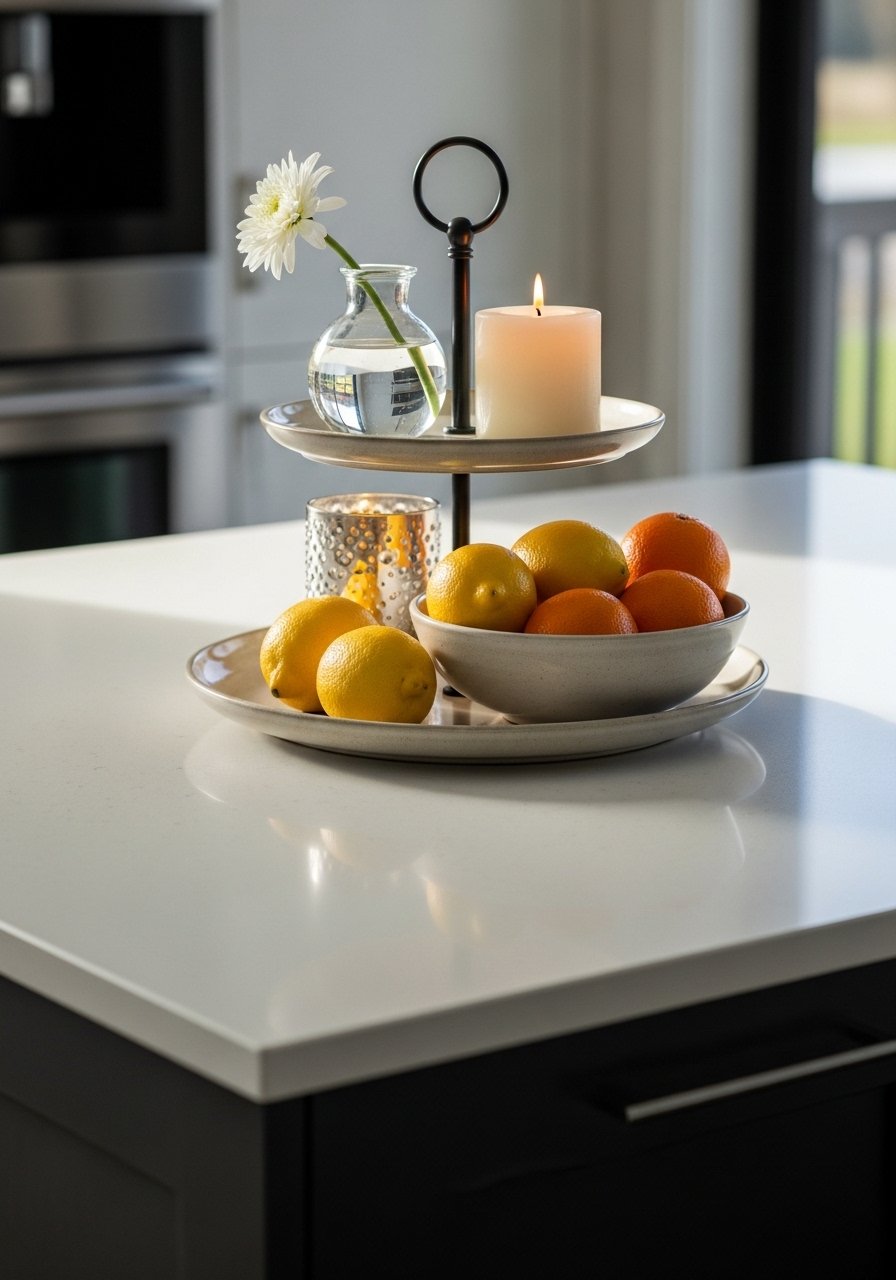
A tiered tray keeps seasonal items contained and elevated. Mine holds seasonal herbs and a candle. Budget $25 to $60. In photos tiered trays photograph well because of vertical interest. In person they collect clutter if you do not rotate items. Avoid overfilling. I use a three-tiered serving tray and change it monthly.
Swap Out Task Lighting For Vintage Glass Shades
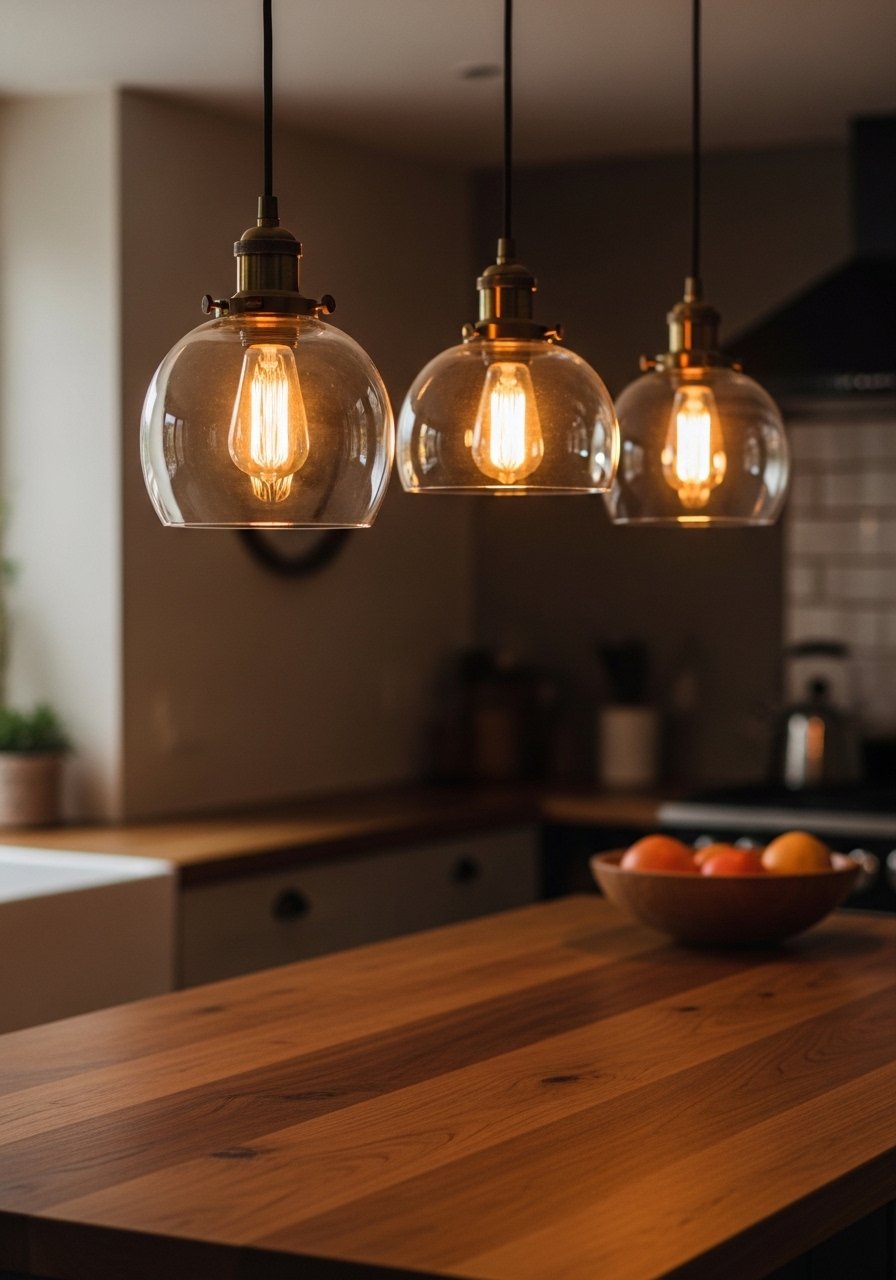
Replacing basic pendants with vintage glass shades gave my island character. Budget $40 to $120 per shade. I chose clear glass with brass fittings. In photos glass reads delicate. In real life it shows dust. Avoid shades that are too small for a large island. I bought vintage glass pendant shades and used warm LED bulbs.
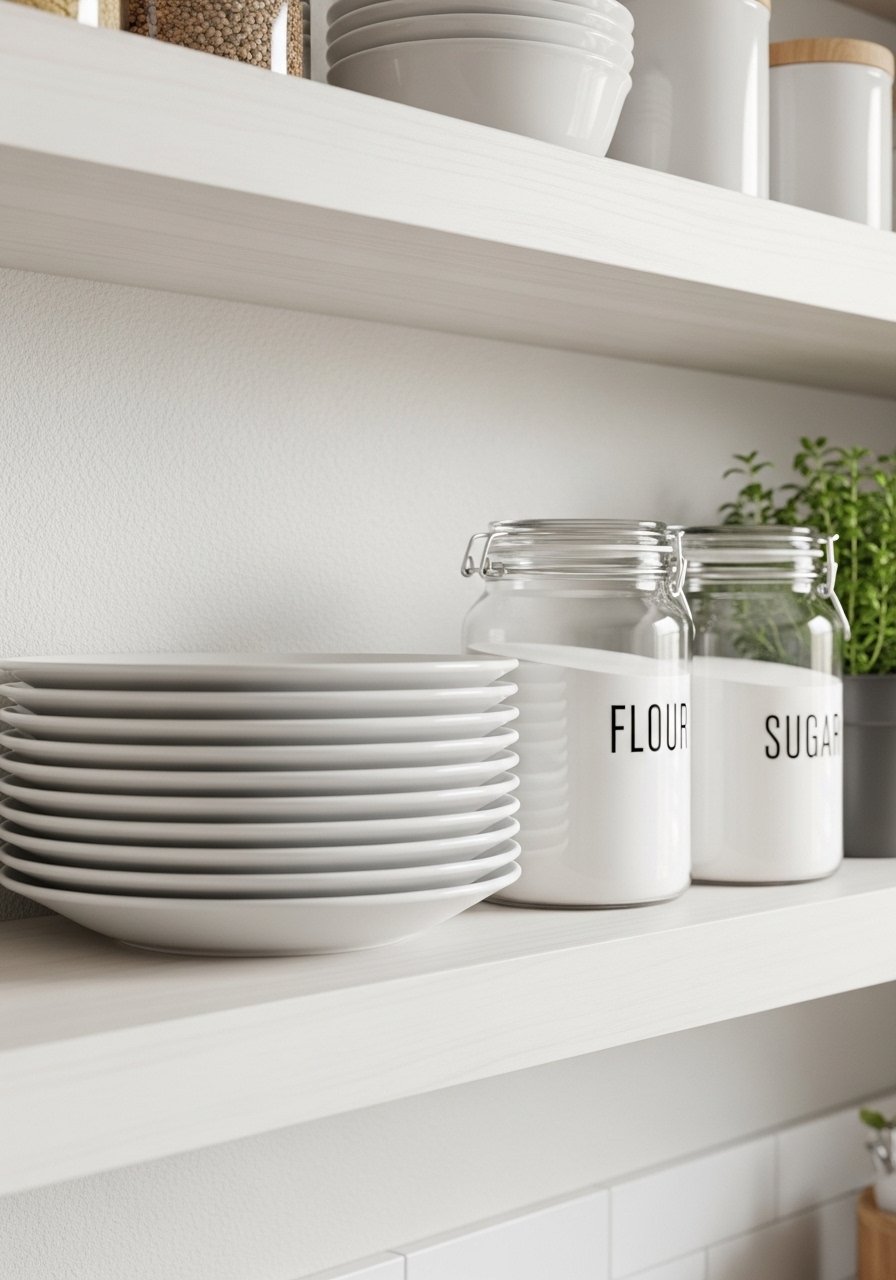
Create A Coffee Station With Stylish Organizers

I turned a corner into a coffee station with matching jars and a small tray. Budget $40 to $150 depending on machine. The result feels intentional. In photos matching jars make the area read editorial. In real life a station saves time. Mistake to avoid: mixing too many styles of mugs. I use ceramic canisters set and keep a small kettle nearby.
Install Open Plate Racks For A Pottery-Loved Look

An open plate rack highlights pottery and gives a collected feel. Budget $40 to $120. It reads like custom built-ins. In photos pottery looks styled. In person plates need dusting. A common error is overloading the rack. Limit to a few favorite pieces and space them for airflow. I kept three plates per section for rhythm and balance. I bought a wall-mounted plate rack.
Add A Small Rug To Ground The Prep Zone
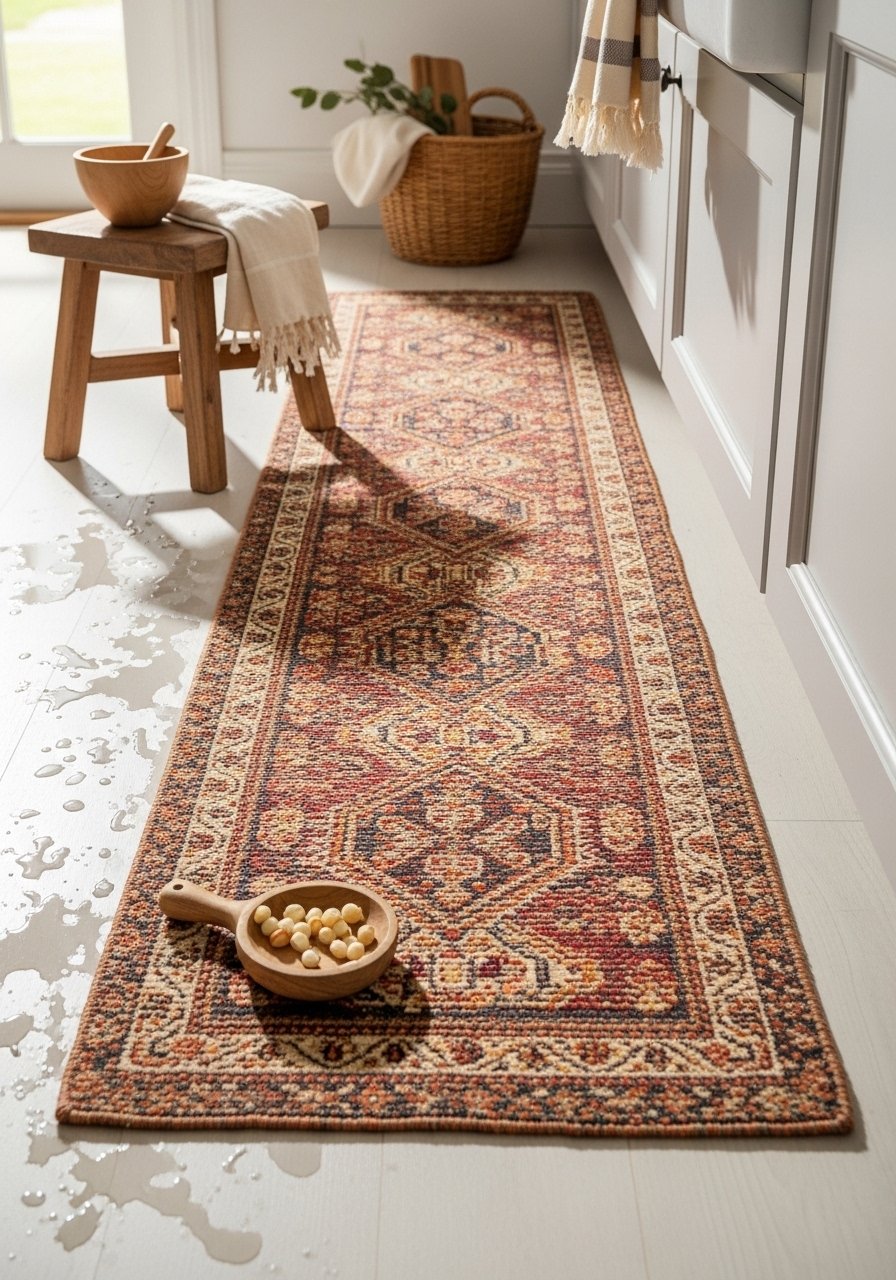
A runner under the sink softens the workspace and absorbs splashes. I chose a washable flatweave in warm neutrals. Budget $30 to $120. In photos rug anchors the area. In real life it hides scuffs and is forgiving. Avoid shag in high-traffic spots. I used washable kitchen runner rug and rotate it seasonally.
Add Trim To Plain Cabinets For a Built-In Look
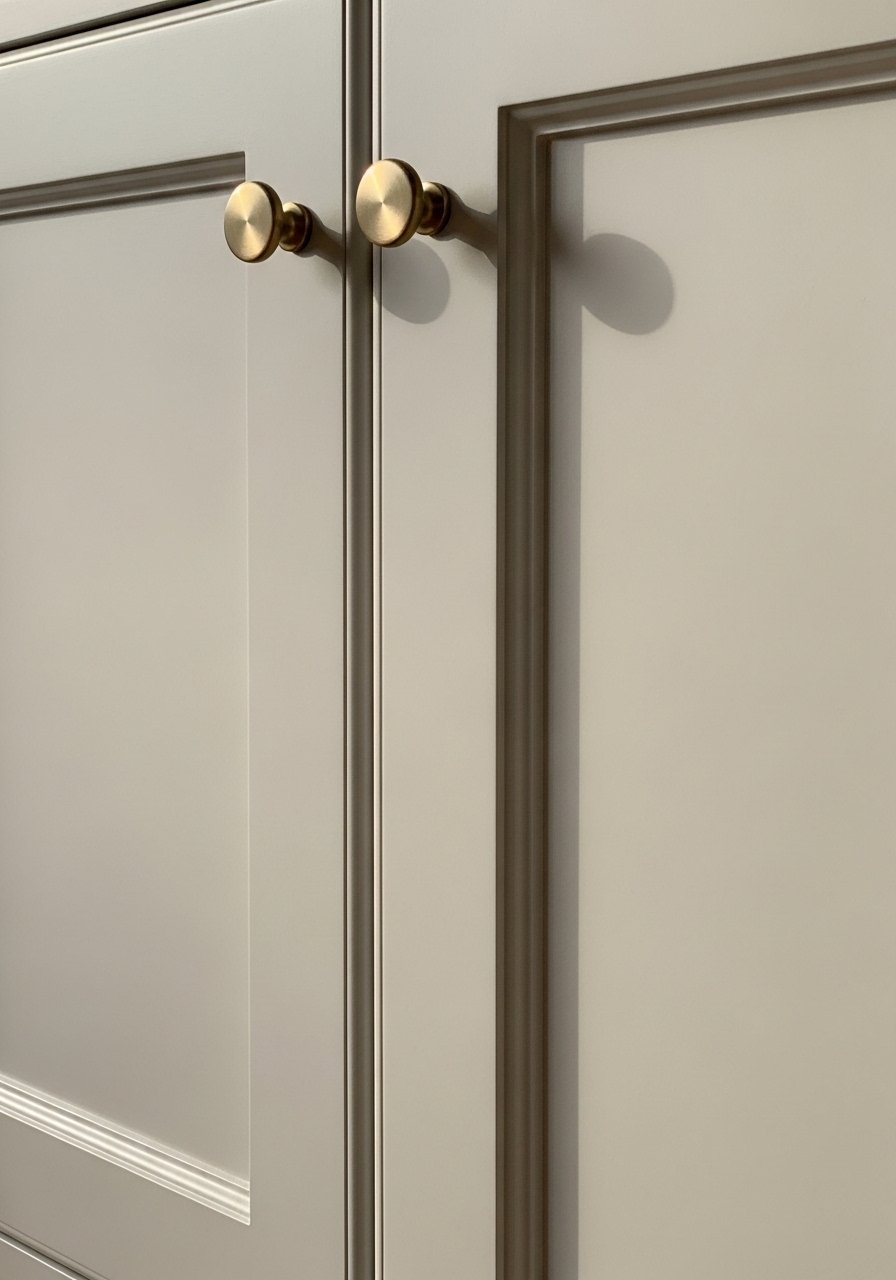
I added simple trim to flat doors and they looked custom. Budget $40 to $200 depending on paint and labor. Trim adds shadow and dimension. In photos it reads like new cabinetry. In reality you must sand and prime for a smooth finish. Mistake to avoid: using a trim profile that is too ornate for a simple kitchen. I matched a brushed brass knob set.
Corral Open Utensils With A Stoneware Crock
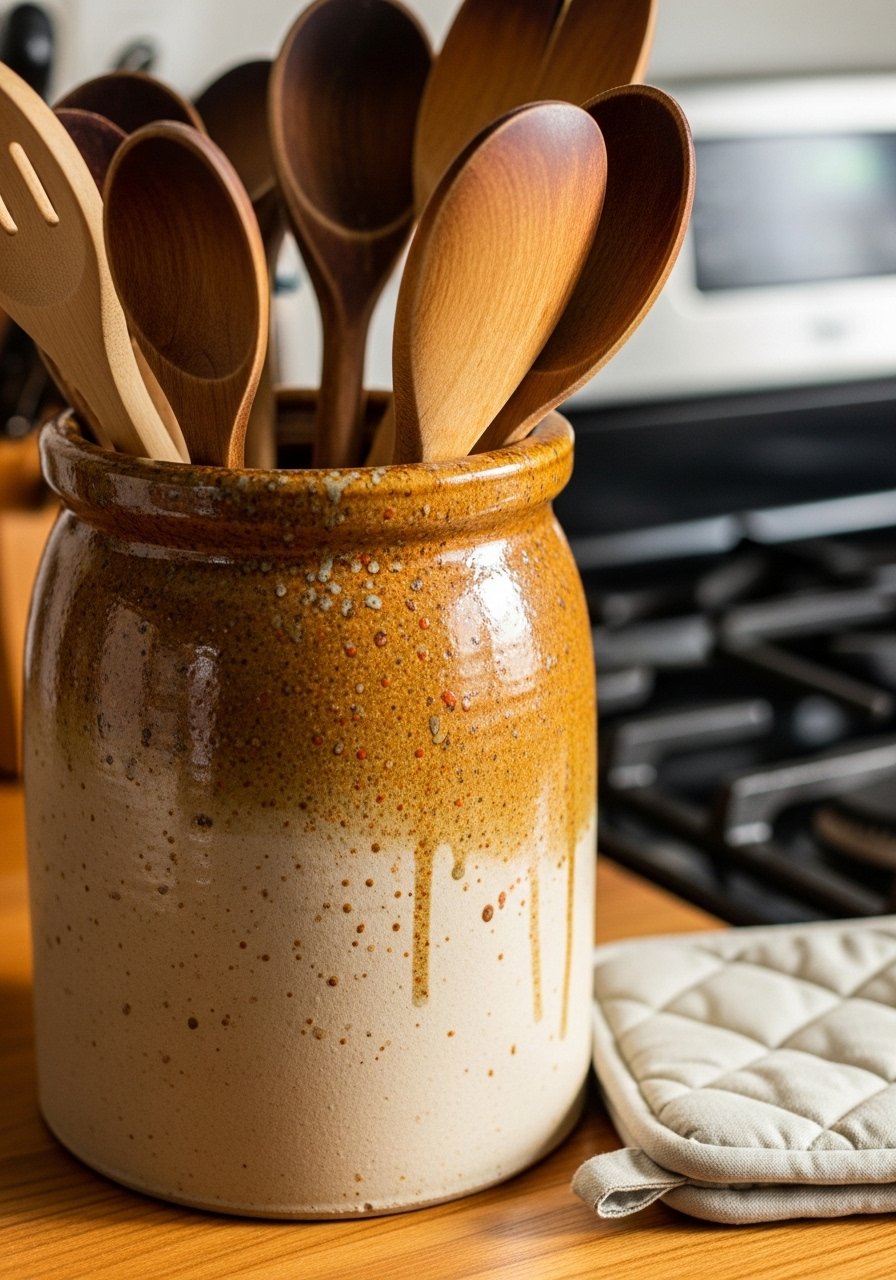
A single stoneware crock keeps utensils handy and looks styled. Mine cost $18 and sits next to the stove. Budget $15 to $40. In photos a crock reads curated. In real life it catches grease and needs washing. Avoid cheap plastic canisters. I recommend an artisan stoneware crock and wipe it weekly.
Upgrade Switch Plates And Outlets For Subtle Refinement
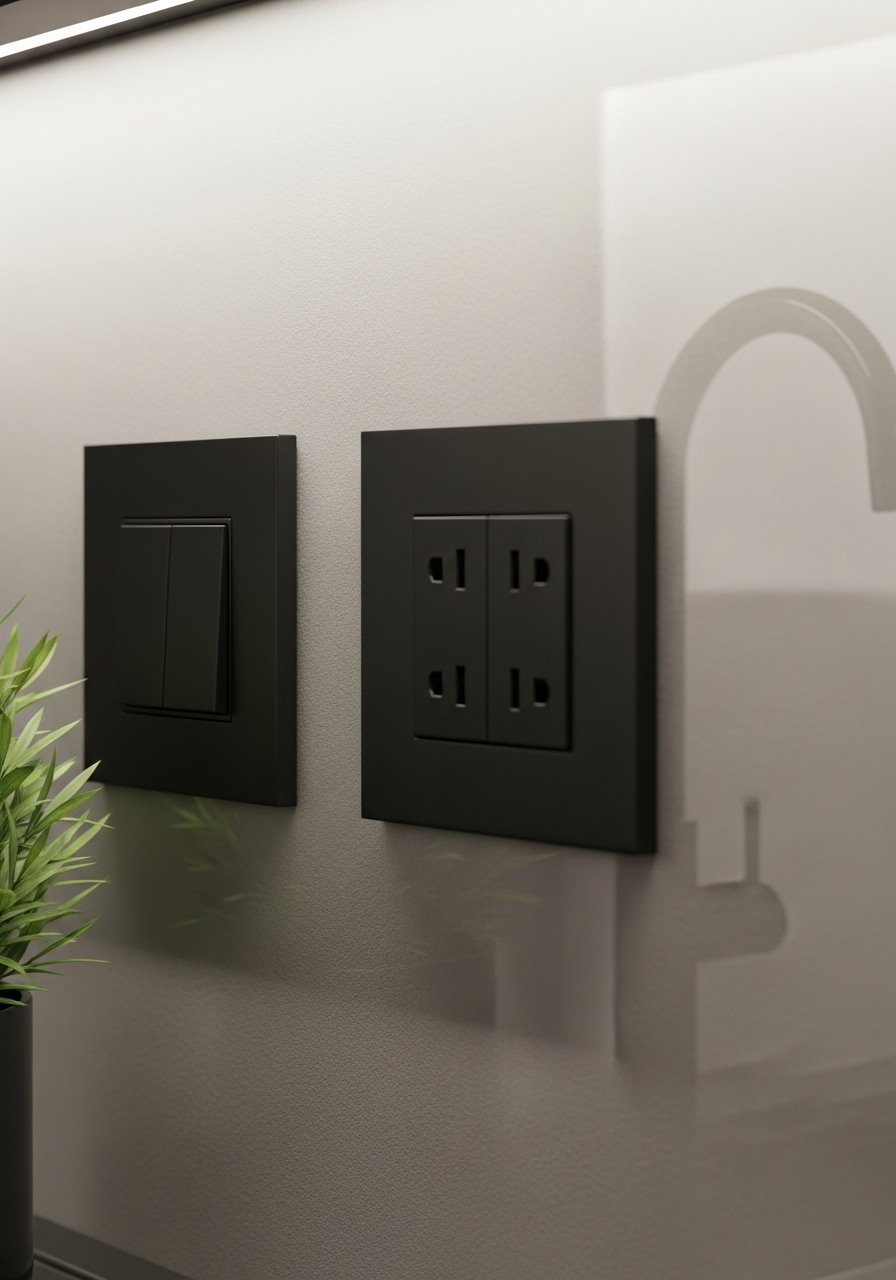
Changing switch plates to matte finishes made my kitchen feel carefully edited. Budget $10 to $40. Small details read expensive in photos and in person. Common mistake is mismatched finishes across hardware and plates. Match to your faucet or pulls. I used matte black switch plates for cohesion.
Add Trimmed Open Shelves For Hidden Lighting
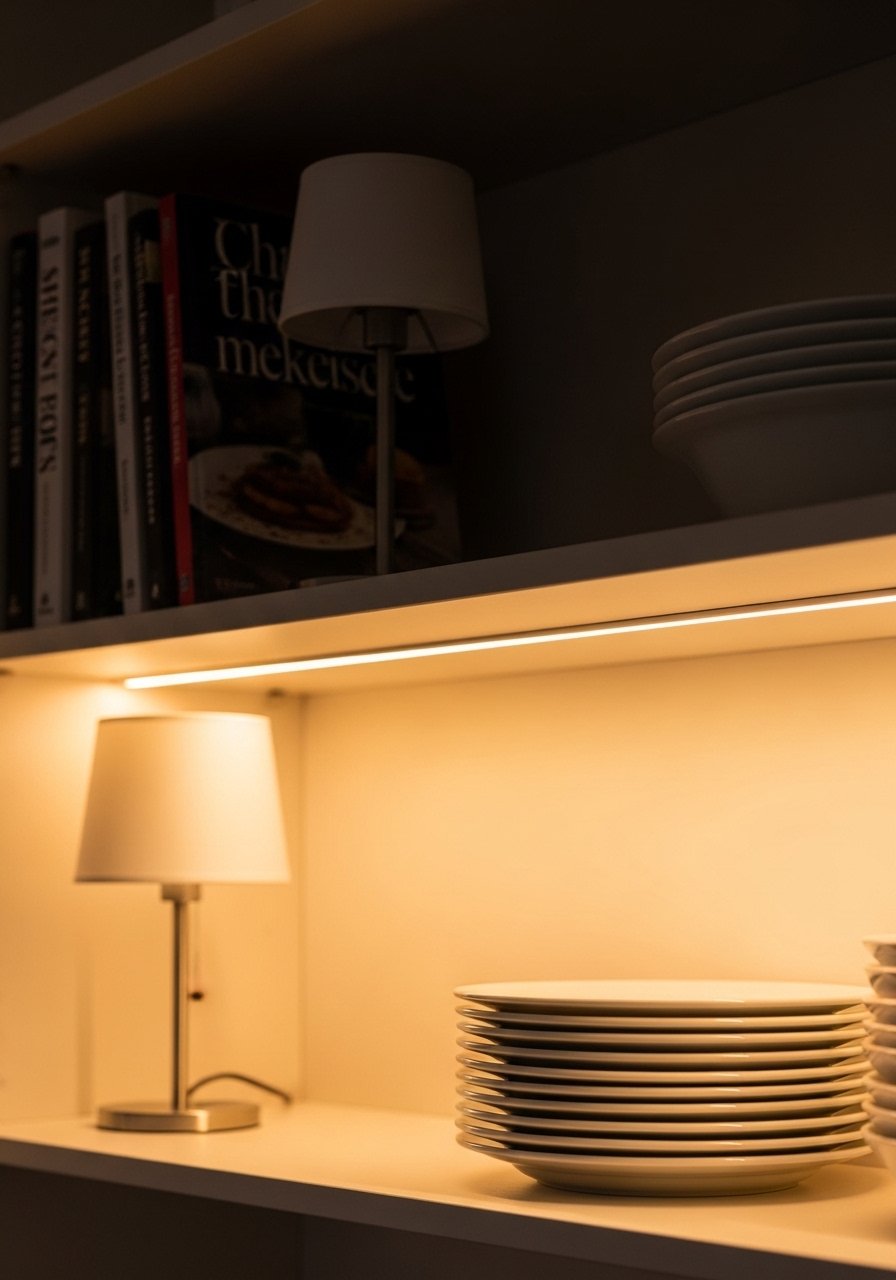
I added thin trim to my open shelves and recessed LED lighting under the top shelf. It created a subtle halo at night. Budget $40 to $100. In photos the glow looks luxe. In real life it helps when you are cooking after dark. Avoid bright white LEDs. I paired the shelves with warm white LED strip lights.
Add A Chalkboard Or Menu Board For Practical Style
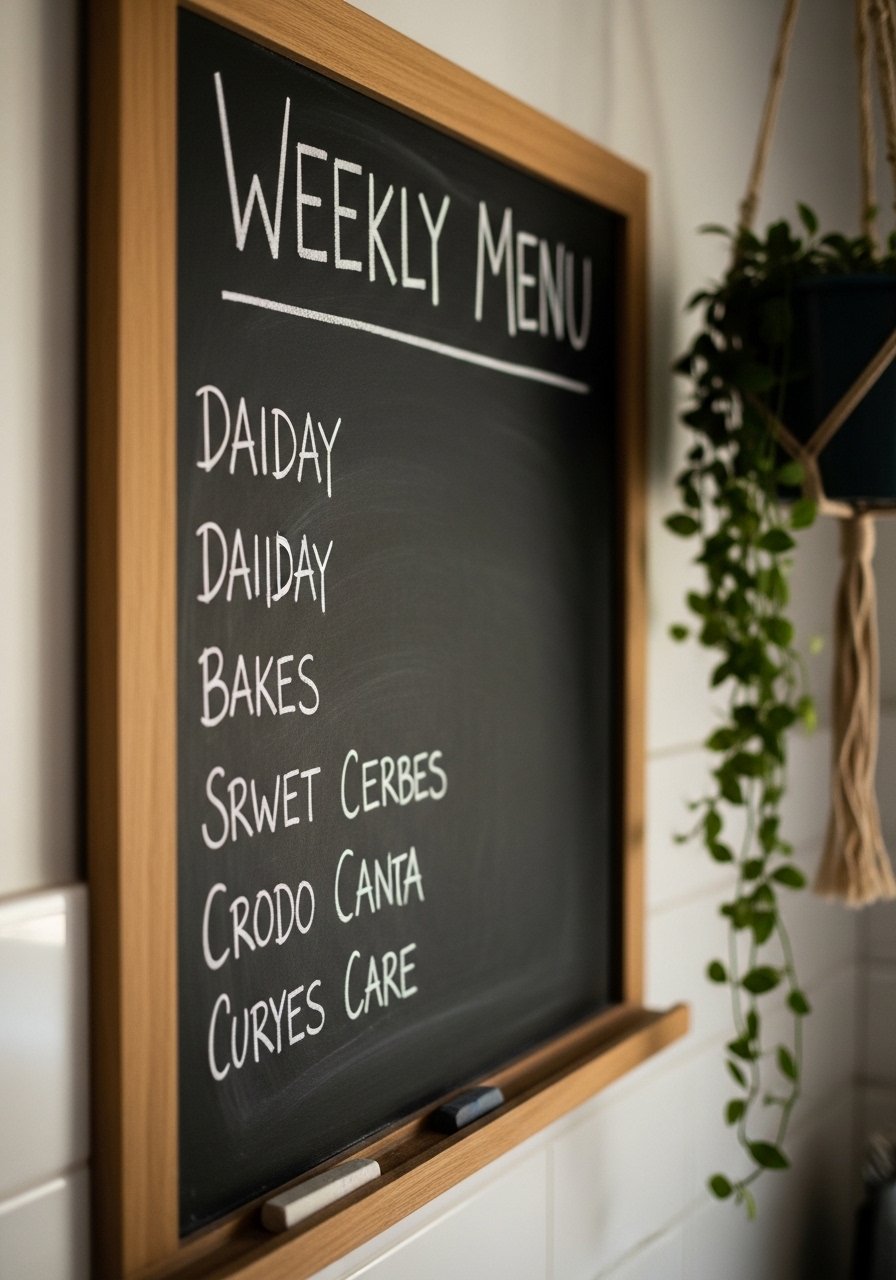
A framed chalkboard reading 'Weekly Menu' made meal planning visible and stylish in my kitchen. Budget $15 to $60. It looks charming in photos. In real life you have to update it, or it looks abandoned. A common error is placing it where grease will stain it. I used a small framed chalkboard and wrote legible, simple menus.
Hang Art Above The Stove For A Gallery-Style Focal Point
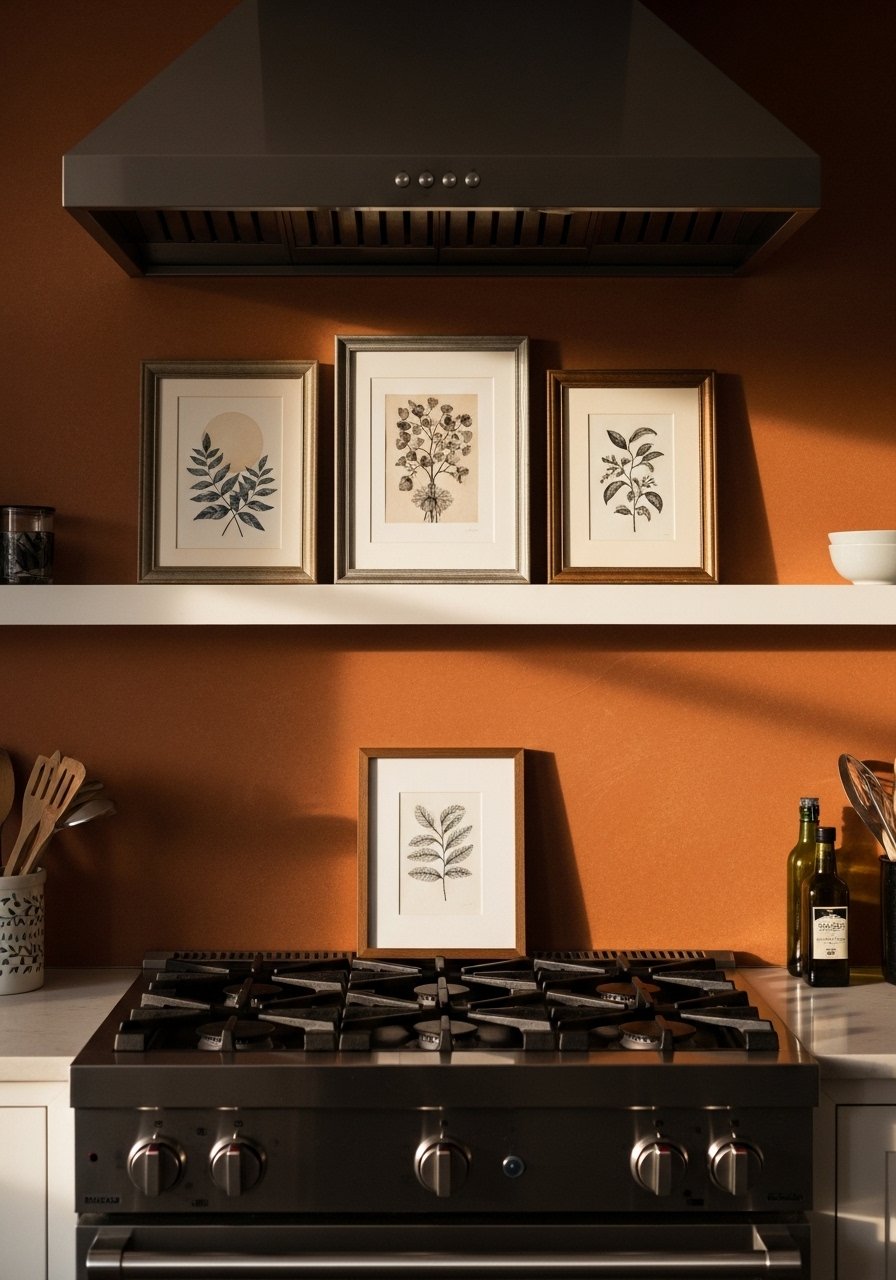
I hung a single framed print above the stove and it reads intentional. Budget $20 to $150 depending on framing. Use a cluster of three in odd numbers for rhythm. Photos make the space look editorial. In day-to-day you may need a heat-safe frame. Avoid very lightweight frames that warp from steam. I used thrifted frames and white mat boards from Amazon.
Replace Standard Faucet With A Statement One For Function And Style
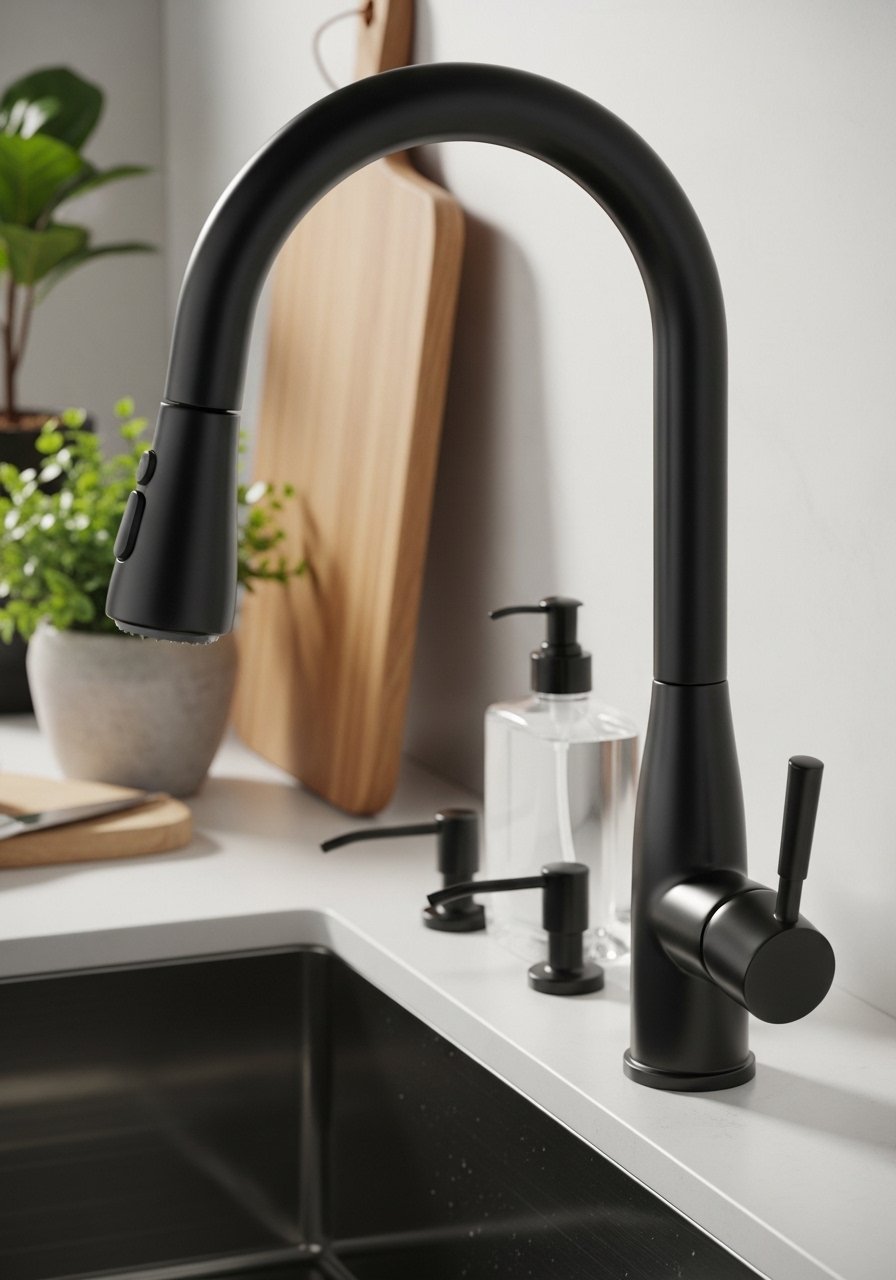
A high-arc matte faucet with a pull-down sprayer changed both my workflow and the kitchen's look. Budget $120 to $350. In photos a statement faucet reads designer. In real life check spray settings for power. My mistake was ignoring deck plate options. Match finish to other hardware. I recommend a matte black pull-down kitchen faucet.
Shopping Tips for These Looks
Buy throws and pillows seasonally: I swap mine every three months. These velvet pillow covers are $12 each and change the vibe.
One large plant beats five small ones: A single 6-foot fiddle leaf fig anchors the room.
White oak beats dark wood in 2026: I see it in every showroom I visit. White oak floating shelves look current.
Thrift the frames, buy mats new: Vintage frames are cheap at Goodwill. Pair with white picture mats 11×14 for crisp results.
Curtains should kiss or puddle the floor: Hanging them mid-frame shortens the wall. 96-inch linen curtains are right for 9-foot ceilings.
Measure twice for pull-outs and trim: Narrow mistakes are costly. Use a narrow pull-out pantry organizer as a model.
Frequently Asked Questions
Q: Can I mix boho textiles with modern cabinets without it looking messy?
A: Yes. I mix a rattan pendant and a linen runner with shaker cabinets for contrast. Keep a 60-30-10 color balance and use odd numbers in displays. rattan pendant light shade pairs well with clean-lined hardware.
Q: How do I make open shelves look curated and not cluttered?
A: Use height variation and the 60-30-10 rule. Limit pieces to three to five per shelf section. Swap one item each month. I keep a set of stackable ceramic bowls for rotation.
Q: Will peel-and-stick backsplash panels hold up near the stove?
A: They can if you choose a durable vinyl with heat tolerance. I used a neutral linen pattern behind my stove and trimmed edges carefully. Clean gently to avoid peeling. peel-and-stick wallpaper panels neutral linen worked for my rental.
Q: What's the fastest way to make a builder-grade kitchen look custom on a budget?
A: Swap hardware, add a pendant, and style countertops on a tray. Those three moves cost under $200 in my experience and change the room. Start with mixed-metal cabinet pulls and a wood serving tray.
Q: How do I choose lighting color temperature for a kitchen that also serves as dining space?
A: I pick warm white around 2700K for overheads and dimmable options for dinner. Warm light keeps food looking good and spaces cozy. Use LED edison bulbs warm white for pendant fixtures.
