

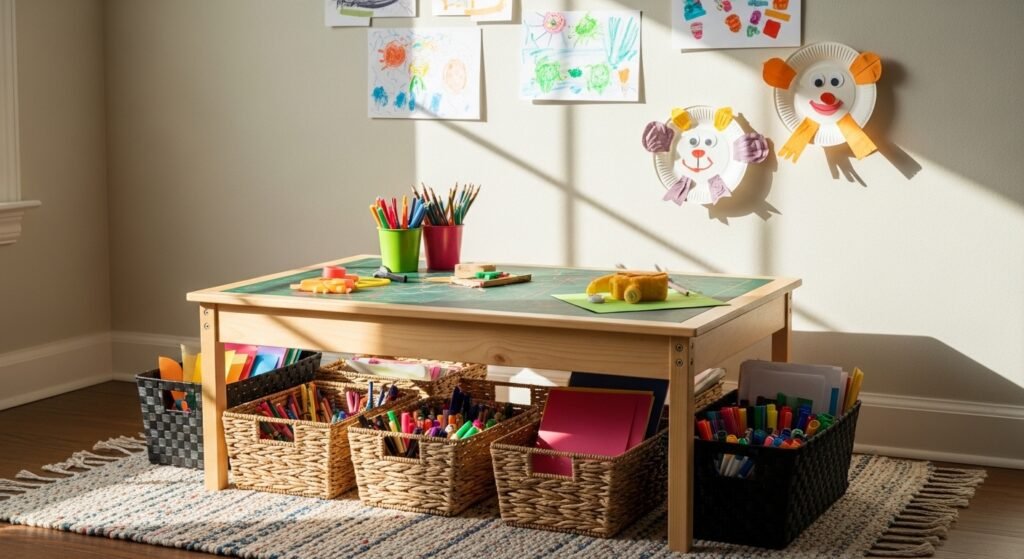
Spent $400 on a coffee table once, and it still felt like a showroom. I fixed that with $12 worth of kid art, a tiny frame, and a low shelf where my kids could reach their projects. Crafts do that, they make a space feel used and loved instead of staged. These ideas are quick, real, and something you can finish before a snack.
These projects lean playful and slightly modern, with a few vintage touches. Most items are under $15, with one or two supplies that cost more. They work best in playrooms, kitchen tables, or any nook that needs kid-sized personality. Most parents pull out crafts once a week.
Layered Paper Plate Zoo For A Cozy Playroom

The paper plate animal is the one craft that always gets applause at our house. It works because plates give a built-in base that hides glue mistakes. Use three colors max to keep it looking intentional. I cut extra shapes from construction paper and grabbed a pack of googly eyes for instant personality. Most kids finish this in 10 to 15 minutes. A common mistake is too many tiny parts, which overwhelm small hands. For little artists, pre-cut 4×6 inch strips for ears and tails so they can glue without fuss. Pair these with the popsicle-stick frames idea to show off finished pieces.
No-Scissor Yarn-Wrapped Forks For Colorful Wall Art
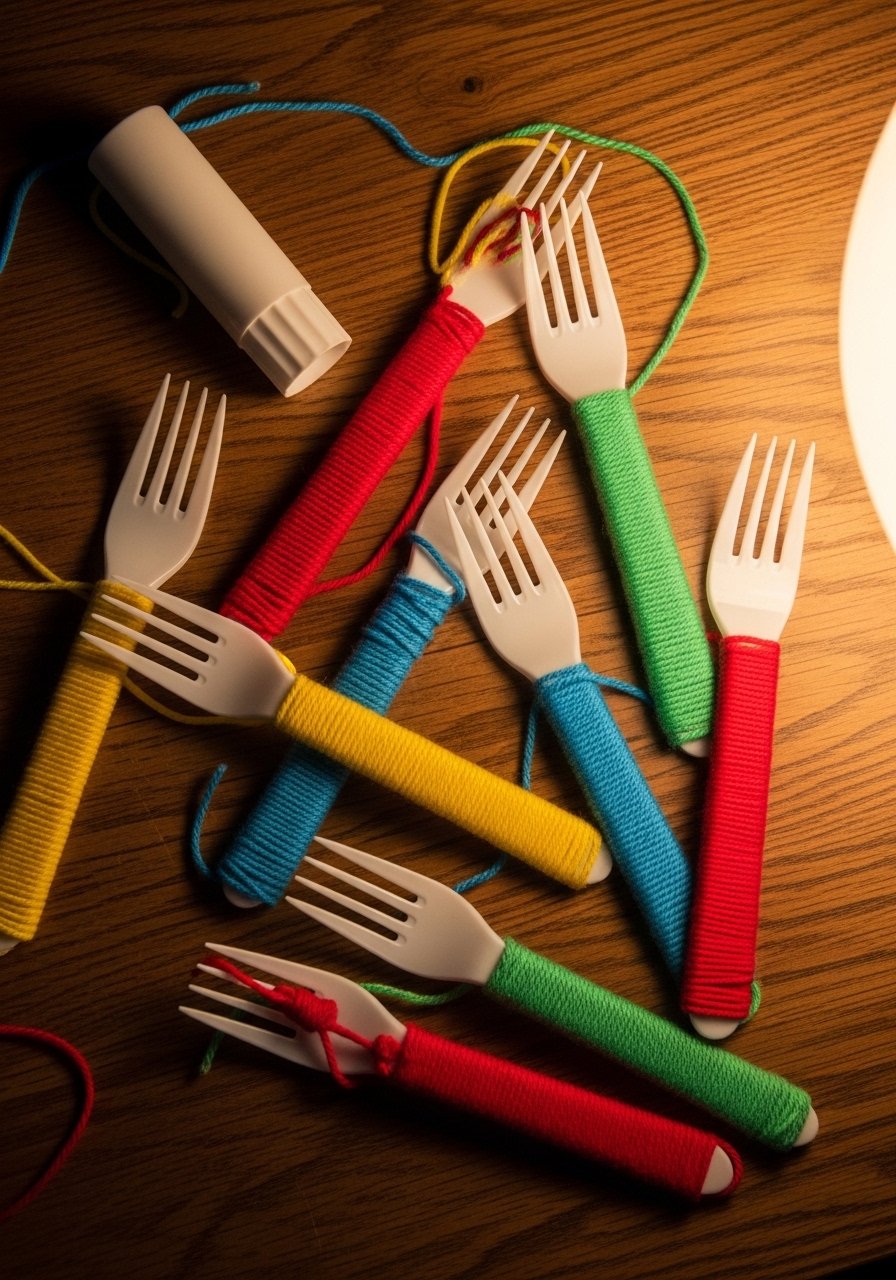
Yarn-wrapped forks started as a boredom buster and became a piece I hang on the playroom wall. It is perfect for kids who hate scissors because they just twist and tape. Pick 2-3 coordinating yarn colors and a glue stick so the ends stay neat. I used bulk yarn skeins and cheap plastic forks to keep the budget under $12. A common slip-up is starting with too many colors. Three color changes max looks clean. For lefty kids, mirror the wrap direction, it helps them follow along without frustration.
Popsicle Stick Frames To Display Kid Art In The Living Room
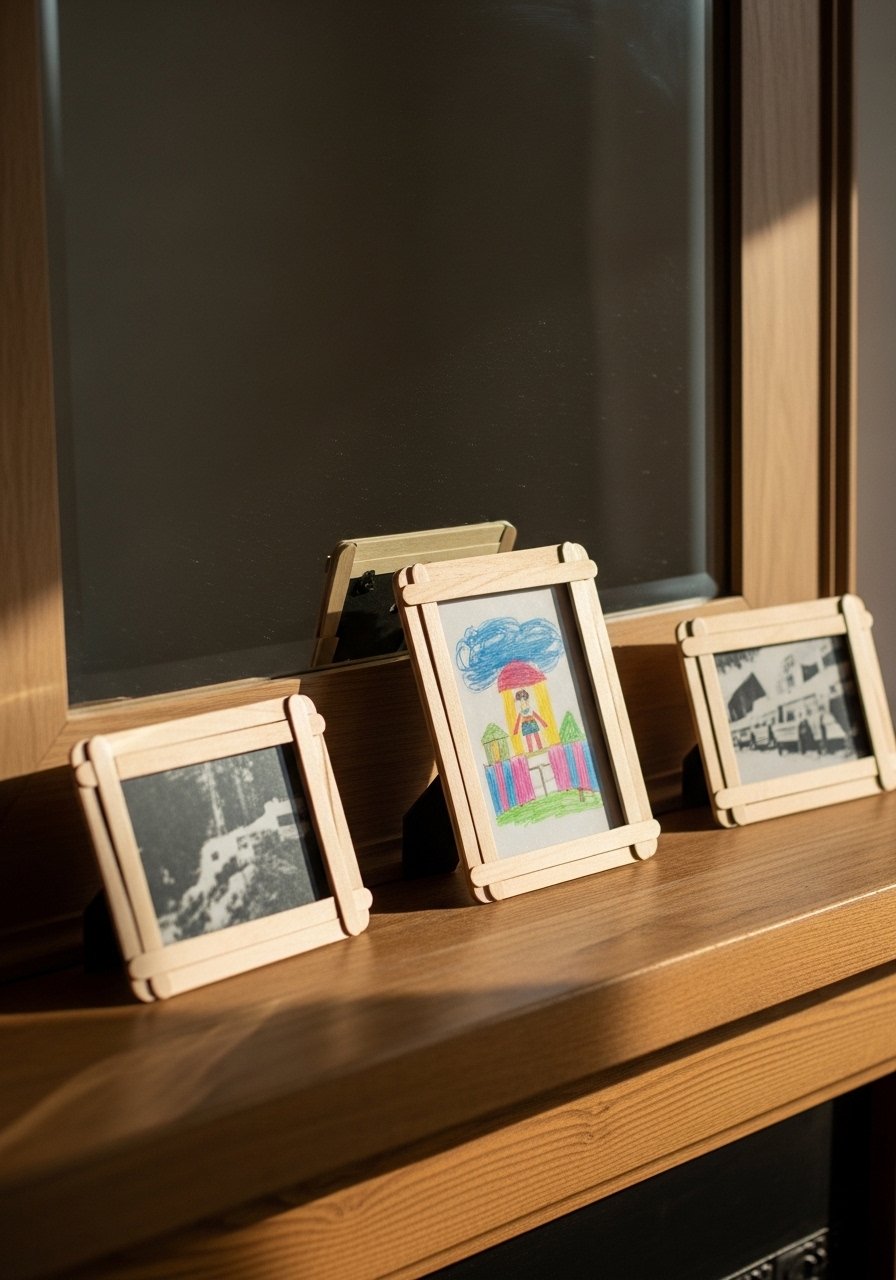
Popsicle stick frames are the fastest way to make fridge art feel intentional. They sit well on a mantel or low shelf and let the kids swap drawings weekly. Use jumbo popsicle sticks, a small acrylic paint set, and glue dots for quick assembly. I link to jumbo popsicle sticks that fit standard 4×6 photos. The mistake I see is painting every square inch of the stick. Leave an edge raw for contrast. Budget runs $8 to $15 if you already have paint. These frames pair nicely with the layered paper plates above for a full display zone.
Toilet Paper Roll Stamps For Custom Wrapping Paper
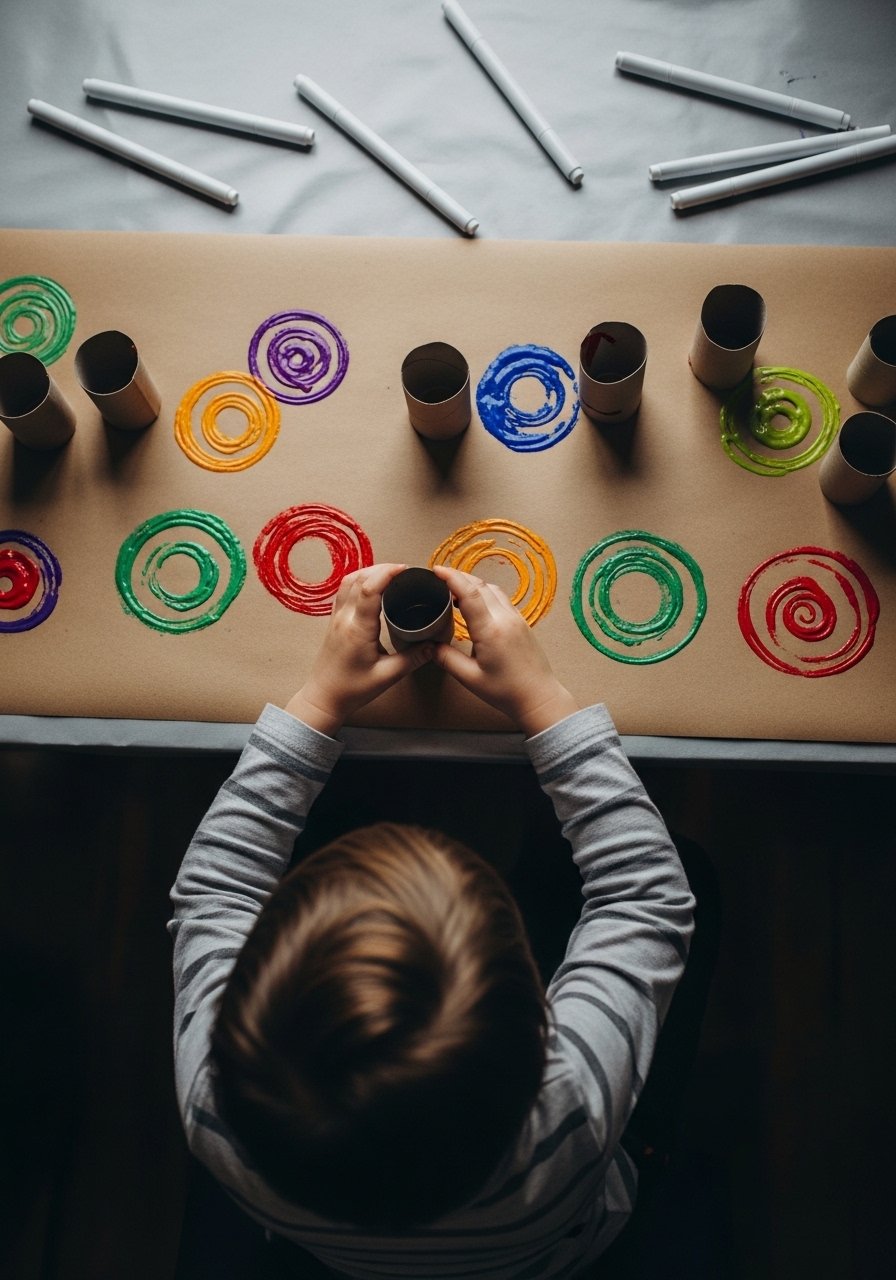
If you hate buying gift wrap, toilet roll stamping changes everything. Cut rolls into shapes with adult scissors, dip in washable paint, and stamp. I keep three paint colors and a tray handy so dry time stays under 10 minutes. Use washable tempera paint and test the stamp on scrap first to avoid disappointment. Parents worry about a mess, so put a drop cloth under the table. This project also solves the supplies-wasted problem since rolls are recycled and cheap. Tip: fold the finished paper and store flat in a clear bin for future use.
Coffee Filter Butterflies For Rainbow Wall Displays

Coffee filters are the quickest way to make bright, bleeding color without any skill. Kids sprinkle liquid watercolors or diluted washable markers and the colors spread beautifully. Folded filter wings and a pipe cleaner body make a fast puppet or mobile. I use basket coffee filters and cheap pipe cleaners to keep costs under $6. A common error is using too many colors. Stick to three to keep the pattern readable. These dry in under 10 minutes if you blot gently. Hang at kid eye level so they can admire their work.
Marble Painting For Mess-Controlled Abstract Art
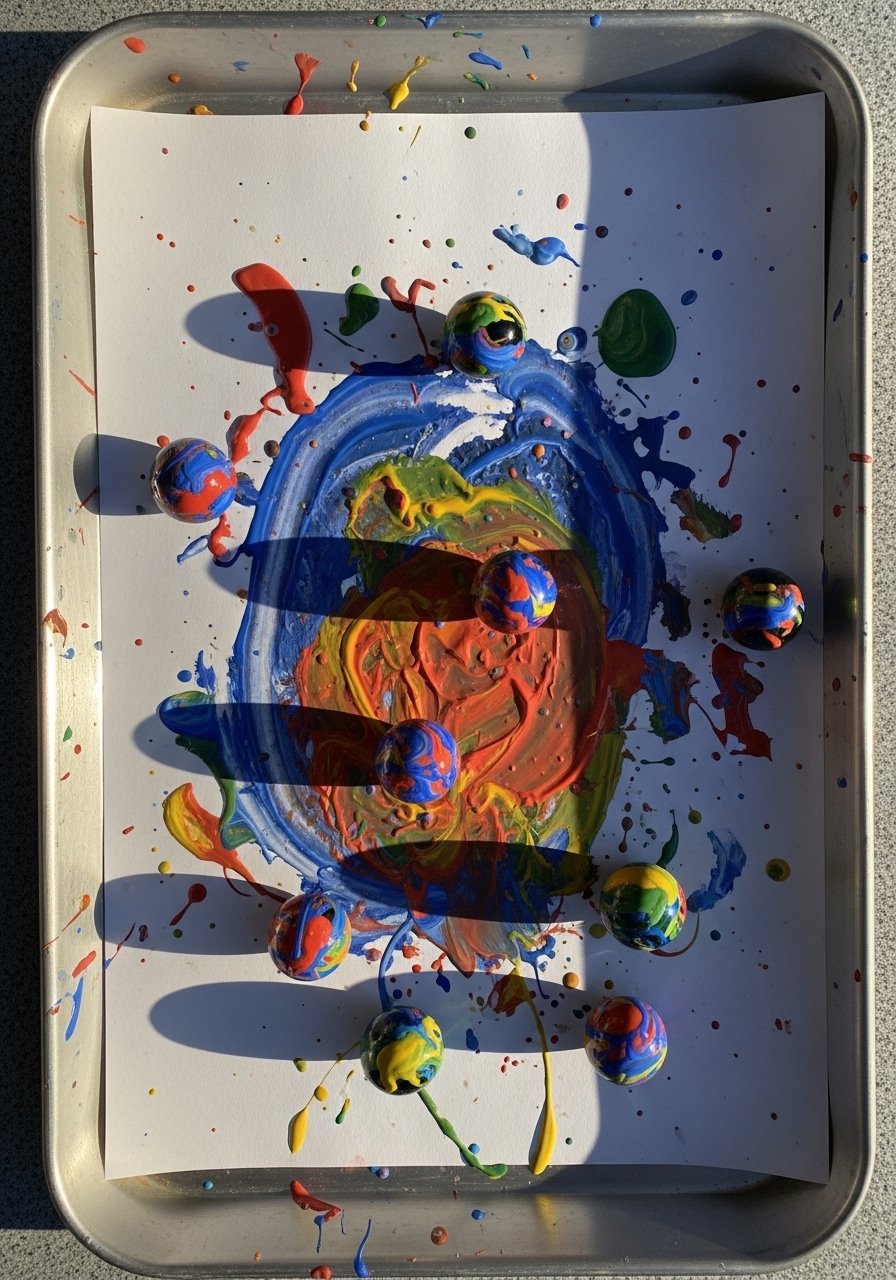
Marble painting is one of the least chaotic paint projects I do because the marble does the work. Put a small sheet in a shallow tray, add a few blobs of paint and roll a couple marbles around. Use washable paints and a tray to contain splatters. I picked up marbles bulk pack and a tray from the dollar store. Most kids finish in under 20 minutes and the results look like real abstract art. The usual mistake is too much paint. One dab per color keeps it crisp. This is a great older-kid activity that still entertains younger siblings if you give them one marble and supervise.
Clothespin Airplanes For Hanging Playroom Decor
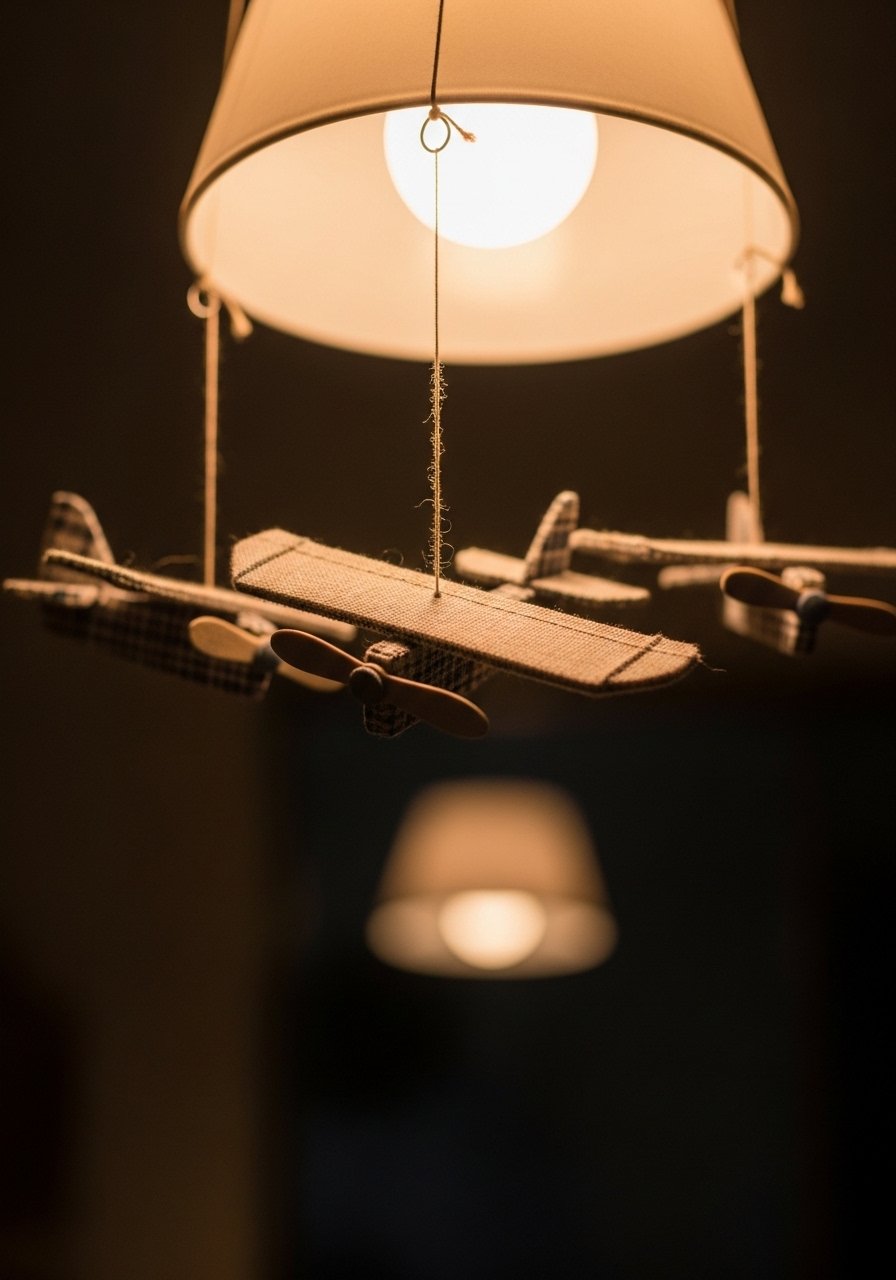
Clothespin airplanes are a two-minute assembly and five-minute paint job that results in charming hangable toys. Glue a craft stick wing and paint the body. I prefer wooden clothespins and a matte acrylic set for durability. Grab a pack of wooden clothespins and a small acrylic paint set. The mistake I see is using hot glue. Use glue dots or washable glue sticks to avoid burns and keep cleanup easy. Hang them with clear thread so they look like they are flying. Pair these with the CD mosaic mirrors for a playful ceiling vignette.
Button Bracelets For Wearable Pride
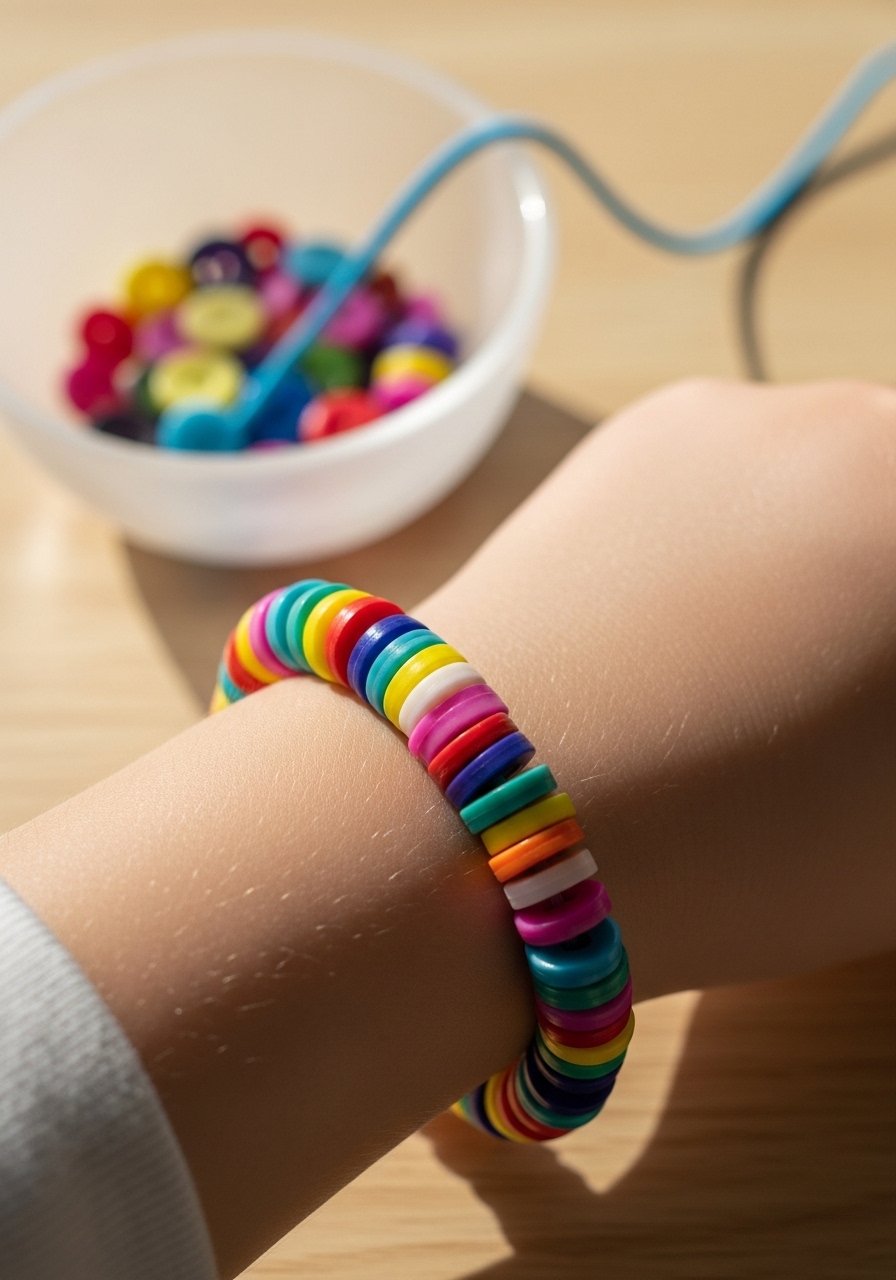
Button bracelets are one of the projects that actually last past five minutes. Thread buttons on elastic cord and knot securely. Use larger buttons for preschoolers so they do not choke. I keep a mixed pack of assorted buttons and elastic cord in my craft drawer. The budget is under $10. A common mistake is using tiny buttons and then helping with every bead, which defeats the purpose. For sibling play, set up a color rule like odd numbers only to practice counting while they craft.
Sponge Stamped Flowers For Nature Walls Indoors
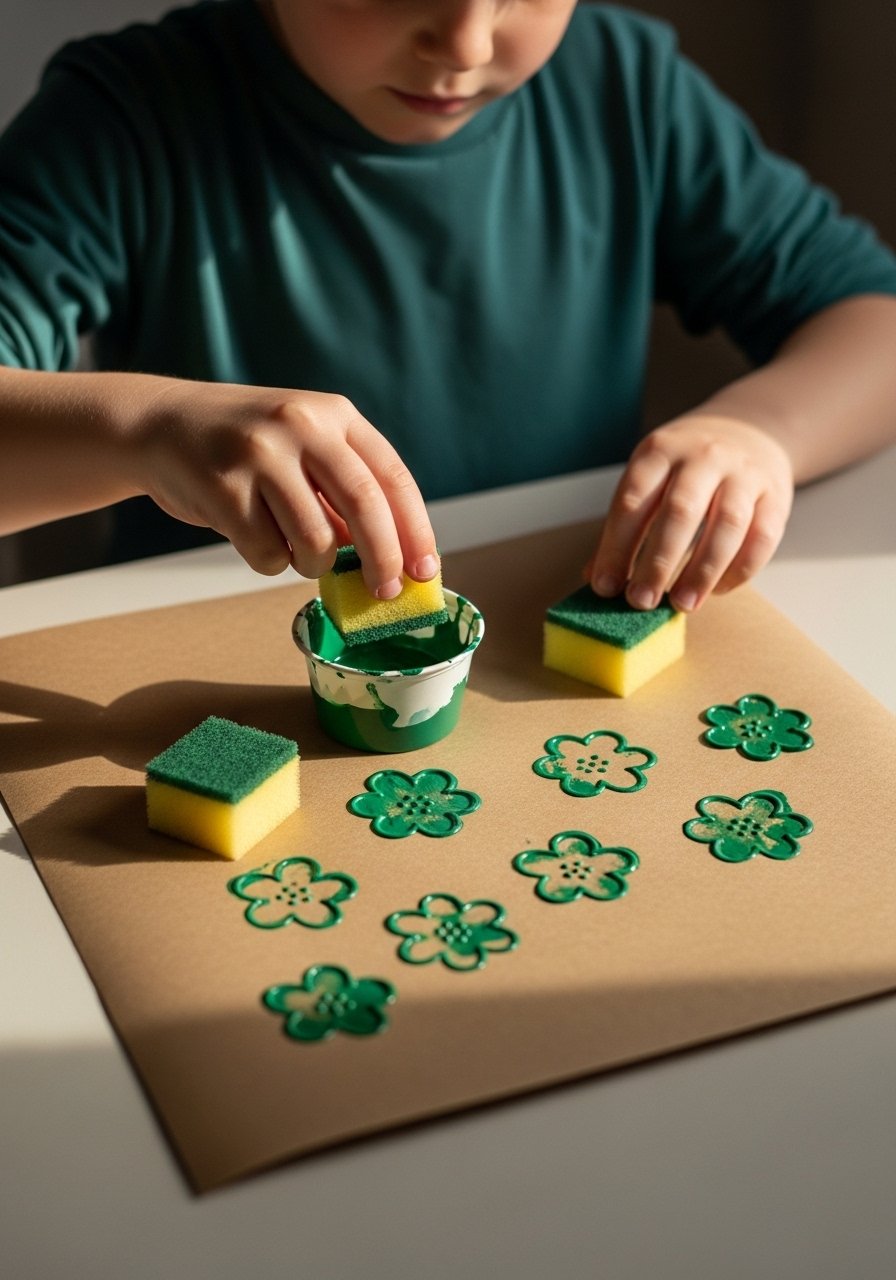
Cut kitchen sponges into petal shapes and stamp a quick garden on paper or canvas. It is forgiving and works even for pre-writers. I use kitchen sponges, green and two petal colors, and a small FolkArt acrylic set. Keep the sponge pieces about 2 inches across so little hands can grip them. The usual error is too many stamp sizes that make the piece look messy. Stick with odd-numbered groupings, like three or five flowers, for balance. This project is great for rainy days and stores flat in a portfolio afterward.
Lego Print Paintings For Modern Kid Art
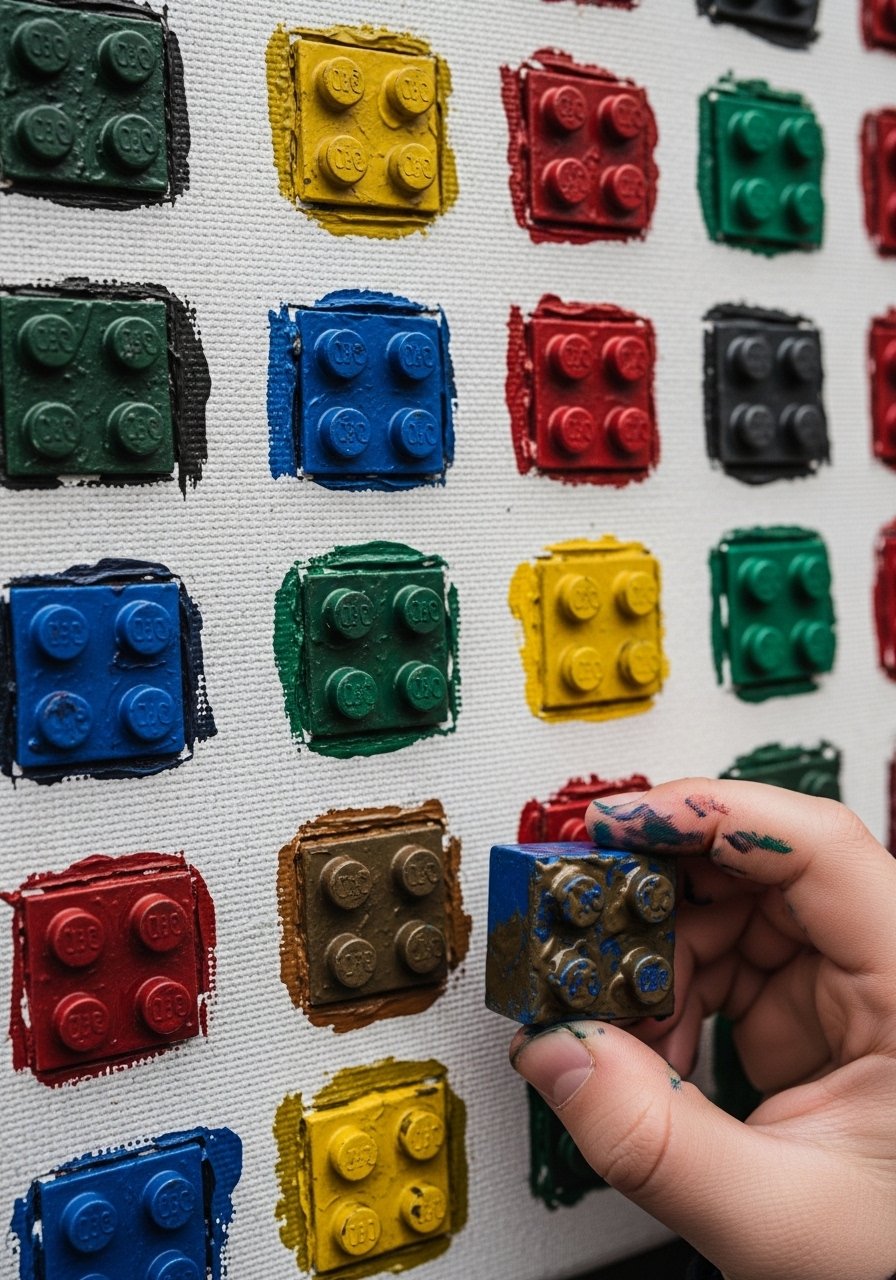
Using Legos as stamps turns toys into art tools and keeps costs down. Pick a small set of bricks, press them into paint and print a pattern on paper or canvas. Use washable paints and a foam roller to keep application even. I used an old bin of basic Lego bricks for zero extra spend. The mistake is overfilling the brick with paint, which causes blobs. Roll on a thin layer and test on scrap. These prints look great framed, and they pair with the popsicle-stick frames idea for a kid-made gallery.
Pipe Cleaner Crowns For Instant Dress-Up
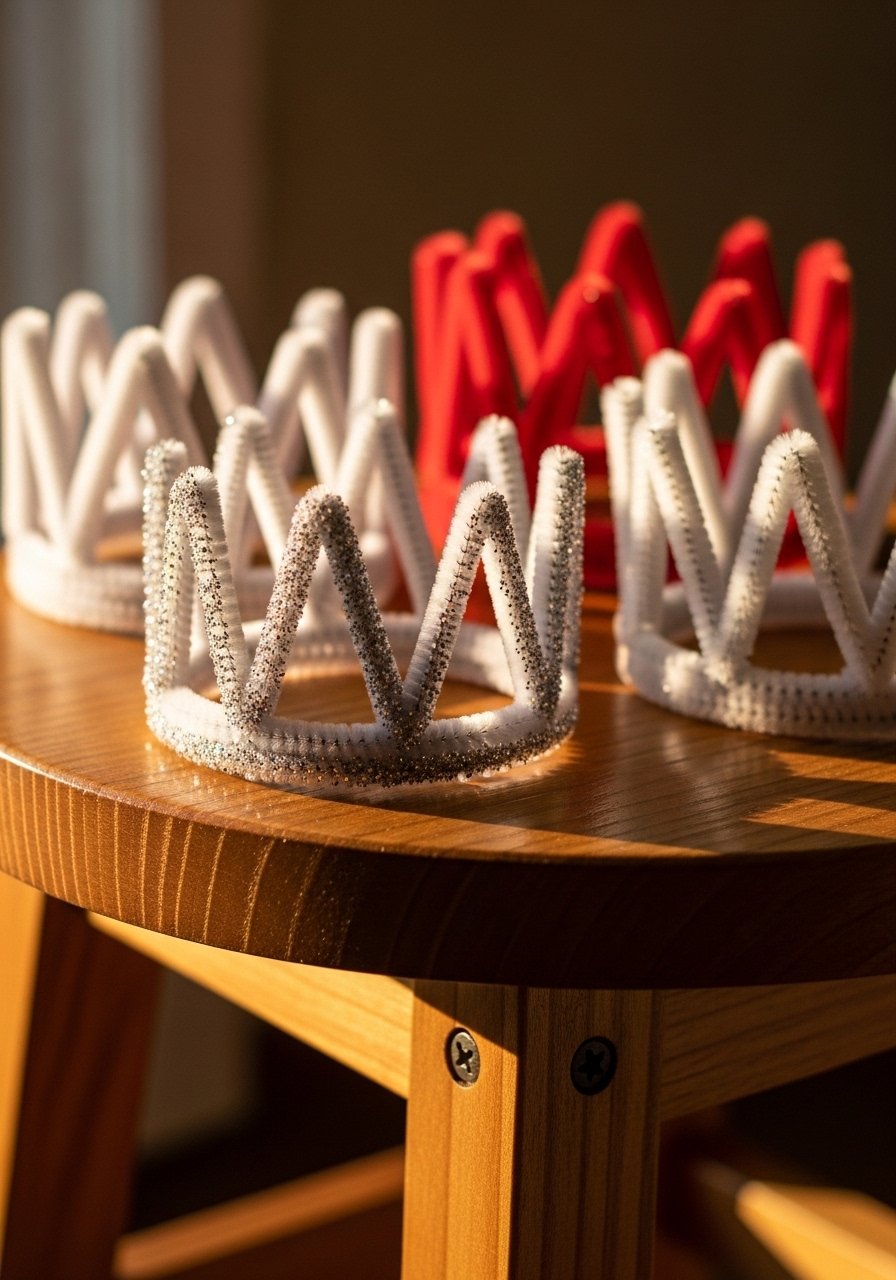
Pipe cleaner crowns are the fastest dress-up win. Twist a base, add beads or foam stickers, and shape. I keep a pack of chenille stems and a small bead kit on hand. This craft takes five minutes and 0 cleanup if beads stay wrapped. A common misstep is making the crown too tight. Measure the child’s head and leave a half inch for comfort. For multi-age groups give younger kids pre-formed loops so they can decorate rather than assemble.
Rock Pets For Shelf-Sized Companions

Rock pets are back and are so easy to store. Gather smooth rocks, paint a base coat, add faces with sharpies or paint pens, and glue on felt ears or yarn hair. They work as paperweights, shelf friends, or garden markers. The mistake people make is using porous rocks that soak paint. Pick smooth river rocks and let a single coat dry for under 10 minutes. Use pet-safe paints if you have animals that lick things. These are great for rule-of-three displays on a narrow shelf.
CD Mosaic Mirrors For Sparkle Without Glass Danger
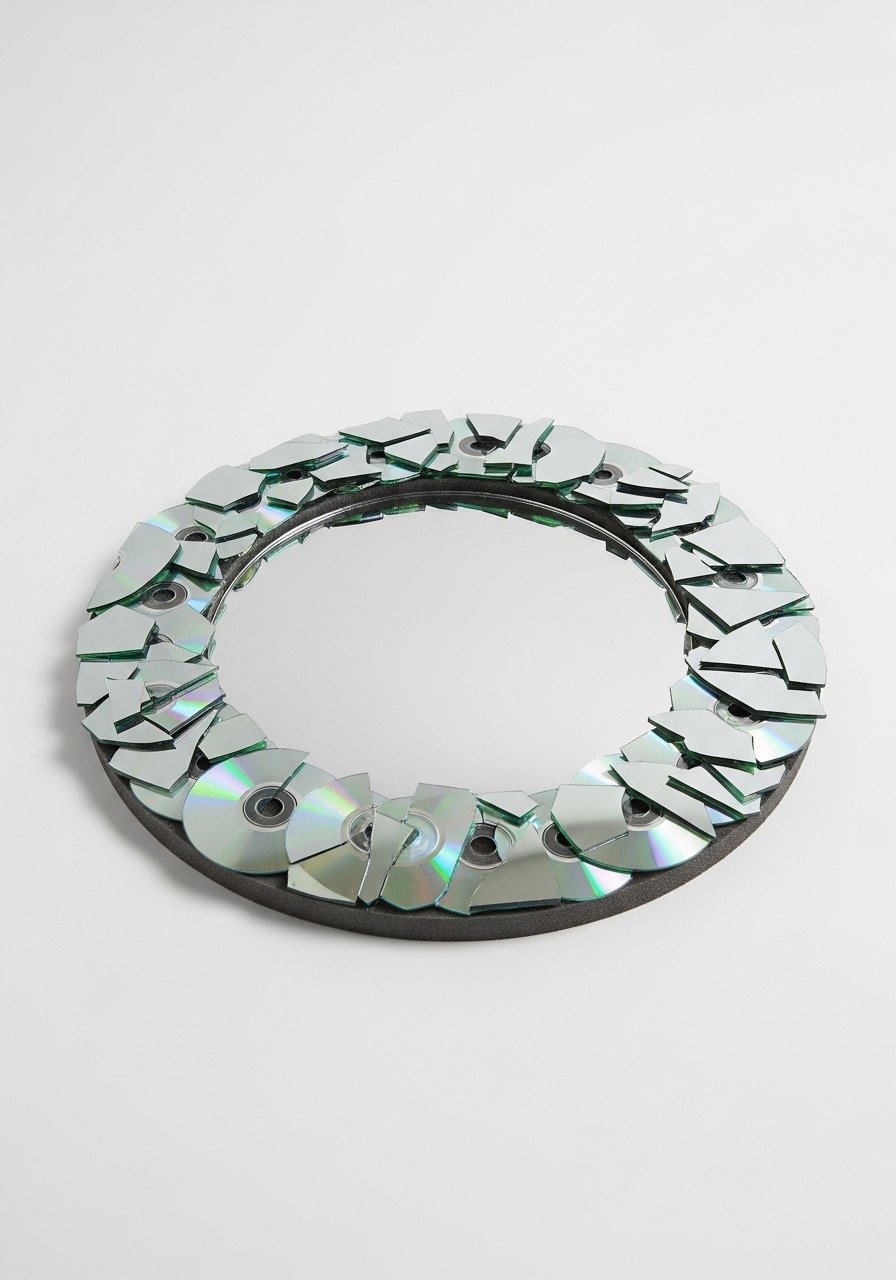
CD mosaic mirrors add sparkle without risking shards. An adult cuts old CDs into small pieces, kids arrange them on foam board around a small mirror base. I use foam board and a low-tack glue like glue dots to avoid hard work. Pick up a pack of glue dots and safety goggles for cutting. The common mistake is placing too many small pieces. Larger shards in odd-numbered groupings look nicer and take less time. This project requires adult help for cutting but the assembly is fast and offers big impact.
Paper Bag Puppets For Storytime In The Nursery

Paper bag puppets are a great way to get reluctant crafters involved in storytelling. Cut and glue felt scraps for clothes, add yarn hair, and use a marker for facial features. Use brown paper lunch bags and a small felt assortment pack. A mistake is adding too many tiny glued bits that fall off. Keep clothing pieces larger than 1 inch so they stay. This is where "Most parents pull out crafts once a week" really helps because the next morning they often stage a puppet show with siblings.
Masking Tape City For Quick Architectural Play
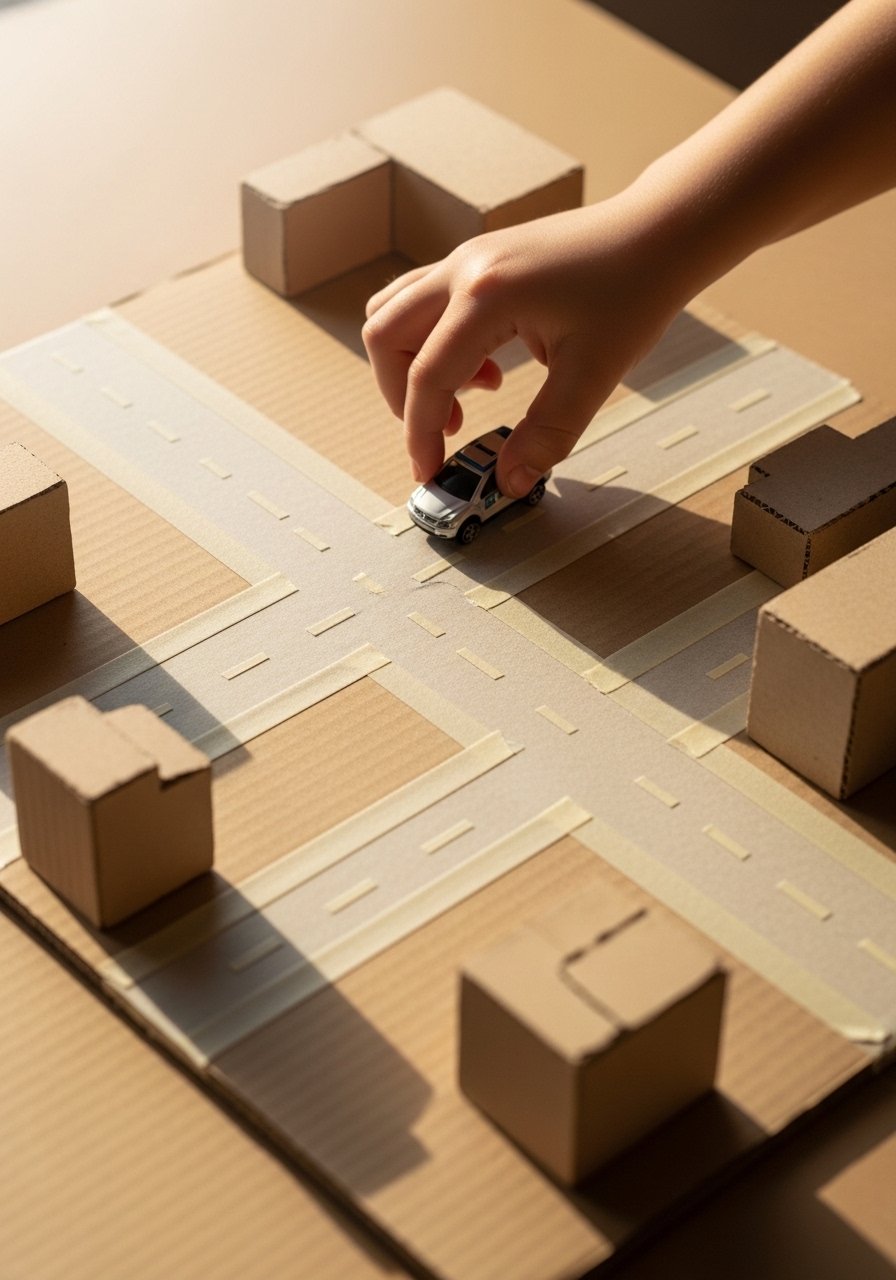
Masking tape city is a no-supply, no-mess way to build urban play. Lay down tape roads on cardboard, add block buildings and paper signs. It teaches planning and lasts for days if stored flat. I keep a couple of rolls of wide masking tape and a box of basic blocks handy. A frequent mistake is making roads too narrow for toy cars. Use at least 1.5 inches of tape per lane. This works particularly well for siblings because older kids can design routes and younger kids pretend drive.
Your Decor Shopping List
- Honestly the best $12 I have spent. Googly eyes, 100 count in mixed sizes for instant faces
- For frames and displays. Jumbo popsicle sticks, 100 pack for frames and simple structures
- For quick stick-and-go assemblies. Glue dots craft pack keeps projects burn-free and tidy
- Paint that washes out. Washable tempera paint set, small set for multiple kids
- Versatile fiber. Wool yarn skeins variety pack for wrapping projects and texture
- Tiny accessories that make crafts pop. Chenille stems pipe cleaners, 200 pack
- Durable basic bricks. Classic building bricks set for printing and play
- For bracelets and threading. Elastic beading cord and assorted buttons
- For stamping and sponge work. Kitchen sponge pack cut into shapes
- For lasting displays. 8×10 natural frame set to show the best pieces, similar at Target
Most of these have similar options at HomeGoods or Target if you prefer to shop in person.
Shopping Tips
White oak beats dark wood in 2026. White oak floating shelves keep a kids’ display feeling fresh rather than dated.
Grab velvet pillow covers for $12 each. Swap pillow covers seasonally and the room shifts without a full redo.
Curtains should puddle or kiss the floor, never hang halfway up. 96-inch linen panels are right for standard 9-foot ceilings.
One large plant beats five small ones. Artificial fiddle leaf fig, 6 foot gives height without maintenance.
Keep a small bin for reusable supplies. Clear plastic storage bin holds partial projects and prevents the “supplies wasted on failed attempts” problem
Frequently Asked Questions
Q: How do I keep kids interested for the whole project?
A: Pick projects labeled 15 minutes or less and set up everything first. Almost everyone wants crafts done before snack time, so have snacks ready for a mid-project pause if needed.
Q: What about the mess? I have a tiny house.
A: Use glue dots, washable paints, and a cheap drop cloth. Mess stops nearly half from crafting, so these swaps reduce the cleanup and lower stress.
Q: Can toddlers join these activities safely?
A: Yes if you adapt. For ages 2 to 4, pre-cut shapes and use large buttons. Aim for one adult supervision per three kids and avoid hot glue. Paper plate animals and sponge stamping are toddler-friendly with supervision.
Q: How do I store finished crafts without clutter?
A: Use a single shelf or a frame rotation system. Hang a narrow ledge at 36 inches for kid eye level and rotate three pieces at a time, following the rule of three for balance.
Q: Are there alternatives for dark rooms or low light?
A: Try glow paints for accents or add a warm table lamp by the craft area. A small LED clip lamp near the work surface helps when natural light fades.
Q: What supplies should I buy first if I am starting simple?
A: Start with a small paint set, glue dots, jumbo popsicle sticks, yarn, and a pack of pipe cleaners. Folks drop about 25 bucks per craft run, so buy a few multipurpose items and reuse them.
