
I used to stand in front of a blank wall and feel like the room was missing warmth. Everything felt cold and untextured.
Upcycling old items fixed that for me. It’s cheaper, kinder to the planet, and gives small spaces personality without clutter. I’ll show simple ways to make thrift finds feel intentional.
How to Upcycle Old Items into DIY Decor
This is the method I use when a shelf or corner looks empty. You’ll end with cohesive vignettes that feel lived-in—leaning toward organic modern or a subtle Grandma Chic mix—using thrifted frames, baskets, and painted terracotta for a layered, calm look.
What You'll Need
- Chunky knit throw in oatmeal, 50×60 (~$40–65)
- Off-white chalk paint, 8 oz jar (~$8–20)
- Mossy green craft paint sample, 4 oz (~$3–10)
- Terracotta planter set, small/medium (~$5–20)
- Woven rattan storage basket, medium (~$15–40)
- Distressed black picture frame, oval/8×10 (~$2–15)
- Mason jar fairy lights set, 12pcs (~$5–15)
- Pieced quilt wall hanging, throw size (~$20–100)
Step 1: Choose pieces that read like a set
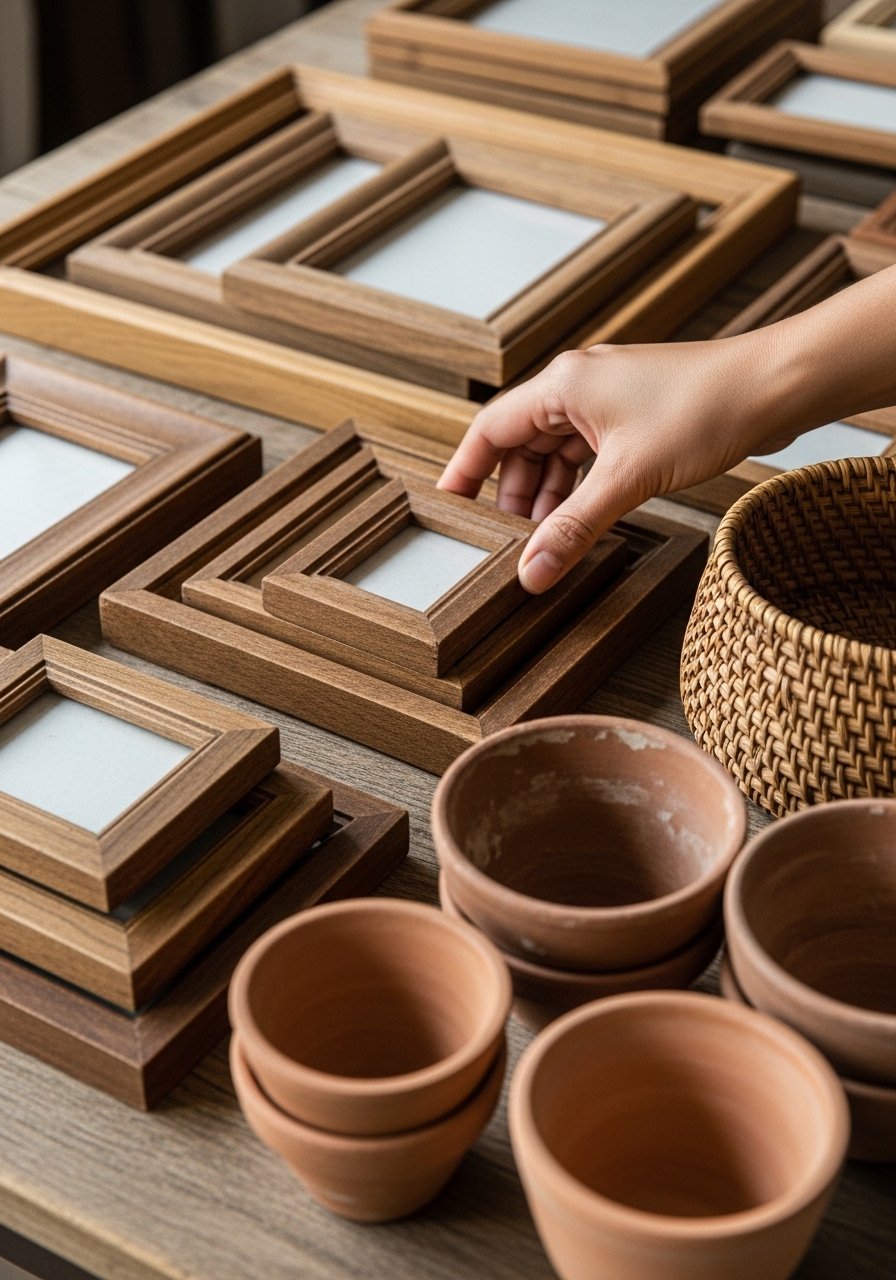
I start by editing what I already have. I put similar materials together—rattan with wood, clay with matte metals—so even mixed eras feel like they belong. That gives instant cohesion.
Most people miss scale here. A tiny frame next to a large basket reads odd. Avoid that by grouping items that share at least one visual quality: color, texture, or scale. Don’t force everything to match; let contrasts be deliberate.
Step 2: Create a stable base layer
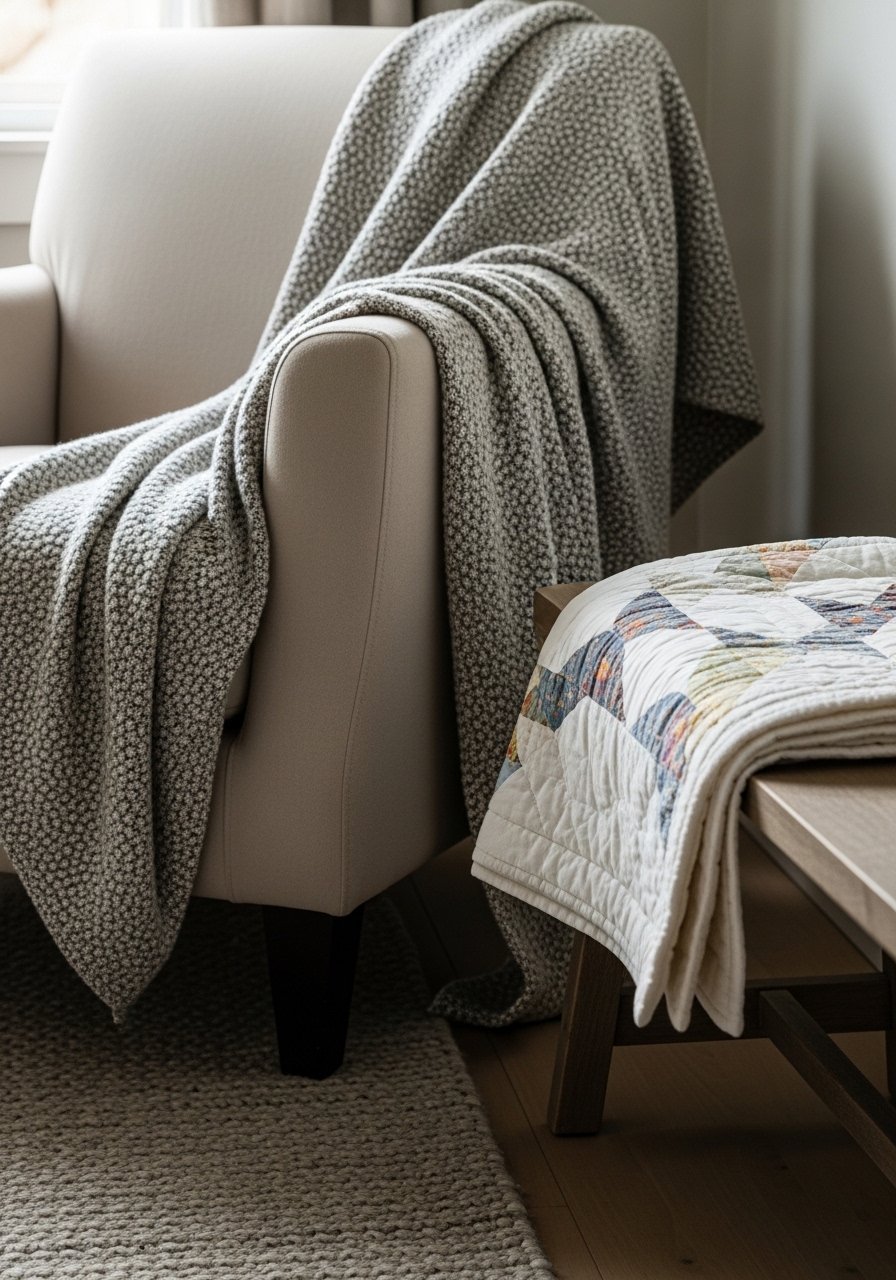
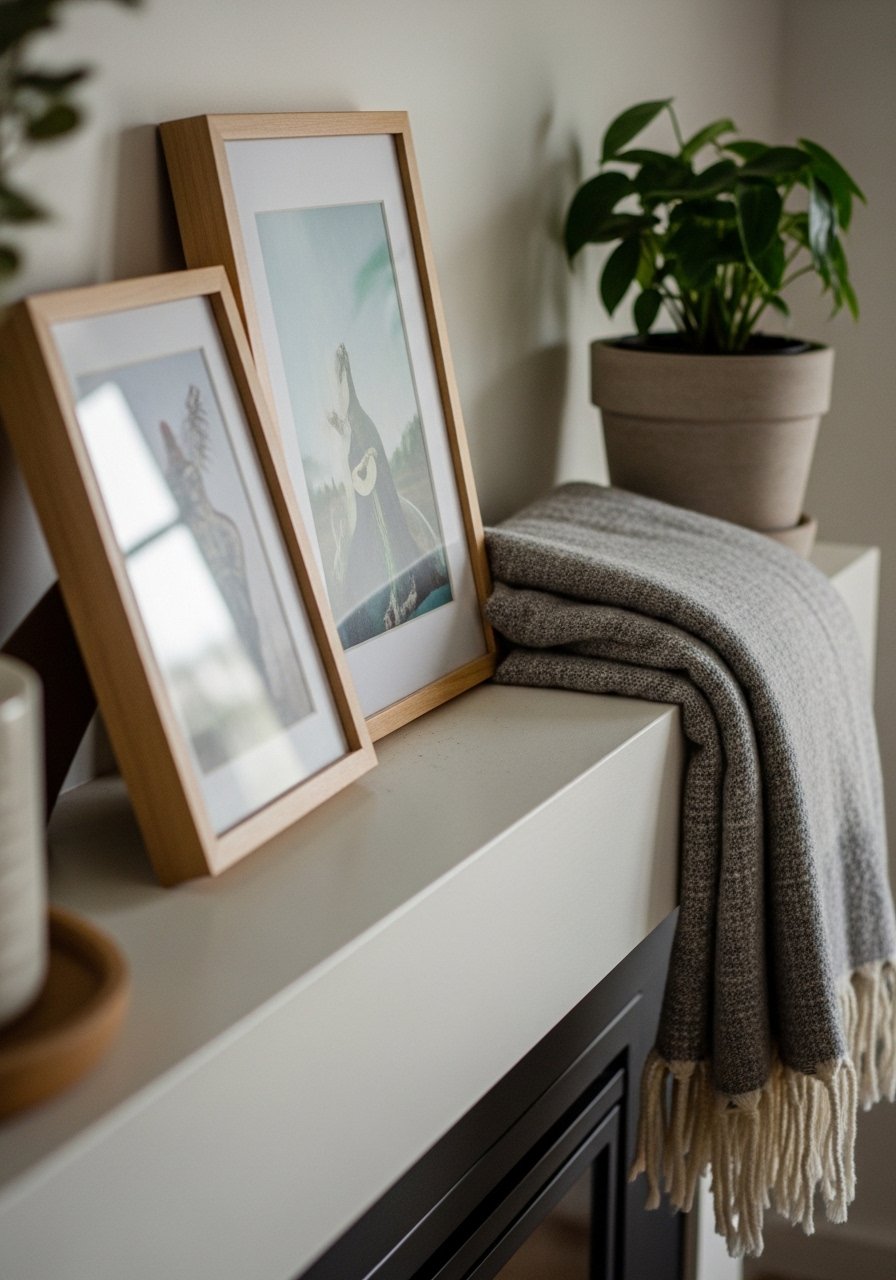
I always lay down the biggest, lowest pieces first. A throw, a folded quilt, or a small rug anchors the eye and keeps things from floating. The base sets the palette and the mood.
Visually, the room goes from cold to cozy when I add that soft layer. A common mistake is piling decorative objects without a soft backdrop. If you skip the base, the vignette feels tacked-on rather than lived-in.
Step 3: Give a few items a gentle edit
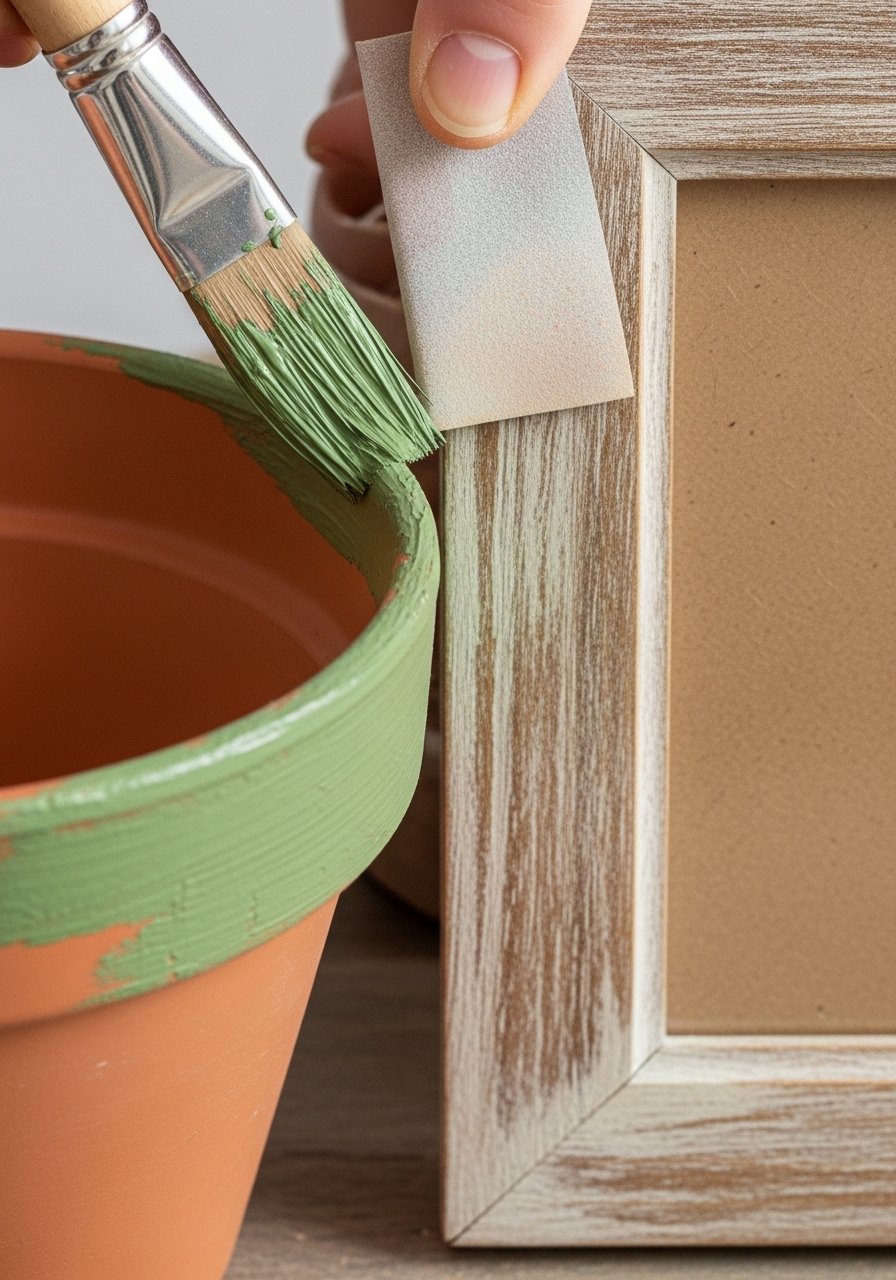
I selectively refresh thrifted finds. A soft off-white distress on a frame or a mossy green wash on a pot ages pieces gracefully and ties them to the room palette. Small changes make items read more deliberate.
People often overdo it. I stick to subtle edits so the original character shows through. The insight: one edited piece pulls the whole vignette together. The mistake to avoid is repainting everything the same color—variation keeps it interesting.
Step 4: Build micro-scenes with odd numbers and varied heights
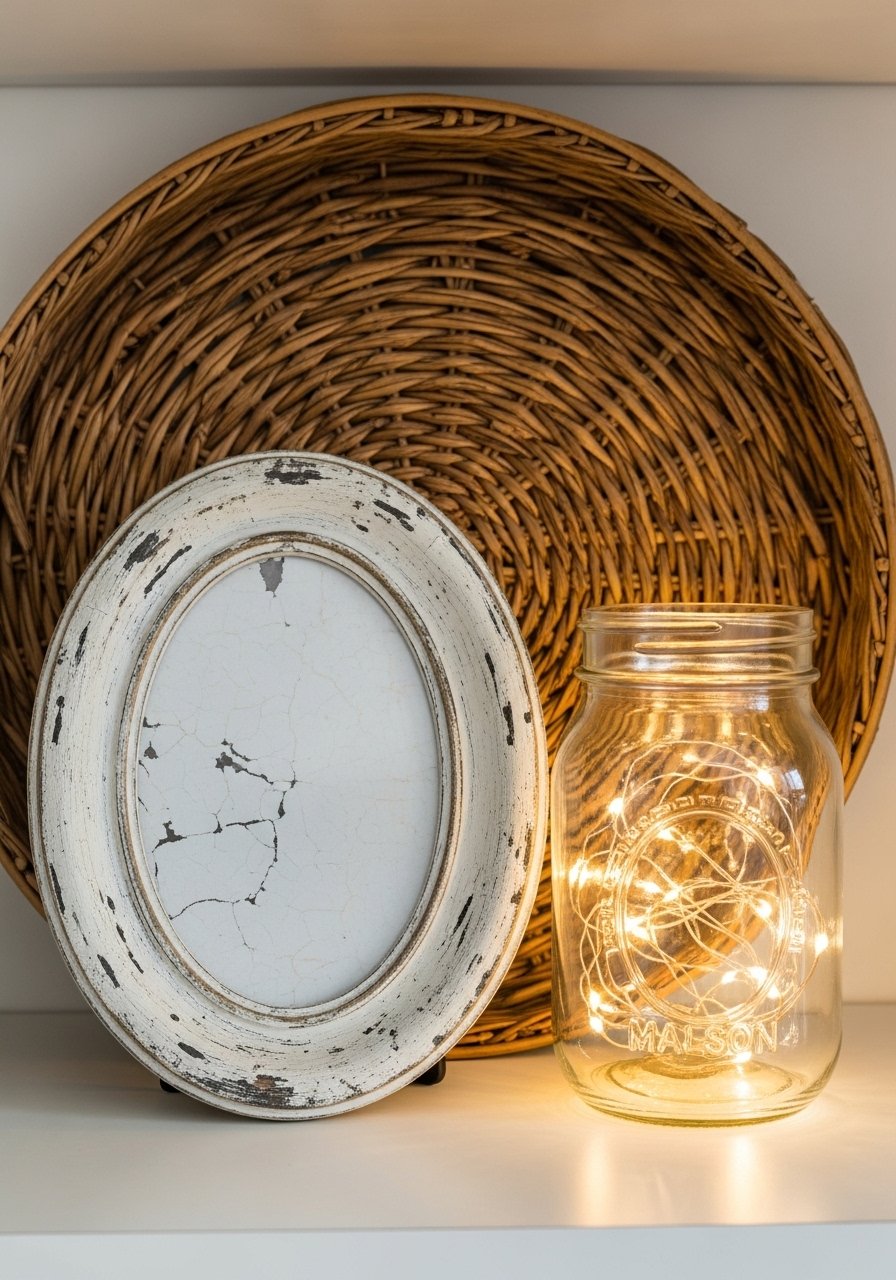
I arrange 3–5 items in tight groups, varying height and material. A low basket, a mid-height frame, and a taller jar create a rhythm. Odd numbers feel natural.
I watch the negative space between objects. Tight clusters read intentional; wide gaps look accidental. One small trick I use is to add a living thing—a succulent or dried stem—to give movement. Avoid lining everything up symmetrically; that flattens the composition.
Step 5: Live with it and tweak
I leave the new arrangement alone for a few days. I move things when I notice a view from the couch looks off, or a piece gets knocked by daily life. Re-styling in small increments keeps the look natural.
Durability matters if you have kids or pets. Swap delicate items for a basket or heavier pottery in high-traffic spots. The insight most miss: the first layout is rarely final. Small edits—rotate, raise, or tuck—make it feel truly lived-in.
Common mistakes and quick fixes
I see the same problems often. Too-perfect symmetry. Over-painting. Forgetting scale.
Quick fixes:
- Break symmetry with one contrasting texture (a woven basket next to an aged metal bowl).
- If paint feels flat, sand a corner for timeworn texture.
- If a vignette looks cluttered, remove one item—odd numbers help.
I try small edits first. They’re less scary and usually solve the problem.
Adapting this look for small spaces and renters
In tiny rooms, go vertical. A quilt as wall art or a stack of framed thrift prints uses wall space, not floor. I choose smaller planters and single, taller pieces to avoid clutter.
Renters: use removable hooks for hanging quilts or mirrors. Opt for non-permanent changes like painted thrift pots and moveable baskets. Bulleted approach:
- Use a single statement quilt or oval mirror.
- Group items on a shelf instead of spreading them across surfaces.
- Choose washable textiles for comfort and practicality.
Mixing upcycled pieces with what you already own
I don’t replace everything. I integrate a modern lamp or a bouclé pillow with thrifted baskets and a pieced quilt. Mixing a braided rug or terracotta planters with newer pieces keeps the space current yet grounded.
Tips I use:
- Repeat one color or material across old and new items to create continuity.
- Let one upcycled piece be the focal and let newer items play supporting roles.
- Think in small vignettes rather than one grand re-do.
Final Thoughts
Start small. Pick one shelf, one mantel, or a corner and apply these ideas. Upcycling is about feeling, not perfection.
A single terracotta planter refreshed with a mossy green wash or a woven rattan basket can be the change that makes a room feel cozy and intentional. Move things until they feel right.
