
I used to stand in front of my sofa and feel like something was missing. The couch looked too flat. The pillows were mismatched or limp. I didn’t want to sew, but I wanted the room to feel warm and intentional.
These no-sew pillow covers are the answer I reach for when a room feels unfinished. They’re quick, look layered, and behave like something I actually live with.
How to Make DIY Pillow Covers Without Sewing
This shows you how to make attractive, no-sew covers and arrange them so the sofa or bed reads as calm, balanced, and lived-in. You’ll end up with layered textures—linen, velvet, chunky knit—that feel intentional. It’s simple, repeatable, and fits an organic modern or cozy aesthetic.
What You'll Need
- Solid linen pillow covers, 18×18, natural (~$15–30)
- Velvet pillow cover, 20×20, deep green (~$18–35)
- Chunky knit throw in oatmeal, 50×60 (~$40–65)
- Large cotton scarf, 35×80, neutral stripe (~$12–25)
- Faux fur lumbar pillow cover, 12×20, ivory (~$15–30)
- Pillow inserts, down alternative, 18×18, pack of 2 (~$25–45)
- Fabric adhesive hem tape, double-sided (~$8–15)
- Tassel trim ribbon, 2 yards, natural (~$6–12)
Step 1: Pick a simple texture story

I start by choosing two base textures and one accent. For me that’s linen as the neutral base, velvet as the color pop, and faux fur or chunky knit for touch. This keeps the look cohesive without matching everything.
Visually, textures read as layers. The linen pulls the eye back. Velvet brings the depth. The thing people miss is scale—make sure at least one piece is smooth and low-profile. A common mistake: choosing three textures that all compete (e.g., three heavy piles). That makes the grouping feel busy.
Step 2: Make a no-sew base cover using a scarf or linen slip

When I need a quick cover I wrap a large cotton scarf around the insert like a present and tuck the ends underneath. It looks effortless and gives a tailored front without any stitching. If you prefer a cleaner edge, use fabric hem tape along the inside seam—press with your palm to secure.
This changes the feel instantly: a scarf cover reads intentional, not improvised. One insight: choose scarves that are the same weight as your other fabrics so the group feels unified. Small mistake to avoid: leaving excess scarf tails visible—trim or tuck them so they look deliberate.
Step 3: Add a statement accent and finish the edges
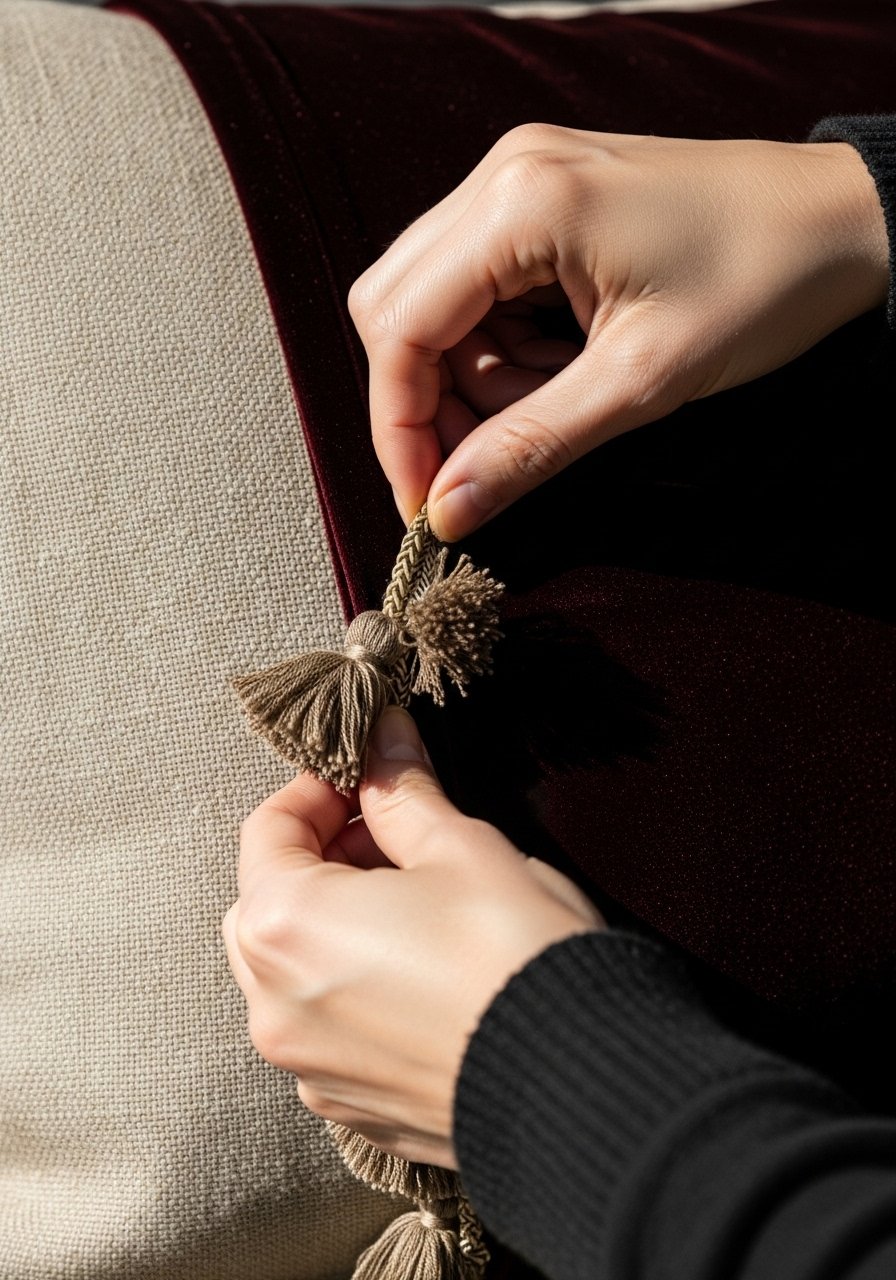
For the accent pillow I use a velvet cover or faux fur lumbar. I don’t fuss with exact closures; I tuck one corner slightly forward so it looks relaxed. If an edge looks unfinished, I glue a short strip of tassel trim with hem tape or fold it under and secure it—tiny details make it feel made, not thrown together.
You’ll notice the room warms up where the accent sits. One insight people miss: the accent should echo a color elsewhere (a throw, a book cover). Avoid the mistake of adding an accent purely for contrast that has no relation to the room—it will read like an afterthought.
Step 4: Arrange by size and imperfect symmetry
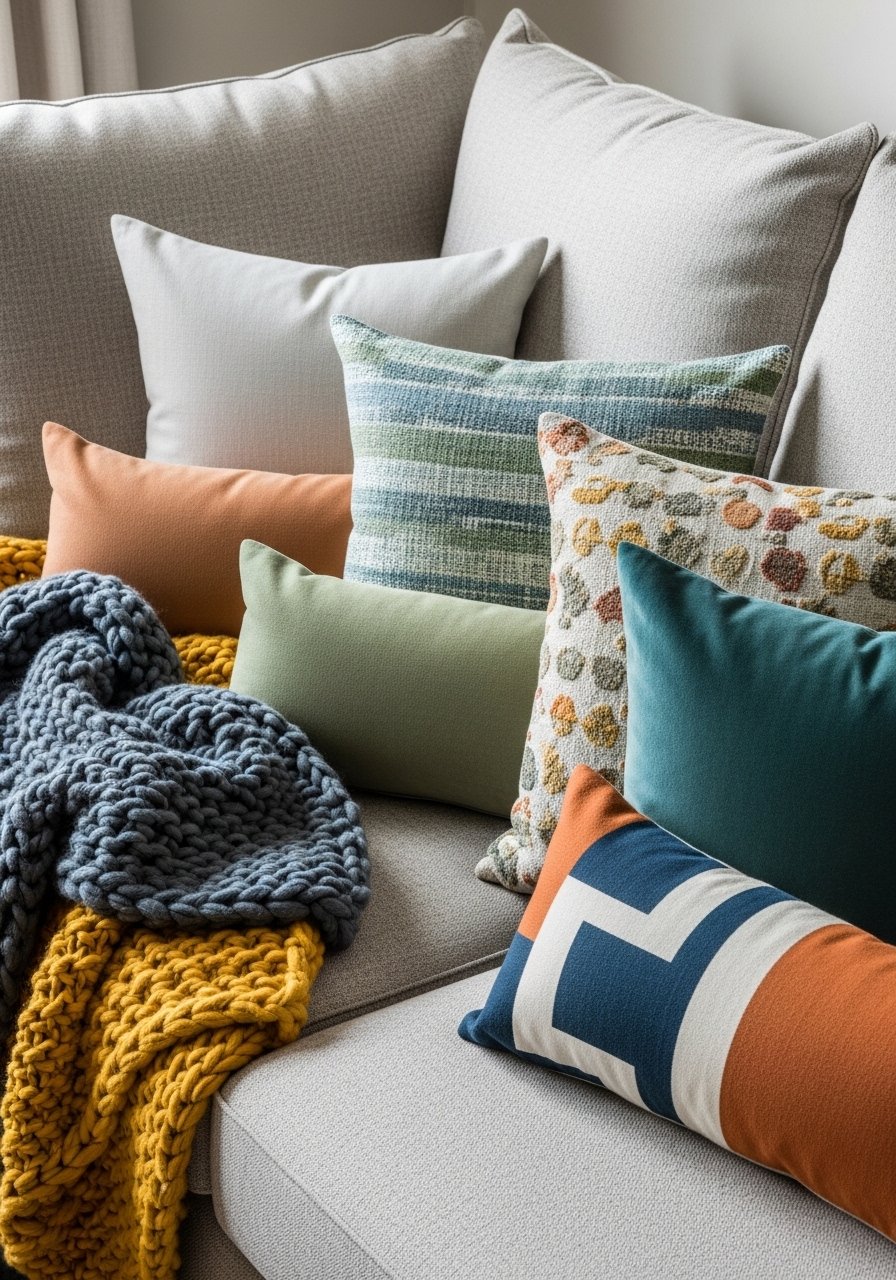
I arrange pillows in an odd-number grouping—three or five—varying scale from back to front. I place the largest at the back, a medium in front, and a lumbar off-center. The goal is balance, not mirror symmetry. I’ll nudge pillows so they overlap slightly; that overlap creates connection.
What visually changes is the sofa feels anchored and relaxed. A common miss is lining everything up perfectly. That makes it static. The small mistake here is overstuffing inserts; too much fill looks aggressive and loses the lived-in softness.
Step 5: Final tweaks—fluff, rotate, and live with it
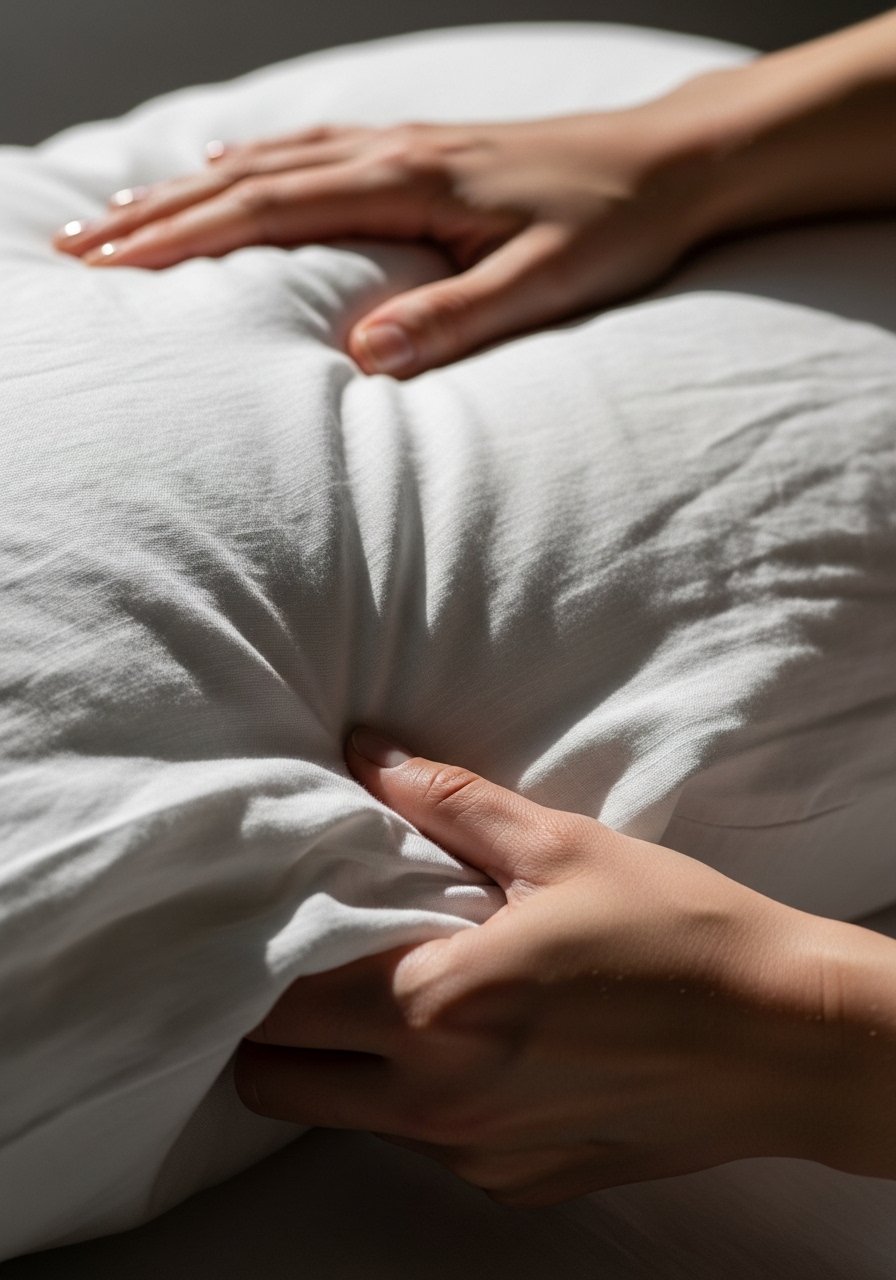
I finish by fluffing each pillow, rotating covers so the better side faces forward, and living with the arrangement for an hour. If something reads heavy, I swap the velvet forward or fold the chunky throw differently. Tiny shifts—an inch left, a corner bent—make the whole set feel right.
One insight: pillows settle after a day. Expect to retweak. A small mistake people make is ignoring proportion—if a pillow overwhelms the seat depth, choose a smaller one. Simple adjustments make the grouping feel natural.
Common mistakes and quick fixes
I see the same missteps often. Fix them early and the whole room opens up.
- Too many identical sizes: swap one for a lumbar or smaller square.
- Overstuffed inserts: remove a little fill or use a softer insert for a relaxed look.
- Clashing textures: replace one competing texture with a neutral (linen or cotton).
Quick fixes: fold a scarf into a faux envelope cover for a cleaner front. Use a chunky throw to bridge two colors that don’t quite match.
Adapting this for small spaces or rentals
In small rooms, scale down. I use 16×16 pillows or one 18×18 plus a lumbar instead of five large squares. That keeps the seating usable.
In rentals I lean on removable options—scarves, throw blankets, and slip-on covers—so nothing is permanent. Fabric tape is temporary if you avoid heat or heavy strain.
- Use lighter-weight inserts for thin benches.
- Choose neutral linen as the base to keep the feel calm.
Mixing this look with what you already own
I don’t purge my existing pillows. I edit. Keep one sentimental piece and build around it with neutral linen and one or two accents.
Match one color to an existing rug or artwork. That small thread creates harmony. If patterns feel overwhelming, let the textures read as the pattern—linen, knit, and velvet can replace busy prints.
- Keep the dominant fabric neutral.
- Use one patterned item max.
- Repeat a color in a smaller accessory to tie the room together.
Final Thoughts
Start with one linen base and one accent—maybe the chunky knit throw as your anchor. Make covers with scarves or slip-ons, then arrange and live with the result for a day before deciding.
It’s low-commitment and tactile. Small edits—the right scale, one consistent texture, a tucked corner—are what make the no-sew approach feel intentional. Go slow and trust what your room already tells you.
