
I always hit a wall in small rooms. Things feel crowded but empty at once. I’d stand in a corner and not know where to start.
I learned to treat small spaces like scenes, not problems. Little changes—placement, a single focal piece—make the room feel intentional and calm. You can do this without buying much.
How to Decorate Small Spaces with DIY Ideas
I’ll show how to make a small room feel spacious and intentional using simple DIY moves. You’ll end up with balanced furniture placement, layered textures, and small projects that actually change the room’s feel. It’s practical and doable.
What This Solves
Small rooms often look cluttered and unfinished. This method helps you choose a focal area, edit surfaces, and add scale so the space reads as deliberate.
You’ll stop feeling like the room is “too small” and start seeing it as a composed whole. The result is a comfortable, lived-in room that feels calm.
What You’ll Need
- Peel-and-stick wallpaper sample (neutral geometric, removable)
- Floating shelves (white wood, 24-inch)
- Narrow console table (natural wood, 36-inch)
- Soft linen throw pillows (set of 2, neutral tones)
- Woven storage baskets (seagrass, medium)
- Adjustable LED floor lamp (matte black, slender)
- Low-pile area rug (5×7, muted pattern)
- Small terracotta plant pots (set of 3)
Step 1: Define a focal zone and clear the rest
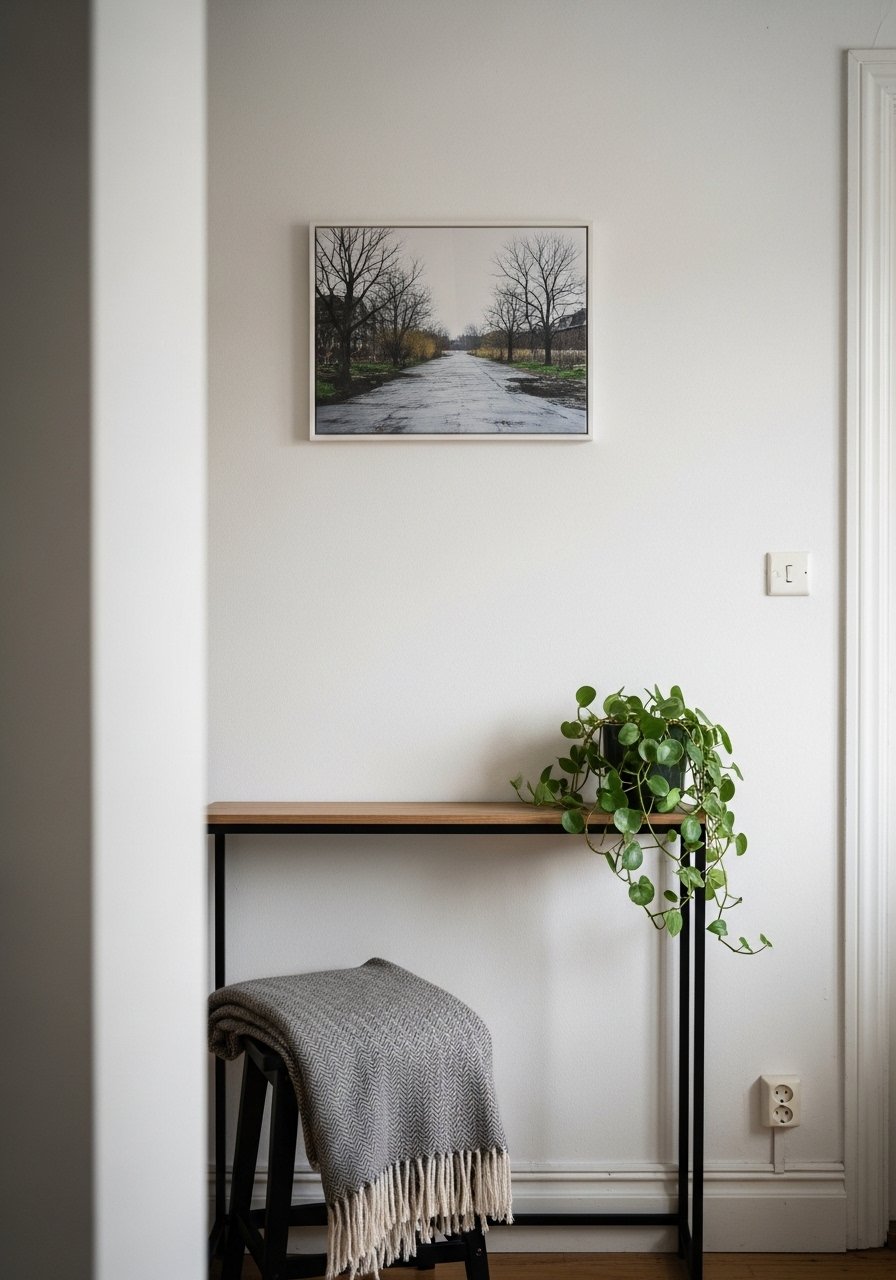
I start by choosing one thing to look at when I walk in. That might be the wall behind a sofa, a small console, or a corner reading spot. I clear everything from other surfaces so the eye lands on that focal zone.
Visually, the room immediately feels calmer. People often miss that removing competing visual noise is as powerful as adding decor. A common mistake is crowding the focal area with too many objects—leave breathing room so the focal piece can actually read as the focal point.
Step 2: Edit furniture for flow and scale
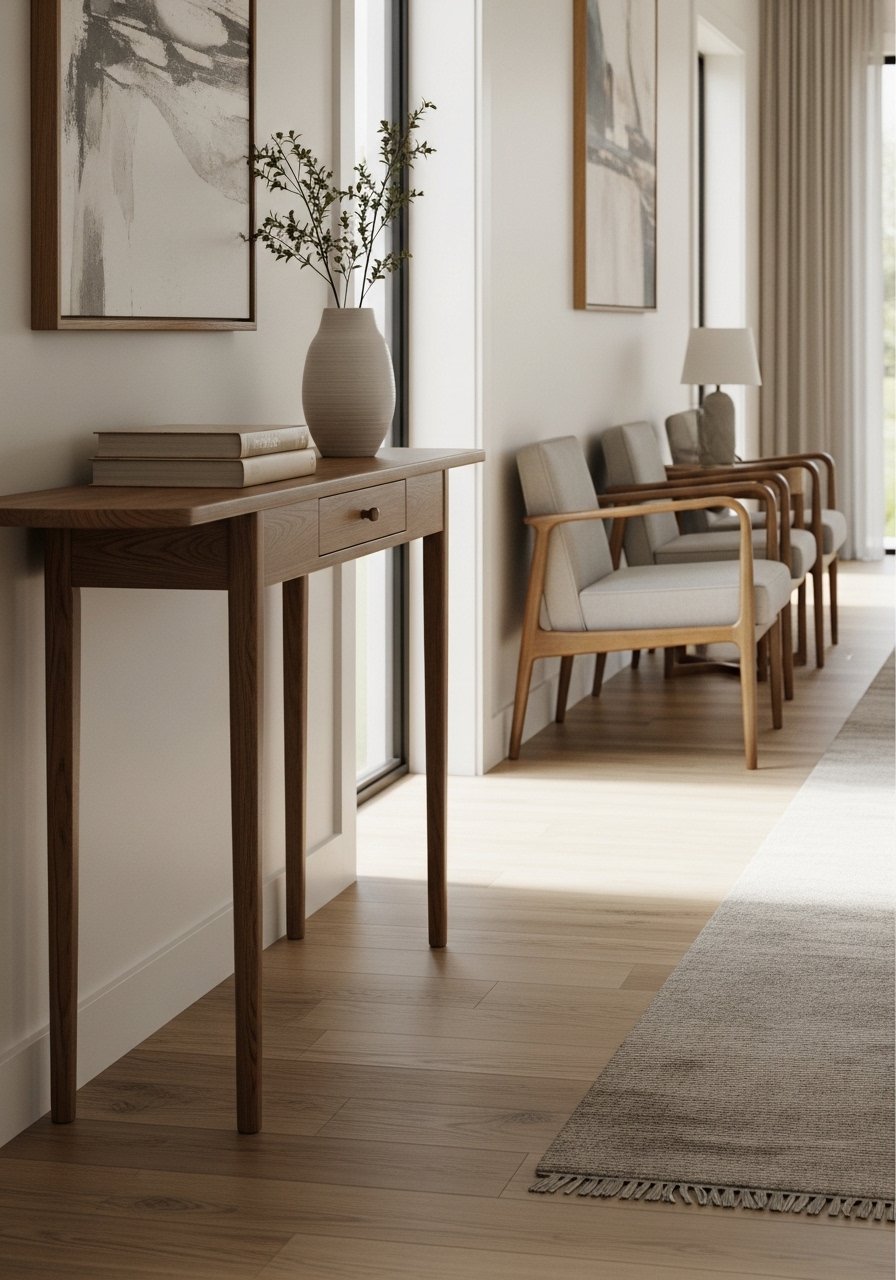
I move furniture so there’s a clear path and one or two conversational spots. In small spaces, slimmer pieces and one long line (like a slim console or bench) make the room feel longer. I favor pieces with exposed legs to keep the floor visible.
The visual change is immediate: the room reads as airier and more purposeful. An insight I learned is to pull larger pieces slightly away from the wall to create depth. Don’t try to fit every piece you own—forcing in furniture that’s too wide is the mistake I see most.
Step 3: Layer lighting and use a reflective surface
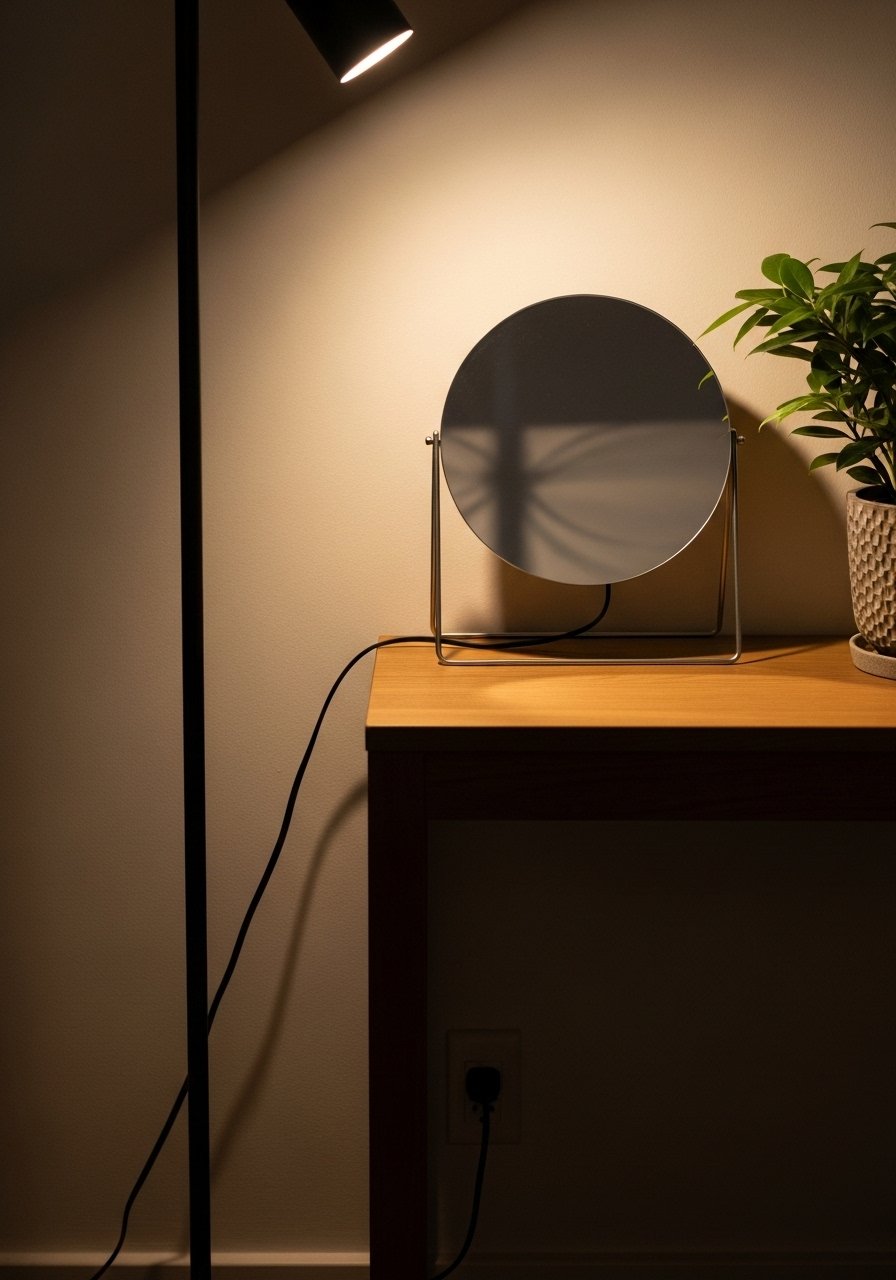
I add at least two light sources: a floor lamp and a small table or task lamp. Then I place a mirror to bounce light into the darker side of the room. Lighting changes the room’s perceived size more than paint often does.
You’ll notice corners feel less heavy and the room looks balanced. Many people miss that mirror placement matters—angle it to reflect light, not clutter. Avoid hanging a mirror where it reflects something messy; that’s a little mistake that ruins the effect.
Step 4: Style shelves and surfaces as small vignettes
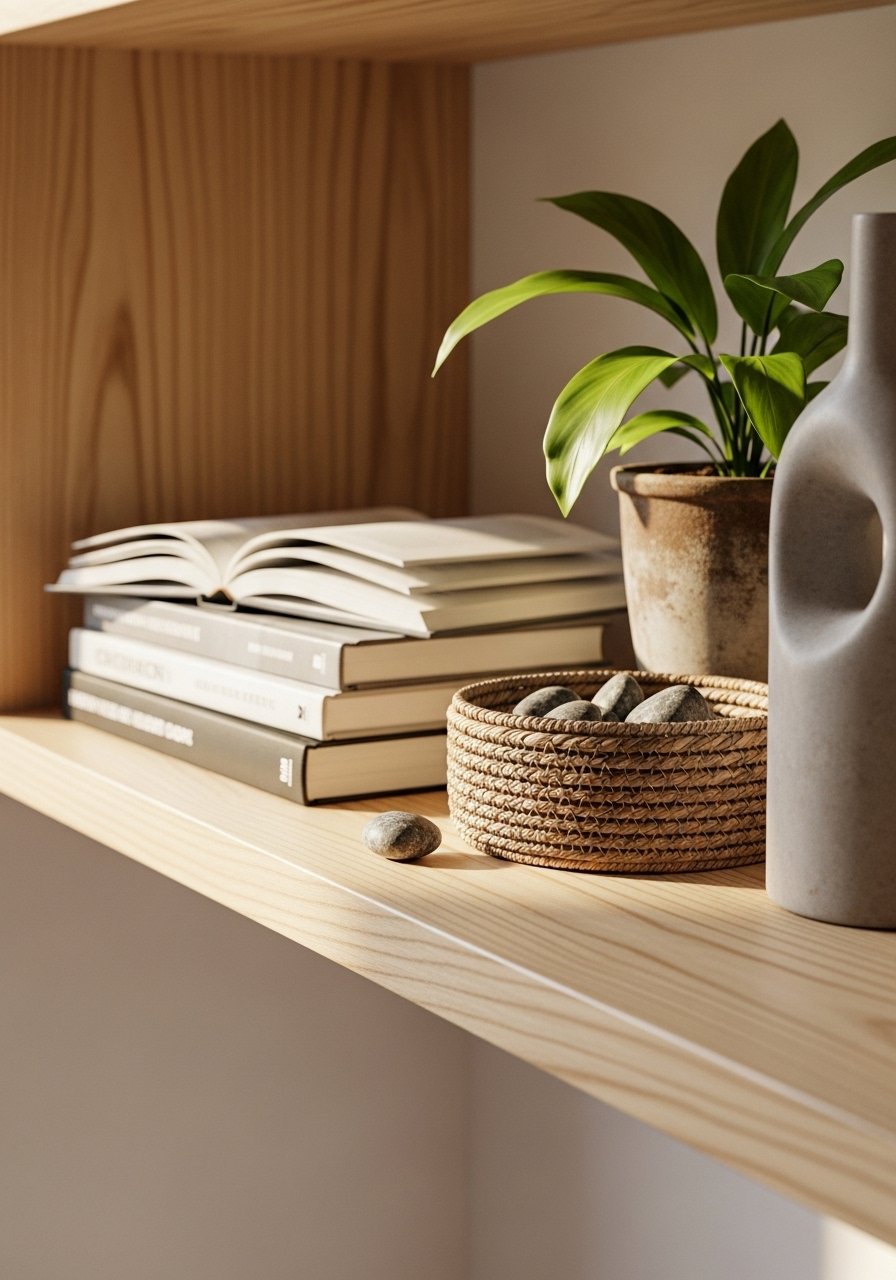
I style shelves in groups of three to five items, mixing heights and textures. I pair a plant with a book stack and a small basket for function. The goal is an edited, lived-in look—not a staged display.
Visually shelves become points of interest instead of clutter. A common insight is to leave negative space; don’t fill every inch. One mistake to avoid is matching everything—aim for contrast (rough basket next to smooth ceramic) so the arrangement reads layered and intentional.
Step 5: Use removable finishes to add scale and cohesion
I use peel-and-stick wallpaper on one wall or a strip to add depth without commitment. Then I anchor seating with a low-pile rug that defines the area. These finishes add scale and tie colors together.
The room starts to read as one designed space instead of a collection of furniture. People often miss that a small rug or a narrow wallpaper stripe can unify the layout. Avoid patterns that are too bold for the scale; they can overwhelm a small room and make it feel busy.
Planning Your Layout
I sketch a simple plan on paper or the back of a receipt. I mark door swings and the main sightlines. This keeps decisions practical and prevents the “I’ll try it later” pileup.
Think in zones: entry, seating, and storage. Each zone needs one purpose and one object that supports it.
Choosing a Color Palette
I stick to three main colors: a base, a tone-on-tone, and a small accent. That keeps the space calm. Neutrals with a single dusty color feel cohesive.
Small rooms benefit from consistent tones across textiles, wood, and metal finishes. Don’t chase every trend.
Small Projects That Make a Big Impact
Replace a lamp, reposition a mirror, or add two woven baskets to hide clutter. These low-effort changes change the room’s mood.
Start with what you already own. Small edits often give the biggest return in comfort.
Final Thoughts
Start with one small area and finish it. That momentum makes the rest easier. I remind myself that a few thoughtful edits beat busy impulse buys.
You don’t need a perfect plan. You need a clear focal point, edited surfaces, and layered light. Those three things make small rooms feel calm and purposeful.
