
I used to live in a 520‑square‑foot apartment that felt smaller than the number suggested. Over time I learned which small fixes actually open a room and which just looked good in photos. I kept the ones that made mornings easier and evenings calmer.
Below are practical, lived‑in tricks I still use. Nothing showroom-perfect — just things that worked after mistakes, returns, and real life.
24 Genius DIY Small Space Ideas That Make Rooms Feel Bigger
These 24 DIY small space ideas are the ones I’ve tried and kept. Each one is short, doable, and renter-friendly when possible. I’ll tell you what changed, what I messed up, and exactly what to buy. Use any or all—there’s no pressure to do every single idea.
1. All‑White Walls and Trim to Bounce Light
I painted every wall and trim white in the studio I rented. The room felt instantly calmer and visually wider. I learned the hard way to choose a warm white — not sterile — so the space reads cozy instead of clinical.
White hides mess and reflects light. It also made my mismatched furniture look intentional.
Tip: swatch three whites on each wall and live with them for a day. I returned one gallon after it read blue in afternoon sun.
What You’ll Need for This Look
2. Paint the Ceiling a Pale Color (The Fifth Wall Trick)

I painted my low ceiling a pale blue and it read like sky — suddenly the room felt taller. Small ceilings respond better to soft, airy tones than darker ones. I made the mistake of using a saturated blue once; it closed the room instead of opening it.
Keep color subtle. Apply two thin coats and tape carefully at crown moulding for a clean line.
What You’ll Need for This Look
3. Oversized Mirror Leaning Against a Wall
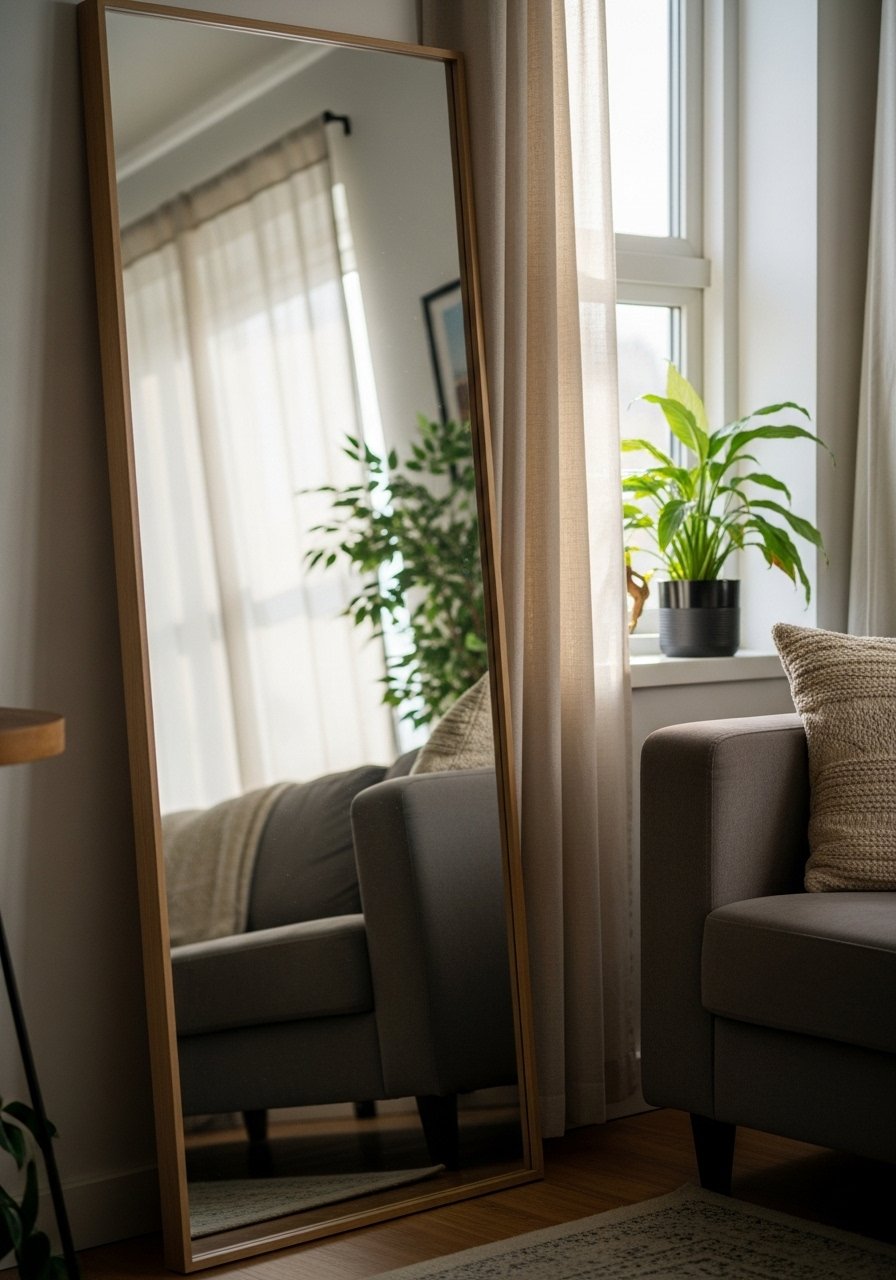
I bought a 48×72 mirror and leaned it behind my sofa. The room felt twice as deep. Lesson learned: don’t hang it too low. I once anchored one at chair-back height and it chopped the vertical space.
A leaned mirror is forgiving and renter-friendly. Secure it to the wall with anti-tip hardware for safety.
What You’ll Need for This Look
4. Glass Floating Shelves for Light Flow
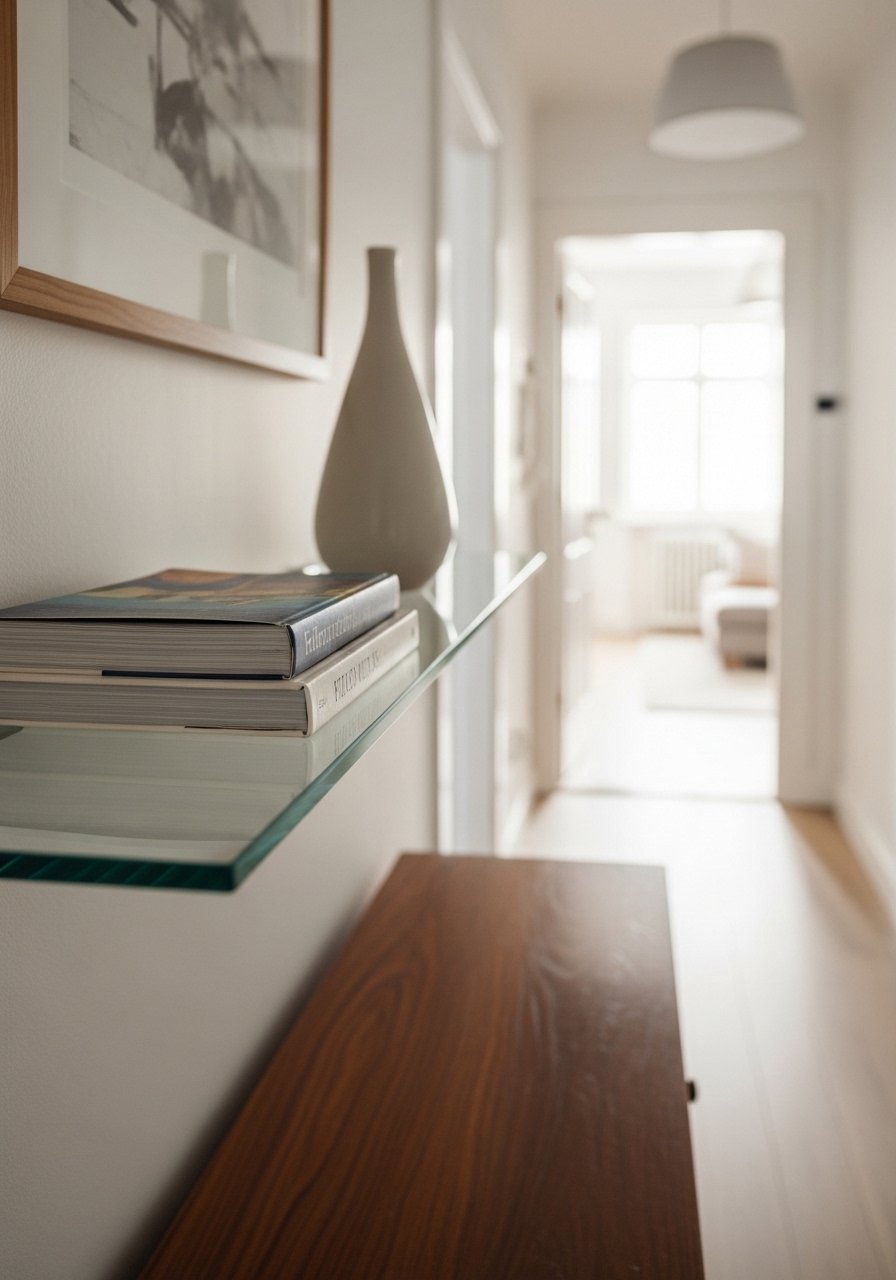
I installed glass floating shelves above my slim console to display a few ceramics. They let light pass through and the wall felt less heavy. My first set sagged because I overloaded them with trophies — lightweight objects only.
Curate what’s on them. Use glass for small collections that need a light backdrop.
What You’ll Need for This Look
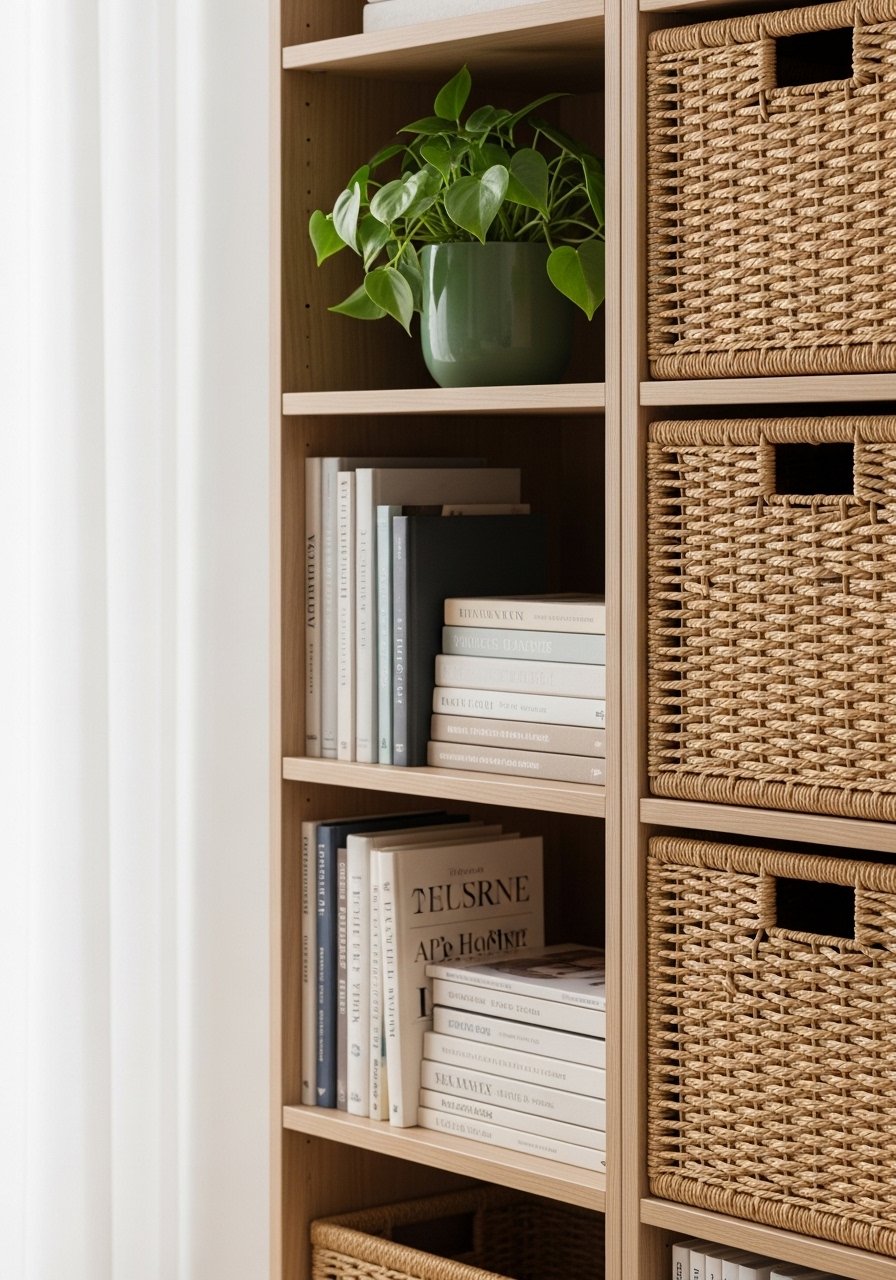
5. Mix Open Shelves with Closed Baskets

Open shelving helped me display the things I love. But I also used woven baskets for the ugly but necessary clutter — chargers, remotes, and receipts. I tried an all-open route and it read chaos within two weeks.
Balance is everything. Keep one or two curated objects per shelf and tuck the rest.
What You’ll Need for This Look
6. Peel‑and‑Stick Panelling for Depth (Renter‑Friendly)
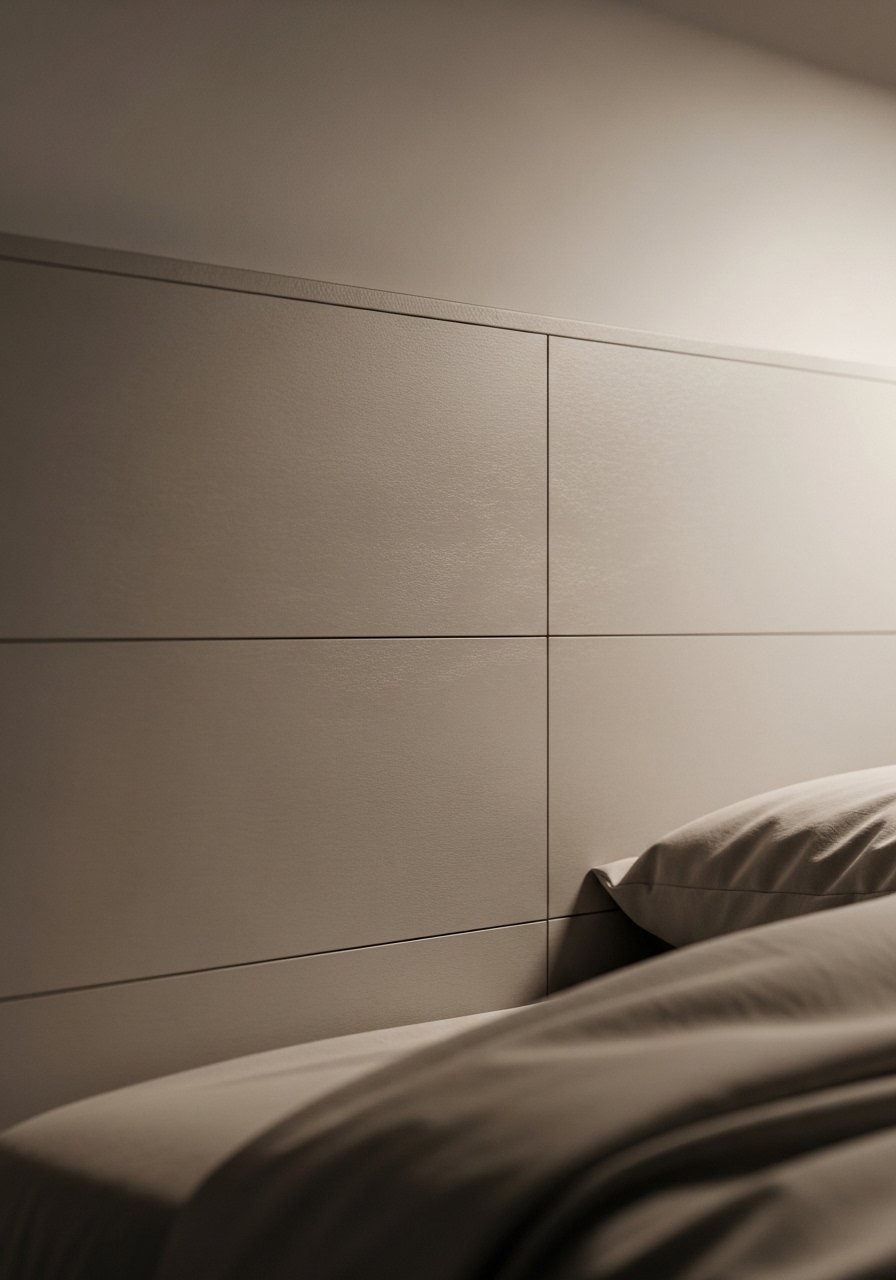
I added peel-and-stick panel moulding behind my bed to anchor the room. It gave me architectural interest without a contractor. I admit I bought too glossy a panel at first — matte or paintable is better.
Installation is a weekend job. Paint over it in a warm neutral to make the panels recede instead of shouting at you.
What You’ll Need for This Look
7. Layered Lighting (Ambient + Task + Accent)

My first apartment had one overhead light. Adding a floor lamp, a plug-in wall sconce, and LED strip under shelves made evenings feel roomy and cozy. I once put every lamp at once — it was too busy. Layer slowly.
Aim for dimmable sources. Soft light near seating and brighter task light where you read.
What You’ll Need for This Look
8. Slim Console as Sofa Table (Float the Furniture)
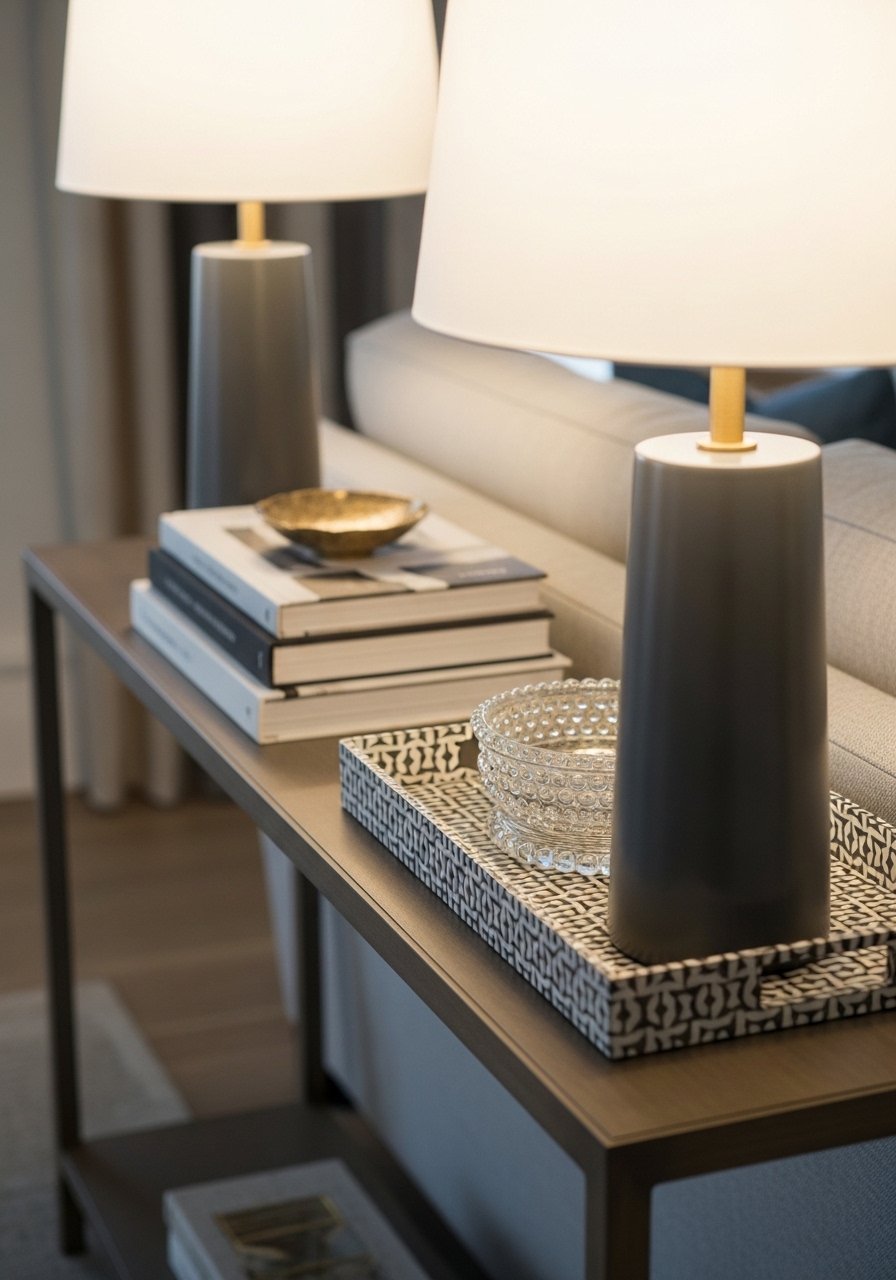
I shoved my sofa against the wall and added a slim console behind it. It created a walkway and a surface without bulk. I once picked a console that was too deep — it blocked visual flow.
Choose a narrow depth (10–12 in) and use it for lamps, trays, or a slim plant.
What You’ll Need for This Look
9. Round Jute Rug to Soften Corners
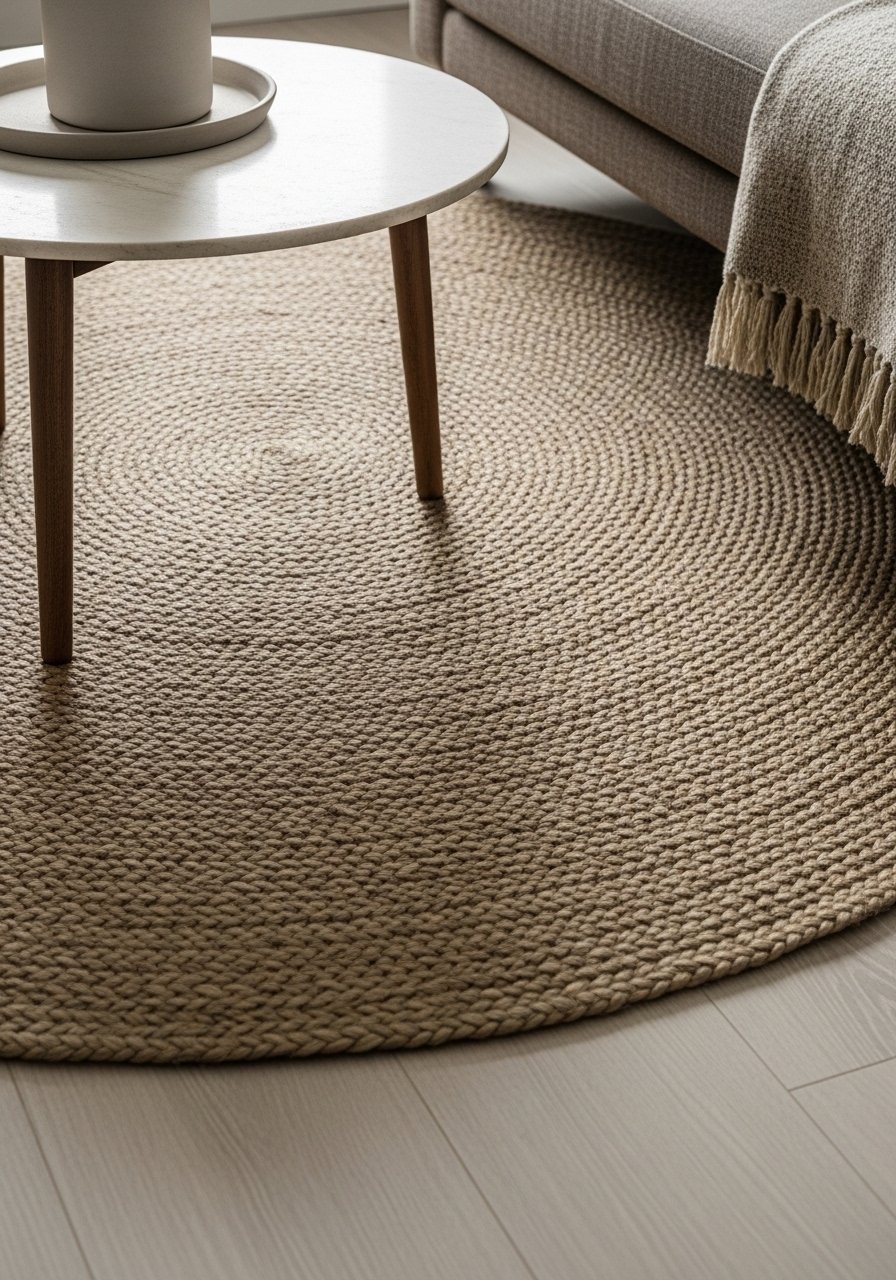
I swapped a rectangular rug for a round jute one in my tiny living area. The corners melted away and the space felt more intentional. My rookie move was buying a rug too small — size matters.
Go up one size from what feels "right." Jute adds texture without weight, but layer a woven pad for comfort.
What You’ll Need for This Look
10. Acrylic/Clear Coffee Table for Visual Air
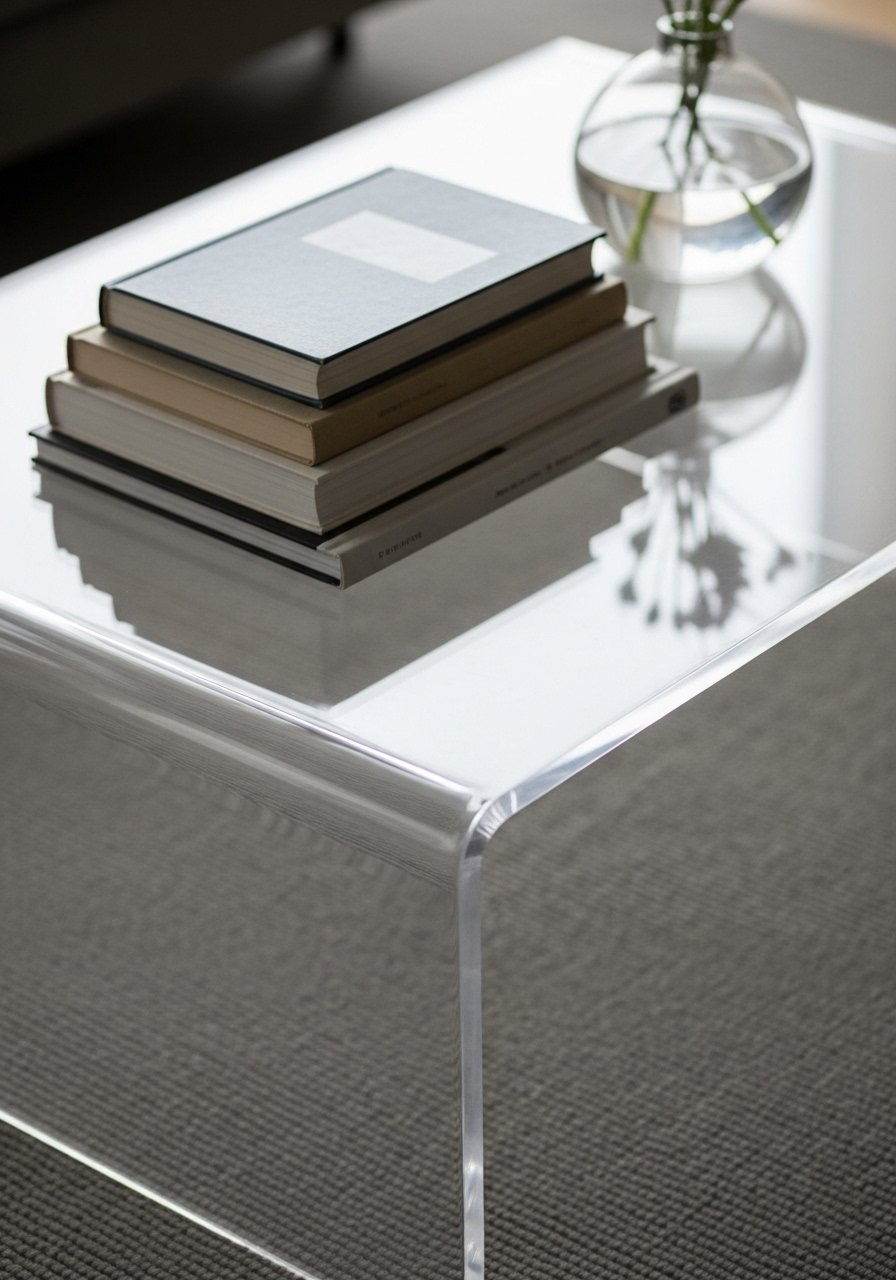
I bought an acrylic coffee table after realizing solid furniture blocked sightlines. It disappeared visually and made the room feel freer. The downside: fingerprints. I clean it weekly but I’m okay with that trade-off.
Use acrylic for small rooms where you need the surface without visual bulk.
What You’ll Need for This Look
11. Over‑the‑Door Storage to Use Dead Space
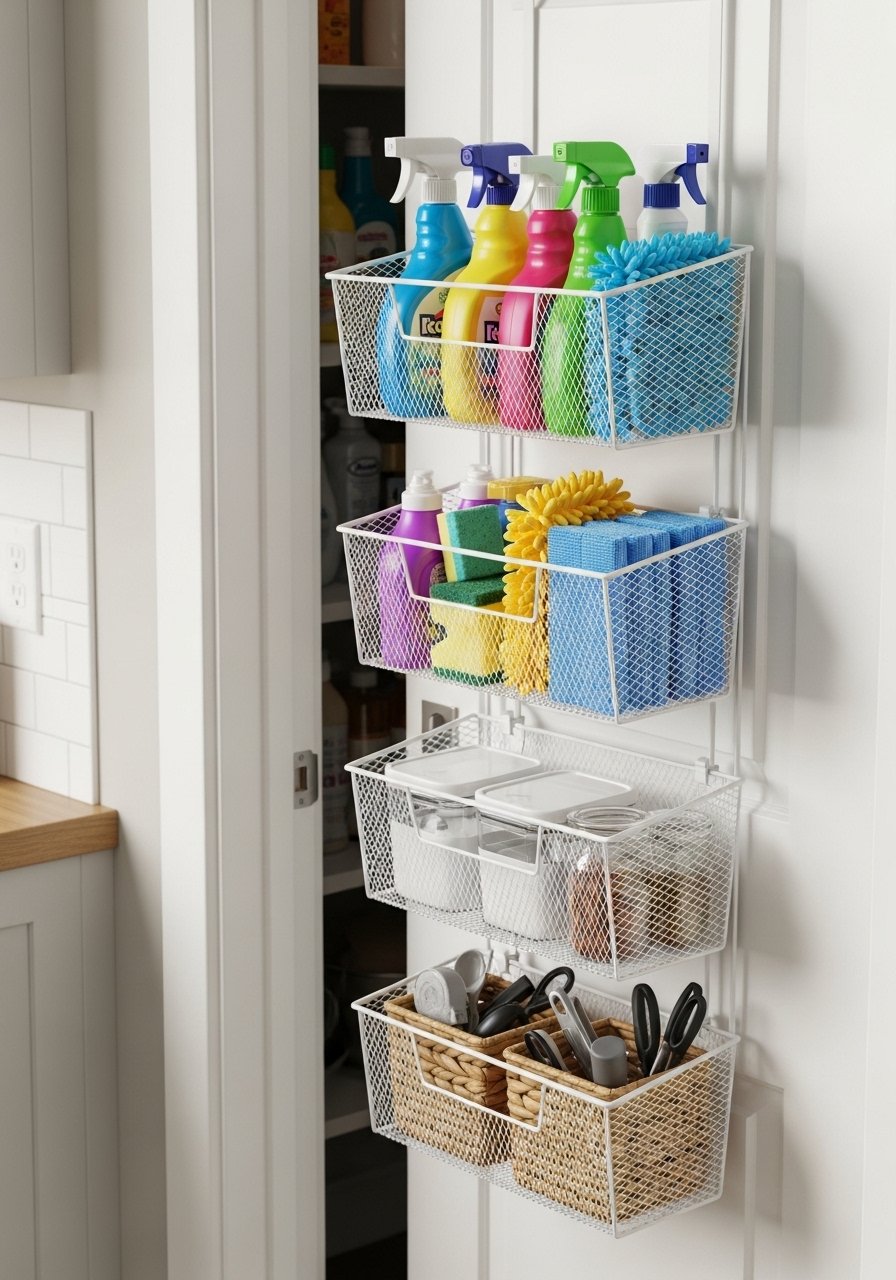
I hung an over-the-door organizer on my pantry and suddenly had space for baking sheets, wraps, and little tools. My first one sagged because I hung heavy pans — keep to light items.
This is an easy renter-friendly win; no drilling, just a quick swap when you move.
What You’ll Need for This Look
12. Wall‑Mounted Folding Desk for Tiny Workspots
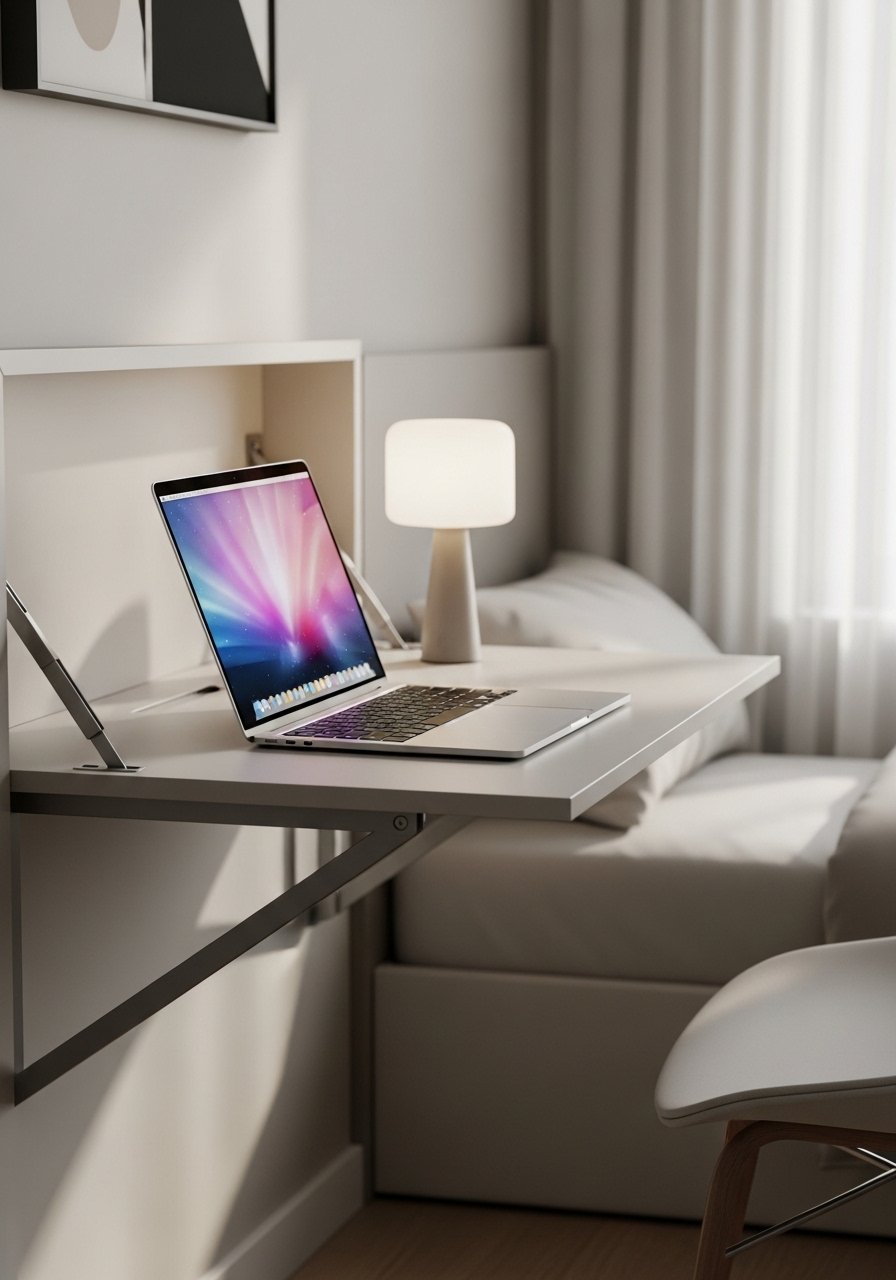
I installed a wall-mounted folding desk in a closet nook. It folds away when I’m done and keeps clutter off the kitchen table. I ordered a cheap hinge set once and it warped — spend a little here.
Look for a model with weight capacity and smooth hinges. Add a small shelf above for a lamp or plant.
What You’ll Need for This Look
13. Tall, Slim Bookcase to Draw Eyes Up
I swapped short wide storage for a tall slim bookcase and it immediately drew my eyes upward. I cluttered it at first, which ruined the effect. Now I alternate vertical stacks with negative space.
Keep heavier items low and lighter decor higher. Use baskets on lower shelves to hide the mess.
What You’ll Need for This Look
14. Mirrors on Opposite Walls to Double the View
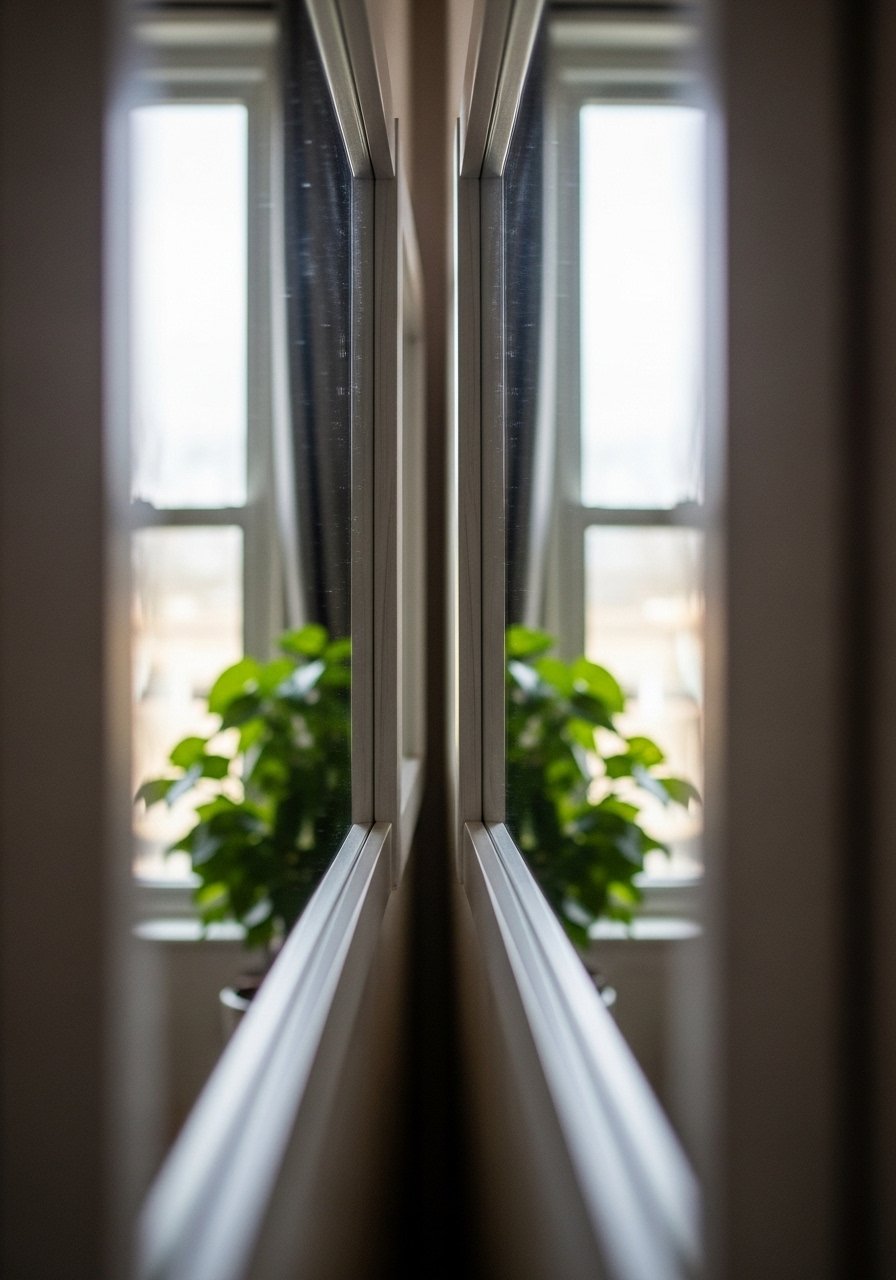
I once placed two mirrors facing each other across a hallway — the space felt like a pocket of light. It’s not fancy, but it creates depth. Be careful with scale; small mirrors facing each other can look busy.
Use similar frames or keep them identical for a cohesive, calm effect.
What You’ll Need for This Look
15. One Large Artwork Instead of Many Small Frames
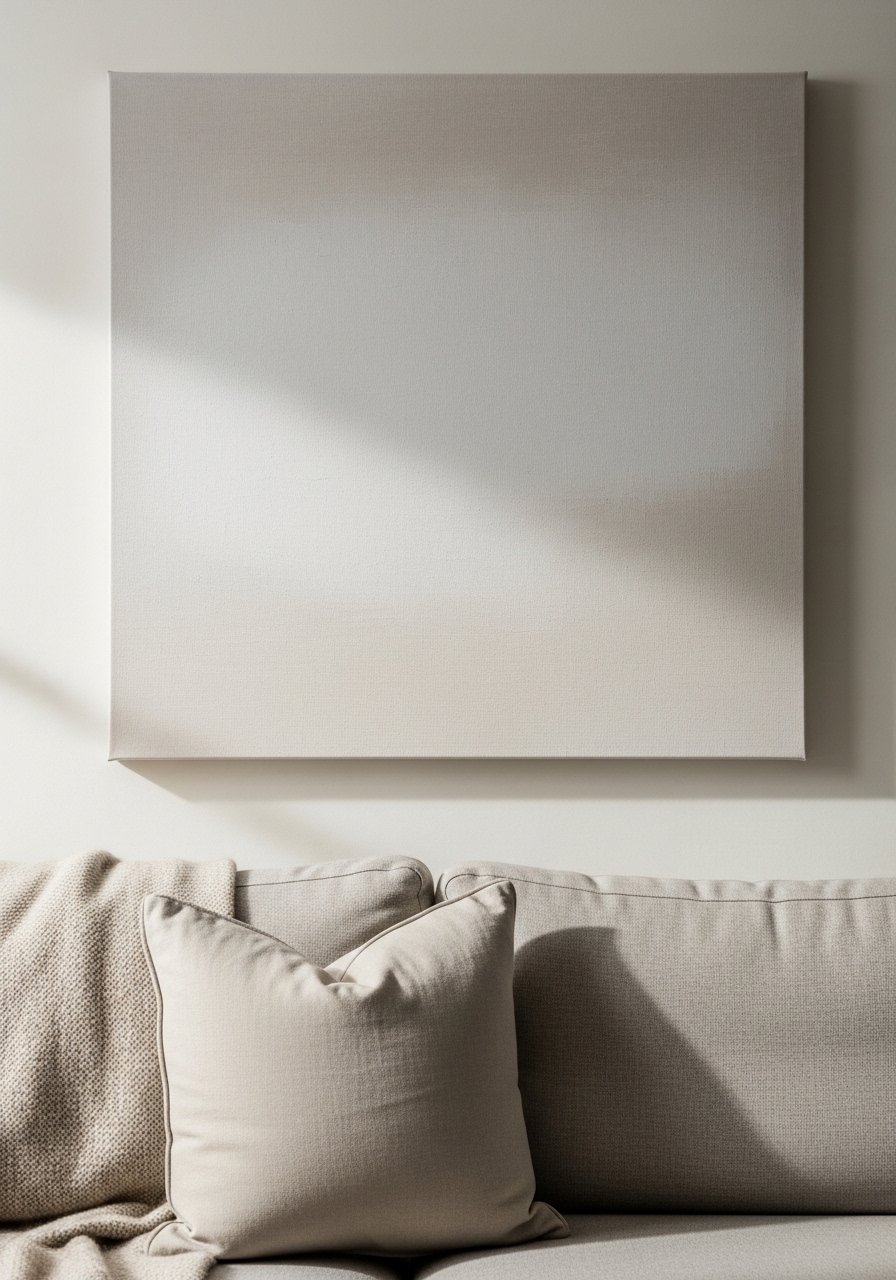
I switched a gallery wall to a single large canvas and the room stopped feeling busy. The oversized piece becomes a focal point without clutter. My error was picking a busy print before — simpler imagery works better in small rooms.
Pick a scale that’s roughly two-thirds the width of your furniture for balance.
What You’ll Need for This Look
16. Narrow Dresser as Nightstand (Double Duty)

I replaced a tiny nightstand with a narrow dresser and got storage plus surface in one. My mistake was a dresser too deep that ate floor space; choose shallow depth (14–18 in).
This hack gave me clothing storage and hid bedside clutter. It's one of the most practical small‑bedroom moves I made.
What You’ll Need for This Look
17. Magnetic Jars on a Rail for Kitchen Counter Relief
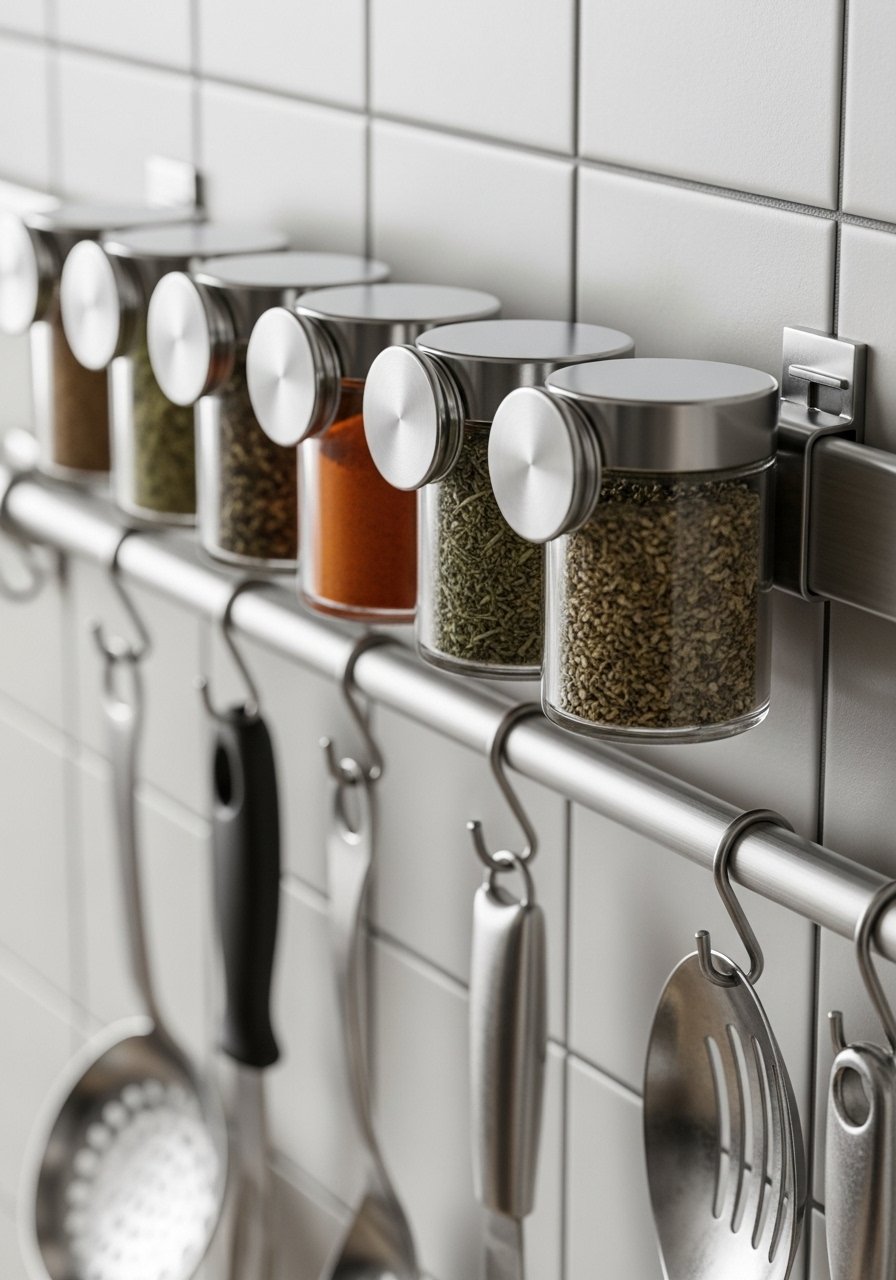
I mounted a magnetic rail and stuck my spice jars to it. Counter clutter vanished and my cooking felt less frantic. My early jars were opaque — clear jars saved me time while cooking.
This also works for small tools and scissors. It’s a tiny change with immediate payoff.
What You’ll Need for This Look
18. Hang Curtains High and Wide to Blur Boundaries
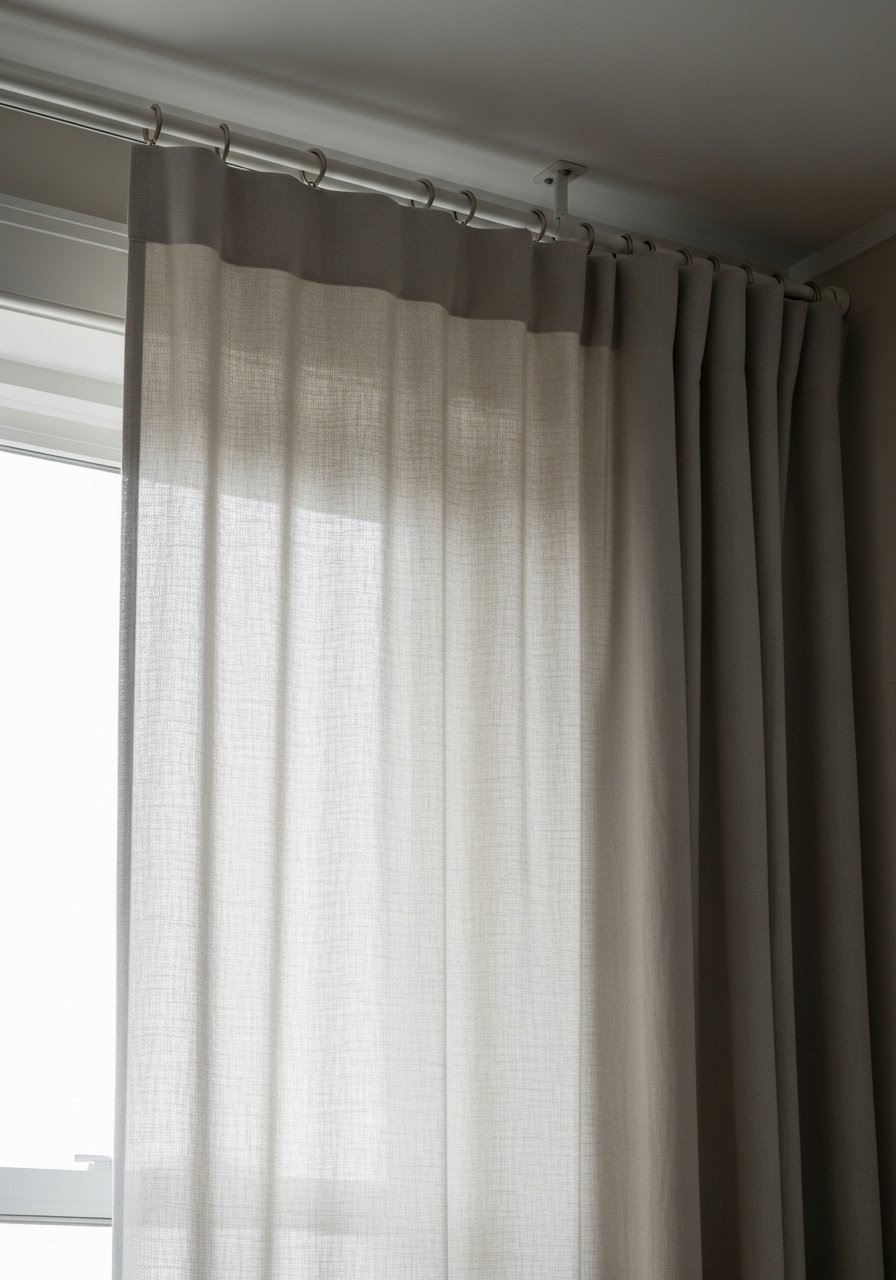
I moved my curtain rod to just below the ceiling and used floor-length panels. The windows read bigger and the walls feel higher. I once bought short curtains and the room looked chopped.
Choose light, sheer linen for small rooms. Mount brackets a few inches out so curtains clear the window trim.
What You’ll Need for This Look
19. Under‑Bed Rolling Drawers for Seasonal Swap
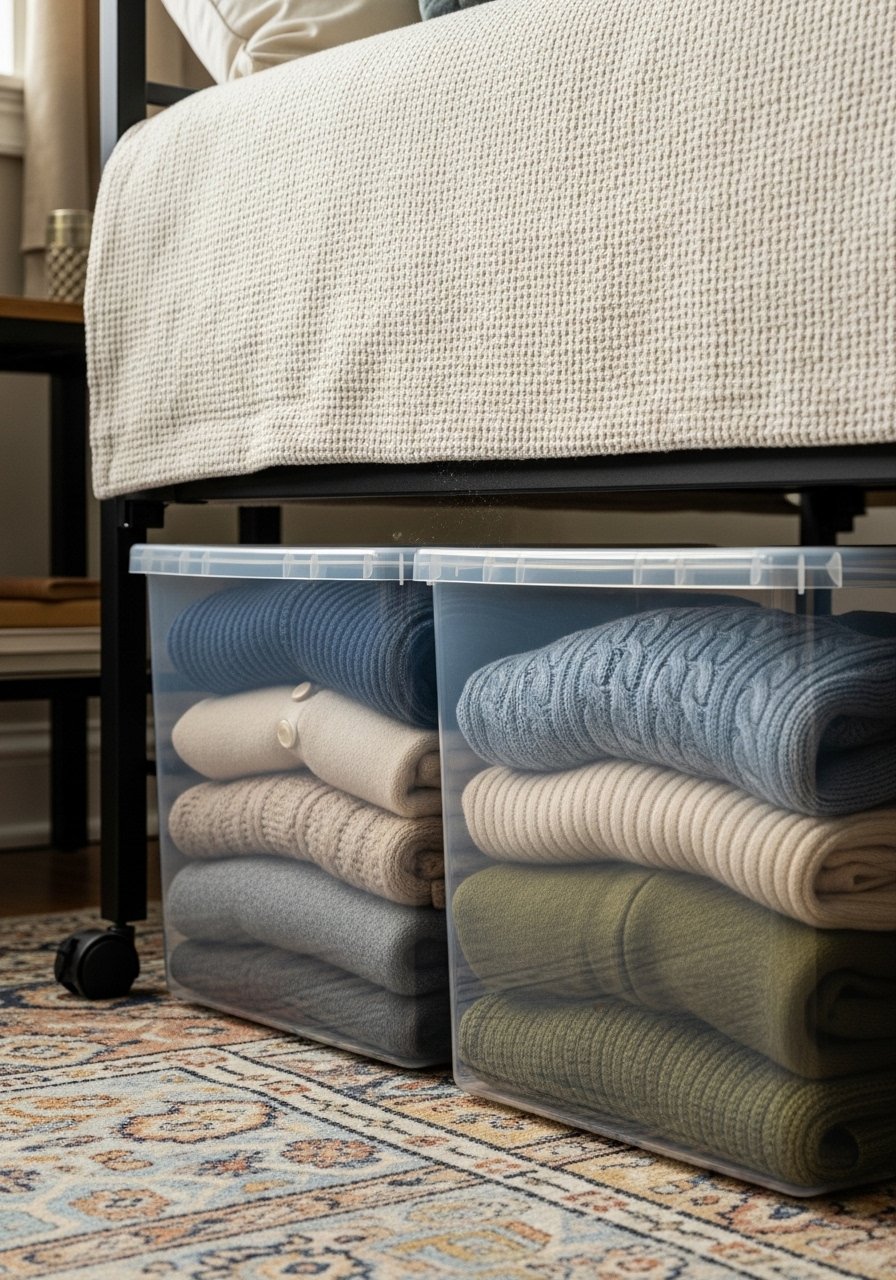
Under-bed drawers changed how I store off-season clothes and shoes. My first bins had weak wheels and jammed; buy ones with quality rollers. Out of sight, out of mind — but organized.
Label the bins. Pulling one out on laundry day is a tiny joy.
What You’ll Need for This Look
20. Clear Shower Curtain and Floating Shelves in Small Bathrooms
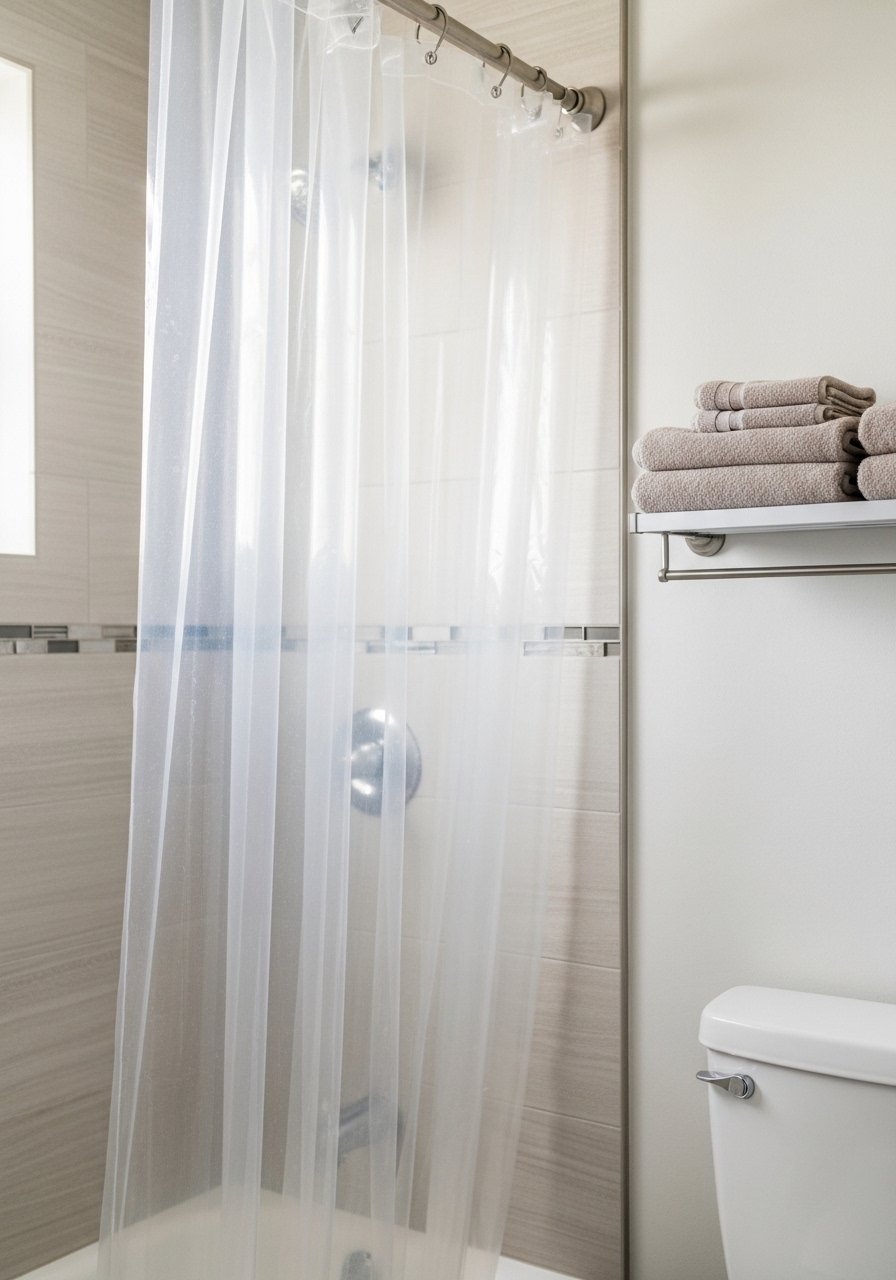
In my tiny bathroom I switched to a clear shower curtain and added one floating shelf for essentials. The room appeared larger because the shower didn’t form a visual wall. I once used patterned curtains and the space shrank.
Keep bathroom storage slim and high to free floor area.
What You’ll Need for This Look
21. Small Bistro Table as a Nightstand or 2‑Person Dining Spot

I used a small bistro table as my nightstand and as a breakfast spot. It’s flexible and takes up almost no floor visual space. I initially bought one too tall — match heights to your bed or chairs.
This is a great multi-use piece for tiny studios.
What You’ll Need for This Look
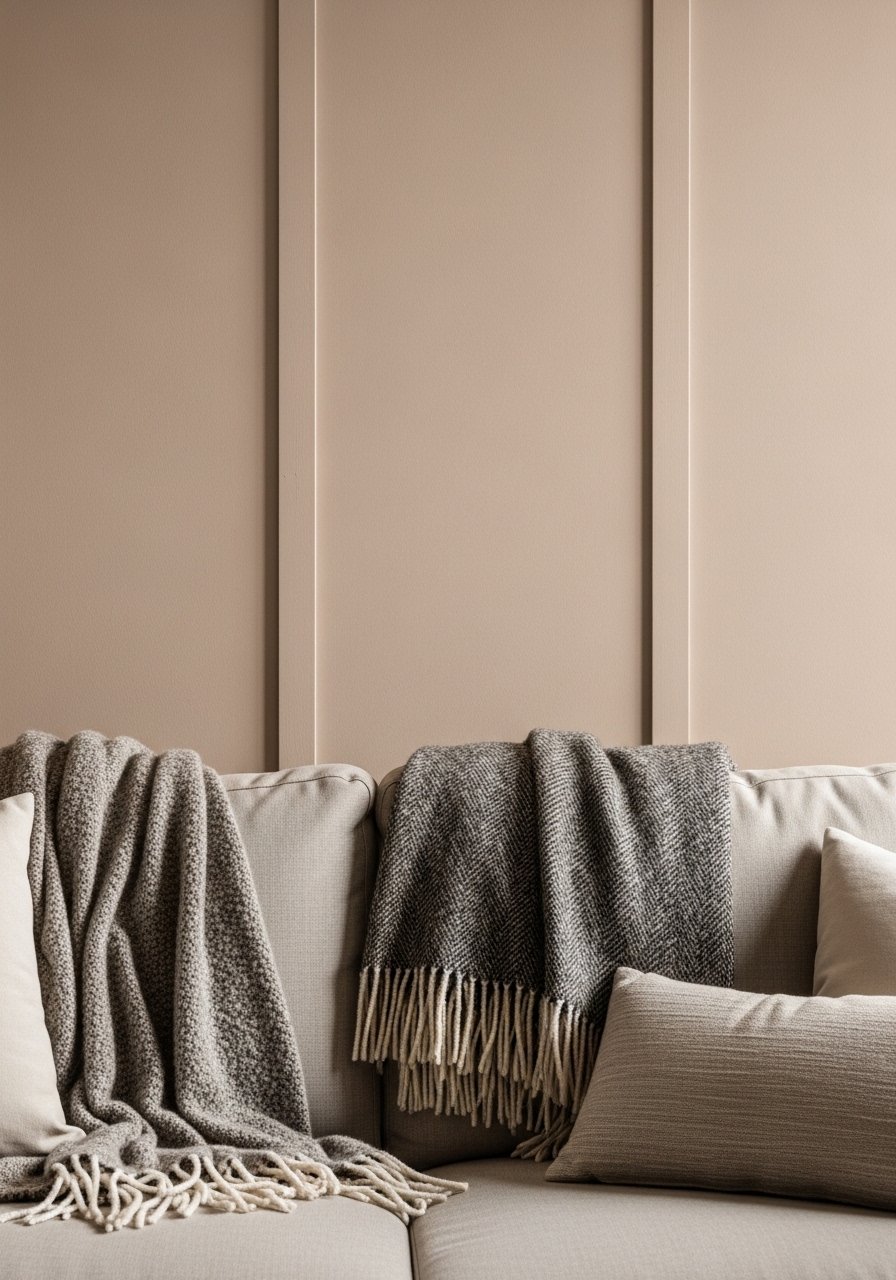
22. Bouclé Accent Chair to Add Plush Texture
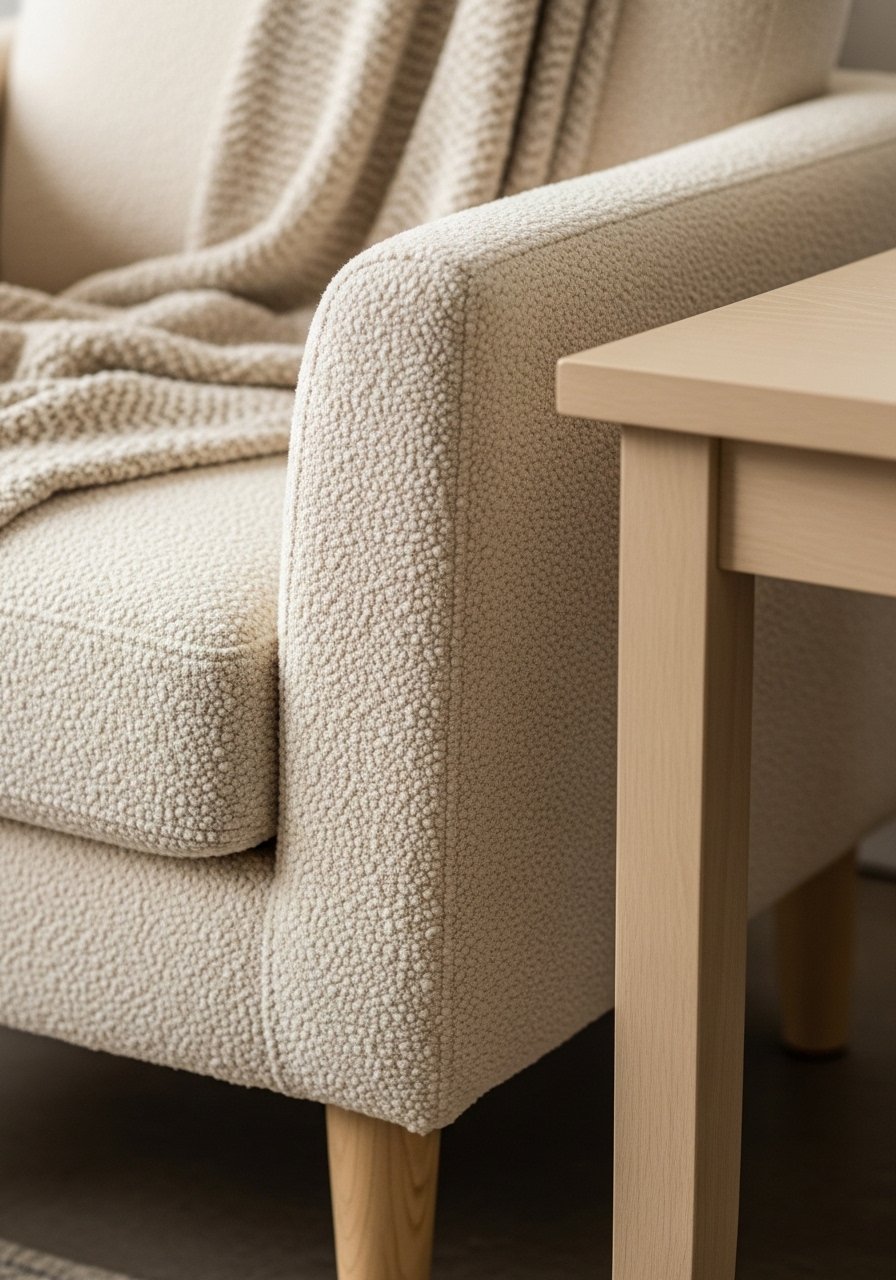
I added a boucle accent chair to a minimalist bedroom and the room finally felt warm. It reads small but cozy. My first chair had thin legs that made it wobbly — check construction.
A textured chair gives softness without visual weight. Sit in it before you buy, if possible.
What You’ll Need for This Look
23. Bowls of River Rocks and Driftwood Instead of More Plants
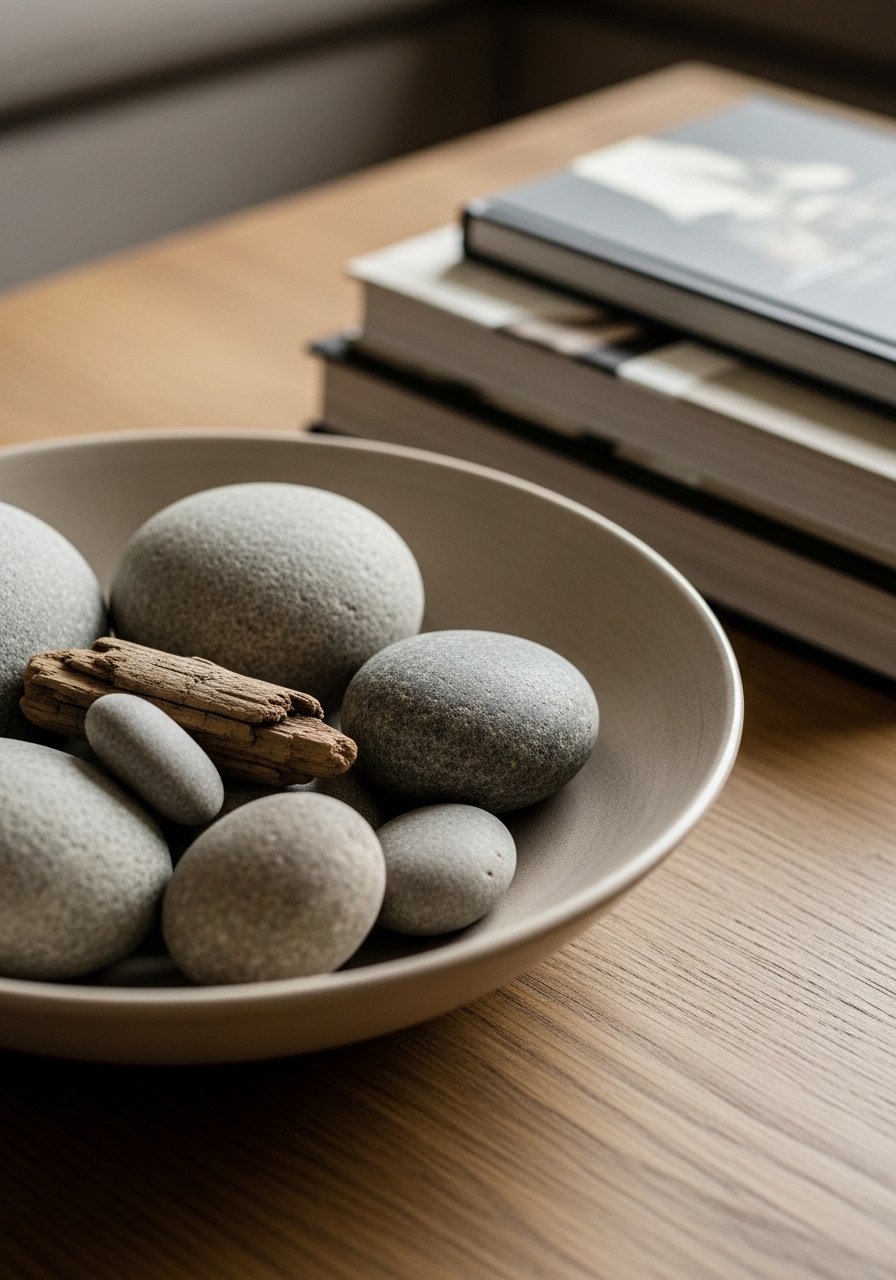
I don’t have a green thumb, so I use bowls of river rocks and a piece of driftwood for a natural touch that doesn’t need care. It adds texture and a biophilic feel. I once overstuffed a shelf with natural objects — restraint is key.
This works in bathrooms and shelves where plants won’t thrive.
What You’ll Need for This Look
24. PVC or Lightweight Wall Panels as an Accent
I tried PVC panels as an accent wall where I couldn’t install heavy moulding. They’re lightweight, paintable, and held up well. My mistake was using glossy panels that reflected too much light — matte is more forgiving.
These are practical for renters wanting architectural interest without damage.
What You’ll Need for This Look
Final Thoughts
You don’t need to do every idea. I mixed and matched these over years and kept the ones that made daily life easier.
Start small: one light, one mirror, one storage swap. The room will breathe more, and you’ll feel calmer in it.
