
I finally stopped treating shelves like catchalls and learned a few simple rules the hard way. I kept things too small, too symmetrical, and bought pieces that didn’t work in daily life.
Now I aim for one anchor per shelf, repeat a texture, and leave breathing room. These ideas are what I actually use — returned items, tiny wins, and real homes included.
28 Simple DIY Shelf Ideas That Add Style and Storage
These 28 ideas are practical and lived-in. I tested each one in my home and tweaked them until they held up to real use. Expect simple builds, decor combos that actually work, and renter-friendly fixes. There are 28 ideas below — pick a few and try them.
1. Layered Neutral Textiles That Make a Room Feel Finished
I started using folded throws on lower shelves to warm up a living room and it changed the entire vibe. I used linen and chunky knits in beige and warm white to anchor a shelf without cluttering.
At first I shoved too many throws and it looked messy. I pared it down to two neatly folded throws and a small woven basket. The shelf now reads as cozy, not overcrowded.
What to watch for: balance texture with empty space. Don’t stack higher than the shelf depth.
What You’ll Need for This Look
- Cream chunky knit throw blanket (50×60)
- Linen pillow covers in warm beige
- Light wood decorative tray
2. Risered Book Stacks for Visual Depth

I use books as risers on almost every shelf. A stack of two or three hardcover books lifts a small vase or plant and gives the eye a place to rest.
I learned to mix vertical and horizontal stacks. For a while everything was upright and flat. Adding a horizontal stack as a riser fixed that. It looks intentional and steady.
Tip: color-block books by spine shade for a calm look.
What You’ll Need for This Look
3. Grounded Cutting Board Leaners in Kitchen Shelves
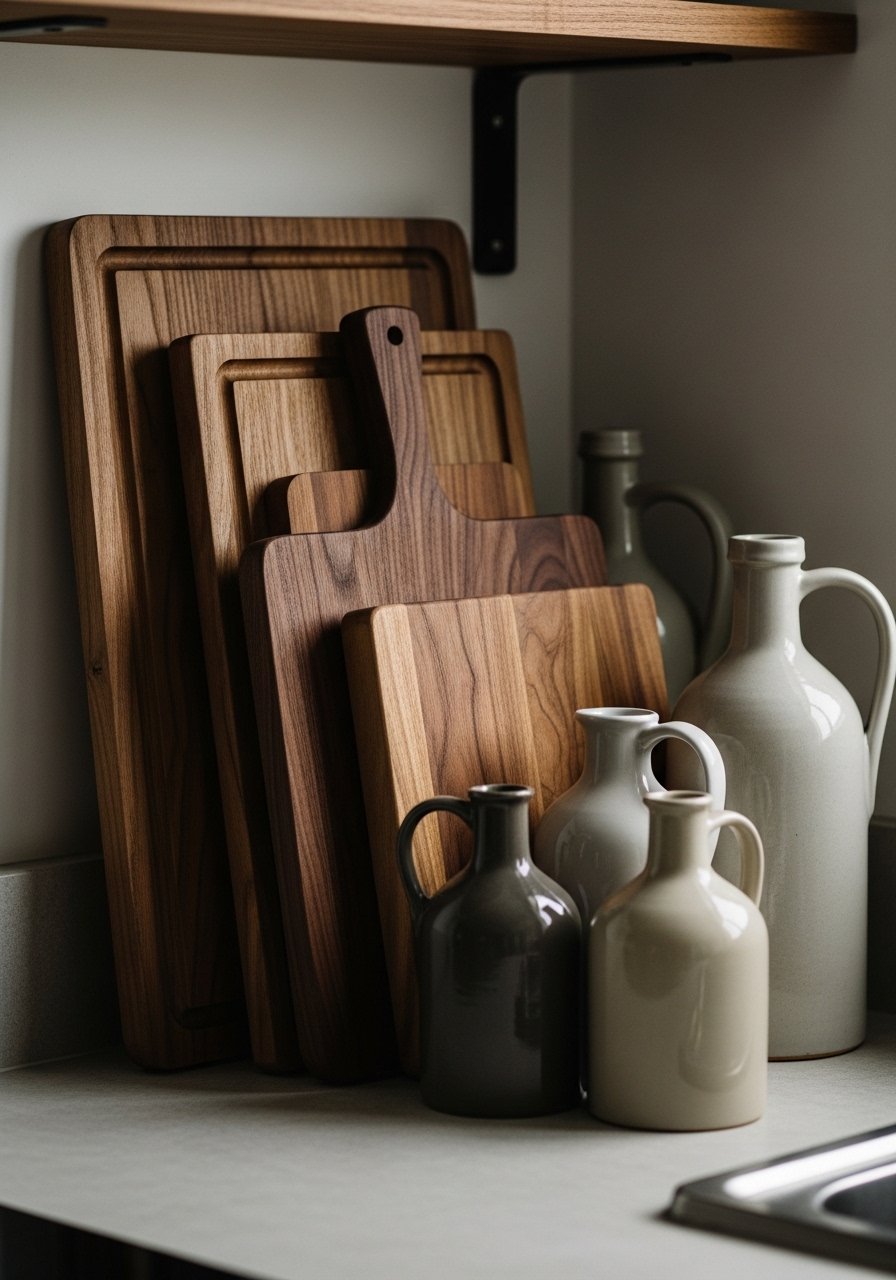
I leaned my walnut cutting boards against the back of open kitchen shelves. They act like art and balance a row of white dishes.
Mistake I made: first I leaned the wrong size board and it blocked lower shelves. Choose a board that leaves breathing room on the shelf edge. The wood warmth cuts through white dishes and makes the space feel intentional.
Pair with a small plant or shaker ceramic for contrast.
What You’ll Need for This Look
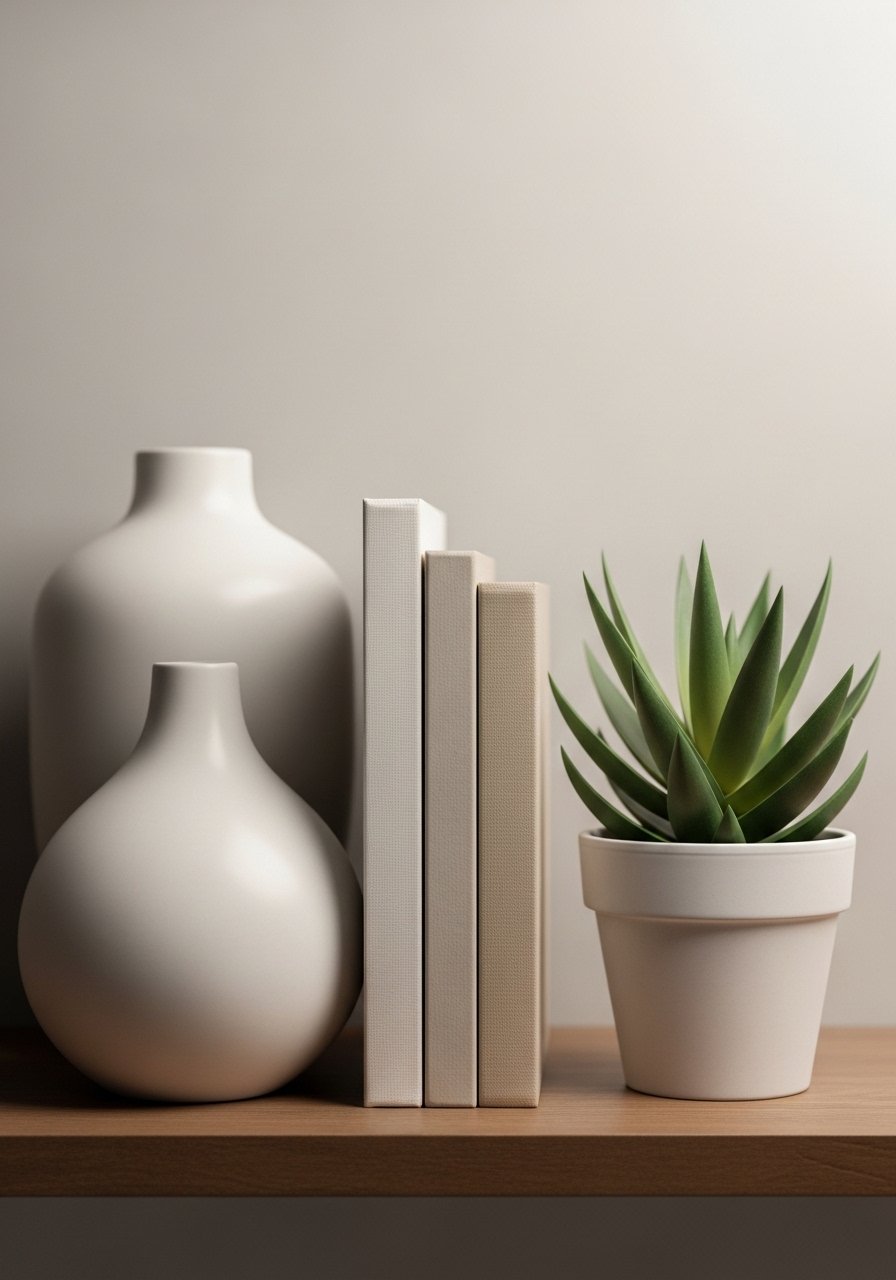
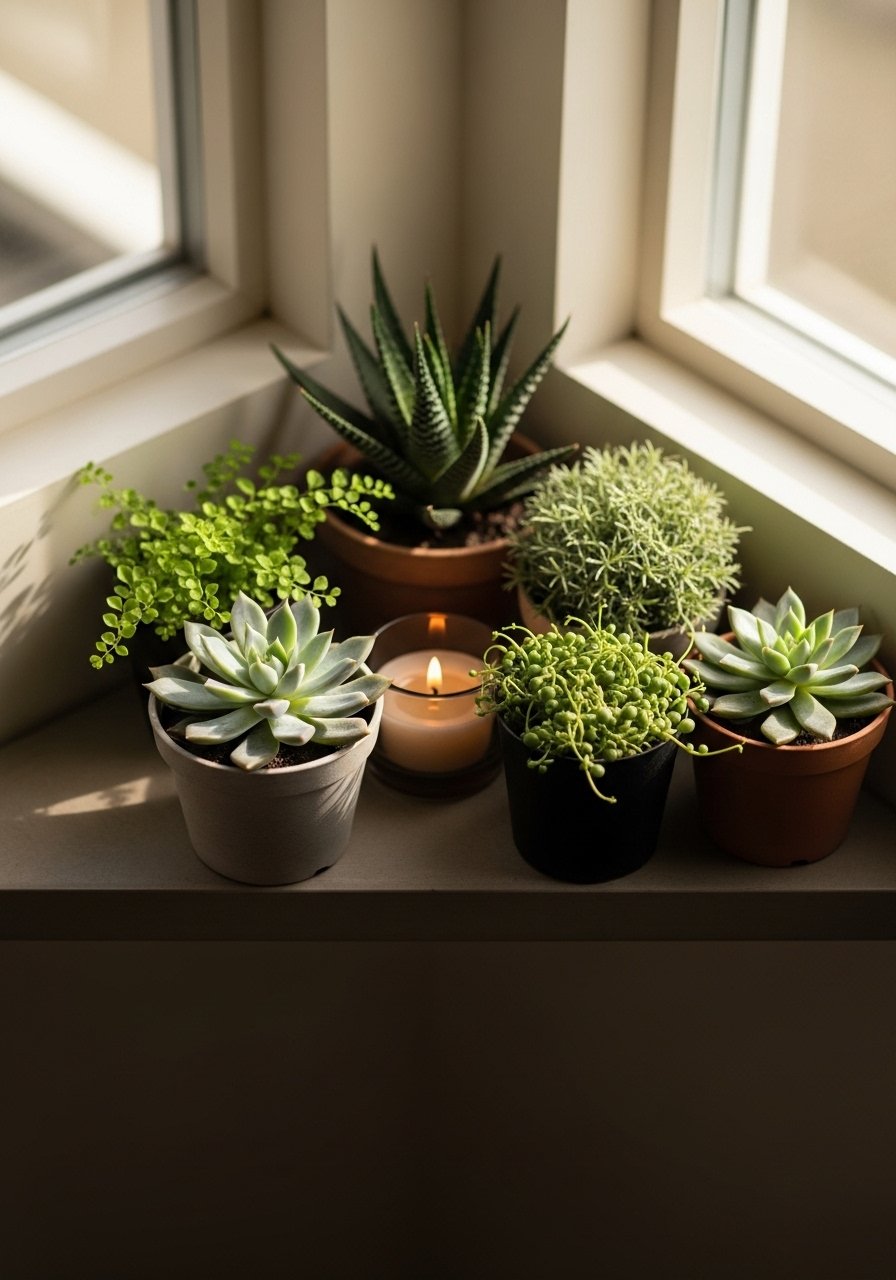
4. Plant-Per-Three Rule for Living Shelves
I started adding one plant for every three shelves. It’s subtle but keeps things from feeling static and brings life to the room.
I tried going plant-heavy and it looked cluttered. The rule keeps the look curated. Use a mix of real and low-maintenance varieties; I keep a real pothos on a middle shelf and faux on higher ones.
Tip: vary pot sizes and textures for contrast.
What You’ll Need for This Look
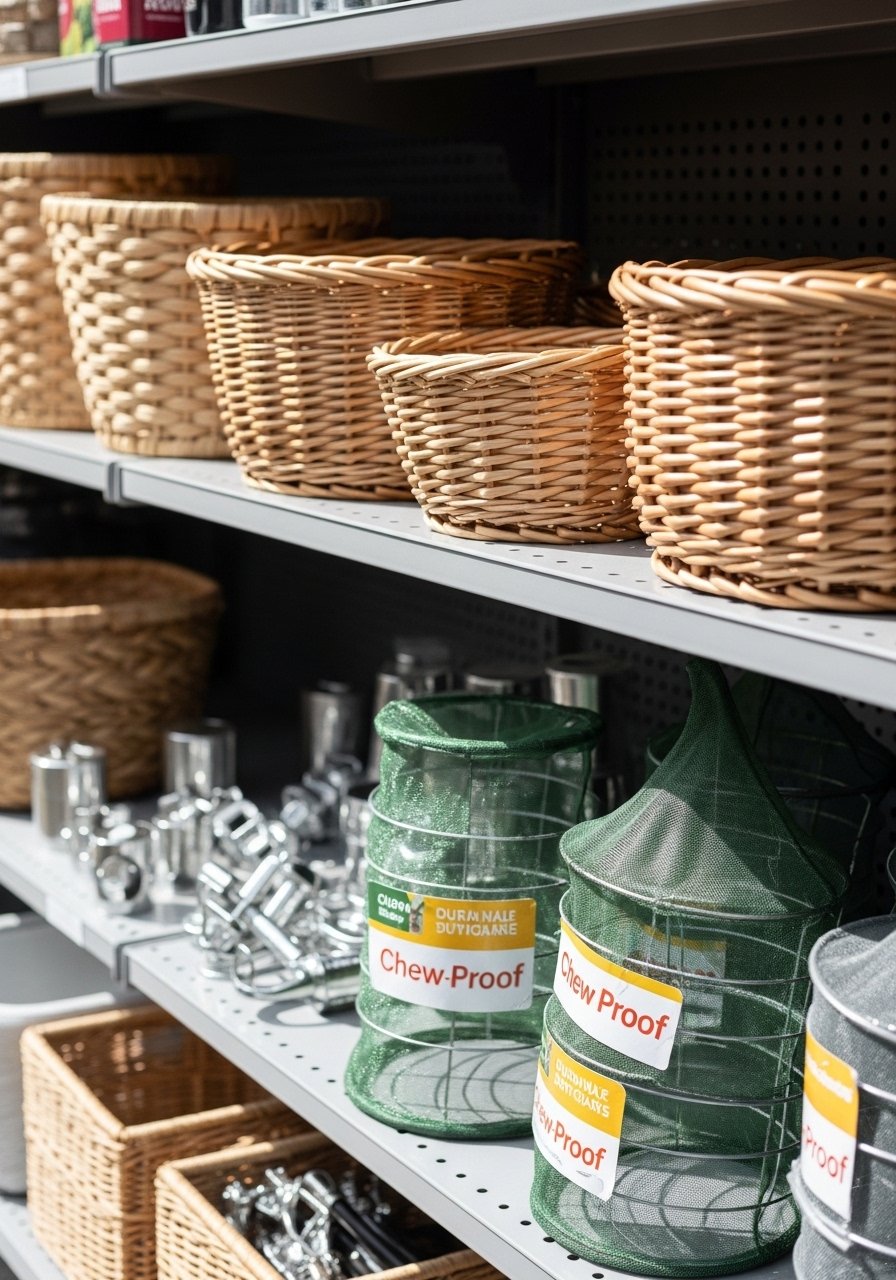
5. Woven Basket Bins to Hide Everyday Clutter
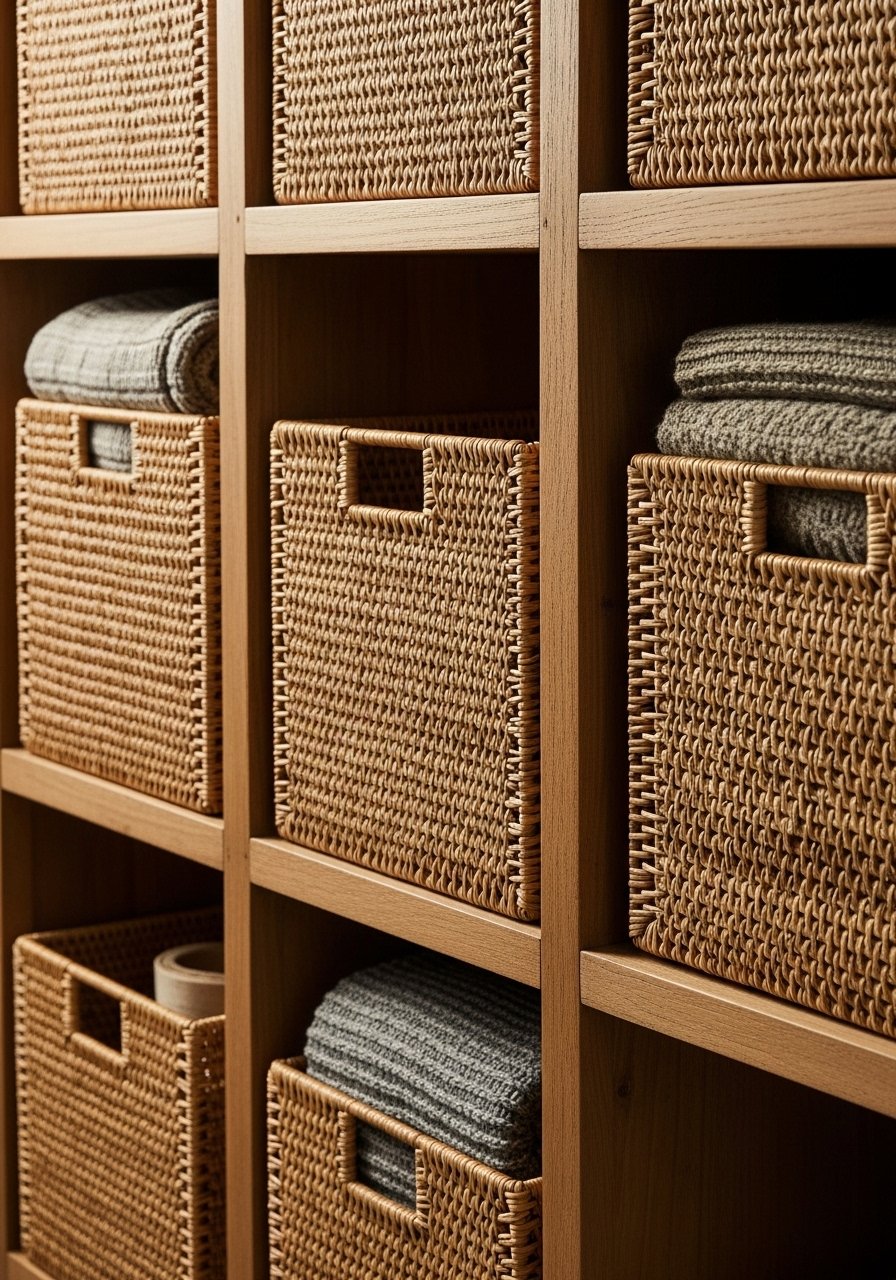
Baskets saved my shelves. I no longer see random chargers and kids’ drawings. A medium rattan basket hides what I don’t want on display and still reads warm.
My first baskets were too small and overstuffed. Bigger, shallower baskets work best and slide out easily. Labeling isn’t necessary if you keep like items together.
This is a renter-friendly way to add texture and function.
What You’ll Need for This Look
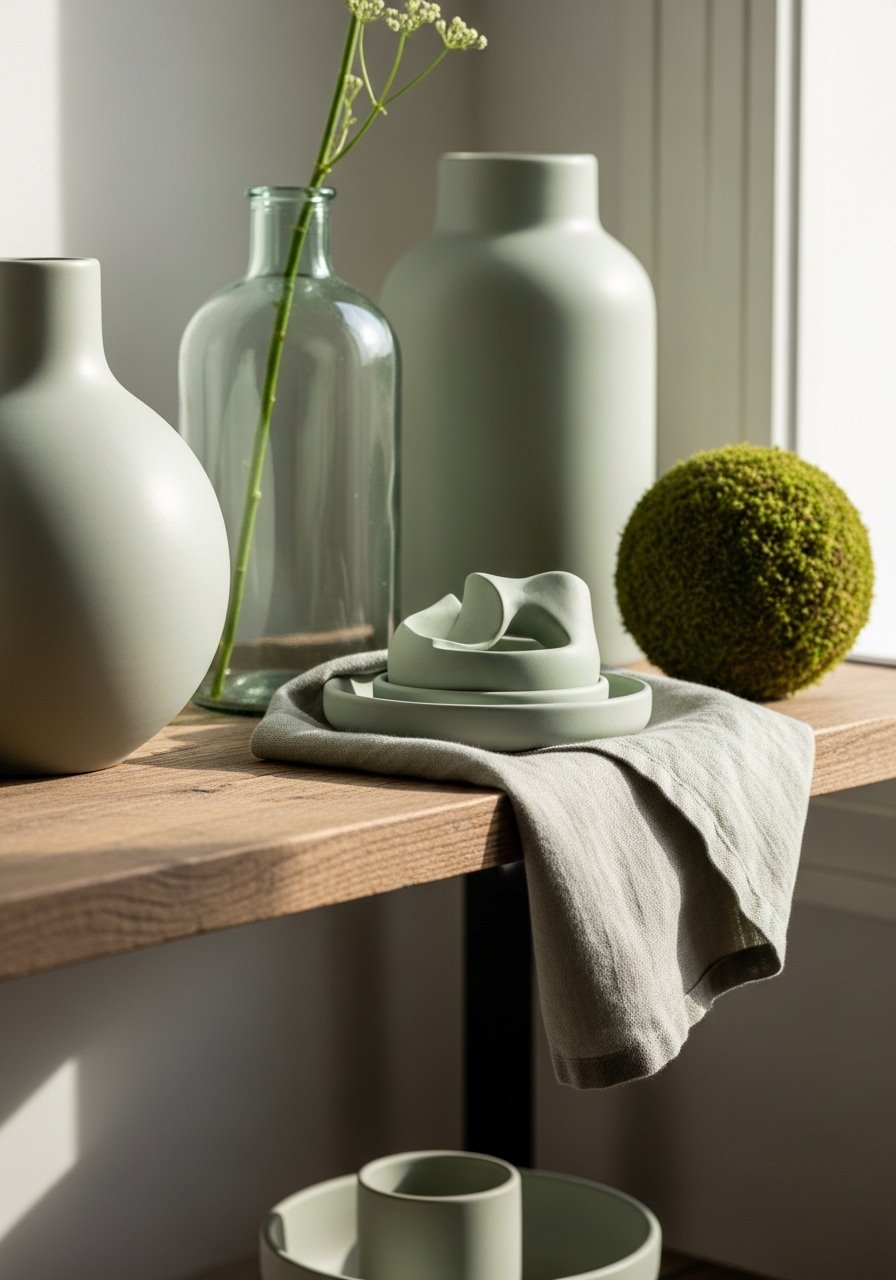
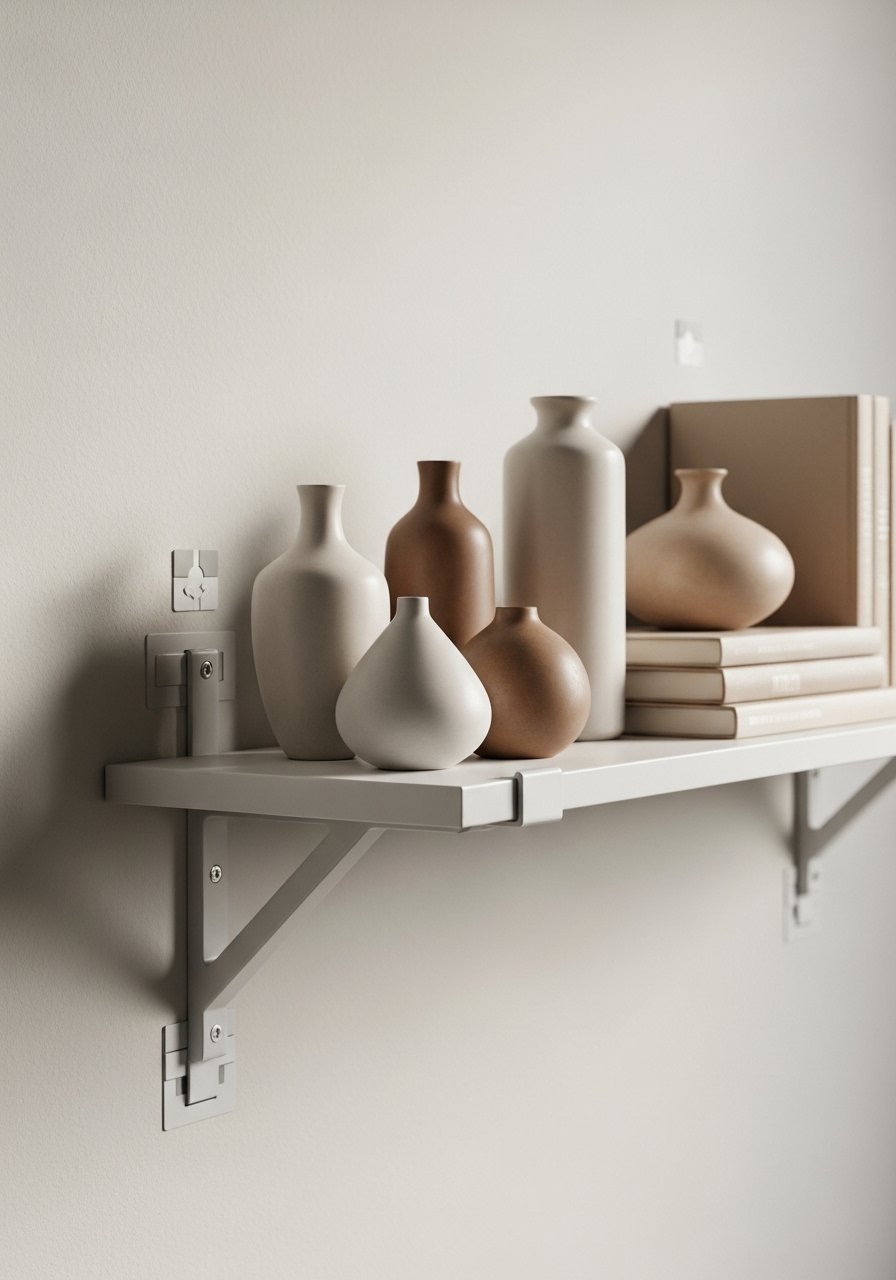
6. Empty Vases as Structural Anchors
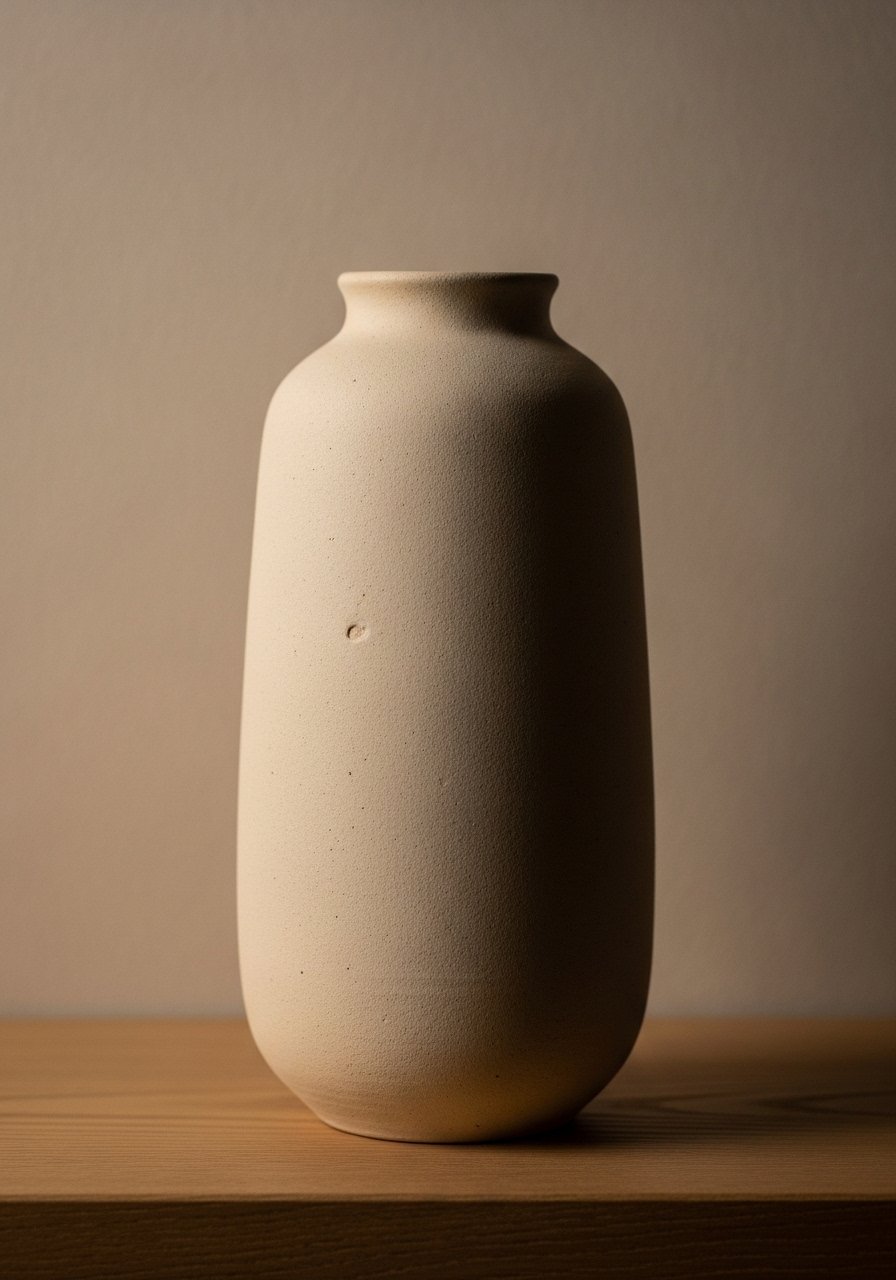
I used empty vases as anchors when flowers felt like overkill. A tall, simple vase gives a shelf breathing room and a vertical line.
I once filled every vase and the shelf lost calm. Now I leave one or two empty ones spread across shelves. They act like punctuation.
Pick neutral tones and different heights for rhythm.
What You’ll Need for This Look
7. Leaning Art for Easy, Renter-Friendly Impact
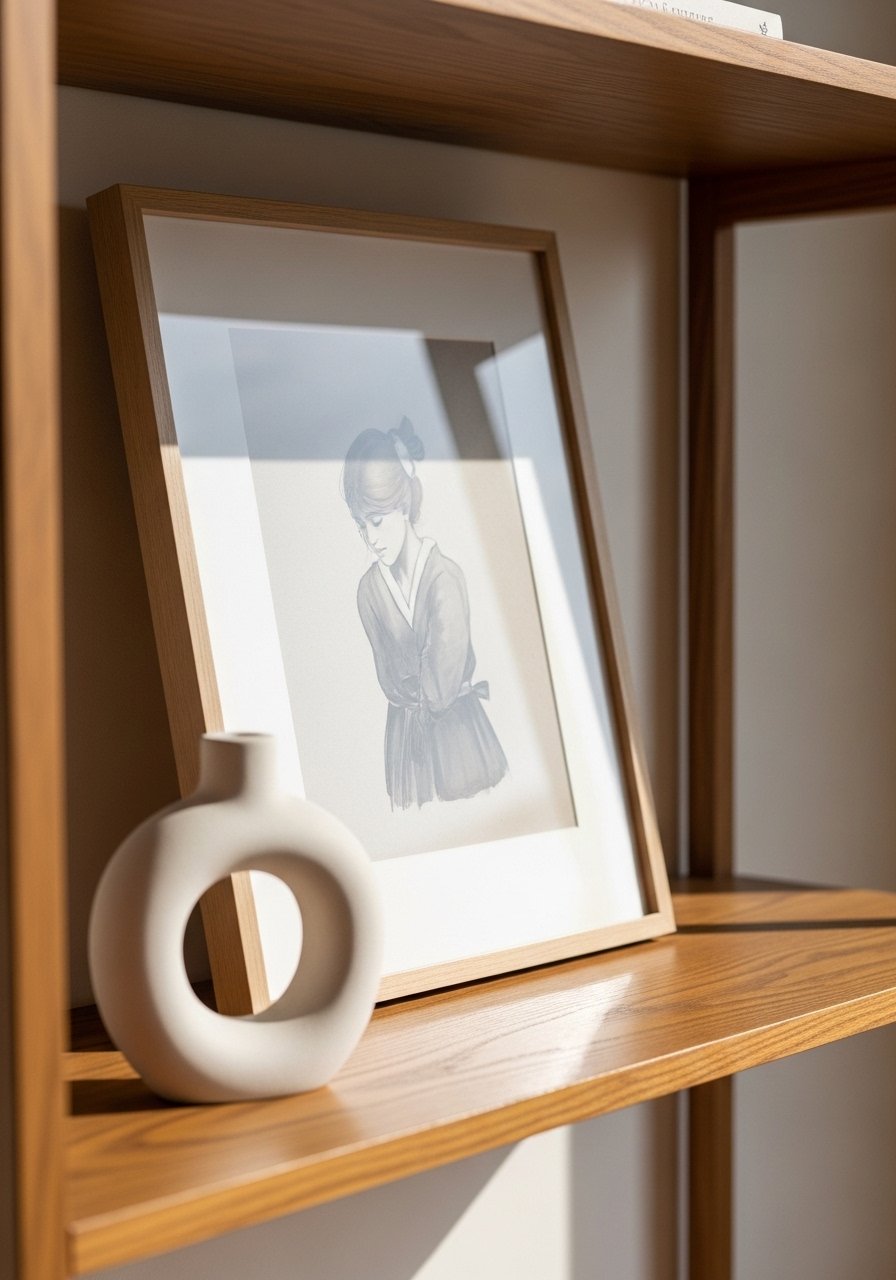
Leaning framed art on a shelf gives an instant gallery feel without nails. I layered a medium frame behind a small sculpture and it felt layered and lived-in.
I used to center frames and it was boring. Pulling them to one side and offsetting with a book stack made everything look curated.
Use lightweight frames if you move often.
What You’ll Need for This Look
8. Odd-Number Object Groupings That Feel Intentional
I stopped pairing items and started grouping in threes. Odd numbers read as intentional and more relaxed.
At first I placed two matching candlesticks — too formal. Switching to three different-sized objects solved that. Use a mix of heights and textures for interest.
Keep the grouping compact and give it negative space on both sides.
What You’ll Need for This Look
9. Candle Cluster for Soft Shelf Glow
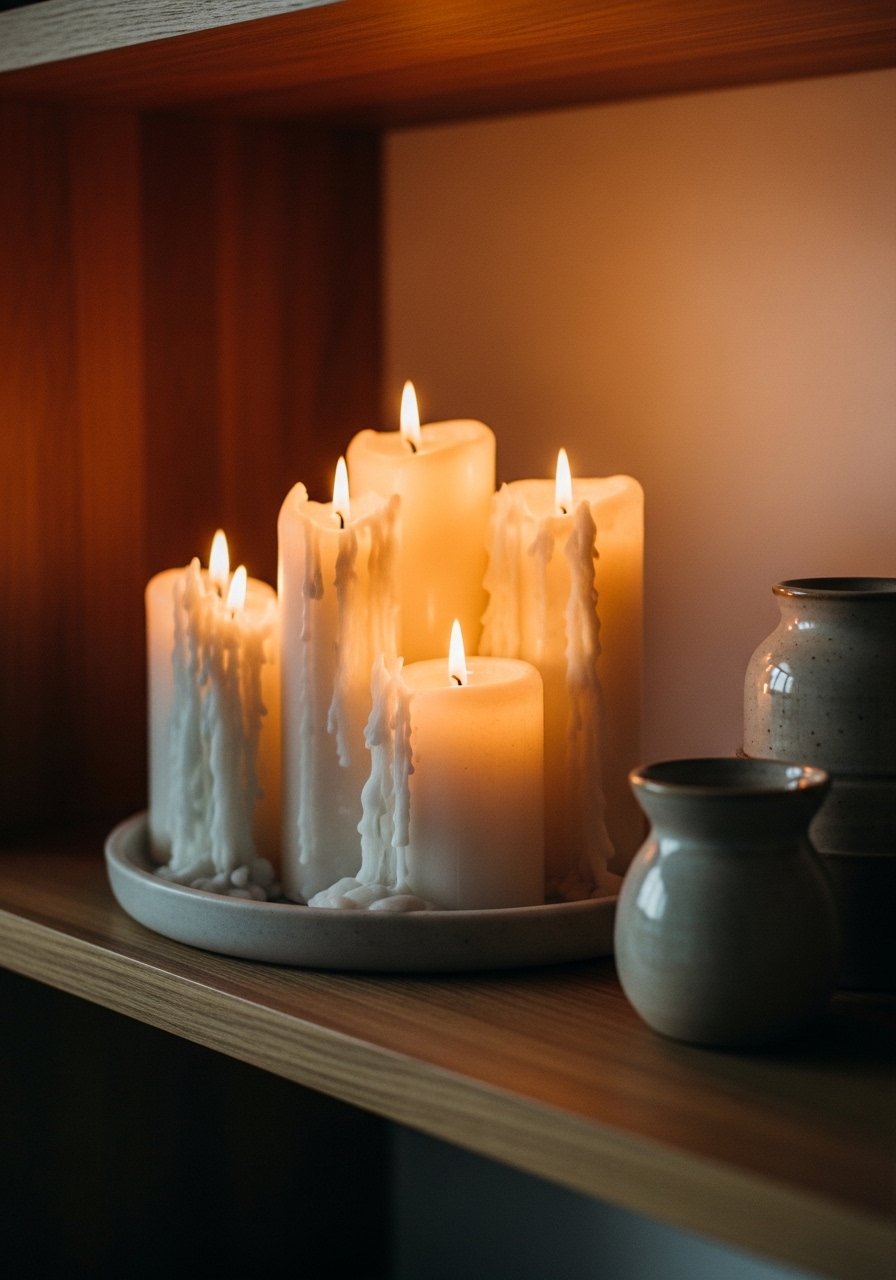
Candles add instant warmth on a shelf. I group two or three pillar candles on a shallow tray and it reads like a little vignette.
Be honest: I burned one too close to books and learned to keep candles on non-flammable trays. Use unscented if shelves are near textiles.
This works great on lower shelves or entryway benches.
What You’ll Need for This Look
10. Ceramic Bowl Stacks That Double as Storage
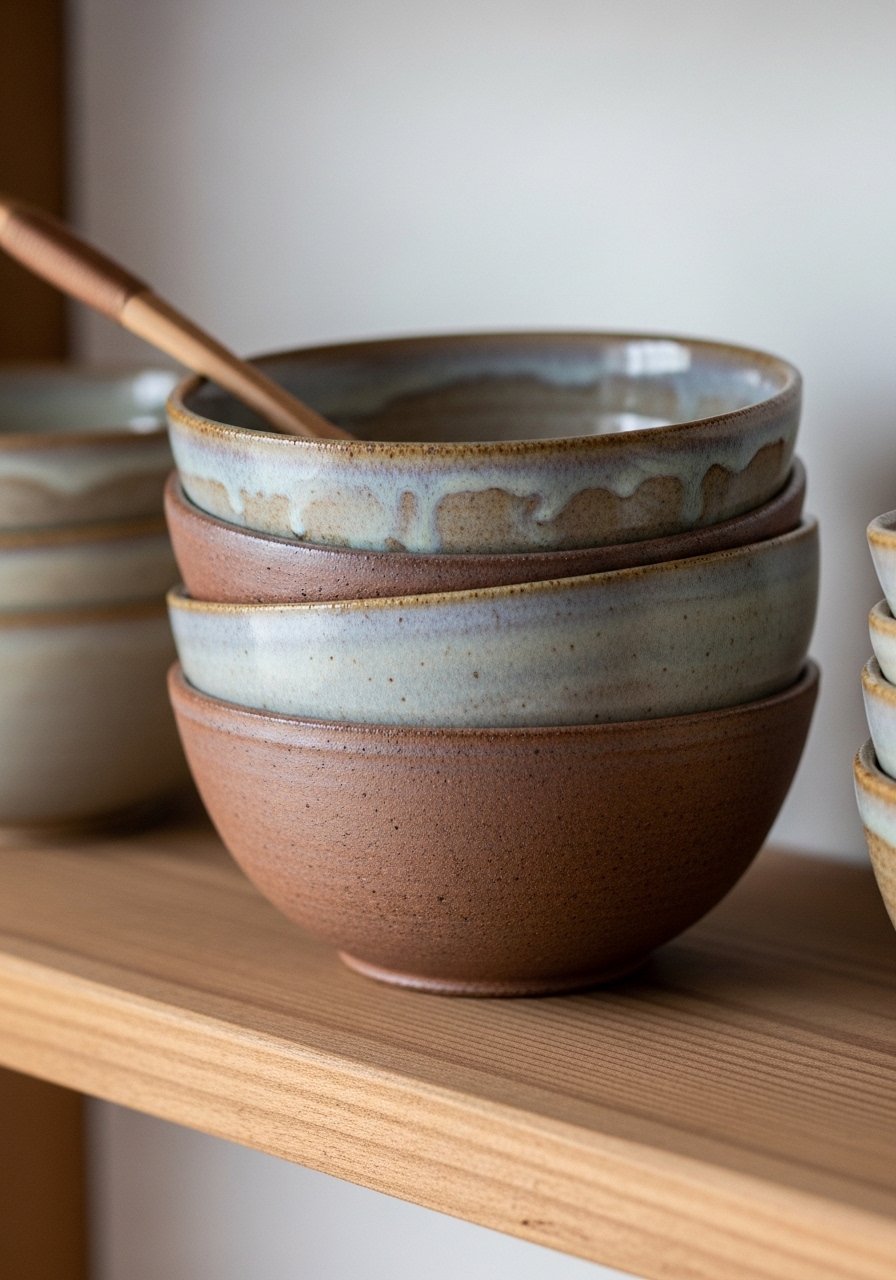
I stack ceramic bowls on kitchen shelves for a sculptural, usable look. They break up rows of plates and add color through glaze.
I once put delicate bowls on a high shelf and they shifted. Now I reserve bowls for middle or lower shelves. Stacks of two to three are stable and pretty.
Mix matte and glossy finishes for depth.
What You’ll Need for This Look
11. Under-Shelf Hooks for Mugs and Jewelry

I installed simple under-shelf hooks to hang mugs and lightweight planters. It reclaims wasted space and keeps things handy.
At first I used heavy mugs and the hook bent. Choose sturdy hooks and space them evenly. This is inexpensive and renter-friendly if your shelf can handle the load.
It also frees surface space for decor.
What You’ll Need for This Look
12. LED Strip Lighting for Subtle Ambience
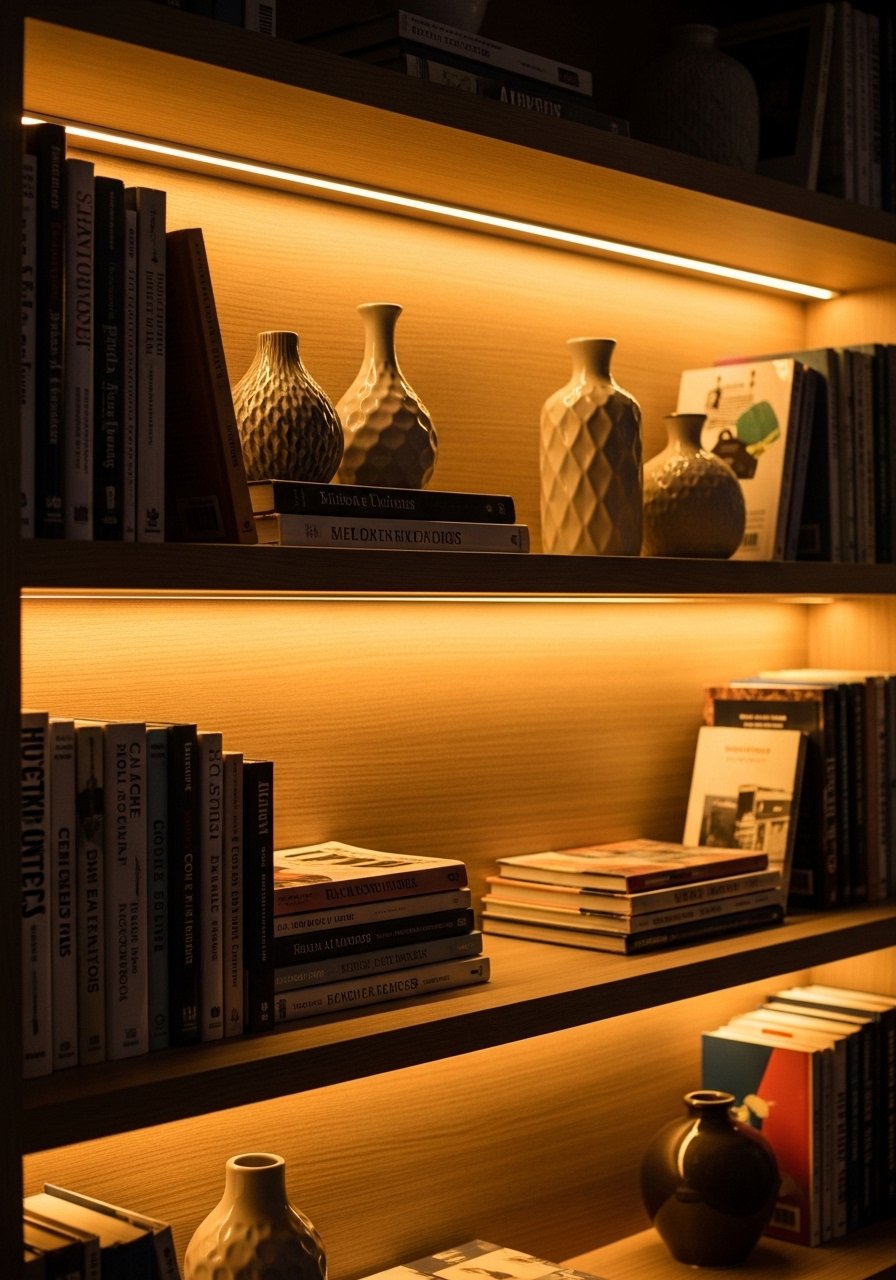
I added warm LED strips under a top shelf and the room suddenly felt finished at night. It makes things readable and cozy without harsh glare.
I once bought cold white LEDs and hated them. Warm white was the fix. Use dimmable strips so you can set mood levels.
Hide the strip behind the lip so you see glow, not the strip.
What You’ll Need for This Look
13. Vintage Finds for Personality and Texture
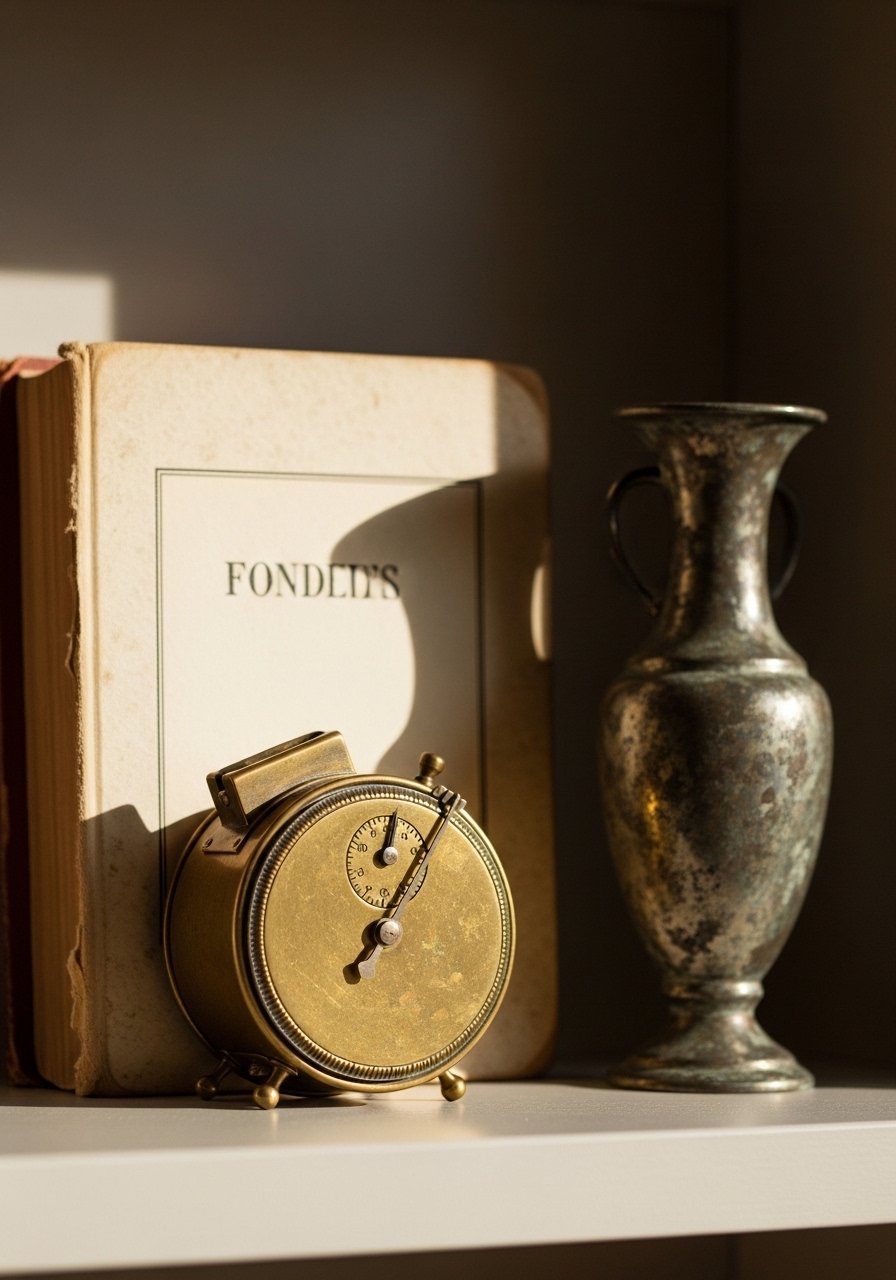
I mix a few vintage pieces into modern shelves to stop them from feeling too generic. A brass timer, a worn book, or a small ceramic with patina does the trick.
My mistake was buying everything vintage-themed at once. A few pieces sprinkled through the shelf scheme make the look lived-in and meaningful.
Look for small items so you don’t overwhelm the layout.
What You’ll Need for This Look
14. Kids’ Lower Shelf with Baskets and Labels
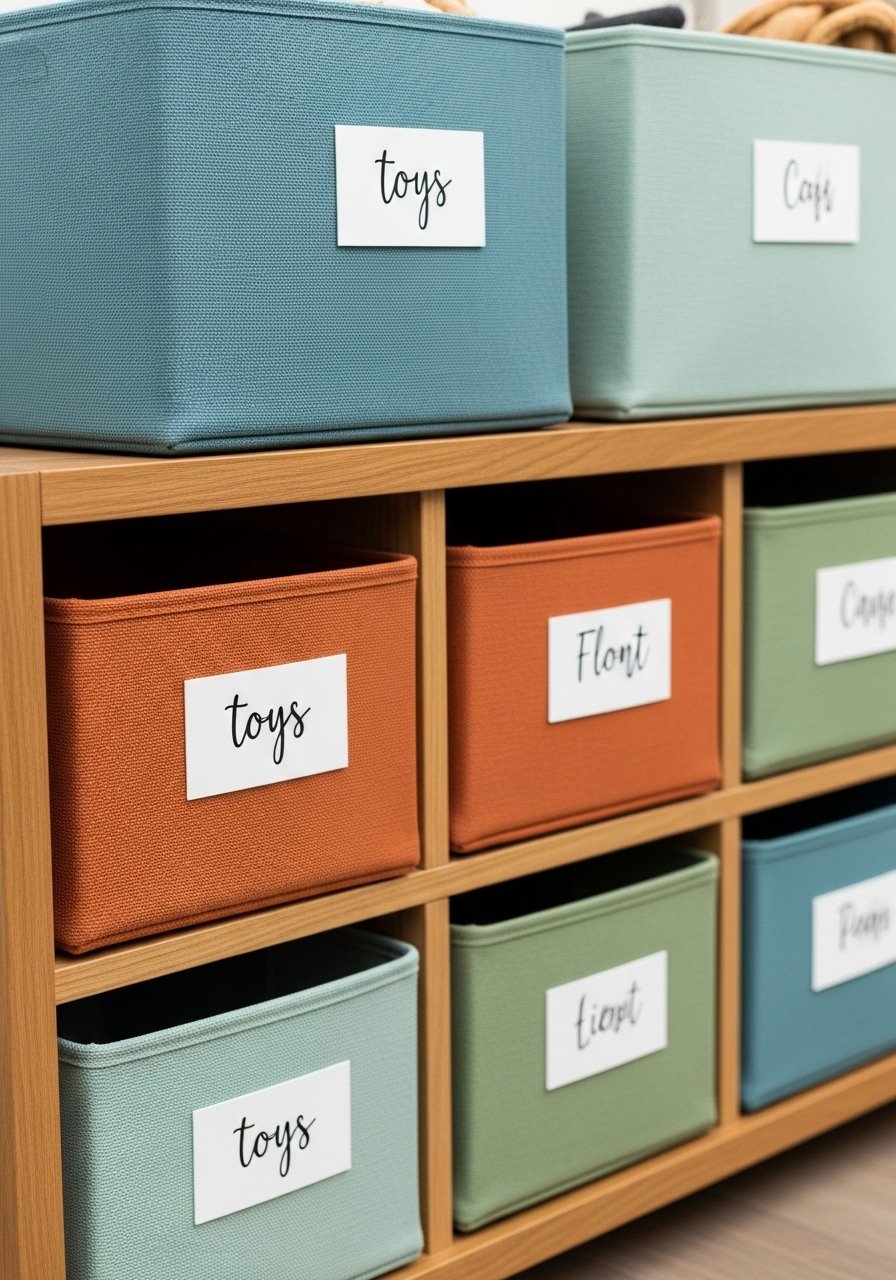
I created a lower shelf zone with labeled baskets for my kids. It keeps toys accessible and the rest of the room tidy.
At first I kept fragile decor on low shelves — a mistake. I replaced breakables with washable bins and a few display books. The room became calmer and the kids can help clean.
Use washable, sturdy baskets and clear labels for quick pickup.
What You’ll Need for This Look
15. Entryway Catchall Shelf for Daily Drops

I made an entry shelf with a shallow tray for keys, sunglasses, and mail. It cut down the pile on the console table and looks tidy.
Earlier I used decorative bowls that were too deep. A shallow tray keeps everything visible and reachable. Add a small bowl for loose change and a catch-all basket underneath.
Keep it low to avoid bumping when you walk by.
What You’ll Need for This Look
16. Kitchen Spice Shelf with Uniform Jars
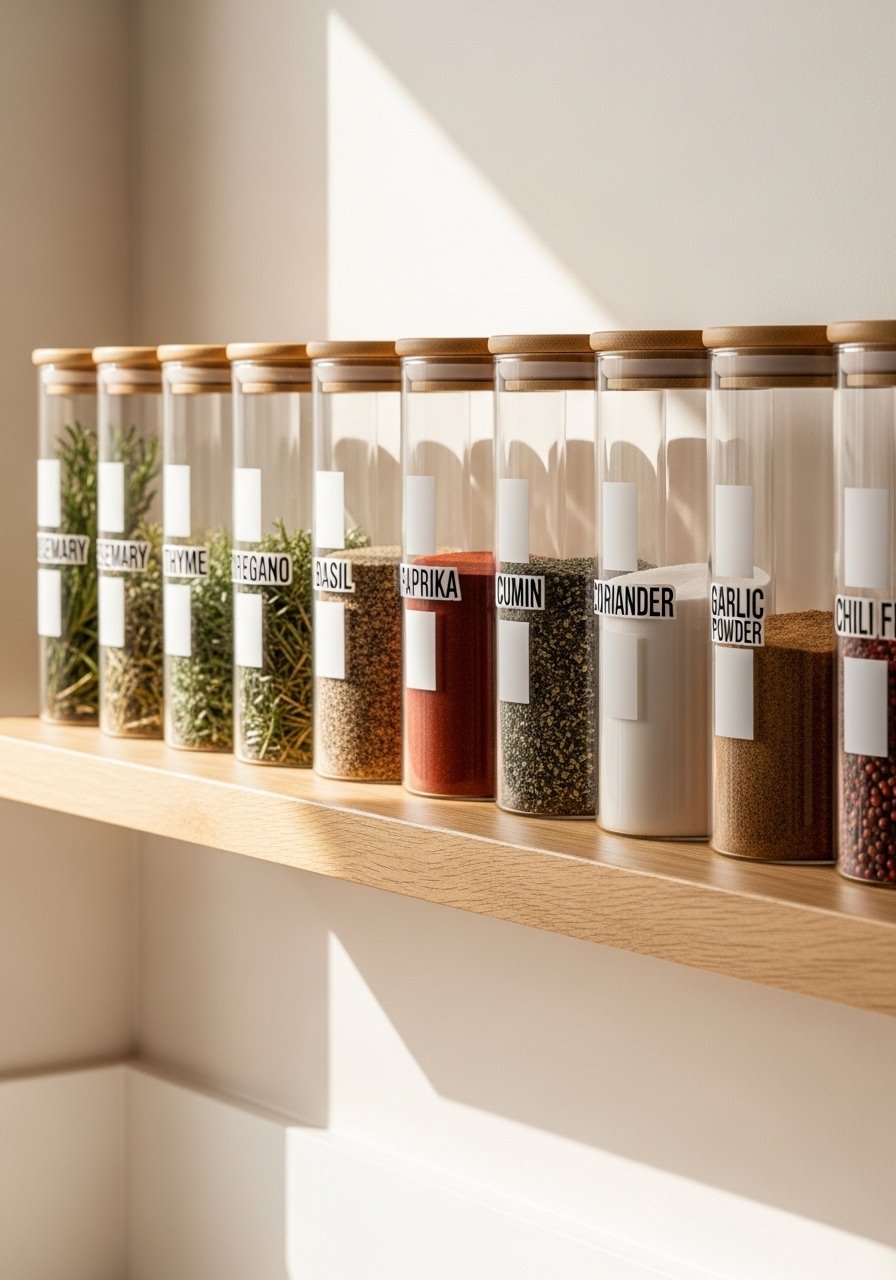
I decanted spices into matching clear jars and lined them neatly on a shelf. The uniform look is calm and practical.
I used mismatched jars at first and it looked chaotic. Switching to same-size jars simplified the shelf and made cooking faster — I can read labels at a glance.
Label the lids or fronts for quick access.
What You’ll Need for This Look
17. Bathroom Shelf with Folded Towels and Tray
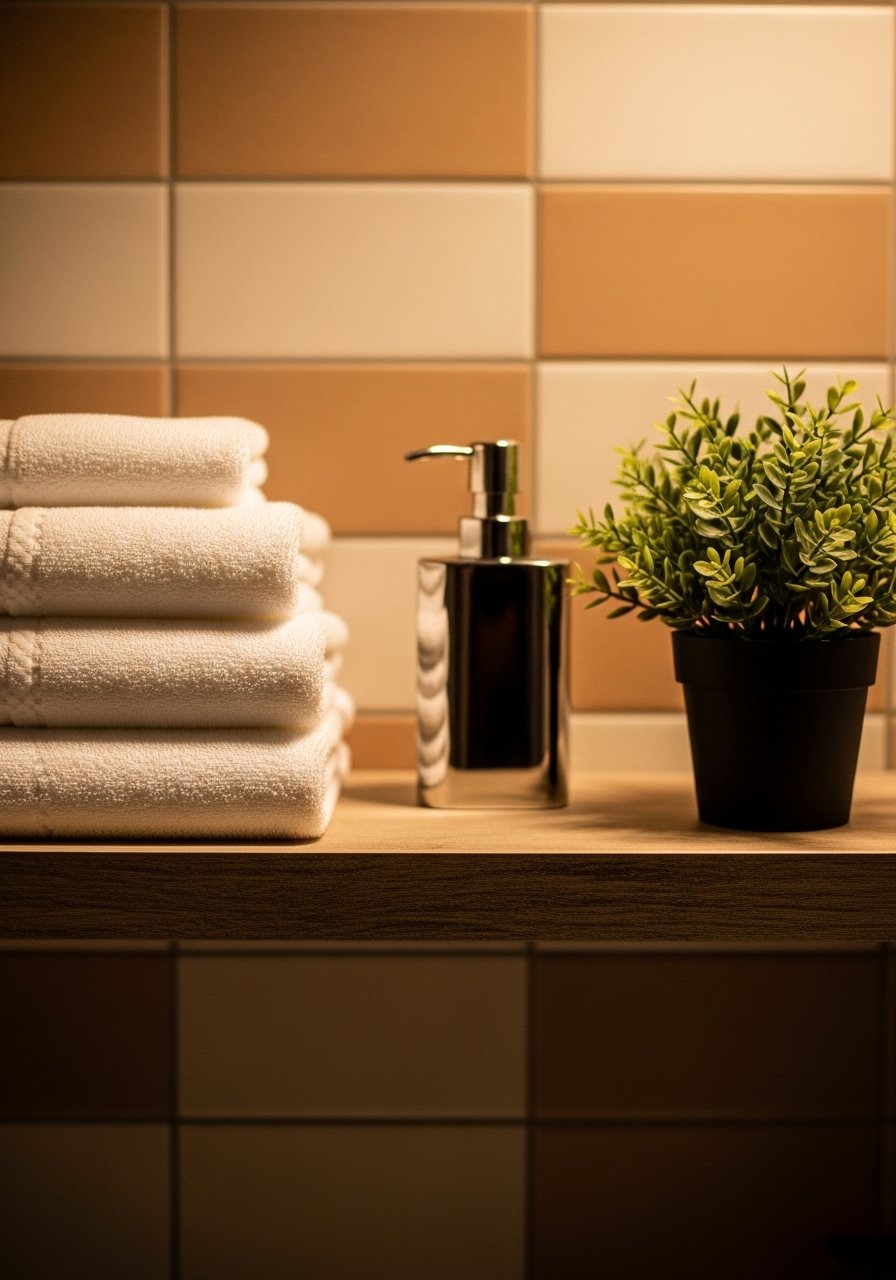
I stack white hand towels folded into thirds on a bathroom shelf and add a soap dispenser and small plant. It looks spa-like without fuss.
My early mistake was over-decorating with small bottles. Minimal towels and one tray keep things useful. Rotate towels frequently to keep the shelf tidy.
Use quick-dry towels to avoid mildew on open shelves.
What You’ll Need for This Look
18. Single-Color Shelf for Calm Cohesion
I picked a soft color and staged one shelf with objects in that palette. The result was a calm, curated look that reads intentional without effort.
I tried matching too many colors before and the shelf seemed busy. Sticking to one color family simplified styling and made other shelves flexible.
Mix finishes (matte, glossy) in the same color for texture.
What You’ll Need for This Look
19. Seasonal Swap Shelf for Low-Effort Refresh
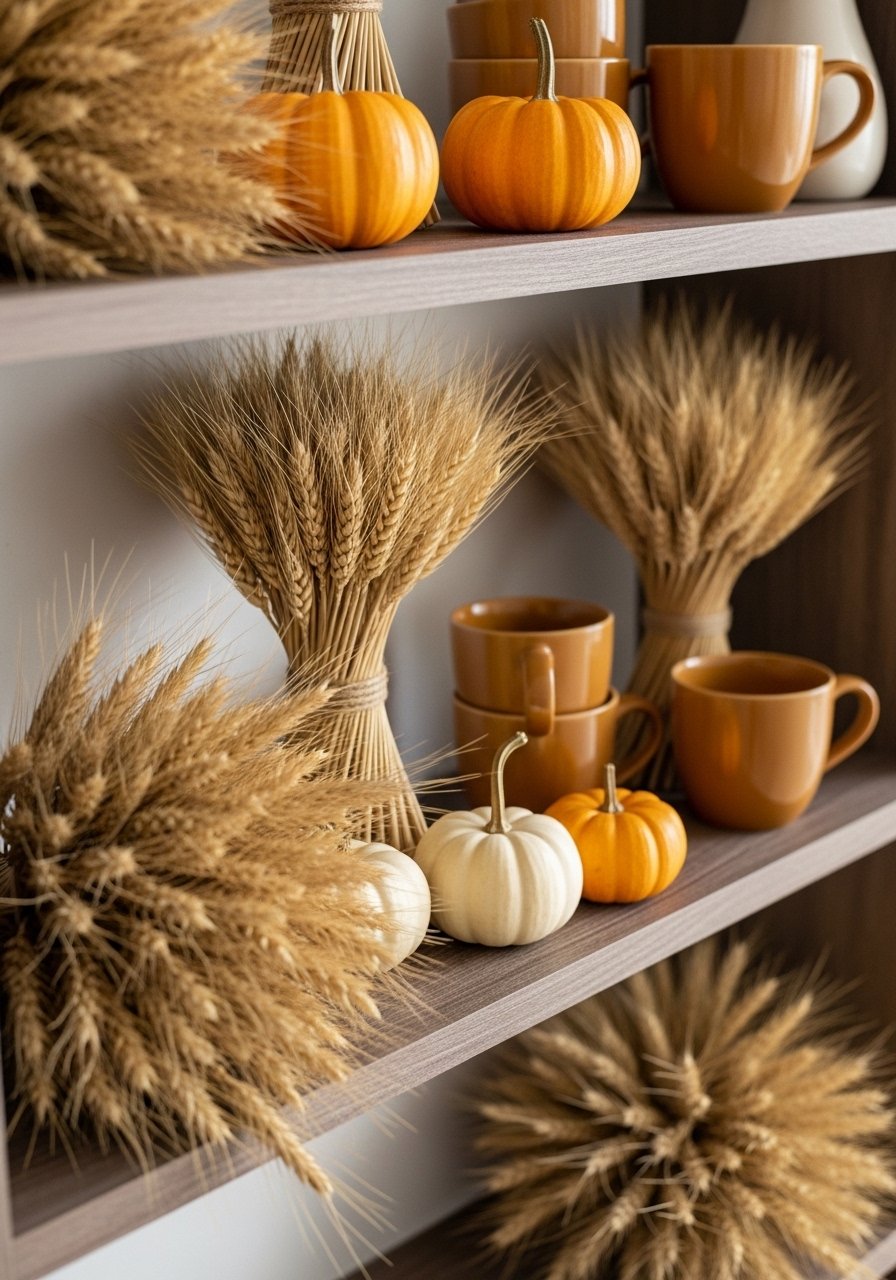
I rotate one shelf per season. Little shifts — dried stems in fall, ceramics in winter, a small vase of wildflowers in spring — keep the room feeling current.
I used to overhaul everything and burned out. Swapping one shelf is manageable and gives the room a small mood change.
Store seasonal pieces in a labeled bin under the bed for easy access.
What You’ll Need for This Look
20. Color-Blocked Book Spine Arrangements
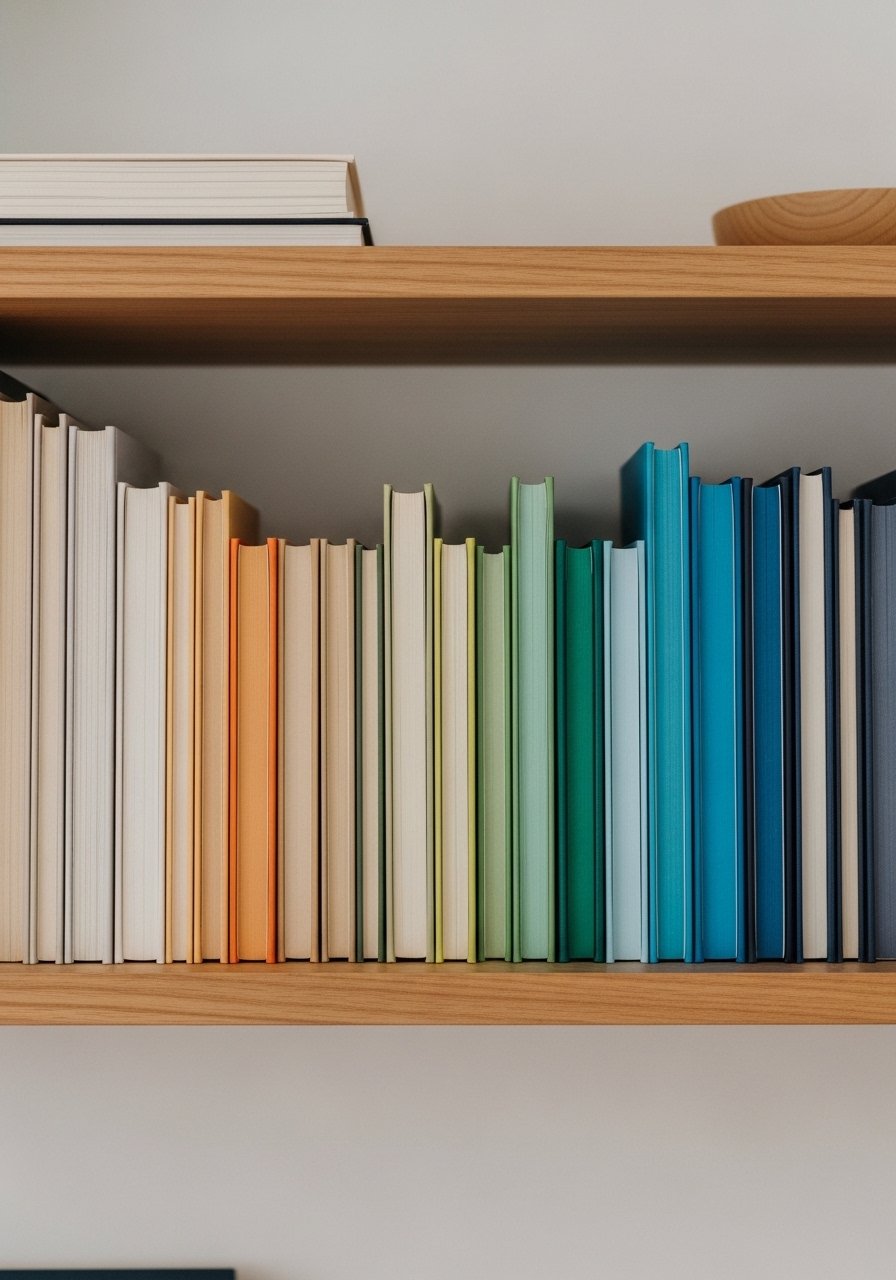
I rearranged books by spine color and the shelf went from messy to sculptural. The gradient creates a soft, peaceful band across shelves.
Be careful: color-only arrangements can hide genre. I added a few labeled book stacks for function. This is an easy visual trick that’s reversible.
Combine with neutral objects for contrast.
What You’ll Need for This Look
21. Display Plates Vertically on Open Shelves

I started showing decorative plates on stands. Vertical display breaks the horizontal rhythm of stacked dishes and feels fresh.
I damaged a plate moving too quickly once, so use sturdy plate stands and place them where they won’t be knocked. Mix sizes and textures for interest.
This works well with a leaner art piece behind for depth.
What You’ll Need for This Look
22. Pet-Friendly Durable Decor Choices
I swapped fragile items for durable alternatives on lower shelves because my dog likes to explore. Metal trays, hard ceramic, and woven baskets withstand daily life.
I lost a ceramic to a wagging tail early on. Now I choose heavier pieces and keep breakables up high. A few faux plants stand in when real ones are at risk.
It keeps the room pretty and resilient.
What You’ll Need for This Look
23. Gallery Ledge Style for Rotating Art

I added a shallow gallery ledge and rotate small frames every few months. It’s like a mini gallery that evolves without holes in the wall.
I used sticky hooks for lightweight frames because I rent. Frames lean and overlap slightly for a casual layered look. Keep a consistent mat color for cohesion.
This works in hallways and stair landings.
What You’ll Need for This Look
24. DIY Rustic Floating Shelves from Reclaimed Wood
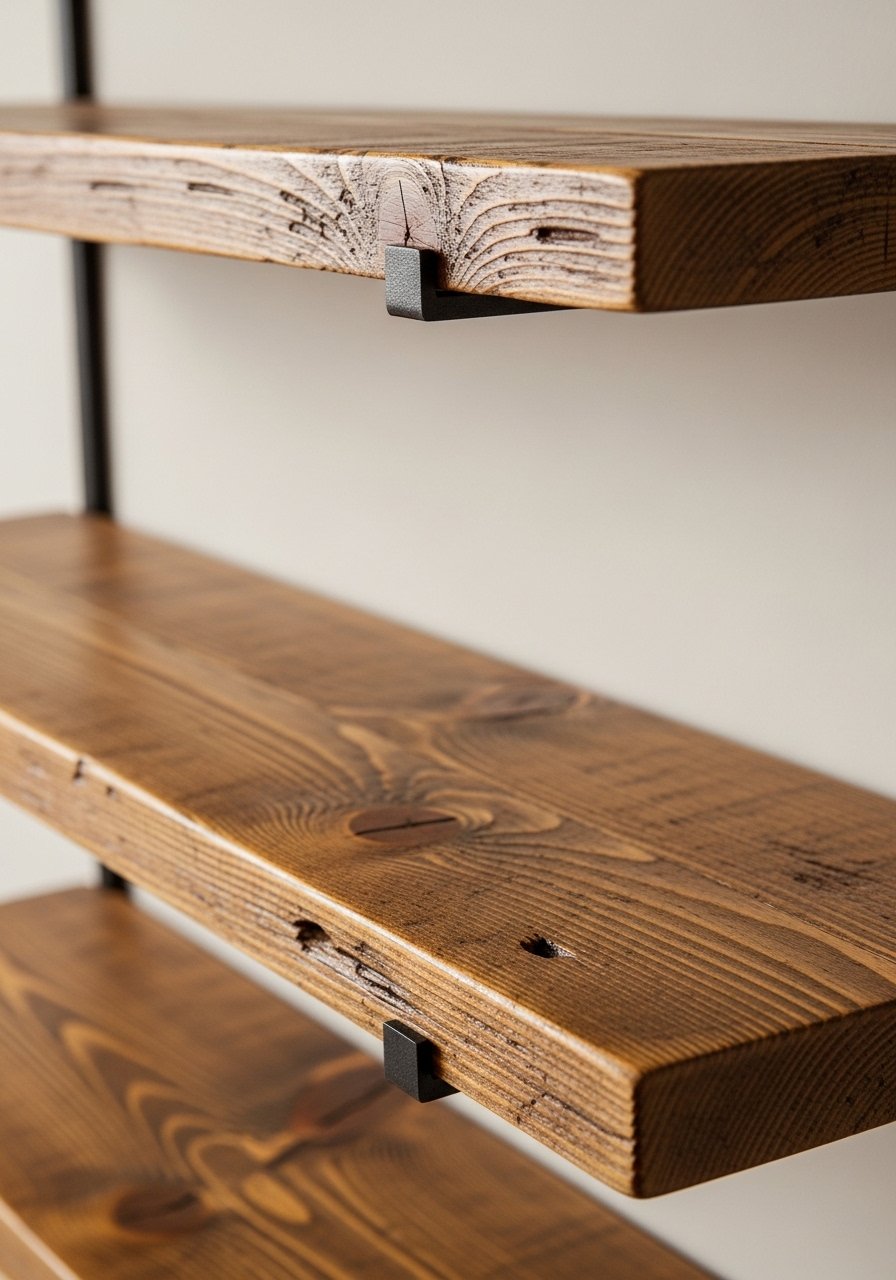
I built a pair of rustic floating shelves from reclaimed wood. They added texture and felt custom without a big budget.
My first attempt used thin boards and they bowed. Thicker boards plus hidden brackets fixed that. Sand, seal, and leave some character marks for a lived-in look.
These shelves are great for plants and ceramics.
What You’ll Need for This Look
25. Corner Shelves That Use Forgotten Space
I added a small corner shelf unit and suddenly a wasted corner became useful. It’s perfect for a plant, a small stack of books, and a candle.
My early corner shelf was too deep and blocked traffic. Choose a slim profile and keep items light. Corner shelves are surprisingly impactful for small rooms.
Rotate items seasonally to keep it fresh.
What You’ll Need for This Look
26. Mid-Century Accent Shelf with Sculptural Objects
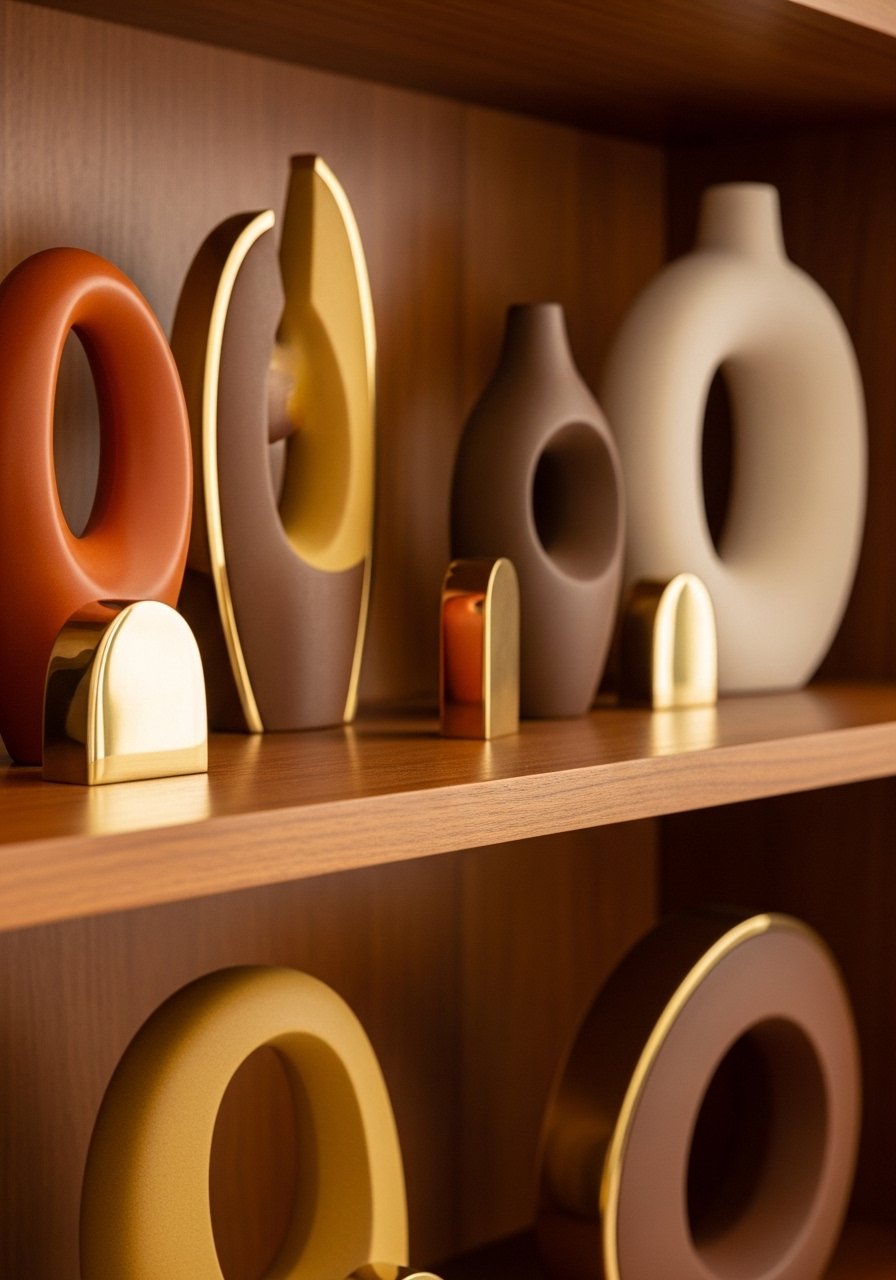
I curated a shelf with mid-century accents: low sculptural objects, a small teak bowl, and a brass detail. It feels cohesive without being fussy.
At first I mixed eras indiscriminately and lost cohesion. Sticking to a style anchor helps make a shelf speak in one voice. Add a plant to soften the lines.
This look is calm and collected.
What You’ll Need for This Look
27. Open Pantry Shelf Organization with Clear Bins
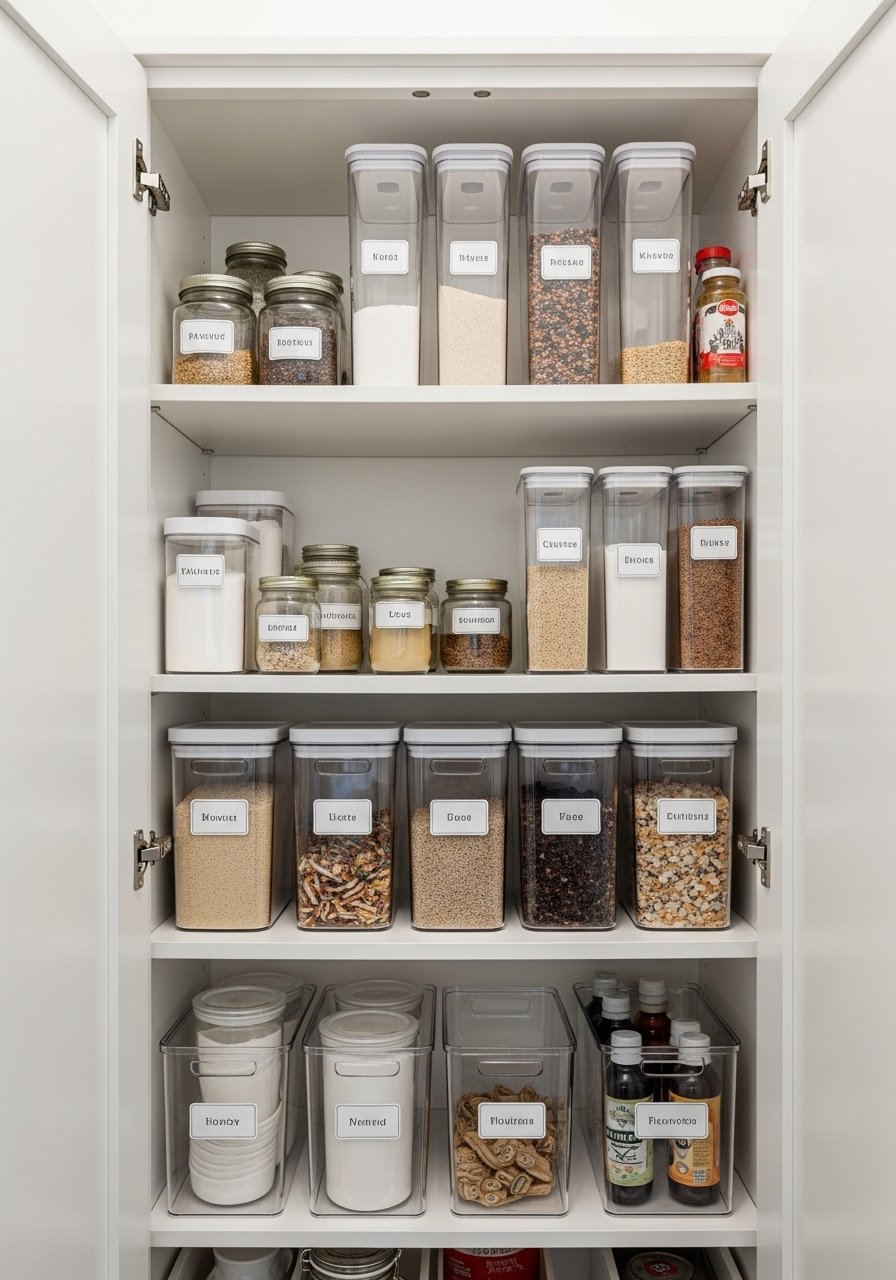
I organized pantry shelves with clear bins and labeled compartments. Meal prep is faster and the shelves don’t look chaotic.
My first clear bins were too small. Bigger, stackable bins hold snacks and baking supplies neatly. Clear fronts let you see at a glance and labels keep everyone on the same page.
This is a functional shelf that still looks tidy.
What You’ll Need for This Look
28. Renter-Friendly Command Bracket Display
I use heavy-duty command-style brackets for lightweight shelves in rentals. They let me add a shelf without a drill.
I learned to test weight limits. Start with lighter objects and upgrade to sturdier mounts if needed. These brackets are perfect for floating shelves holding decor and small plants.
They give flexibility without damage.
What You’ll Need for This Look
Final Thoughts
You don’t need to try all 28 ideas. Pick two or three that solve your biggest shelf problems and start there.
Shelves should feel useful and calm. Small swaps — one plant, a basket, a riser — make the biggest difference.
