

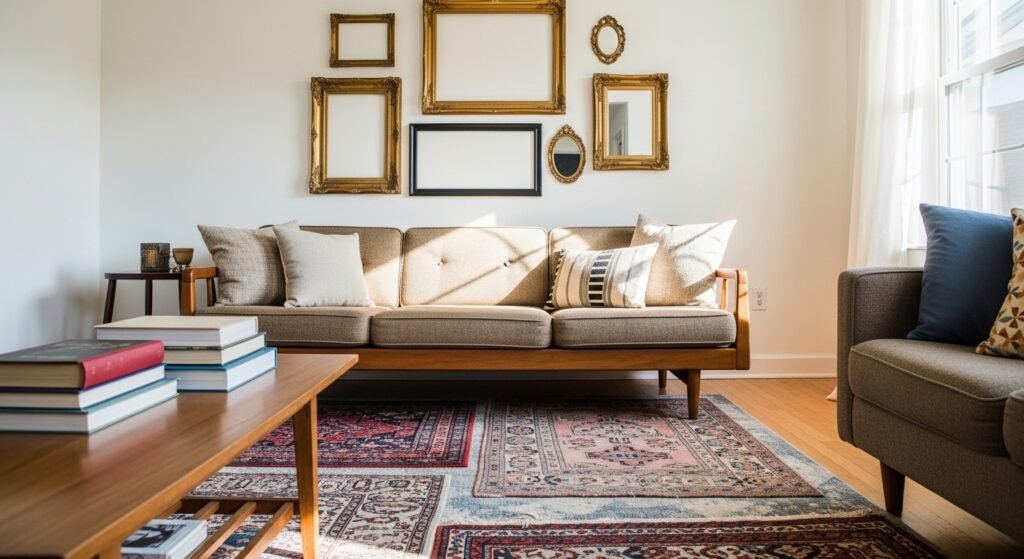
My living room had nice furniture and decent lighting but it still felt like a waiting room. Took me embarrassingly long to figure out it was missing rhythm on the walls. Once I hung a mix of family photos, a thrifted print, and one oversized mirror at staggered heights, the whole room finally felt like it had lived there a while.
These looks lean vintage-meets-lived-in. Most projects are under $75, with a few splurges around $100-150 if you want real frames. Works for living rooms, bedrooms, hallways, and that blank wall in your dining room you keep staring at.
Eclectic Vintage Mix With Mismatched Frames
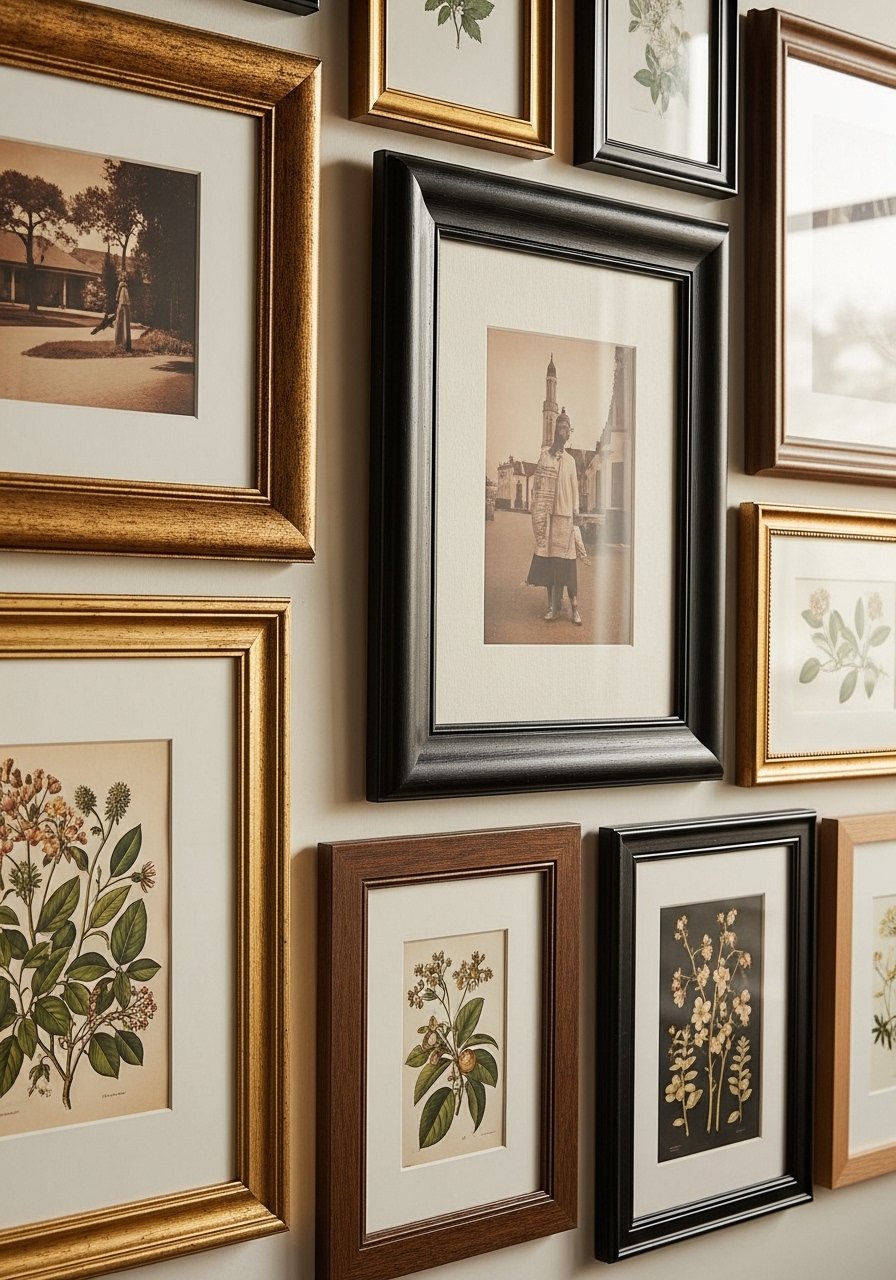
I built my first gallery by buying frames that clearly did not match on purpose. The trick is to pick a dominant finish and a complementary one. Aim for about 60 to 70 percent of the frames in one finish, and the rest to add character. I spent roughly $50 on thrifted frames and $25 on a pack of identical mats to unify everything. A common mistake is trying to match every frame. That makes the wall boring. Use mixed metal picture frames for anchor pieces, and leave one or two smaller thrift finds to feel authentic.
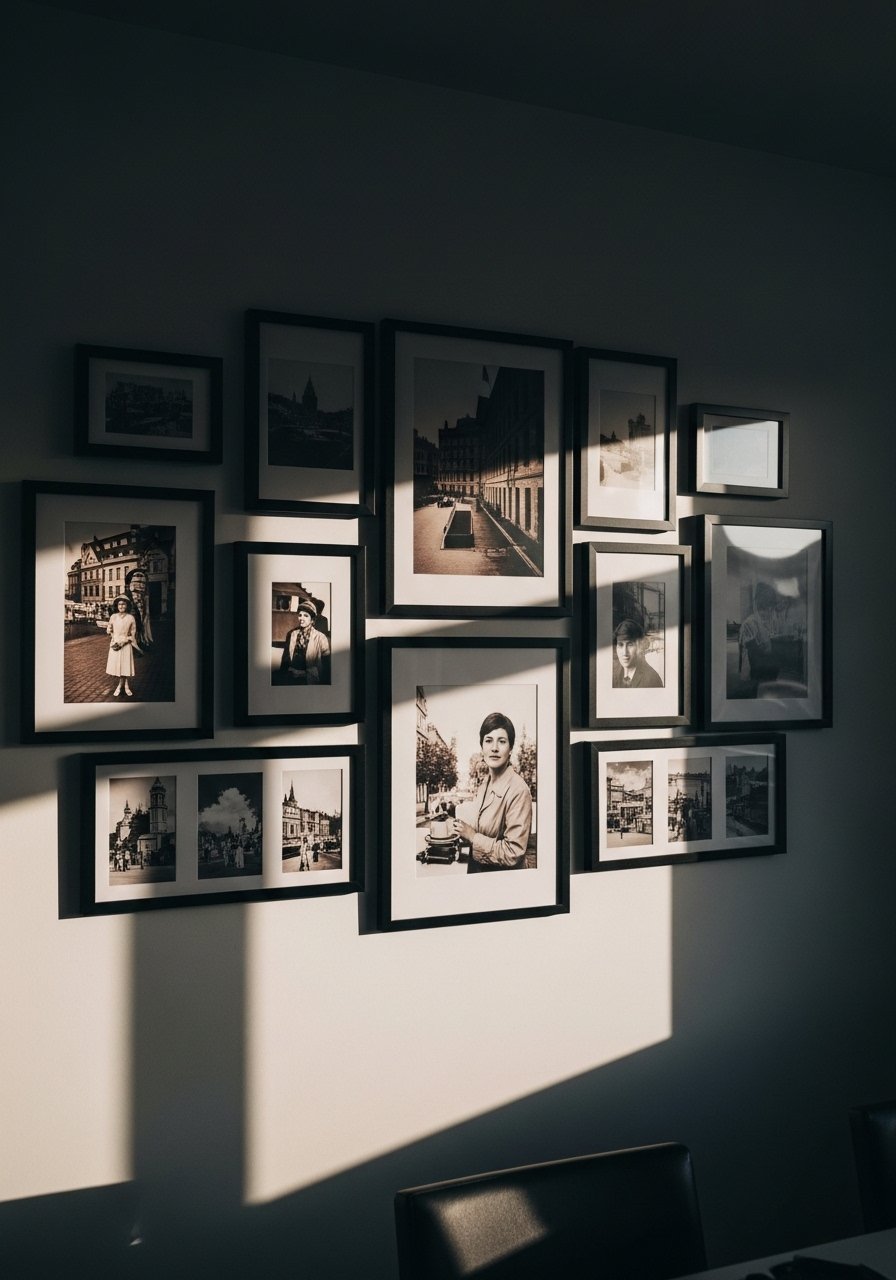
Sepia Family Photos With Identical Mats For Cohesion
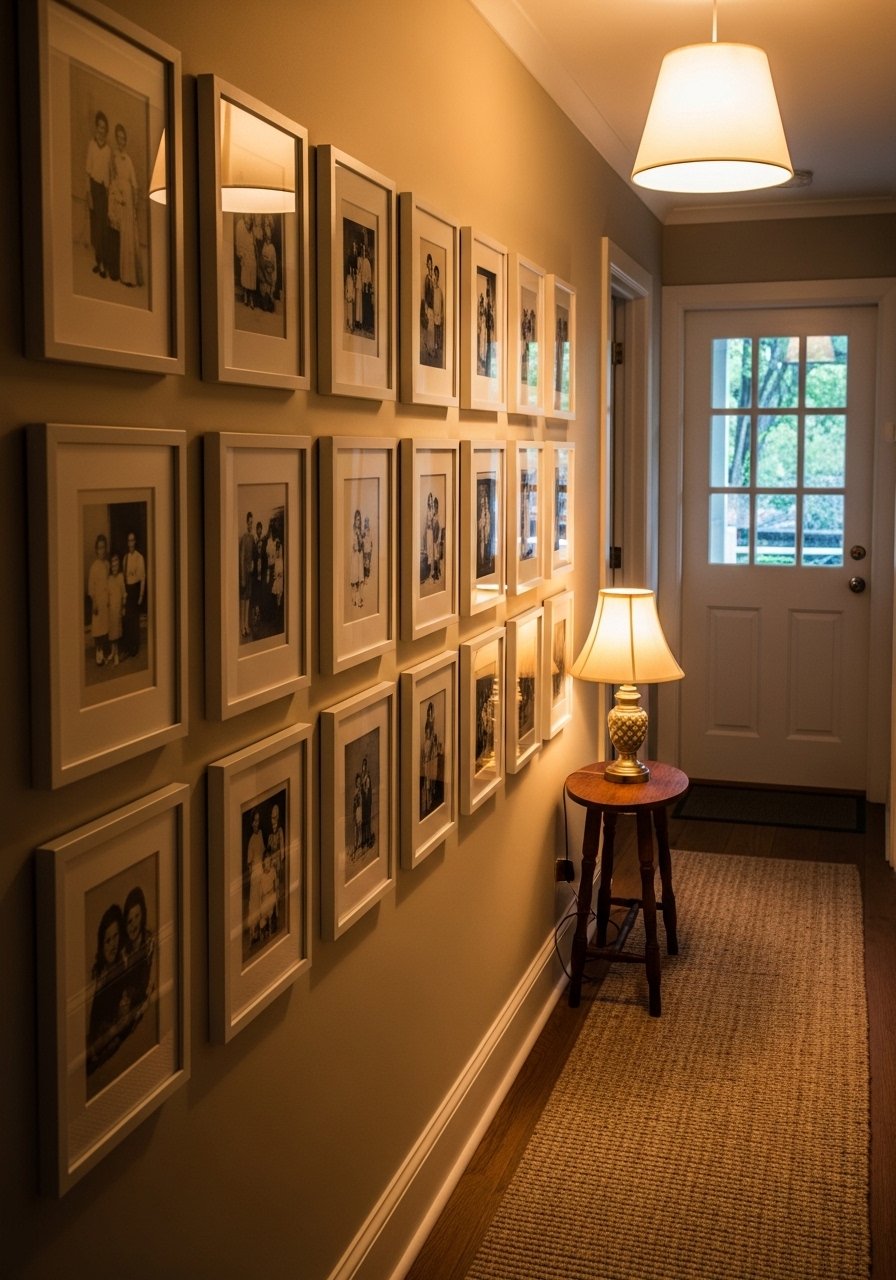
I scanned old photos and printed them on matte paper, then used identical 1.5-inch cream mats so the wall reads like a collection, not chaos. Keep frames in two sizes, for example 8×10 and 11×14, and stick to a consistent mat width. Budget: printing and mats ran about $30 total for a dozen pieces. People often make the mistake of skipping mats because they feel expensive. Mats make low-cost prints look polished. Try 8×10 mats pack and archival sleeves to protect originals.
Plate Gallery Using Vintage Dishes For Texture
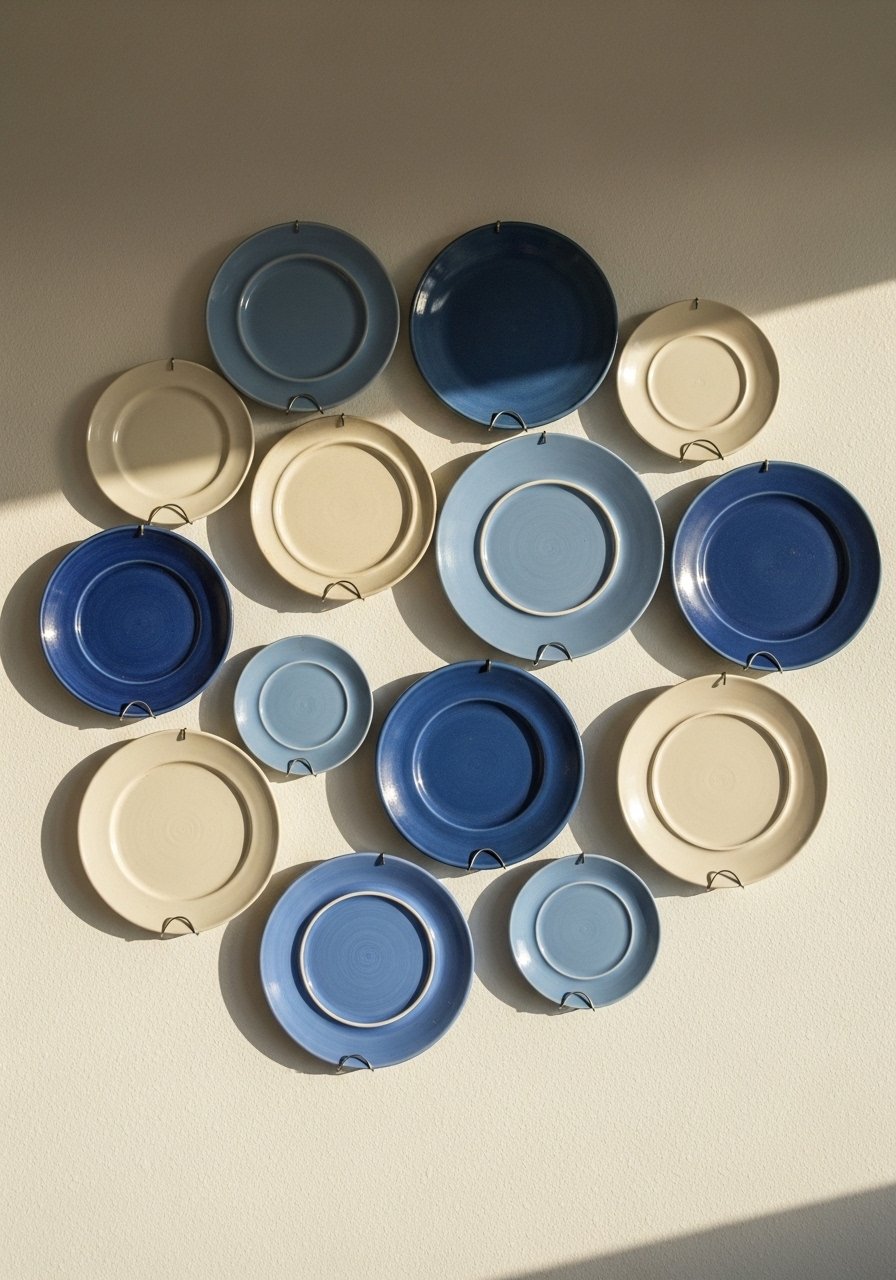
A friend gave me five old plates and I used plate hangers to make a rhythmic display. Space plates about three inches apart and vary cluster sizes so it does not read like a china cabinet. This is great over a sideboard or in a breakfast nook. Budget is low if you hunt thrift stores, $5-30 per plate. Avoid the mistake of hanging plates too high. Keep the cluster centered where your eye naturally lands while standing. I used plate hangers that grip without scratching.
Framed Textile Squares For Color And Pattern
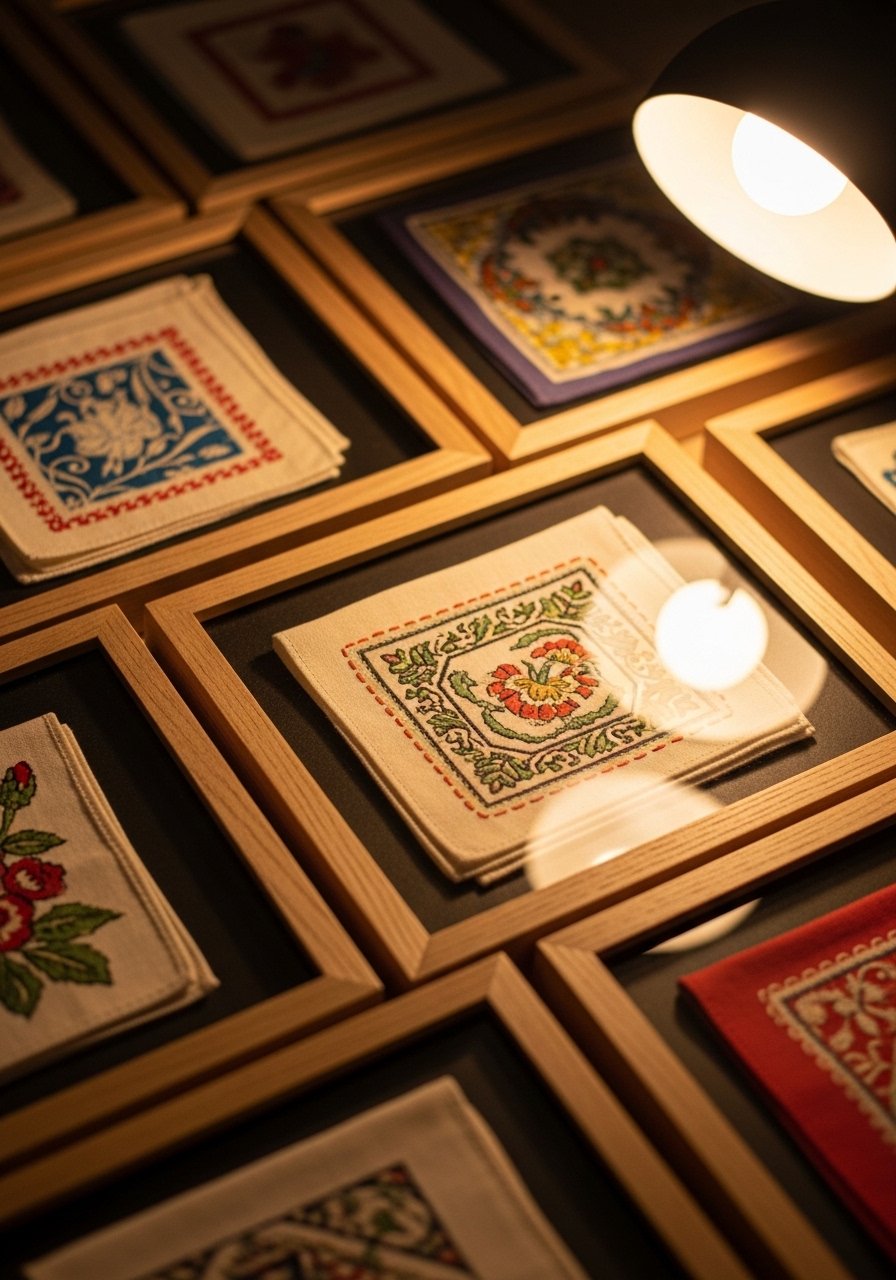
I framed three vintage scarves, cutting them into squares and stretching them onto low-profile frames. Textiles add pattern and a tactile feel you cannot get with just prints. Use shadow box or float frames at least 1 inch deep so fabric breathes. Budget: around $15-40 per frame depending on size. The mistake is trimming too tight. Leave 1 inch of margin and iron flat with a cloth underneath. Try shadow box frames for depth and easy mounting.
Picture Ledges For Swapping And Layering Art
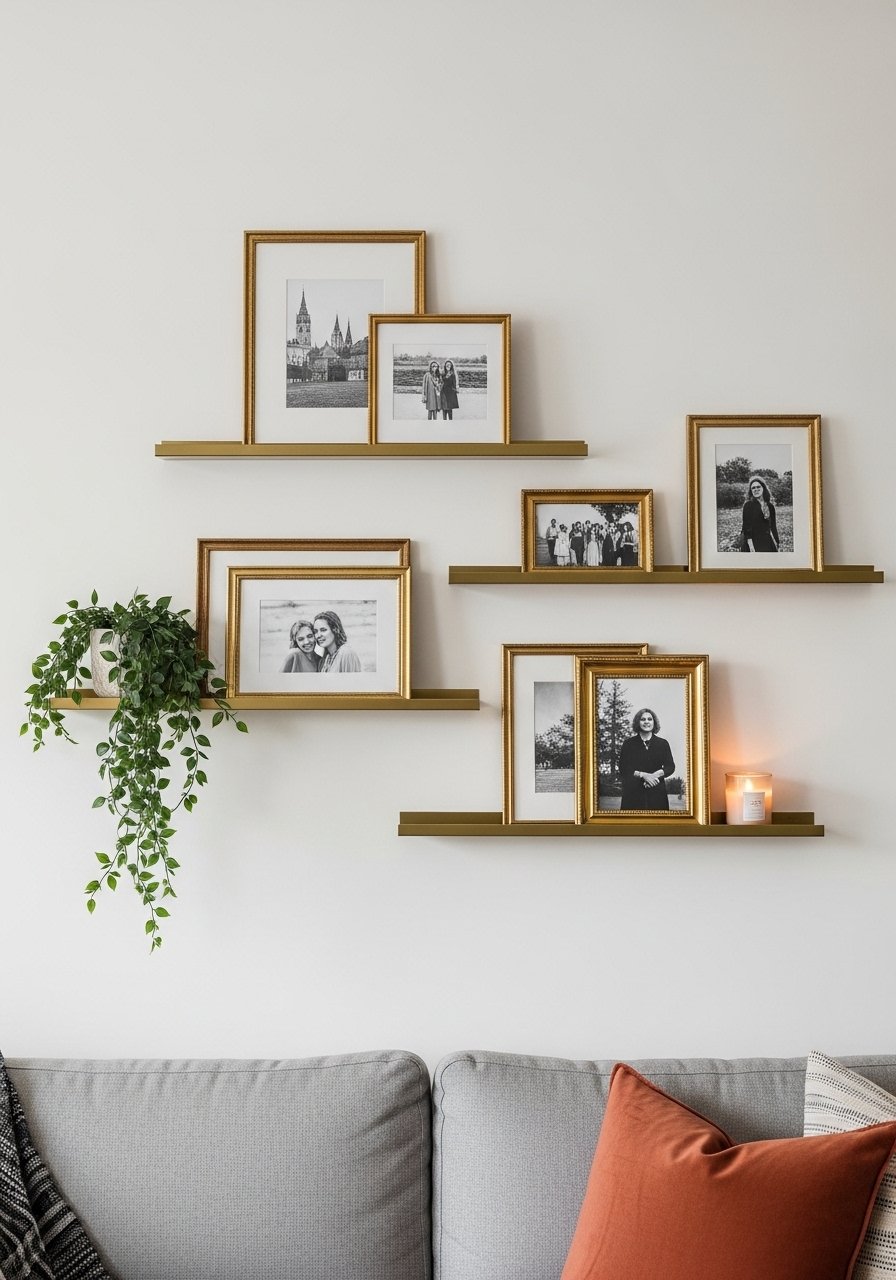
If you hate using a hammer every time you want to change your mind, picture ledges are your friend. I mounted three 3-inch-deep ledges and layered artwork in front of each other, which let me play with scale and composition for under $60. Place the top ledge about 6 inches below the ceiling line for a built-in look. Common mistake: overcrowding the ledge. Leave negative space so each piece reads. I like brass picture ledges for a vintage touch.
Mini Gallery Of Recipe Cards And Handwritten Notes
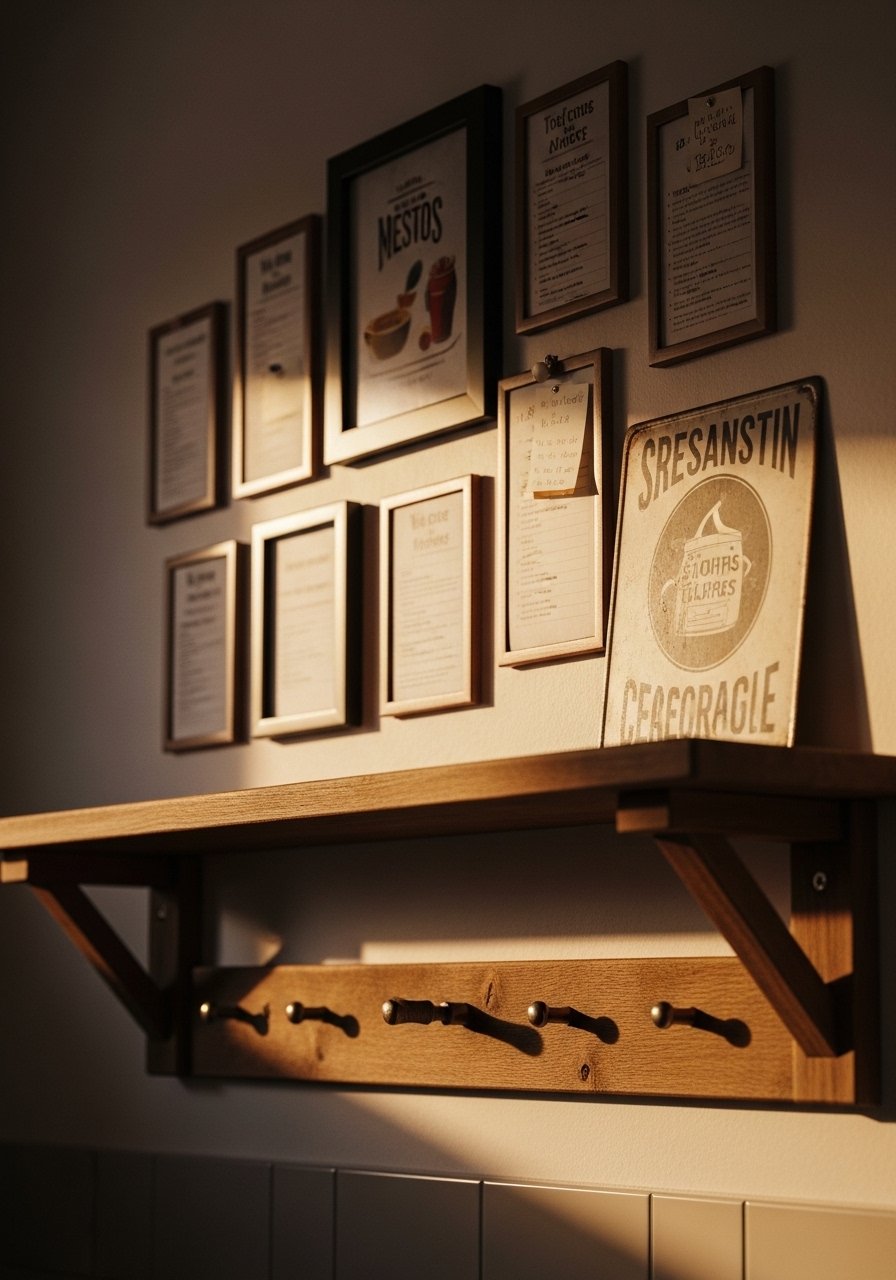
I framed my grandmother’s recipes in 5×7 frames and suddenly the kitchen felt like her home. Group these near the stove or over a small breakfast table. Keep spacing tight, about 1.5 inches, and use cream mats to keep fragile paper from touching glass. Budget under $40 if you scan and reprint. A common mistake is framing originals directly to glass. Use mats or archival corners to avoid sticking. Small frames like 5×7 vintage-style frames work perfectly.
Mirrors Mixed With Art To Brighten A Dark Corner
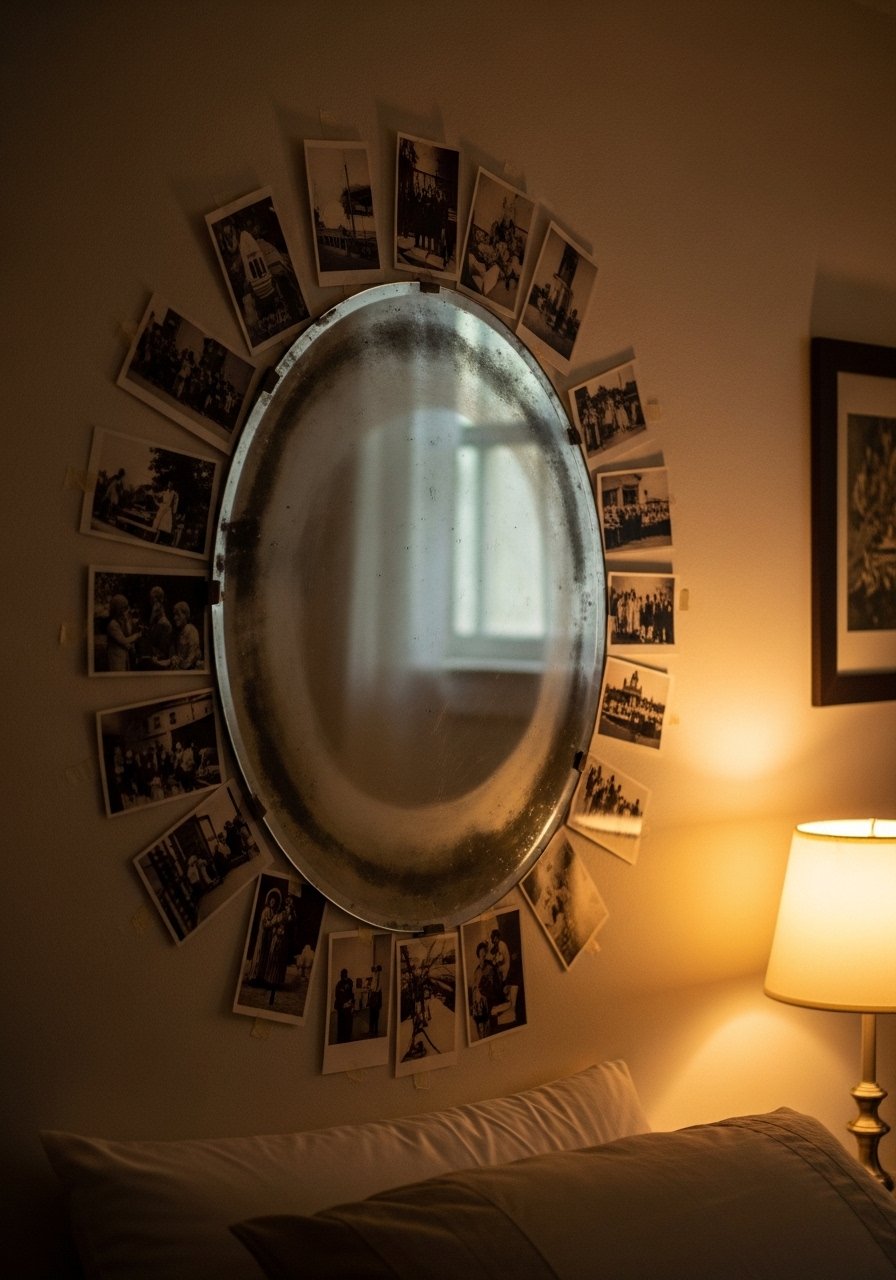
I added three small mirrors into a gallery and it solved a dim hallway instantly. Mix small mirrored pieces with framed prints to bounce light and add depth. Keep mirror sizes varied and avoid placing mirrors directly across from a cluttered view. Budget: under $50 for two small mirrors. Most people place mirrors too high. Hang so the top third of the mirror is at eye level when standing. Try small round decorative mirrors.
All-Black Frames For A Clean Vintage Look
An all-black frame gallery reads classic and modern at once. I used black frames with off-white mats to make even colorful prints feel cohesive. Limit frame styles to two at most. Budget: $60-120 depending on frame sizes. Mistake to avoid: mixing glossy and matte frames, which can look accidental. Black wood frames set keeps things unified.
Vintage Postcard And Stamp Grid For Small Walls
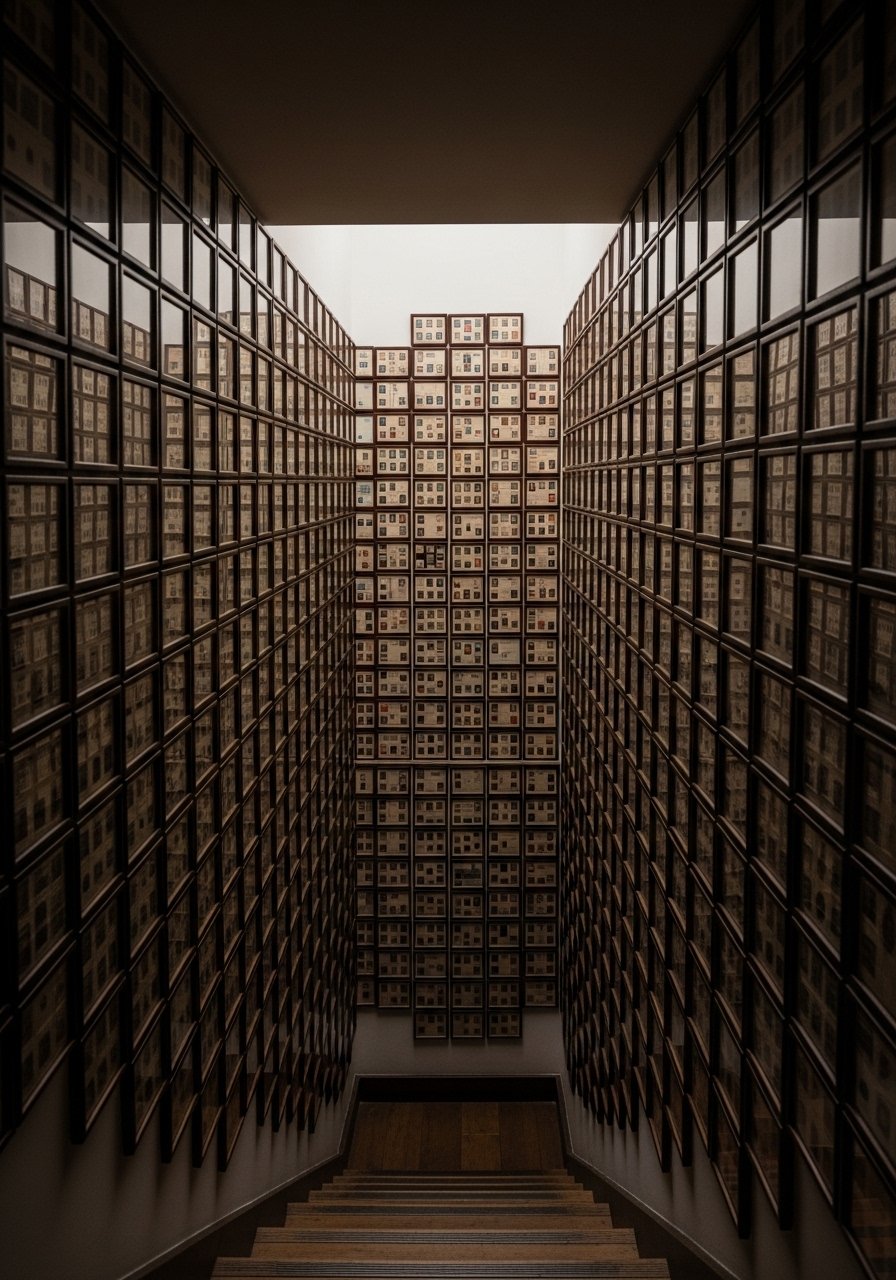
If you have a skinny wall, make a tidy grid of postcards or stamps. Use equal spacing and stick to identical frame sizes, for example ten 4×6 frames spaced 2 inches apart. Budget: under $40 if you print reproductions. People often cram too many elements; keep the grid small and intentional. I used 4×6 mat frames and a simple ruler measurement for even spacing.
Shadow Boxes For Three-Dimensional Finds
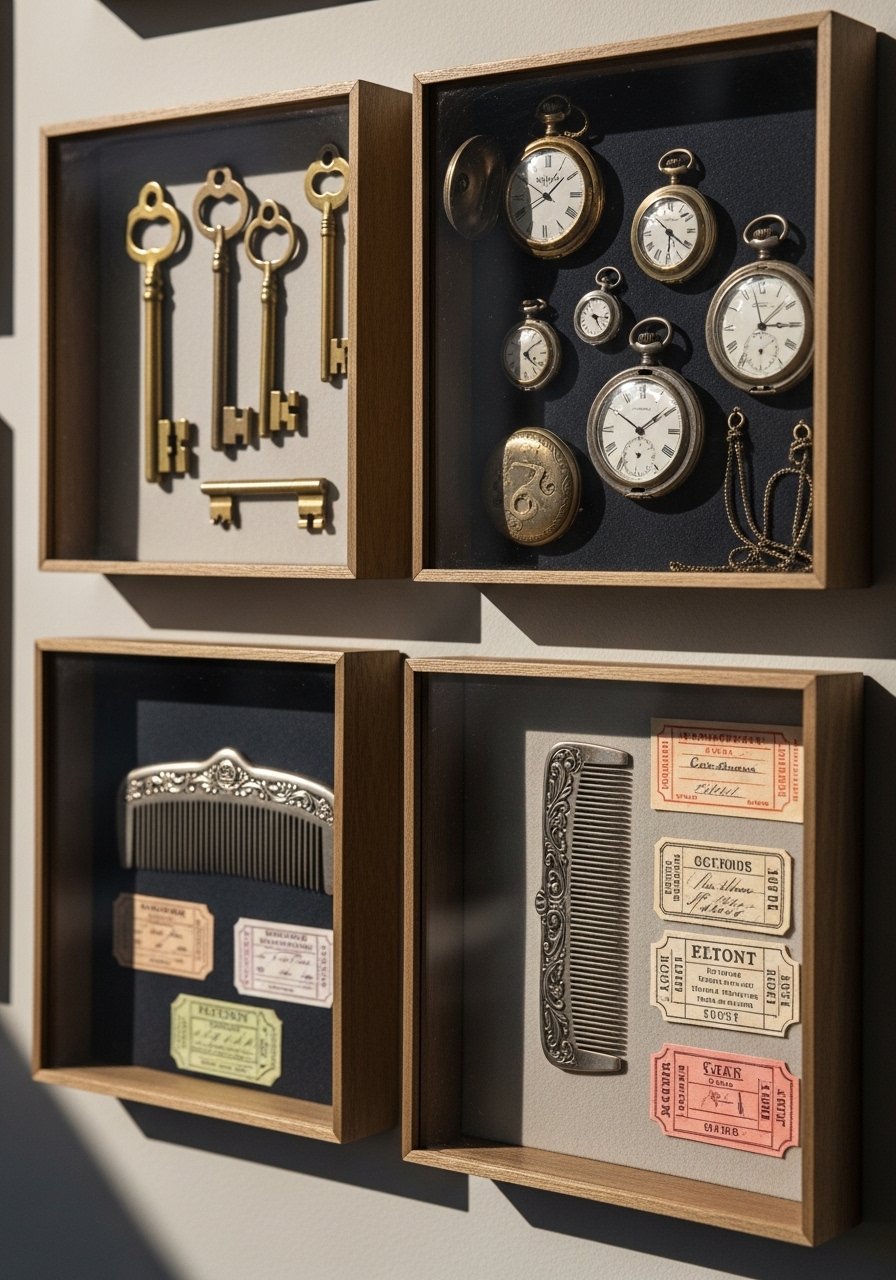
I started framing tiny finds and realized shadow boxes make a wall feel museum-level but still personal. Use 2-inch-deep boxes and arrange objects with a consistent gap from the glass so nothing looks pressed. Budget varies by size, $20-80 per box. The mistake is overstuffing. One or two objects per box reads best. Deep shadow box frames are what I used.
Framed Sheet Music And Concert Tickets For Storytelling

I framed concert tickets next to sheet music from shows my partner and I saw early on. It made our living room feel like our story. Use 11×14 frames with a 2-inch mat so the paper breathes. Budget: printing and frames about $60 total. People often scatter these items randomly. Group them to create a narrative cluster. 11×14 frames with mats make the job easier.
Oversized Centerpiece With Smaller Supporting Works
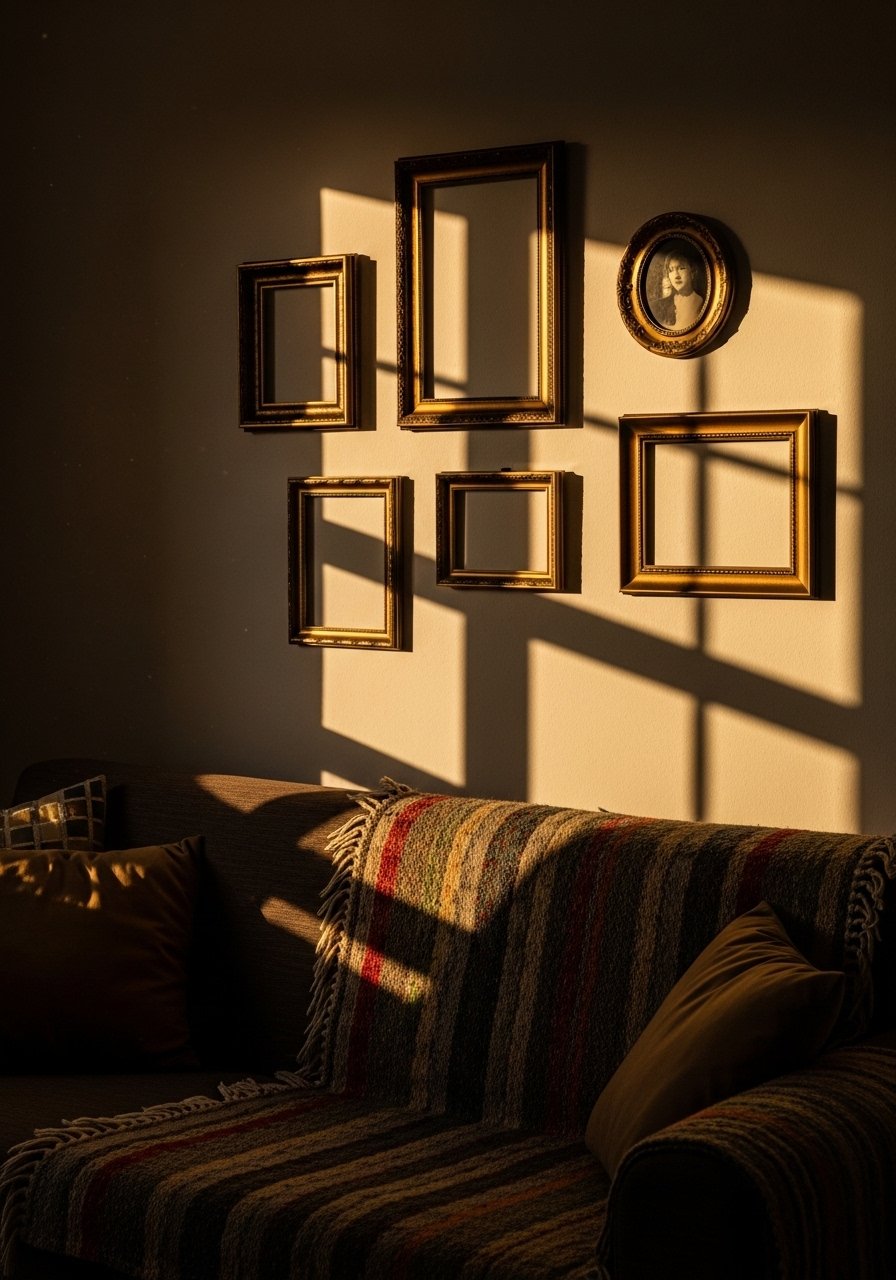
I hung a single large vintage print as an anchor and surrounded it with smaller pieces. The rule of thumb I use is a 24-inch gap from the top of the sofa to the bottom of the large frame, then 3-4 inch spacing between the surrounding frames. Budget: splurge on the big piece $100-200, keep surround pieces inexpensive. Mistake is treating the centerpiece like wall filler. Let it breathe. For the large frame I used an ornate gold frame.
Polaroid Ledge Display With Clothespins For Casual Vibes

I clipped polaroids to a string on a shallow ledge and it gave our entryway a playful, personal touch. Use small wooden clothespins and keep photos roughly 2 inches apart. Budget under $20. The mistake is using heavy frames with this look. Keep everything light and change photos often. Mini wooden clothespins made it simple.
Vintage Labels And Advertising Prints For Color Pops
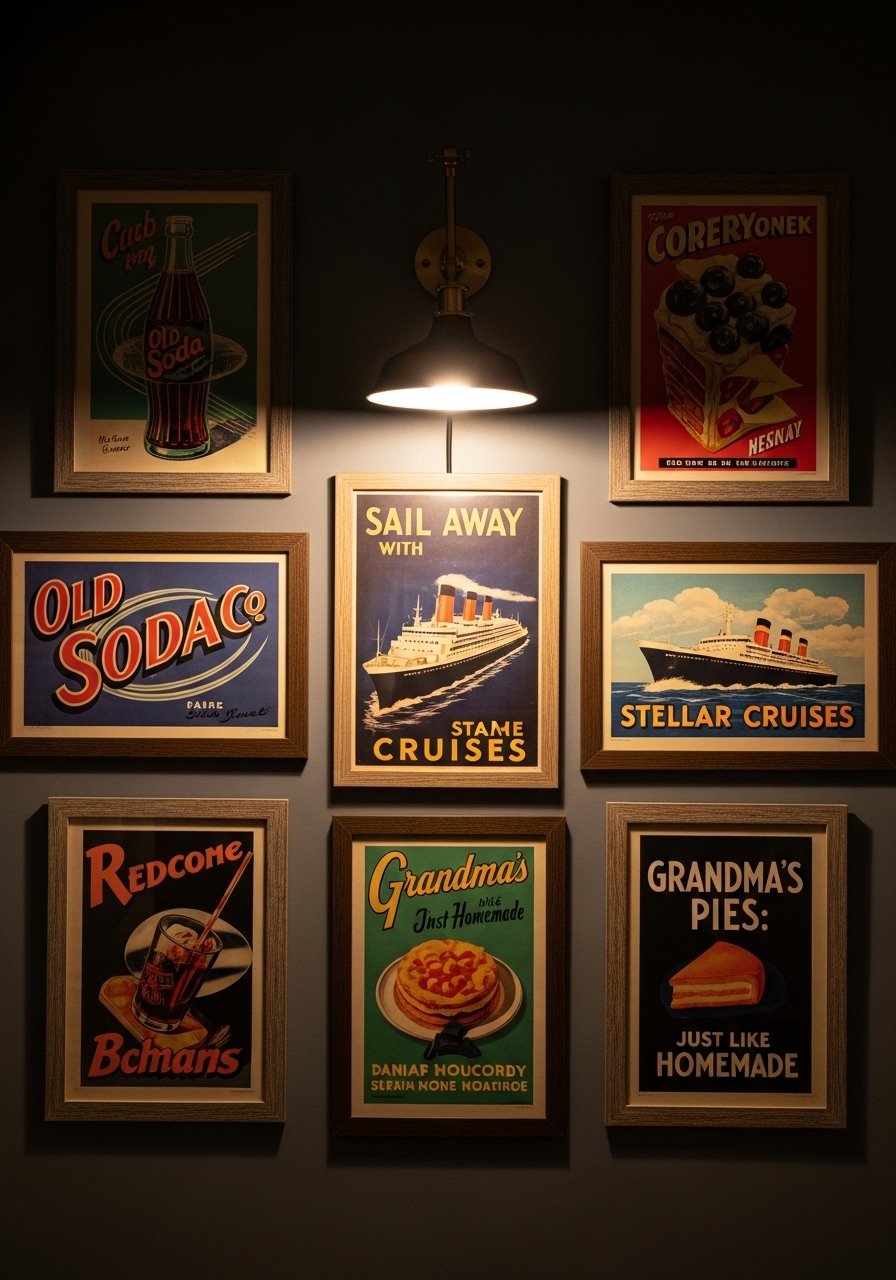
I collected reproduction ad prints and framed them in thin black frames to add color without overwhelming. Using a tight, consistent grid keeps the look polished. Budget under $60 if you print reproductions. A common mistake is mixing modern fonts with actual vintage type. Stick to era-appropriate reproductions for authenticity. Try vintage advertising print set.
Curated Minimal Vintage With Neutral Palette And One Accent
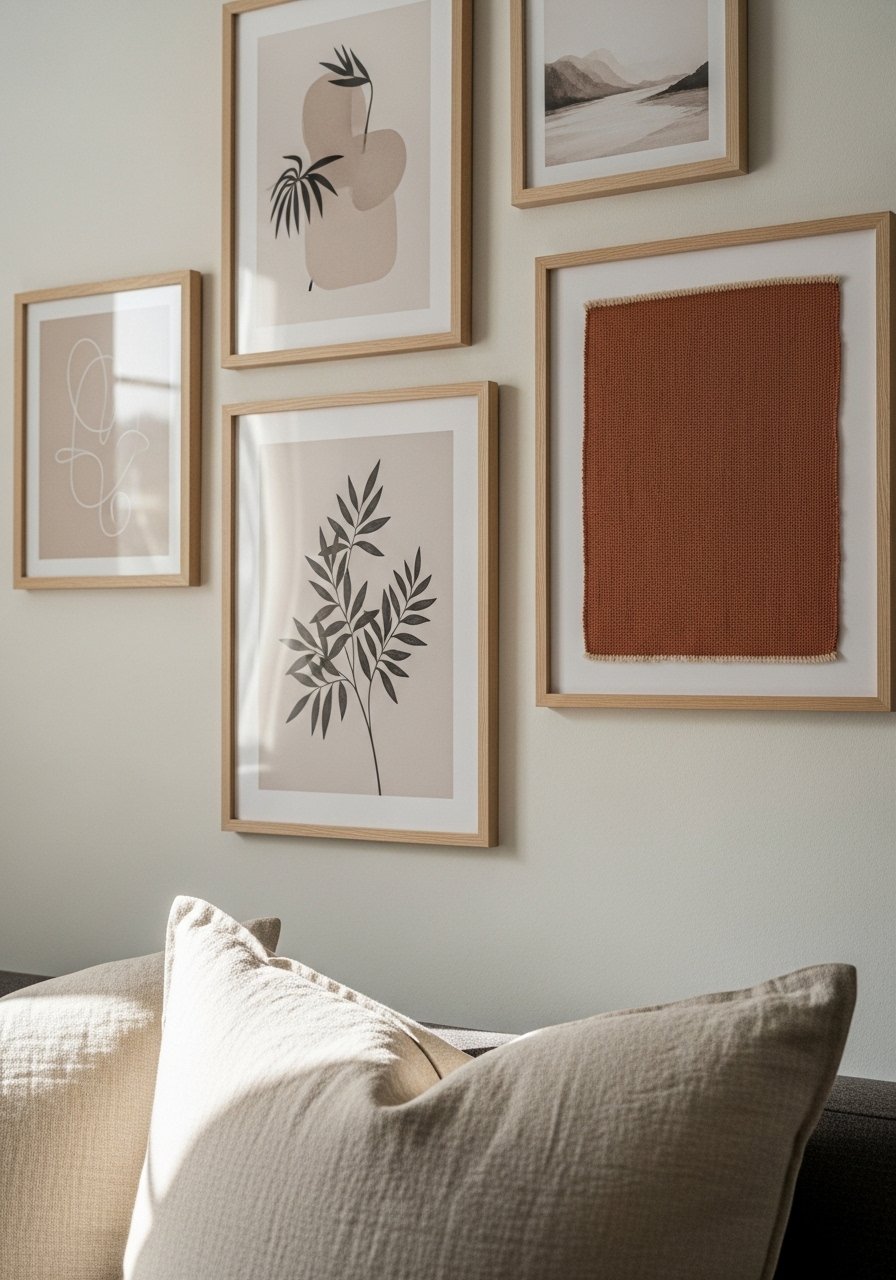
I went minimal by choosing neutral prints and adding a single rust textile to tie to a pillow. I worked with an 80/20 color ratio, where 80 percent is neutrals and 20 percent is the accent color. The result feels edited and lived-in. Budget: under $100 total. Mistake to avoid is adding multiple accent colors; that dilutes the vintage feel. Pair this with a linen rust pillow cover to echo the accent tone.
Gallery Wall Built Around A Small Plant For Scale
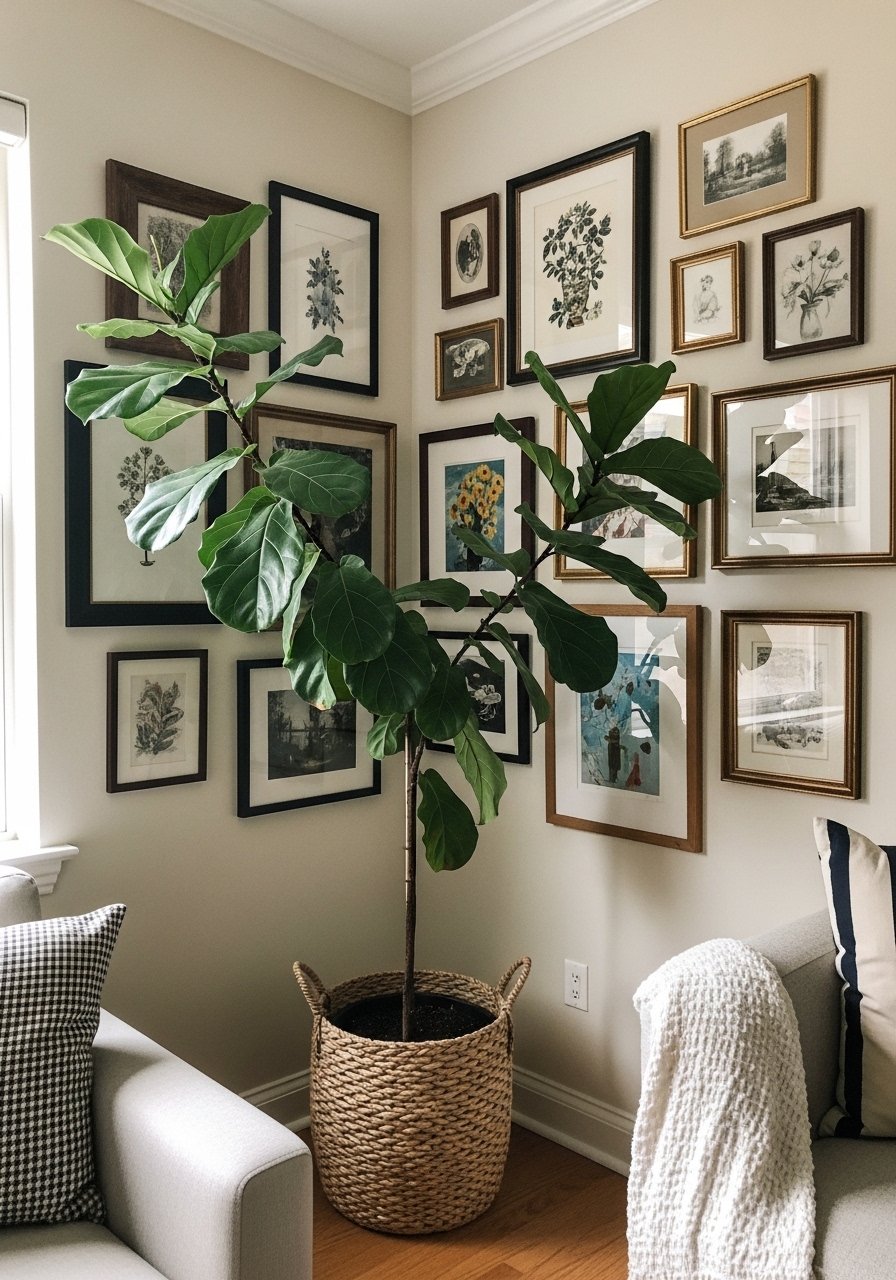
I used a tall plant as a living anchor and arranged small frames around its silhouette. One single 6-foot fiddle leaf fig has ten times the visual impact. The plant adds organic scale and hides any awkward gaps. Budget: $60-150 depending on plant choice. People forget scale and end up with a top-heavy arrangement. Make sure at least one large element balances the cluster. I used an artificial fiddle leaf fig 6ft in a spot where natural light is weak.
Your Decor Shopping List
Textiles
- Honestly the best $40 I have spent. Linen rust pillow cover 20×20 in a warm tone for that small accent
- Chunky knit throw in cream (~$35-55). Drape over the sofa arm for instant warmth
Wall Decor
- Brass picture ledges 3-inch depth (~$40-70) for easy swapping; similar at Target
- Ornate gold frame 24×36 ($$$) if you want a statement anchor
Frames & Protection
- 8×10 mats pack, cream for cohesive presentation
- 5×7 vintage-style frames set for small recipe and ticket displays
Hardware & Tools
- Plate hangers set (~$10-20) for ceramic galleries
- Deep shadow box frames set for three-dimensional keepsakes
Plants
- Artificial fiddle leaf fig 6ft for scale without upkeep, similar options at HomeGoods
Budget Finds
- Mini wooden clothespins and string (~$8) for polaroid displays
- Vintage advertising print set printable pack cheap and high impact
Shopping Tips
White oak beats dark wood in 2026. Design feeds have shifted completely. White oak floating shelves look current, not dated.
Grab brass picture ledges for $40. Swap art seasonally and your wall always feels edited.
Curtains should puddle or kiss the floor, never hang halfway up. 96-inch linen panels are right for standard 9-foot ceilings.
Lead with one oversized piece, then buy small. Ornate 24×36 frame anchors everything, and it is worth splurging if the rest is thrifted.
Frequently Asked Questions
Q: How high should I hang a gallery wall above a sofa?
A: Aim for the bottom of the lowest frame to be about 8 to 10 inches above the sofa back. If your sofa has high arms, go 12 inches. Keep the whole cluster centered over the sofa cushion, not the sofa frame.
Q: Can I mix real and reproduction vintage pieces?
A: Yes. Mix originals with prints to avoid risking fragile originals. Use mats and archival sleeves for paper. For expensive originals, buy a reproduction to hang and keep the original stored safely.
Q: What is a simple layout if I am afraid to arrange frames on the wall?
A: Use picture ledges so you can play with placement on the floor first. Alternatively, trace frames on kraft paper and tape the templates to the wall until you like the arrangement.
Q: Should I match frame styles or mix them?
A: Mix but limit to one dominant finish and one accent finish, like 70/30. Too many finishes makes the gallery look scattered. Mixed metal frames help you test combinations.
Q: Can I hang heavy items like plates or shadow boxes on drywall?
A: Yes, with the right hardware. Use wall anchors rated for the item’s weight or find a stud. For items under 15 pounds, heavy-duty anchors are usually fine. Plate hangers and proper anchors will keep things secure.
Q: How do I make a gallery feel vintage without it looking cluttered?
A: Limit your color palette, use consistent mats, and pick one statement piece to anchor the group. Negative space matters. A tidy grid or a centered oversized print with smaller supporting frames will feel curated rather than messy.
