

My living room had nice furniture and decent lighting but it still felt like a waiting room. Took me embarrassingly long to figure out it was missing texture and small functional fixes that make life easier. One key holder fixed a week of morning panic. Below are easy build ideas I actually made or helped friends make, with real measurements and renter-friendly swaps.
These ideas lean modern farmhouse and budget boho. Most items are under $50, with a few splurges around $100. Works for narrow entryways, mudrooms, laundry rooms, or a bedroom wall that needs a small practical touch.
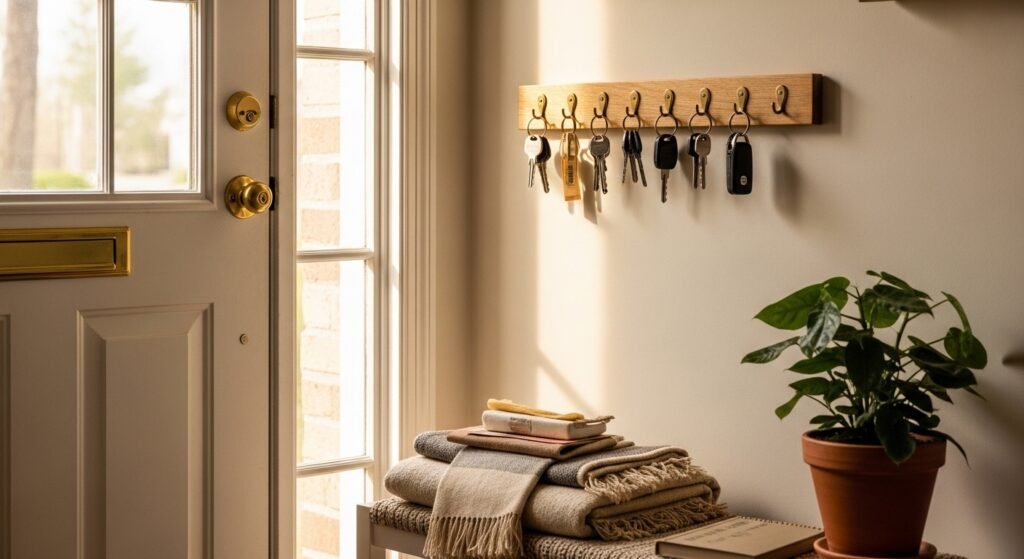
Rustic Fence Paling Hook Board for Entryways

I built this from a fence paling cut to 35 cm long so it fits nicely beside any door without bumping past the trim. Stain first, sand lightly for a distressed look, then shellac for a scratch-resistant finish that survives dog noses. I spaced five brass hooks about 2.5 inches apart so keys do not bunch. For renters, use heavy-duty Command strips instead of screws. A common mistake is skipping pilot holes which splits the paling, so pre-drill shallow holes before screwing hooks. I used brass screw-in hooks and a cheap $5 hand saw from the hardware store.
Budget Dollar Store Shelf Rack for Small Halls
The whole thing cost under $8 when I did it. Paint a small shelf, glue a patterned scrapbook paper to the back, and add removable hooks so you can change colors easily. Use lightweight hooks for keys and one small tray on top for sunglasses. People tackling entryway fixes way more this year, so this is a quick win. The trap is using cheap plastic hooks for heavy key rings. Swap them for metal command-style hooks or screw-ins if you own the wall. I grabbed removable adhesive hooks and a small shelf from the craft aisle.
Distressed Pine Wall Plaque with Cup Hooks

Use a 3 3/8 by 8 3/4 inch pine board to make a compact plaque that will sit under 14 inches wide without overwhelming the wall. Sand smooth before staining to avoid blotches, stain, then distress sand again for a lived-in finish. Drill pilot holes just deep enough for the cup hooks so the wood does not split. I like brass cup hooks because they hold weight and look warmer than chrome. A rookie move is painting after you attach hooks; paint or stain first and let dry one hour before hardware. Pick up pine boards pre-cut and cup hooks.
Newspaper Weave Boho Holder for Zero Waste Styling
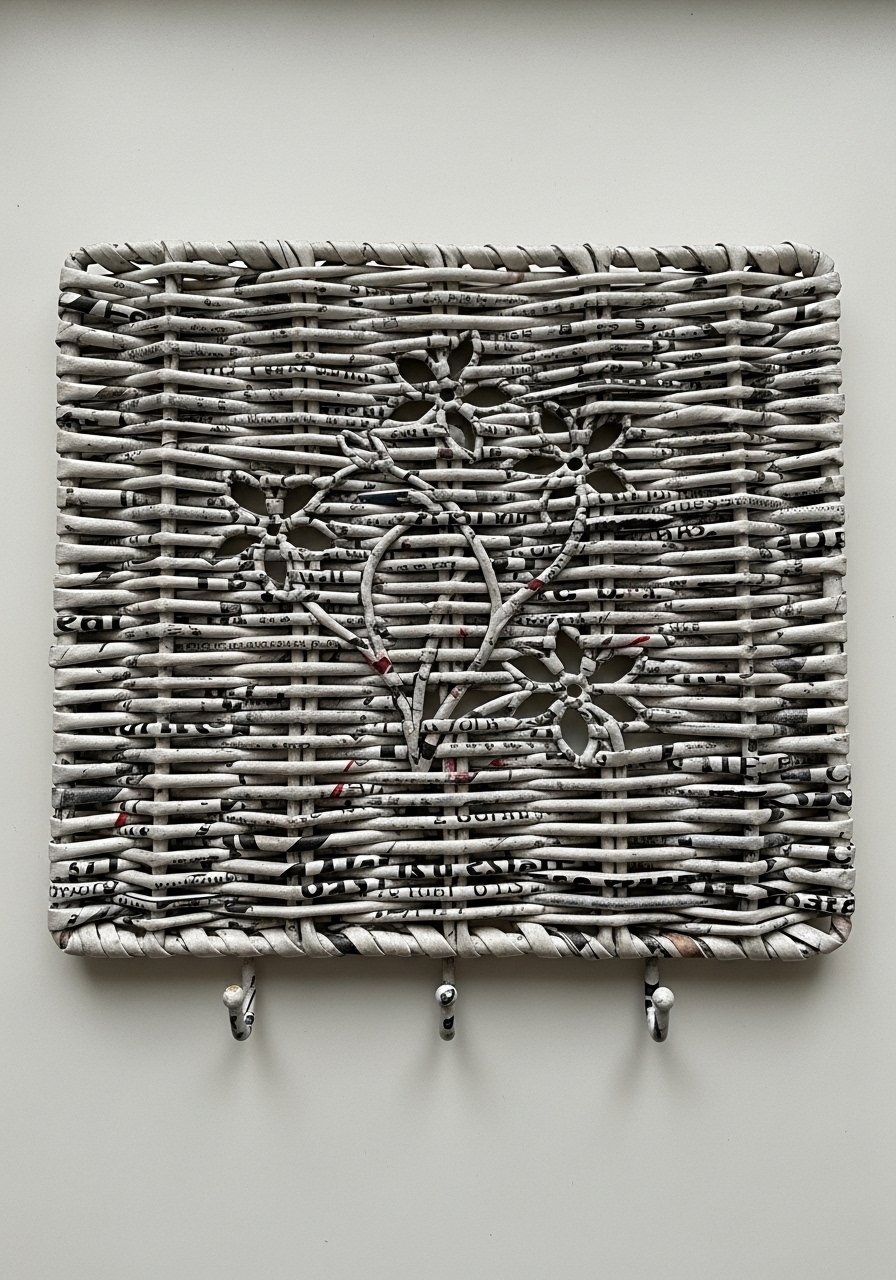
This quirky weave is a weekend project that uses rolled newspaper tubes glued into a flat plaque, then sealed with mod podge for durability. Add small metal hooks inside the weave, and hang with picture wire or Command strips. Most folks hunt for keys couple times a week, so giving them a textured, visible spot helps more than a hidden drawer. Common fail is skipping the seal coat so the weave frays. I used mod podge and finished edges with a clear spray, then added small brass hooks.
Simple Poplar Frame Key Station with Mail Slot
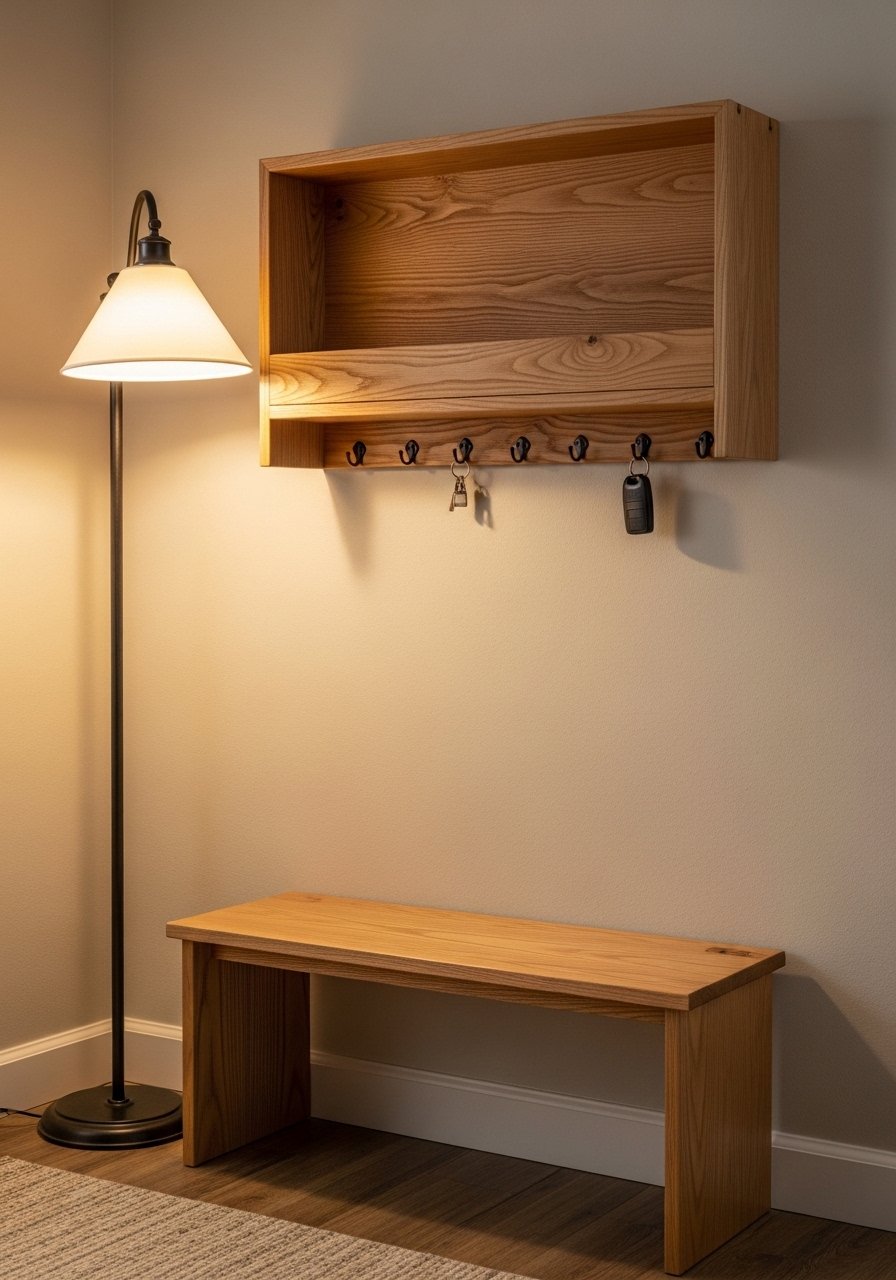
This feels built-in without heavy carpentry. Use two 1/2 by 6 by 3 poplar boards for top and bottom and a shallow shelf for mail. The slim profile takes little visual real estate in a hallway and fits a family of four. Space hooks 2-3 inches apart. Add two framing hooks on the back to prevent tilt, and you can hang it on drywall safely. A common mistake is screwing hooks into the thin shelf edge, which pulls out. Drill pilot holes and attach hooks into solid top board. I used poplar trim pieces and framing hangers.
Beaded Personalized Keychain Organizer for Families

This is my go-to when I help friends with kids. One charm or bead color per person stops the "whose key is this" panic. Make head-pin charm chains with glass beads and jump rings and hang them on small pegs or cup hooks. For households with kids, place the lower hooks at child height and use kid-proof spacing so rings do not tangle. A detail most articles skip is how bead caps hide the hole on large beads and make charms last longer. I bought glass bead kits and jump rings to assemble.
Whitewashed Pallet Sign for Dark Hallways
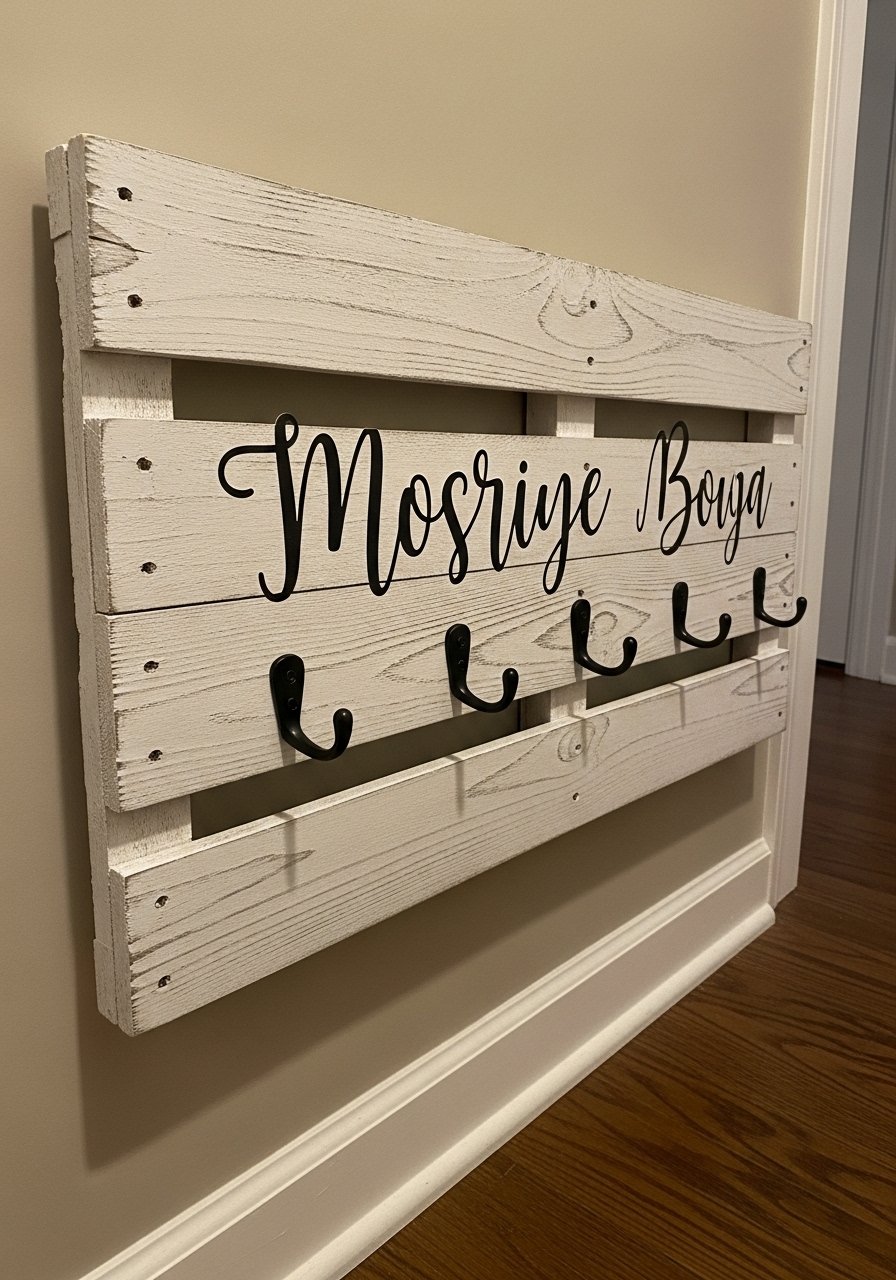
Whitewashing brightens narrow entryways and hides scuffs. Mix one part white paint with three parts water, brush on, then wipe back to reveal grain. Cut a pallet scrap to 12 inches wide for a compact board, then add four hooks. Use picture hangers or Command strips if you are renting. Don’t skip sanding first, or the whitewash soaks in unevenly. I like whitewash paint in a sample size and black screw hooks.
Stained Oak Entry Plank for Industrial Vibes
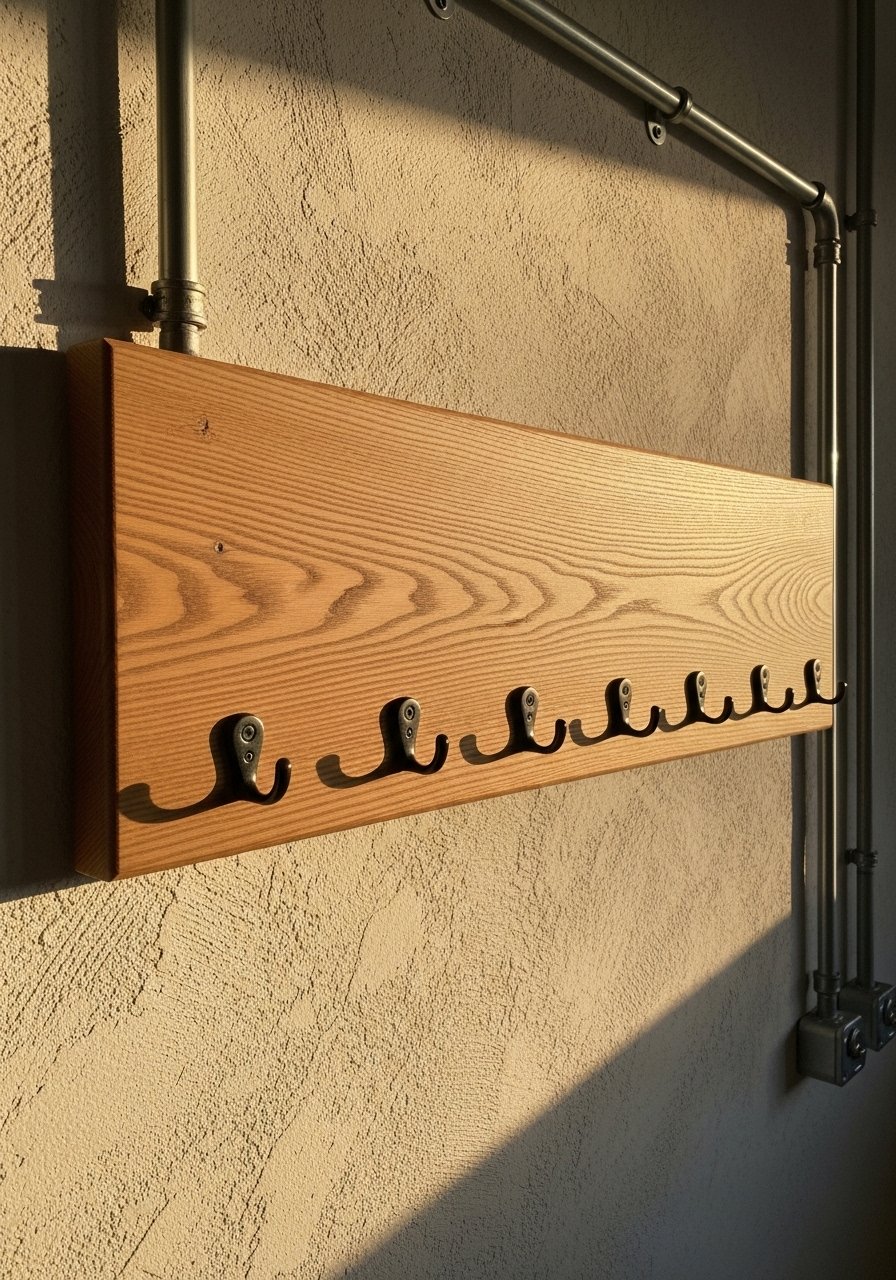
Oak warms up a modern entry and handles daily wear. Use a 1/2 by 6 by 18 oak board, stain to taste, then finish with a protective coat. Six cup hooks spaced 2-3 inches apart handle multiple rings. Drill pilot holes and use two mounting hangers on the back. I always recommend shellac top coat if you have pets, because it resists scratches better than plain varnish. Over half go for wood key spots these days, so this look stays relevant. I used Minwax stain and oak planks.
Scrap Wood Letter Board for Personalized Entry

A letter board made from scrap wood gives you personality without bulk. Glue lightweight letters or paint them, then add hooks along the bottom. It creates a focal point above a slim console or a tiny shelf. Don’t make letters too large or the hooks will be crowded. A useful measurement is 3 inch letters on an 8 inch board. For renters, hang with two Command picture strips. I used wood letters.
Weathered Cedar Strip for Humid Entries

Cedar resists humidity so it works well near mudrooms or laundry rooms. Cut a cedar fence picket to 14 inches high, leave the surface lightly sanded but not sealed for that weathered look. Attach rustic iron hooks and mount with picture hanging hardware. Leave space between hooks so heavy key rings do not rub paint on the wall. A common mistake is sealing cedar too glossy; a light oil keeps the scent and resists marks. I picked up cedar pickets and rustic iron hooks.
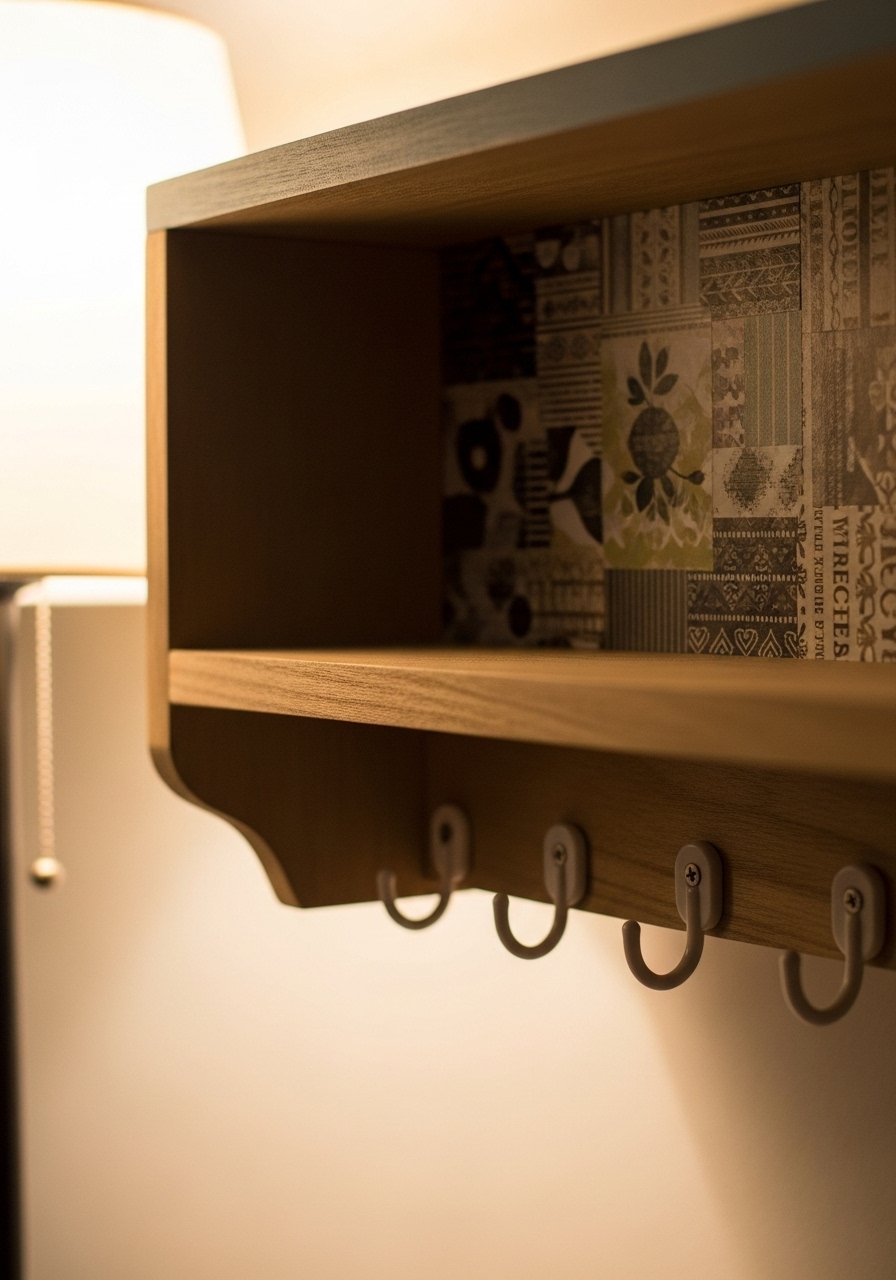
Mixed Media Plaque with Scrapbook Backing

This is fast and looks layered in real life because of paper texture. Mod podge the paper to a small shelf, add trim, and install hooks. The benefit is you can match wallpaper or textiles without repainting. Avoid using too heavy a paper which can peel. Seal the paper with water-based sealer and add framing hangers on the back. A trick I use is to measure hook spacing at 2-3 inches so keys hang without bunching. Try scrapbook paper packs and mod podge.
Slim Poplar Mail and Key Combo for Narrow Walls

This design is for narrow entryways where horizontal space is precious. Use a 1/4 by 3 by 36 poplar base and a small shallow shelf for envelopes. Hooks should be on the lower edge and spaced 3 inches apart to avoid tangles. For renters, hang using no-screw hangers. People with tiny entries love this because it keeps mail and keys in one vertical zone. Avoid making the shelf too deep or it will jut into the walking path. I used poplar shelf boards.
Bead Cap Charm Board for Sorting Family Keys

This is the kid-friendly version of a charm board. Attach small pegs or cup hooks and give each family member a bead-capped charm on a split ring. Labeling is optional but helpful for kids. A detail many miss is using bead caps to protect the thread and keep beads from wearing. Mount the lowest peg at kid height so little ones can hang up their own keys. I bought bead cap assortments and split rings.
Mason Jar Drop Station with Key Hooks
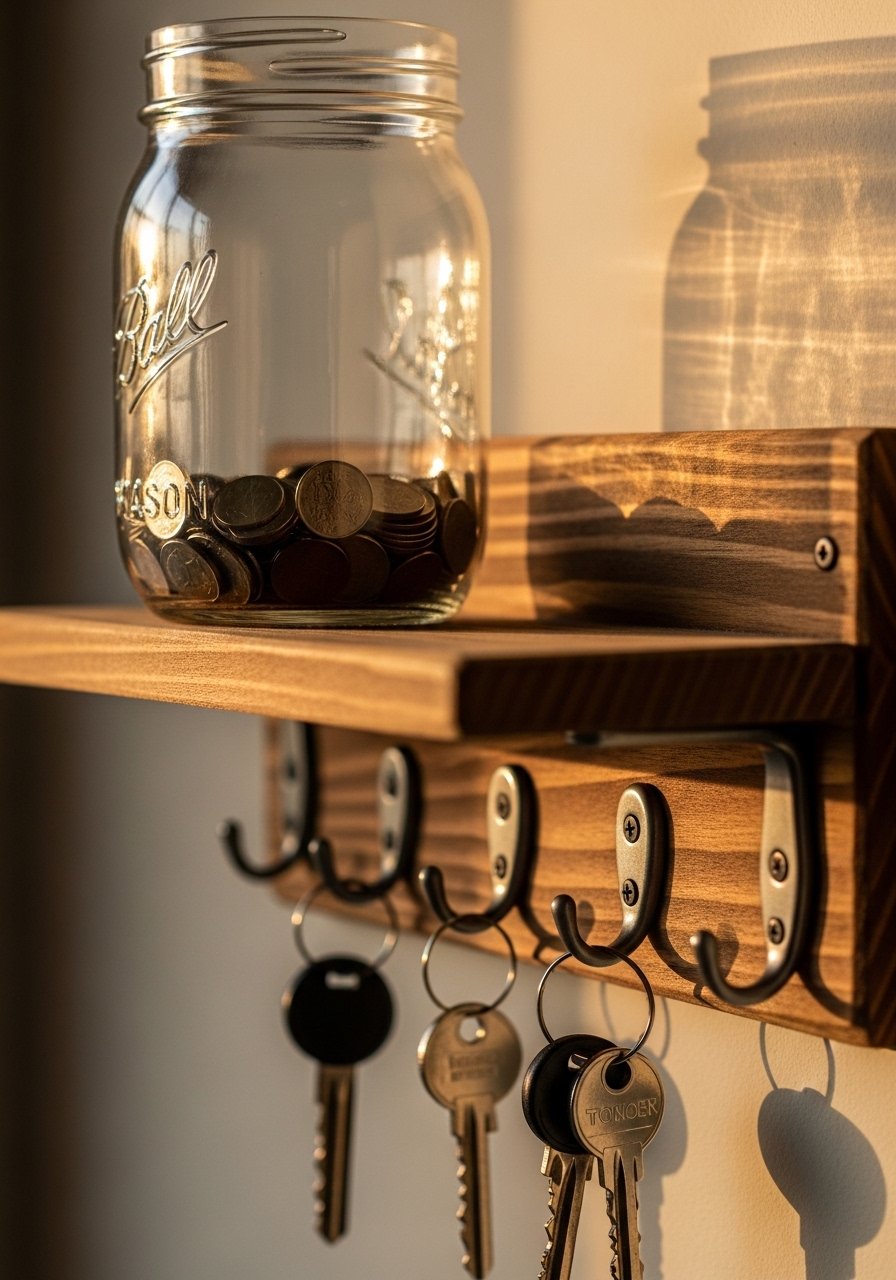
Love this because it catches loose odds and keeps keys visible. Attach a small shelf, screw mason jar lids to the underside for jars, and add hooks in front. The jar handles wallets, receipts, and loose coins while hooks keep keys accessible. Drill pilot holes for jar screws and hooks so nothing loosens. If you rent, set the shelf on a ledge or use adhesive strips for light loads. I used mason jars with lids and small wall hooks.
Magnetic Key Strip for Minimalist Kitchens
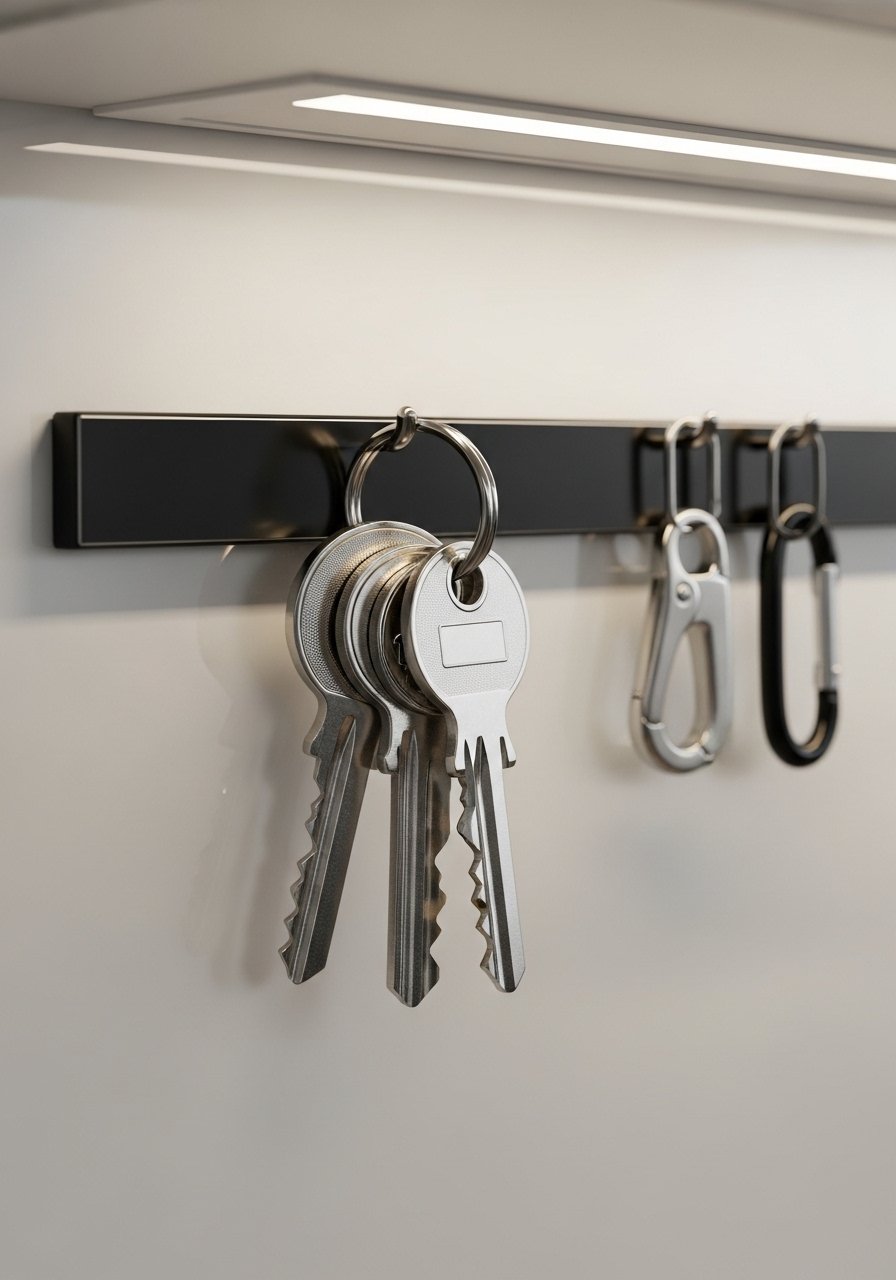
Magnetic strips are a minimalist shortcut. Mount one on the backsplash or inside a cabinet door to keep keys out of sight. Test magnet strength with your heaviest key ring before final mounting. Use two mounting points so it does not tilt under weight. A pitfall is thinking all magnets hold the same weight; check packaging for weight ratings. For renters, stick to adhesive-backed magnetic strips. I used heavy-duty magnetic strips.
Pegboard Key Center for Custom Layouts
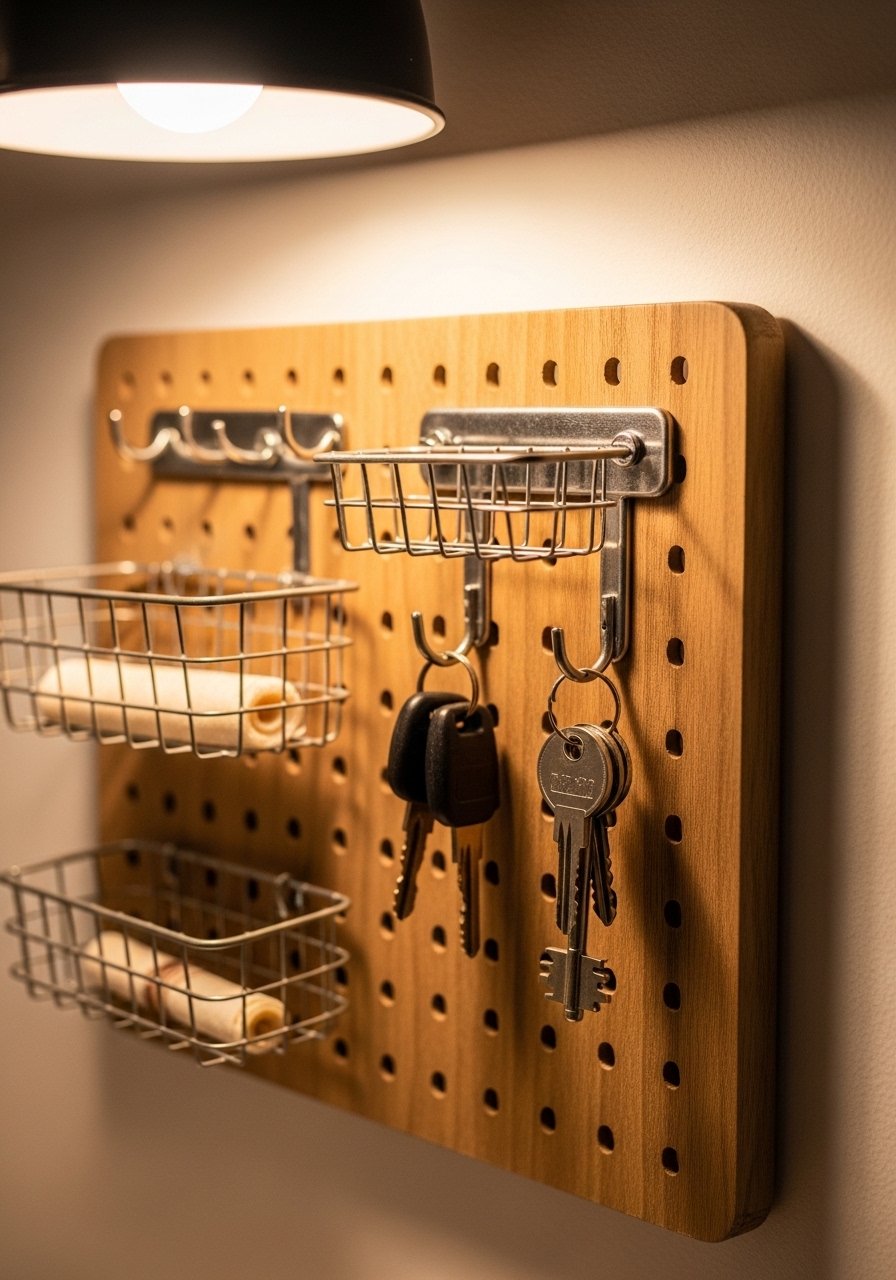
Pegboards let you rearrange as needs change. Cut a pegboard to 35 cm square if you want a compact station and use metal pegs for keys and a small basket for mail. Drill pilot holes in a wood backing before mounting to avoid splits. A mistake is overcrowding pegs so keys become hard to grab. Leave a 2-3 inch gap between key pegs. Pegboards are great in garages or mudrooms. I bought small pegboard panels and metal peg hooks.
Vintage Door Knob Hook Row for Eclectic Halls
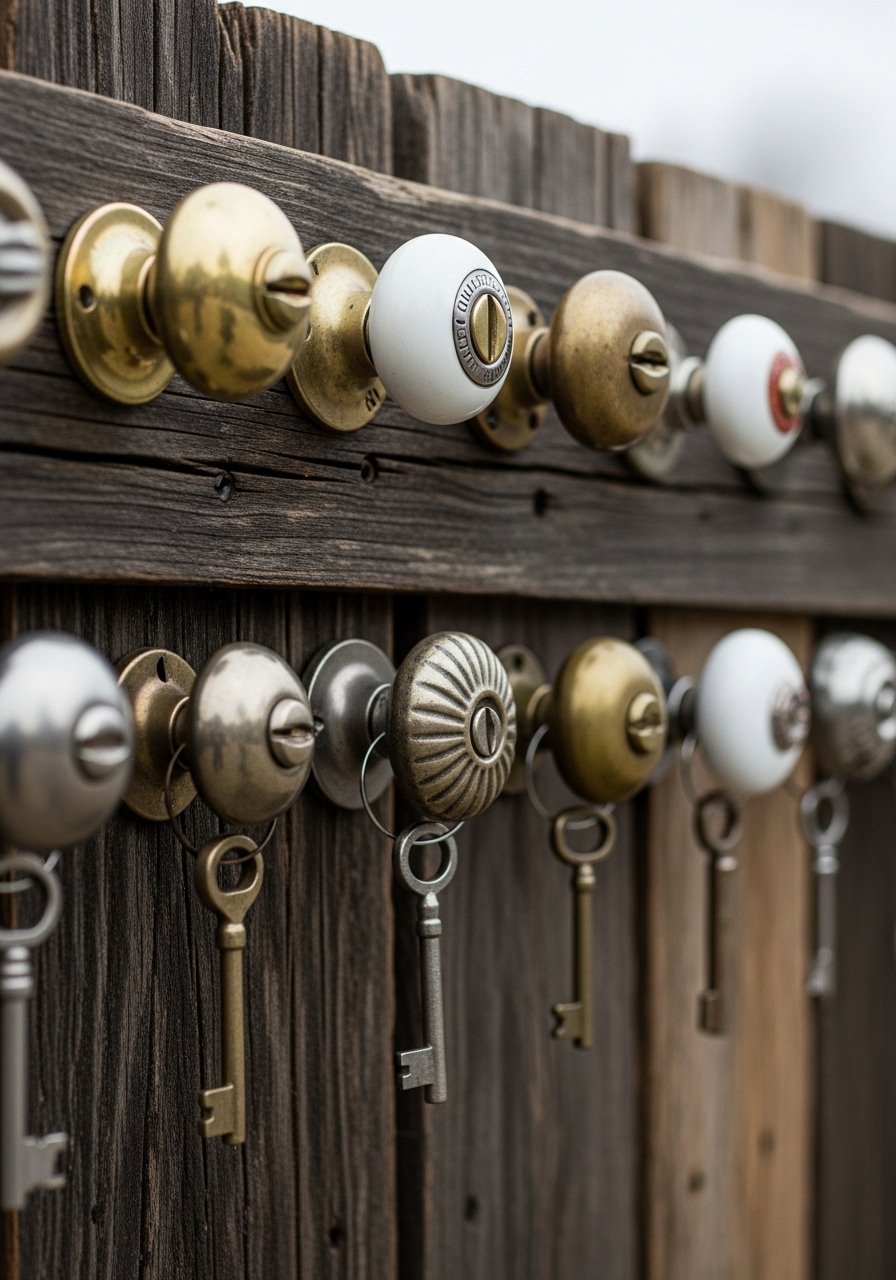
Screwed-on antique door knobs make charming hooks. Mount them on a thin reclaimed board cut to 35 cm, spacing knobs 3 inches apart. Seal the wood with shellac if you have pets so scratches do not show. A common mistake is not anchoring heavy knobs; use small machine screws into solid wood. This one feels collected and works well near a console. I found vintage door knobs that were affordable and durable.
Ceramic Tile Hook Board with Patterned Tiles
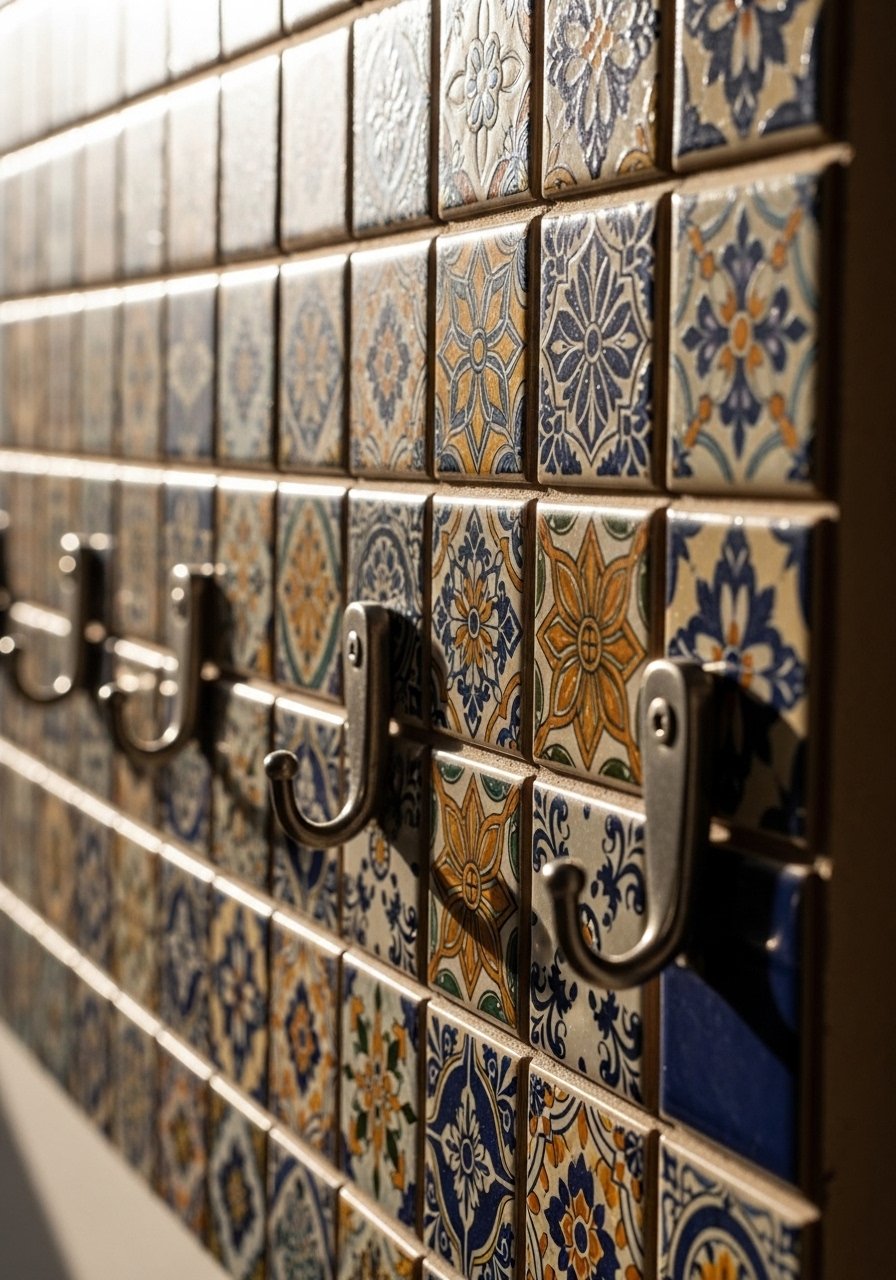
Glue decorative ceramic tiles to a backing board and fit hooks between tiles for a graphic statement. Tiles reflect light and are easy to wipe clean in messy entryways. Use a waterproof adhesive and seal grout lines with clear sealant if you expect wet hands. Drill pilot holes in the wood backing and screw into the tile with care, using rubber cushioning washers to avoid cracking. I used decorative ceramic tiles.
Floating Shelf with Key Bowl for Casual Entry

Sometimes you want keys in a bowl instead of on hooks. A shallow floating shelf with a catch-all bowl looks intentional and keeps loose items tidy. Mount the shelf at hip height so you can drop keys when you walk in. The bowl should be weighted so kids cannot knock it over. If hooks feel too permanent, this is a renter-friendly alternative using two picture hangers. I used floating shelves and small catch-all bowls.
Chalkboard Key Station for Changeable Notes

This doubles as a message center for quick notes and a key station. Paint a small board with chalkboard paint, add hooks below, and leave chalk within reach. A tip I use is to whitewash the frame so the board reads as a design element. Avoid using too many hooks which crowds notes and keys. Mount with two hangers so the board stays level. I picked up chalkboard paint and small wall hooks.
Vertical Slim Rack for Tiny Corners

If you have practically no horizontal wall space, go vertical. A 14 inch tall, 3.5 inch wide strip with three hooks stacked vertically uses corner space efficiently. Mount it with two screws or heavy-duty Command strips for renters. The specific detail many miss is keeping the rack no wider than 4 inches so it does not feel bulky. Drill pilot holes and keep hook spacing at least 3 inches to avoid bunching. This is my favorite for tiny apartments. I used thin wood strips and vertical mounting brackets.
Your Decor Shopping List
Textiles
- Small catch-all ceramic bowl in matte white (~$12). Use on floating shelf to corral keys.
- 22-inch linen pillow covers, set of 2 (~$30). Swap colors seasonally.
Wall Decor
- Pre-cut pine boards 3-3-8-by-8-3-4 inch. Exact size for compact plaques.
- Whitewash paint sample (~$8).
Hardware and Small Tools
- Brass screw-in hooks, pack of 10. These hold weight and look warm.
- Framing hangers with screws, pack of 2 (~$6).
Budget Finds
- Removable adhesive hooks, 12 pack (~$9). Great for renters.
- Mod Podge all-in-one sealer (~$7).
Crafting Extras
- Glass bead kit with head pins (~$12) for personalized charms.
- Bead cap assortment (~$5).
Shopping Tips
White oak beats dark wood in 2026. Design feeds have shifted completely. These white oak floating shelves look current, not dated.
Grab removable adhesive hooks for renter builds. They are cheap and they let you test placement before committing to screws.
For stain projects, pick a wipe-on finish and seal with shellac if you have pets or kids. Minwax wipe-on gel stain dries fast and resists scratches after shellac.
Curtain-style tip: If you are short on wall width, stack hooks vertically on a 14 inch tall strip. Thin wood strips are cheap and cut to size.
If you want a quick swap feel, buy a set of brass screw-in hooks and keep an extra pack in your drawer. Swapping hardware updates the whole look.
Frequently Asked Questions
Q: Can I make these key holders renter friendly without drilling?
A: Yes. Use heavy-duty Command strips or adhesive-backed magnetic strips for light to moderate loads. For heavier hooks, place the holder on a narrow shelf or use picture hangers that hook over the door trim.
Q: What wood size should I start with for an entry plaque?
A: Start with a 3 3/8 by 8 3/4 inch pine board for a compact plaque that holds 4 to 6 hooks. That size fits most entryways without feeling oversized.
Q: How far apart should I space hooks?
A: Space hooks 2 to 3 inches apart so keys do not bunch and you can grab one without tangling others. Measure before drilling to keep things even.
Q: Will painted key holders show wear fast?
A: They can if you use glossy paint and skip sealing. Distress sanding after stain or use a light shellac coat to hide fingerprints and scratches.
Q: Can this work for families with kids?
A: Absolutely. Use lower hooks for kids and bead cap charms to sort each person’s keys. One hook per child at reachable height helps build the habit of hanging up keys.
Q: What simple tool set do I need to start?
A: A hand saw for cutting boards, a drill with bits for pilot holes, sandpaper, and a small paint brush. You can get going for under $30 with basic tools.
Q: How do I stop hooks from pulling out of the wood?
A: Drill pilot holes and use appropriate screw length. For drywall hanging, use two framing hooks on the back to spread the load. If renting, use adhesive-backed options for light loads.
Q: Are magnetic strips strong enough for house keys?
A: Many are, but check the weight rating. Test with your heaviest ring before mounting. Adhesive-backed magnetic strips are great inside cabinets or on backsplash areas.
