

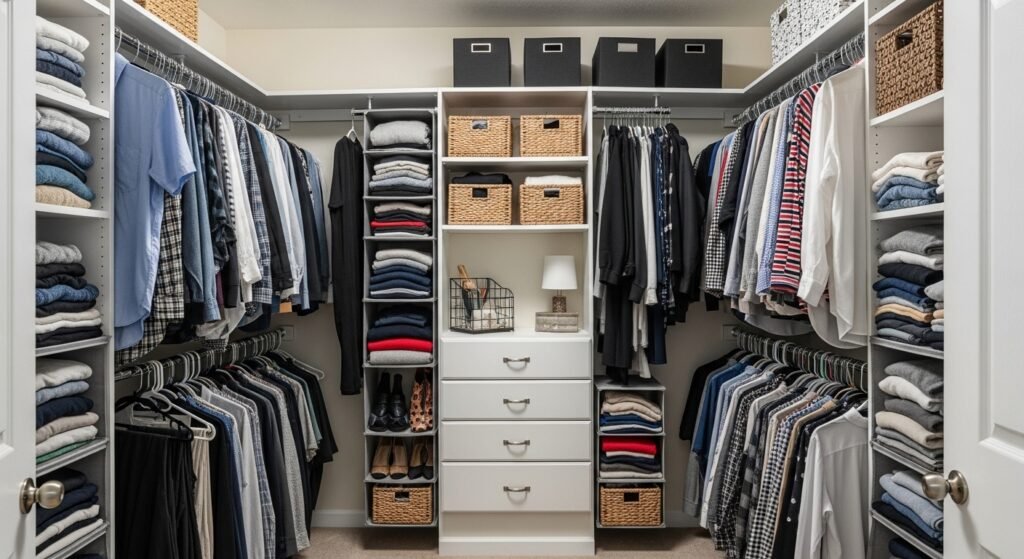
My closet used to feel like a pile. Clothes shoved to one side. Shoes scattered on the floor. I would grab the first thing and still feel like I had nothing to wear.
I learned to treat the closet like a small room. That change made a huge difference. It is about zones, scale, and one good hanger.
I keep seeing a cleaner, quieter look in closets labeled organic modern and quiet luxury. This method leans that way, while staying practical. You will end with tidy zones, visible options, and less decision fatigue.
What You'll Need
- Slim velvet hangers, set of 30 ($18-30). Same hanger equals instant visual calm
- Clear acrylic shelf dividers, set of 6 ($20-35). Keeps stacks tidy without looking bulky
- Stackable fabric bins, medium (I use neutral linen ones) ($18-35). Great for scarves, belts, and off-season tees
- Under-shelf hanging baskets, 2-pack ($12-22). They add a hidden layer of storage
- Tension closet rod ($10-25). No drilling. Works for double-hang solutions
- Label printer, small handheld ($30-60). Labels stop the "where does this go" hesitation
- Shoe organiser, over-the-door or flat stackable trays ($15-40). Keep shoes visible and off the floor
- Shelf liner, breathable, textured ($8-15 per roll). Prevents slips and adds a finished look
Step 1: Empty, Sort, and Commit to Four Piles
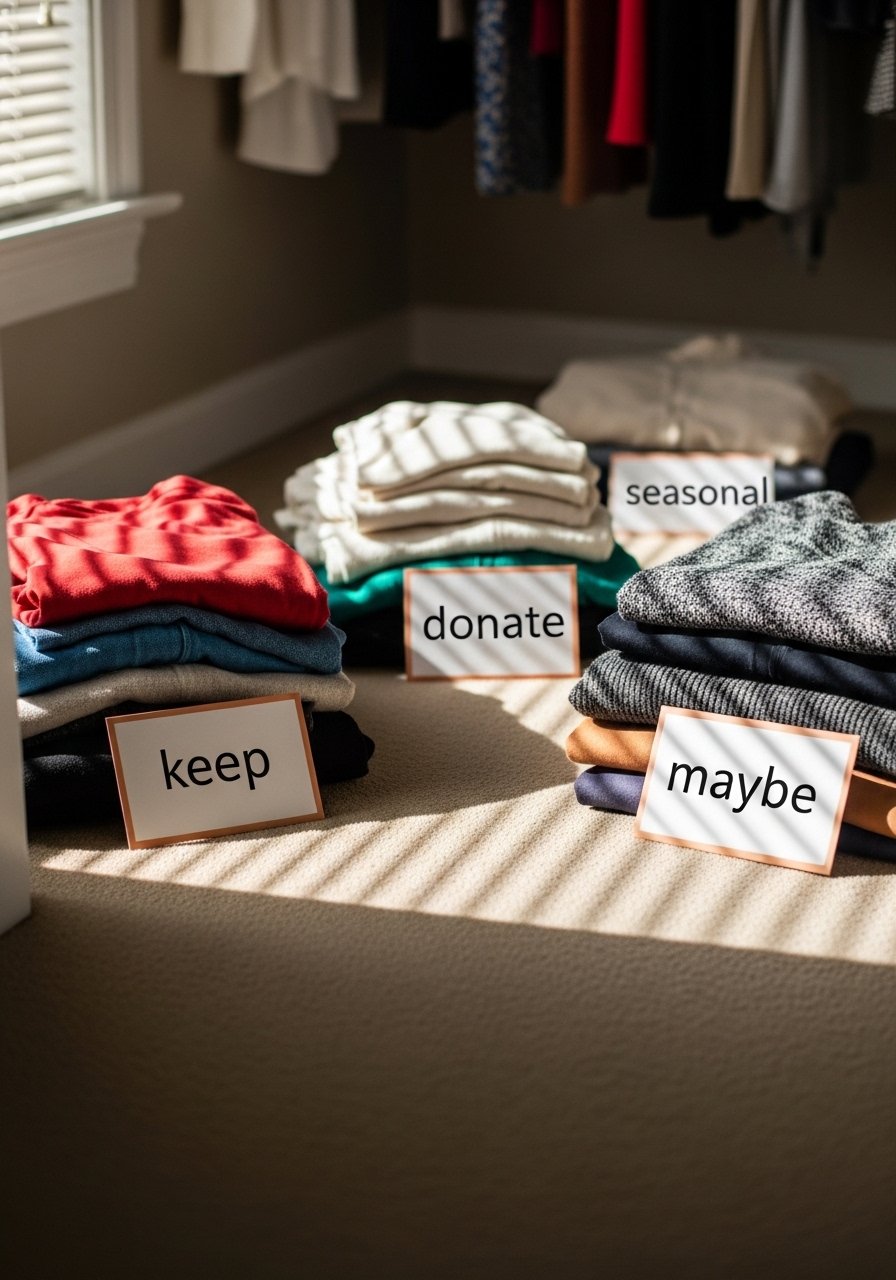
I start by taking everything out. Yes, every hanger. It forces honest choices. I make keep, donate, seasonal, and misfit piles. The keep pile is smaller than I expect. That is progress.
Visually the space goes from messy to a blank canvas. That blankness is useful. You can see how much hanging space you truly need. One insight people miss is that a crowded rod makes clothes look shabby, even if the clothes are fine.
Mistake to avoid. Do not try to reorganize while items are still in the closet. You will make decisions to hide clutter, not reduce it.
Step 2: Measure, Zone, and Install Simple Systems
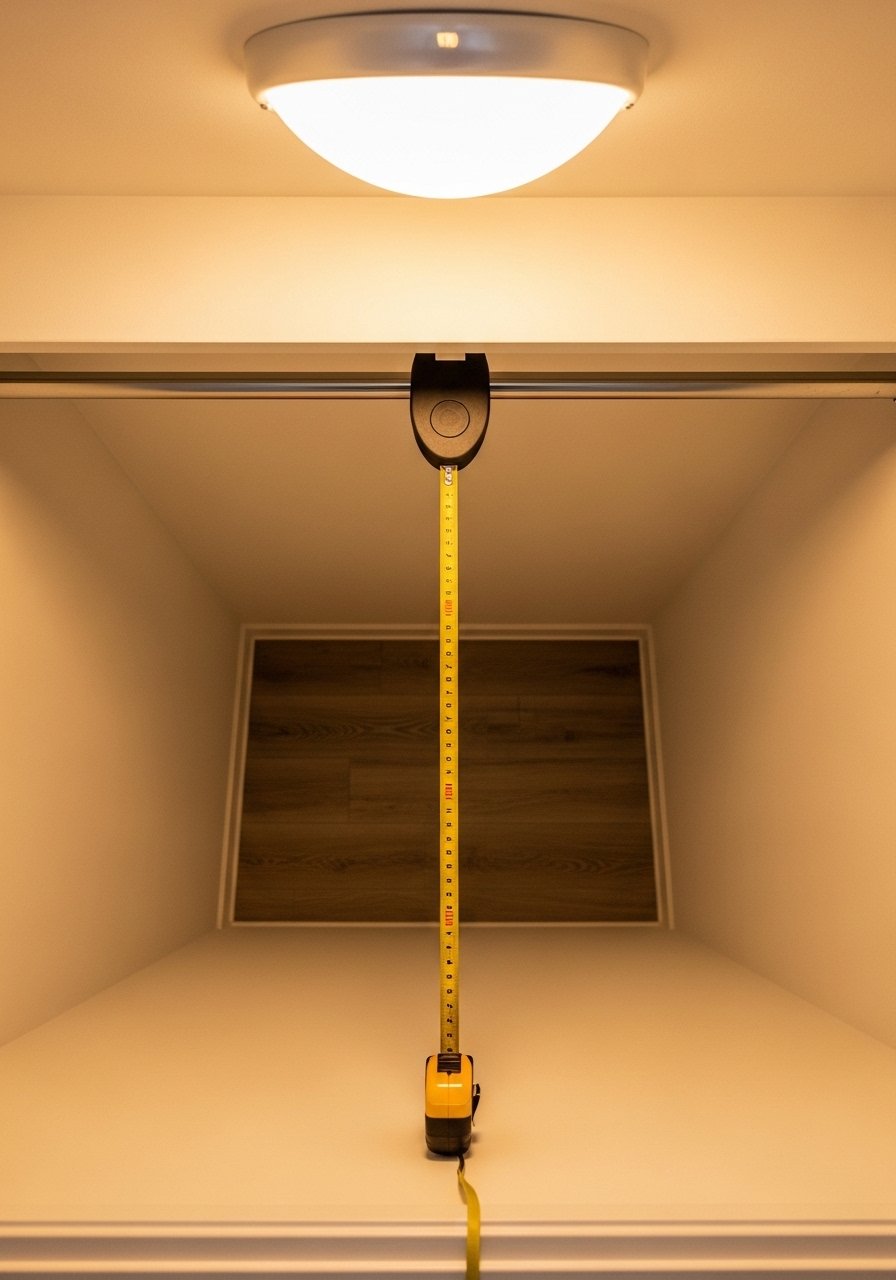
I measure vertical space and plan zones. For most closets I allow about 36 inches of vertical space per hanging zone. That fits shirts and folded pants. If you want double hanging, keep roughly 36 inches between rods. That proportion keeps things readable to the eye.
Add a tension rod for a lower zone, and slide in clear acrylic dividers on shelves. The visual change is immediate. Shelves read as neat blocks, not piles. One detail people miss is balancing open shelf space with bins. Too many bins hides everything. Too few looks chaotic.
Mistake to avoid. Do not cram tall items into short zones. If a dress brushes the floor, it will ruin the rhythm.
Step 3: Group, Stack, and Respect Negative Space
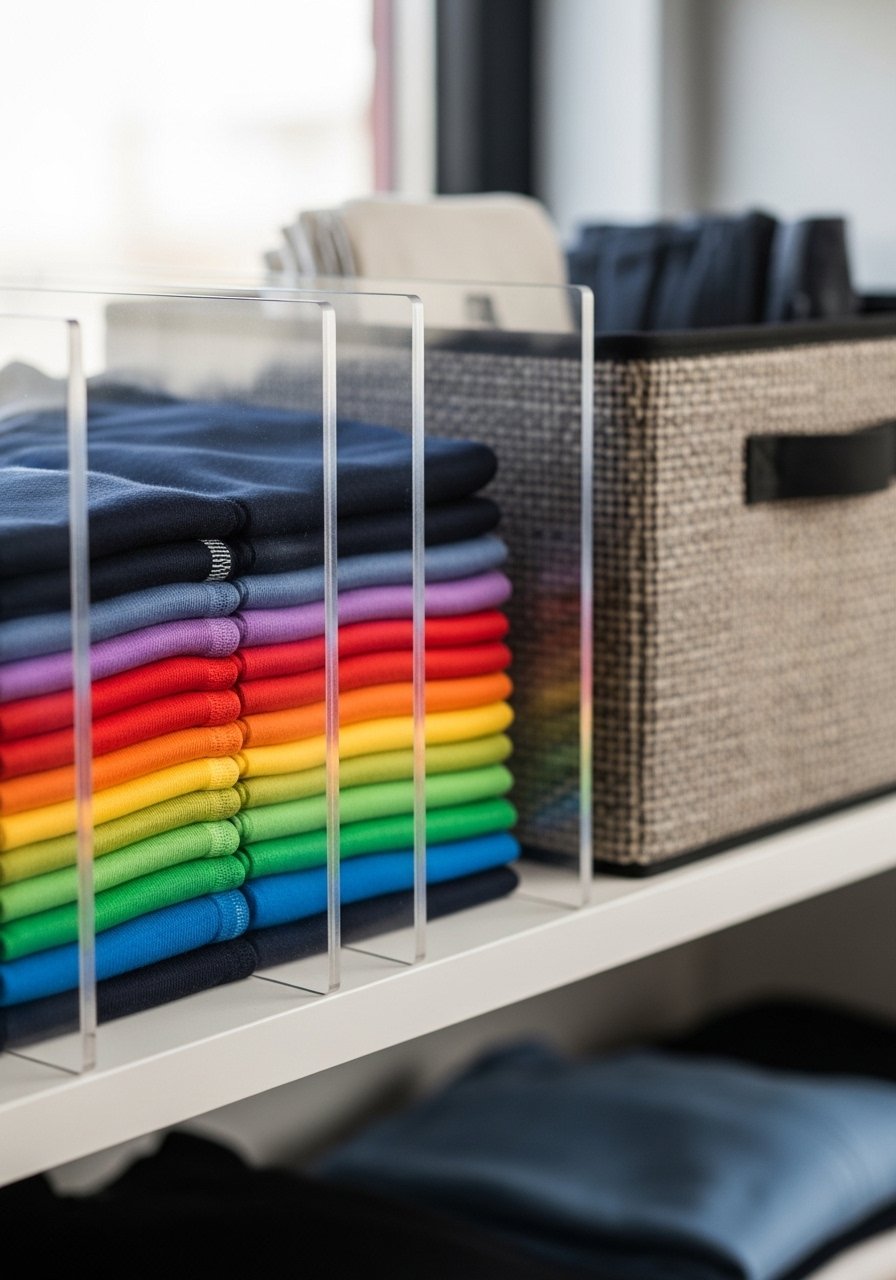
I group by function, not color. Shirts together, casual pants together, seasonal sweaters in bins. On shelves I leave 2 to 3 inches between stacked groups. That breathing room makes each pile readable.
The visual change here is where the closet starts to look intentional. Odd-number groupings and mixed materials read better than rigid symmetry. One insight I learned is to mix textures, like linen bins next to acrylic dividers, so the space feels layered not flat.
Mistake to avoid. Do not match every bin and box. If everything is identical you lose reference points and reachability.
Step 4: Finish with Shoes, Small Items, and Labels
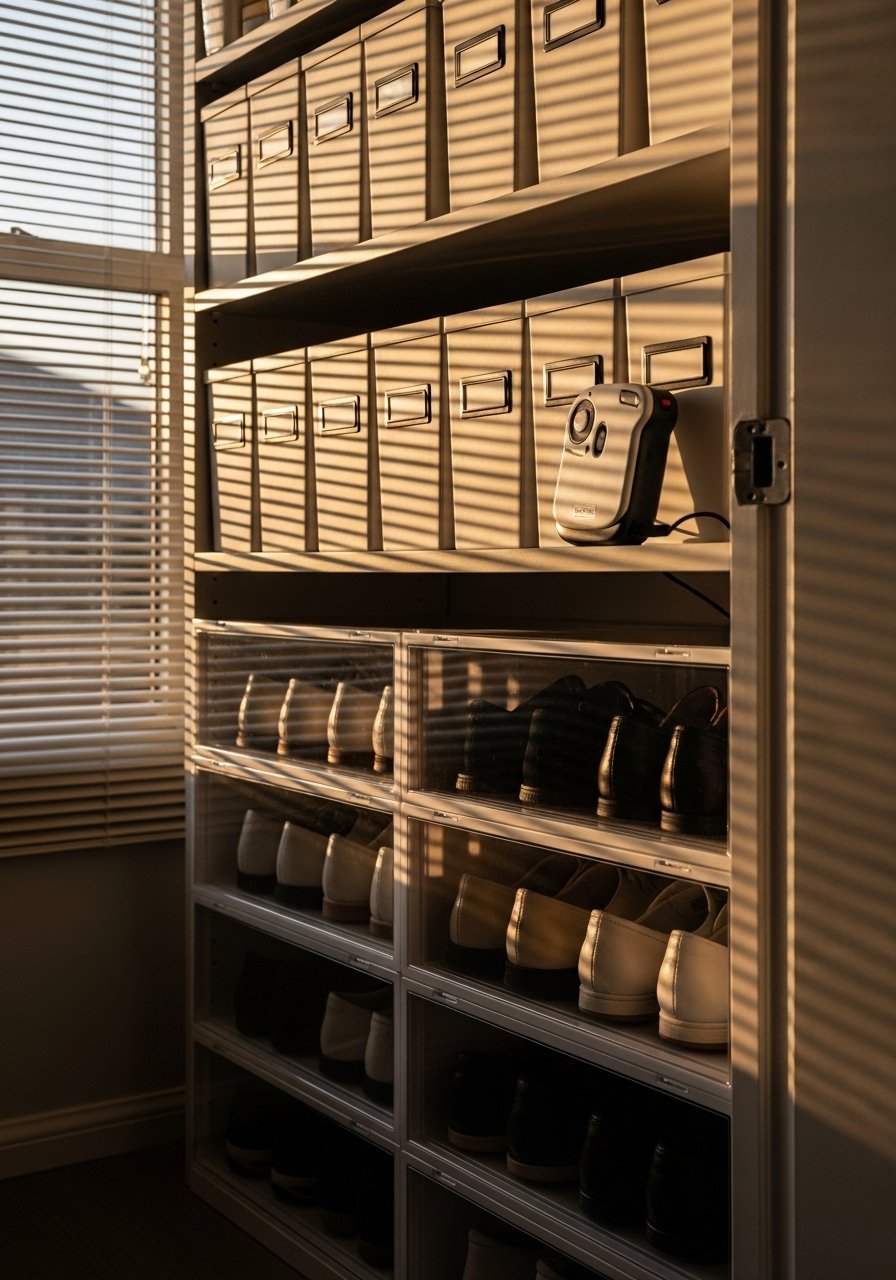
I finish by sorting shoes into a dedicated area and using under-shelf baskets for small items. A label for each bin stops me from shoving things back in the wrong place. The small touches are where habit meets order.
What visually changes is the floor clears. The closet looks wider. One detail people miss is lighting. Even a stick-on LED under a shelf makes selecting items easier. Mistake to avoid. Do not label everything at once. Start with three key bins and add more as habits form.
Why Your Closet Still Feels Messy
A friend asked me about this last week, and I saw the same pattern. Too much vertical stacking. Too many different hangers. No visual anchor. Once I standardized hangers and added a couple of clear dividers, the chaos calmed.
- Standardize hangers for a uniform line
- Use a single neutral color for visible bins
- Keep open space at eye level for frequently used items
If you still feel messy, look for one repeated offence. That is the place to simplify. Small, targeted edits beat a full redo most of the time.
Making This Work in a Small Reach-In Closet
Everywhere I look this year, people are solving small spaces with smart proportions. In a 3-foot reach-in, prioritize vertical zones. Use a single hanging rod plus two shelves. Place frequently used items at elbow height.
I use slim velvet hangers to save an inch per item. I also swap a shelf for a tension rod when seasonal clothing needs rotation. Visual trick. Keep lighter colors in clear view and darker boxes on the top shelf so the closet feels brighter.
Mixing This Look with What You Already Own
I switched to this six months ago and it made a difference. You do not need new furniture. Match what you have by choosing one unifying element. My choice was neutral fabric bins. They blend with wooden hangers and an antique shoe bench.
If you have a statement piece, like an heirloom chest, let it stay. Work around it. Use the chest as a drop zone, and keep the closet itself minimal. That balance keeps the room feeling collected, not like a matchy retail display.
Start with One Shelf
Start with one shelf and make it intentional. Empty it. Add a divider, one bin, and two labeled spaces. If it looks balanced after a week, do another shelf.
I find starting small builds confidence. A simple change like swapping mismatched hangers for slim velvet hangers gives an immediate payoff. Pick one spot and finish it.
