

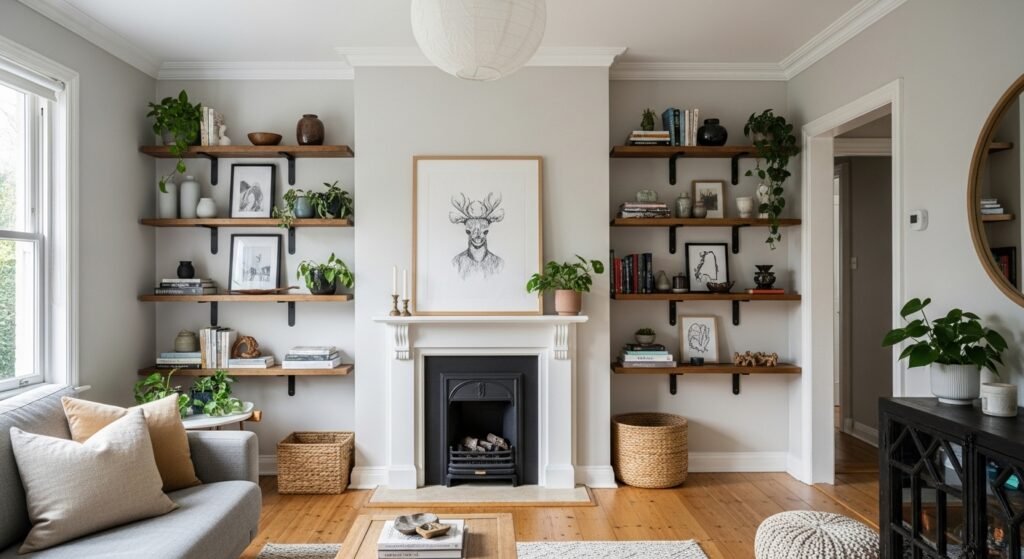
I stared at the blank wall above the sofa for weeks. I knew shelves would fix the space. I stalled because I worried about drilling, spacing, and making them look like someone else lived there.
I learned to treat shelves like a stage. Start simple. Make one strong decision and build around it. You can have balanced, lived-in shelves in an afternoon.
I've noticed this method works whether your shelves are oak, painted, or metal. The result is calm and intentional, not tight or overly styled.
What You'll Need
- Floating shelf set, 24-inch ($20 to 45). Pick a finish that reads warm or cool with your room
- Worth the small cost: Set of 3 ceramic vases, matte white ($25 to 40). Great for grouping
- Potted pothos, 4-inch nursery pot ($10 to 25). Small and easy to maintain
- I keep a stack: Coffee table books, set of 2-4 ($15 to 60). Use them to change shelf height
- Woven seagrass basket, medium ($20 to 40). Tucks on lower shelves for texture
- Decorative bookends, metal or stone ($15 to 35). Stop slumping stacks
- I grabbed brass picture ledges, 24-inch ($18 to 30) to prop prints without committing to framing
Step 1: Clear the Shelf and Size the Space
Pull everything off the shelf. Yes, everything. I do this even if it feels slow. An empty shelf shows depth, paint color, and how much space you really have.
Measure the shelf depth and visible length. A useful rule is to leave 2 to 3 inches behind an object so it does not feel cramped. If a shelf is shallow, choose low-profile items. If it is deep, you can layer taller objects.
People skip this and then cram too many pieces. That creates visual noise. Avoid filling every inch just because you can.
Step 2: Place the Anchor
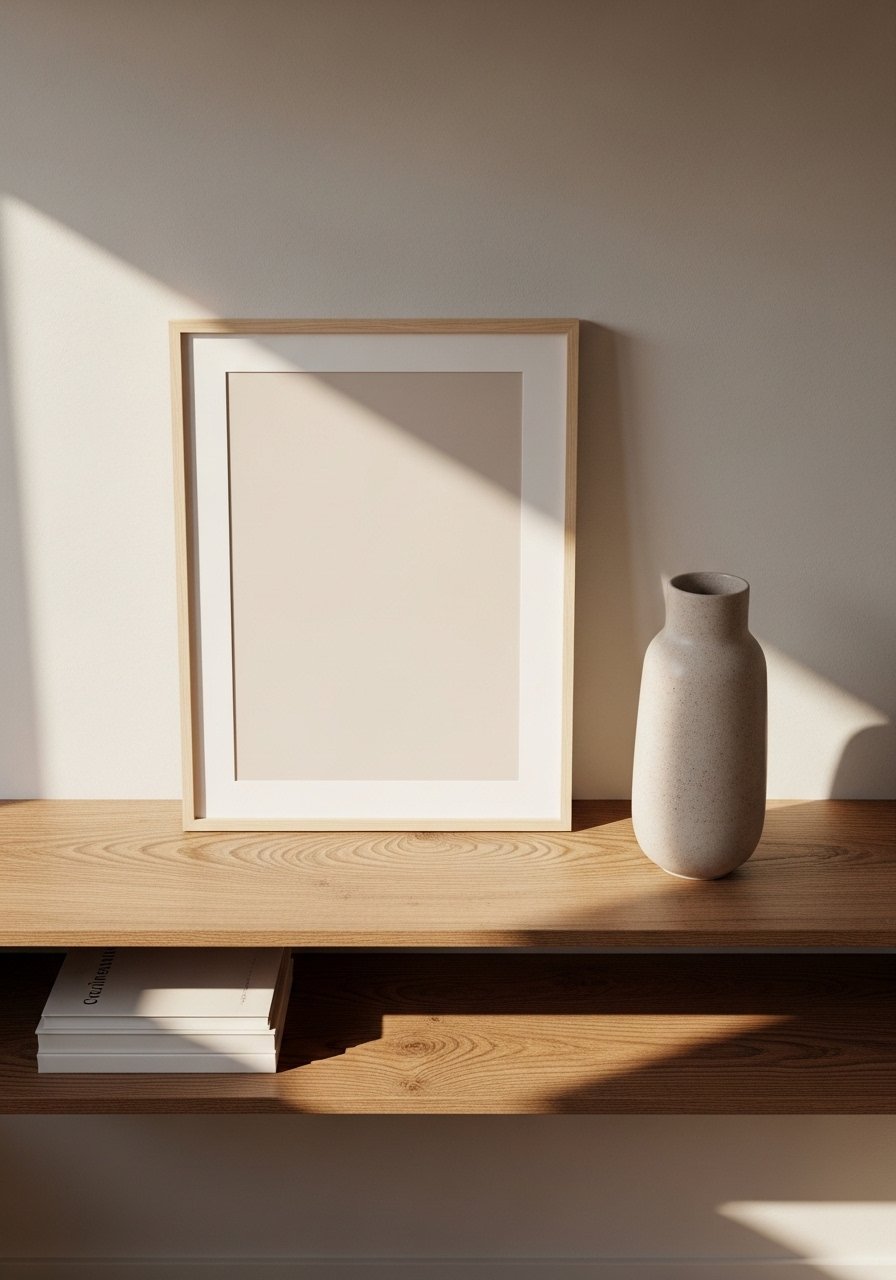
Pick one anchor per shelf. A framed print, a tall vase, or a stack of books works. I aim for the anchor to occupy about one-third of the shelf length. That gives other pieces room to breathe.
Put the anchor slightly off-center. The eye prefers a small negative space next to the anchor. When the anchor sits dead center, the shelf reads staged and stiff.
People often choose an anchor that is too small. If the anchor does not command presence, the shelf feels fussy. Swap to a taller vase or a wider frame if that happens.
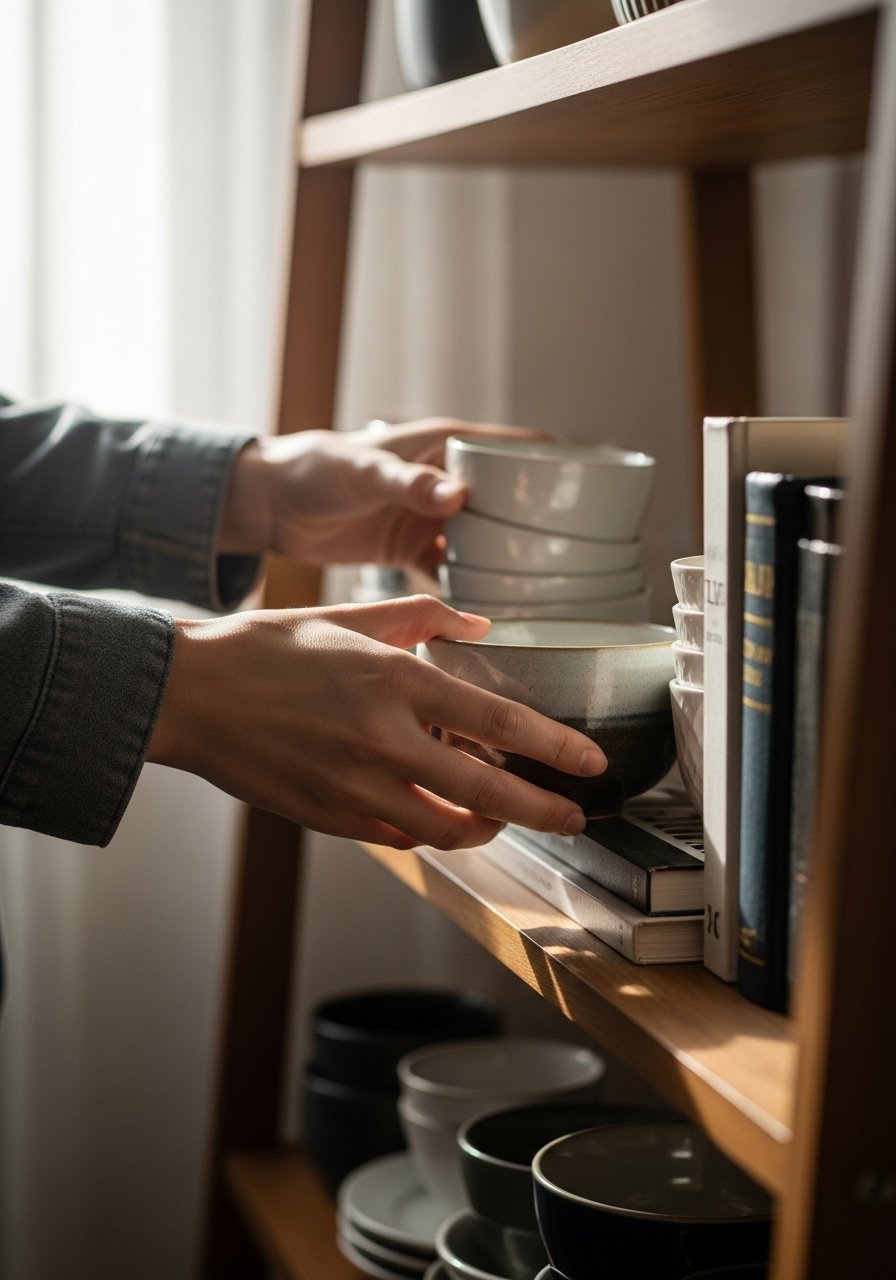
Step 3: Group in Odds and Layer Heights
I used to scatter items one by one. Now I group objects in odd numbers. Groups of three or five read as intentional. Use a mix of heights. A horizontal book stack plus a mid-height vase and a short object makes a small vignette.
Leave 2 to 3 inches between groupings on a 24-inch shelf. On a longer shelf, aim for group sizes that repeat or echo across shelves. That creates a rhythm.
A common mistake is matching every item too closely. Vary material and finish. Matte ceramic against polished metal gives the eye a place to rest.
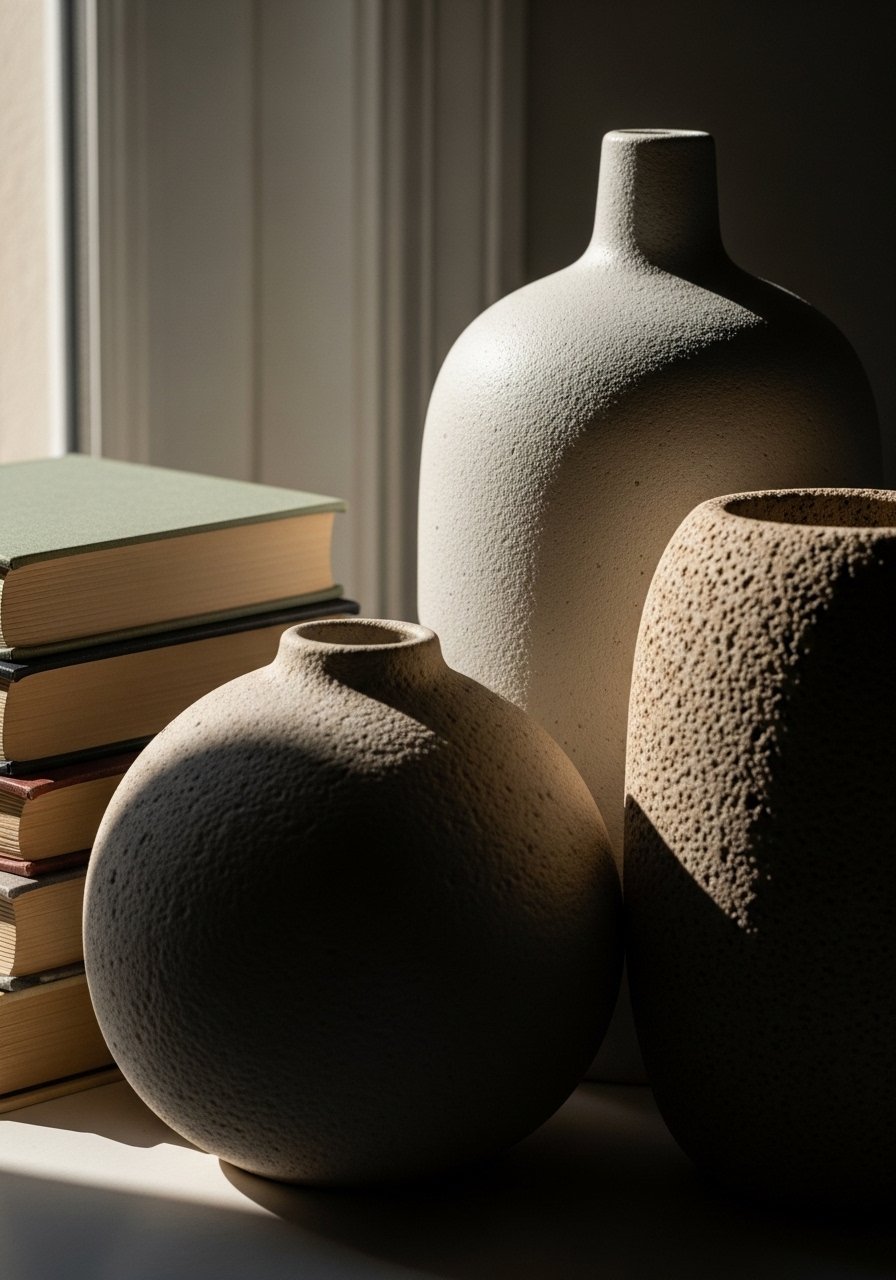
Step 4: Add Greenery and Texture
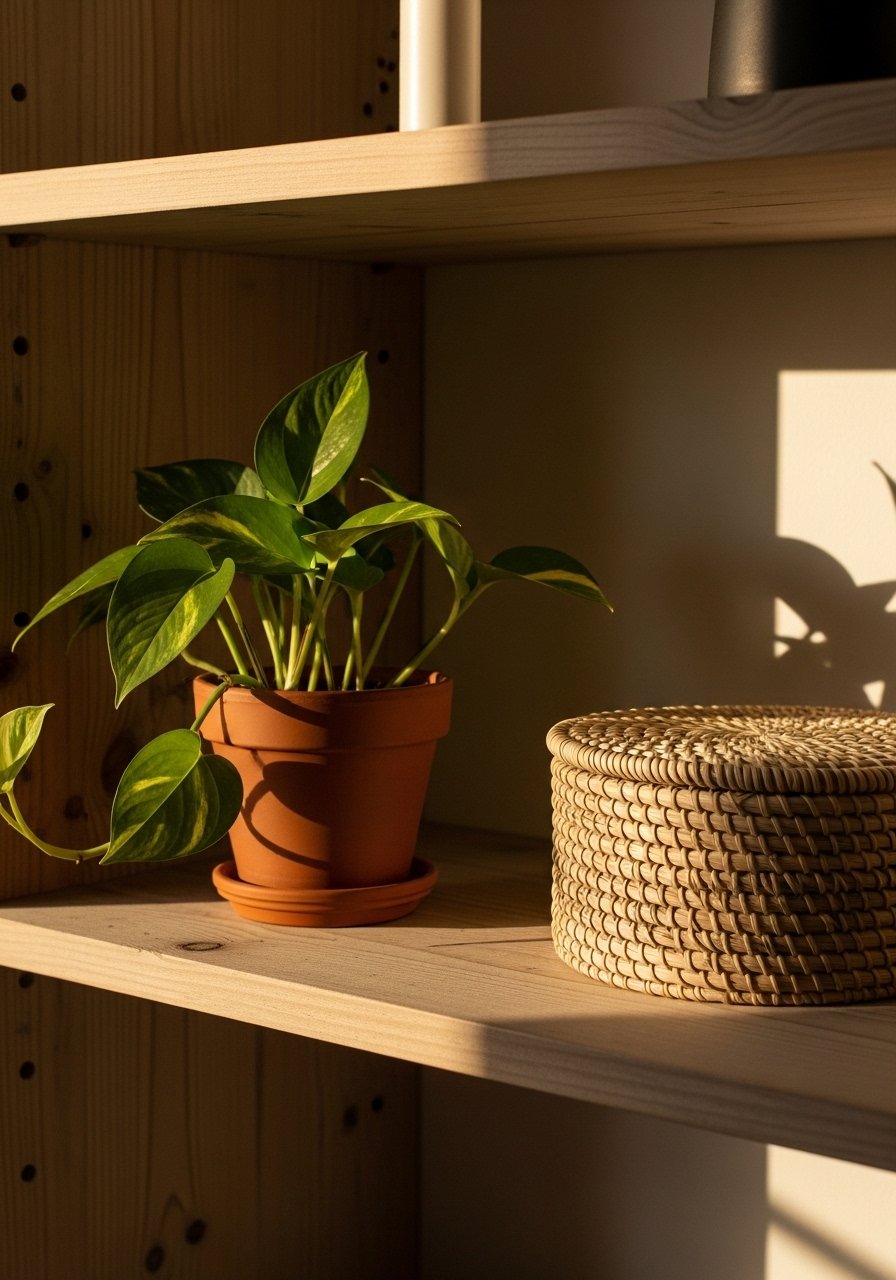
This is when the shelf starts to look lived-in. Tuck a small plant like a pothos into a corner or beside a stack of books. Place a woven basket on a lower shelf to anchor the composition.
Use texture to stop the display from reading flat. A seagrass basket, a linen-covered book, and a matte vase give depth. For scale, a plant in a 4-inch pot works well on most shelves. Bigger pots belong on the floor or a stand.
People sometimes overdo greenery. Too many trailing plants will obscure items. Limit plants to one per two to three shelves for balance.
Step 5: Step Back, Edit, and Adjust Lighting

Stand three to six feet back and look. The shelf should have roughly 25 to 30 percent negative space. That empty space matters as much as objects do.
Swap one item if the eye lingers on the wrong spot. Move a group left or right by an inch or two. I use a small decorative tray to corral tiny items, and I remove anything that reads as repetitive.
Many people stop at the first arrangement. Tweaking for 10 minutes makes a huge difference. Good lighting completes the look. Add a directional lamp or let natural light highlight texture.
Why Your Shelves Still Look Cluttered After Styling
I keep seeing shelves cluttered because people keep adding rather than editing. Start with the anchor, then build three small groups. If it still looks busy, remove one item from each group. Space helps.
Quick checklist to debug clutter
- Are there mixed metals without repetition? Pick one metal and echo it twice
- Do heights vary? Aim for a range, not a flat line
- Is negative space present? Leave a quarter of the shelf empty
- Are duplicates close together? Move them apart to spread visual weight
Small edits improve the whole wall. Editing is styling.
Making This Work in a Small Room
From what I've seen, small rooms need fewer, bolder choices. Pick one statement shelf rather than a whole wall. Use narrow shelves that are 8 to 10 inches deep. Lean lightweight frames on the shelf instead of hanging them to avoid holes.
Practical swaps I use
- Replace a ceramic mass with a slim vase
- Use one stack of books rather than many
- Slide a woven basket onto the floor if the shelf feels heavy
Scale down accessories and let negative space do the heavy lifting. A single plant looks more intentional than three tiny ones.
Mixing Old Finds with New Shelves
I keep thrifted pieces and new items together. The trick is to repeat one color or material across the shelf. For example, a vintage brass trinket and new brass picture ledges tie things together.
Tell a small story on each shelf. Let one shelf read book-focused with a lamp and bookends. Let another shelf be ceramics and plants. When you mix old and new, aim for balance by repeating shape or finish at least twice.
If a vintage item is visually heavy, lighten it with a matte ceramic nearby. That contrast keeps the composition feeling fresh and curated.
The First Shelf Is the Hardest
Pick the shelf you see the most. Style it with the anchor, one grouped vignette, and a plant. Live with it for a day and then tweak.
Starting small builds confidence. Remove one item if it bothers you. Repeat the method across other shelves when it feels right.
