

I emptied a drawer and found eight half-finished presents. Each one felt like a missed chance. Some looked busy. Others looked plain. I wanted gifts that read as thoughtful, not frantic.
I keep seeing small, well-made packages across my feed. This method shows how to make DIY gifts look finished. You can do it with simple materials and about an hour of tidy work.
I've noticed this approach works in any style. It reads quiet luxury when you pick natural textures. It reads cozy when you go soft and warm. You will end up with gifts that look like you spent care, not a fortune.
What You'll Need
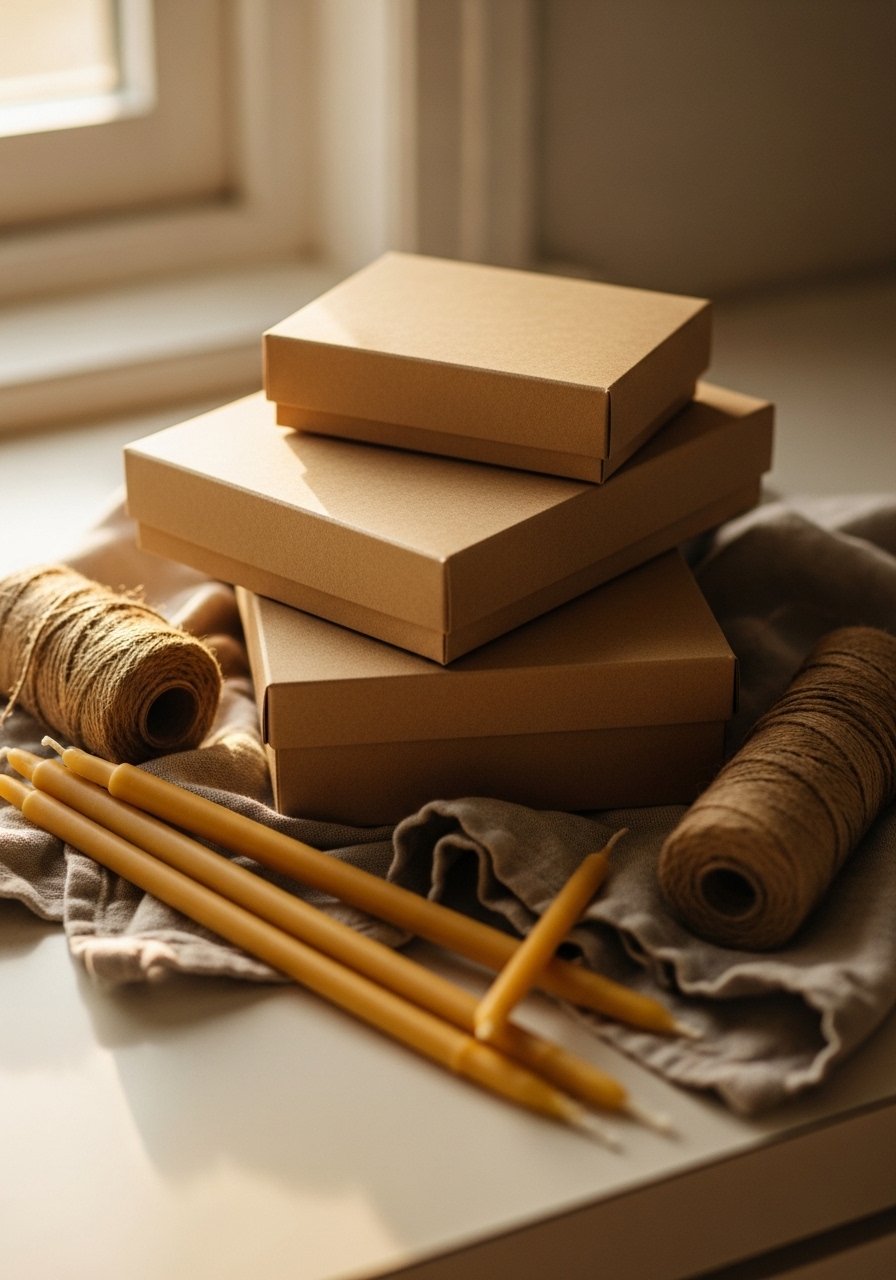
- Wide-mouth mason jars, set of 12 ($12 to 20). Great for pantry gifts and layered treats
- Kraft gift boxes, set of 10, various sizes ($10 to 18). Neutral base for any wrapping style
- Bakers twine spool in natural and black](https://www.amazon.com/s?k=bakers-twine-natural-black&tag=craftedbuddy-20) ($5 to 10). Thin and easy to knot for a finished look
- Set of 3 ceramic vases, matte white ($25 to 40). Use one as a prop or small vessel for gift grouping
- Beeswax taper candles, pack of 6](https://www.amazon.com/s?k=beeswax-taper-candles-pack-6&tag=craftedbuddy-20) ($12 to 22). A low-effort handcrafted feel that photographs well
- Linen hand towel, 20×28, natural](https://www.amazon.com/s?k=linen-hand-towel-20×28-natural&tag=craftedbuddy-20) ($18 to 35). Soft, reusable wrap for an elegant finish
- Mini gift tags, kraft, 50-pack ($6 to 12). Write a short note and tuck under twine
- Small wooden tray, 12×8-inch](https://www.amazon.com/s?k=wooden-serving-tray-12×8&tag=craftedbuddy-20) ($20 to 45). Anchor a group of gifts for presentation
Step 1: Choose a unifying style and limit the palette
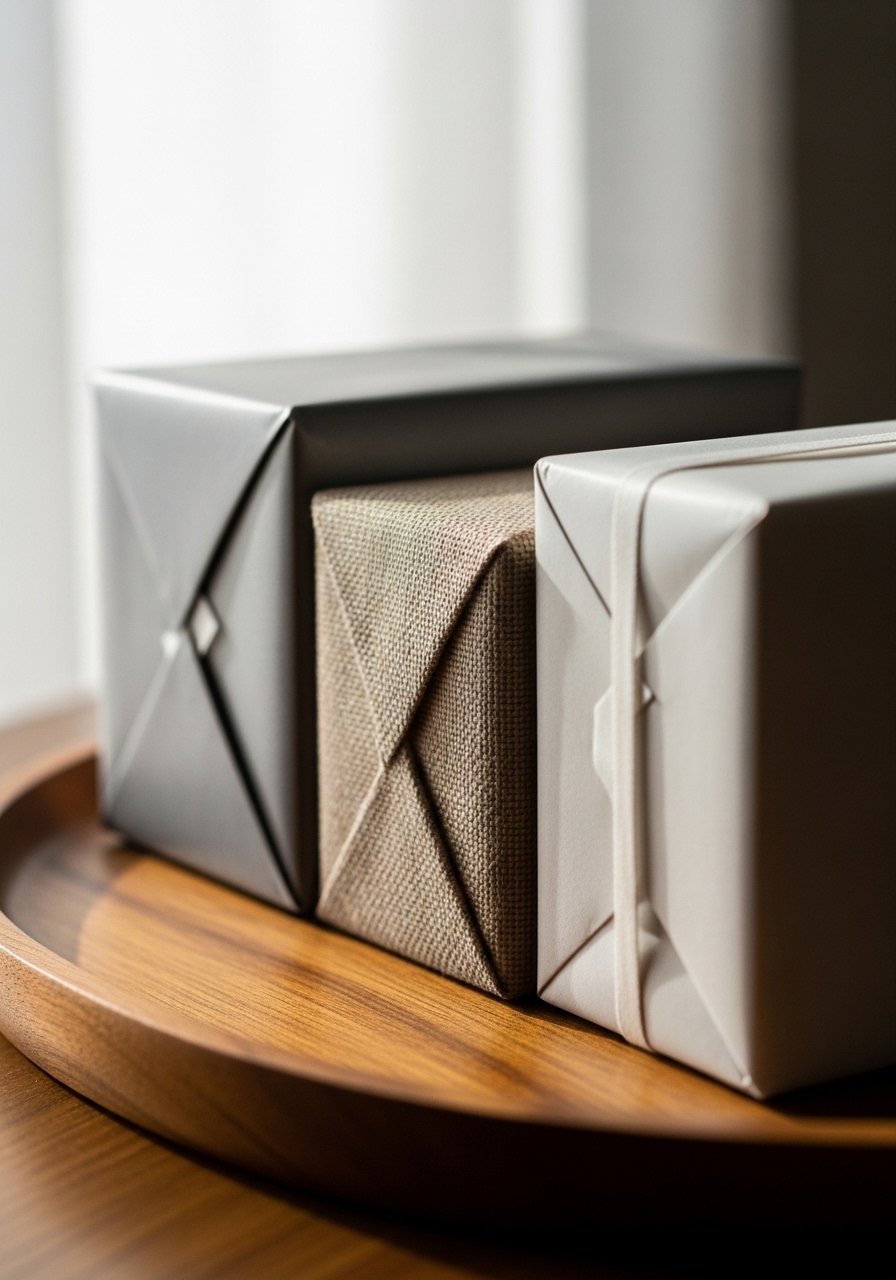
Start by choosing one look. I usually pick two neutrals and one accent color. That prevents a scattered vibe. For example, kraft, natural linen, and olive twine feels organic modern. White paper, black twine, and a brass tag reads modern minimal.
Visually, the change is immediate. The pile turns into a coordinated set. People miss this step. They mix too many colors and textures. A common mistake is adding a bright ribbon thinking it will hide other choices. It usually makes things look mismatched. Stick to your three elements and you will get a calmer, more intentional result.
Step 2: Build the package from the inside out
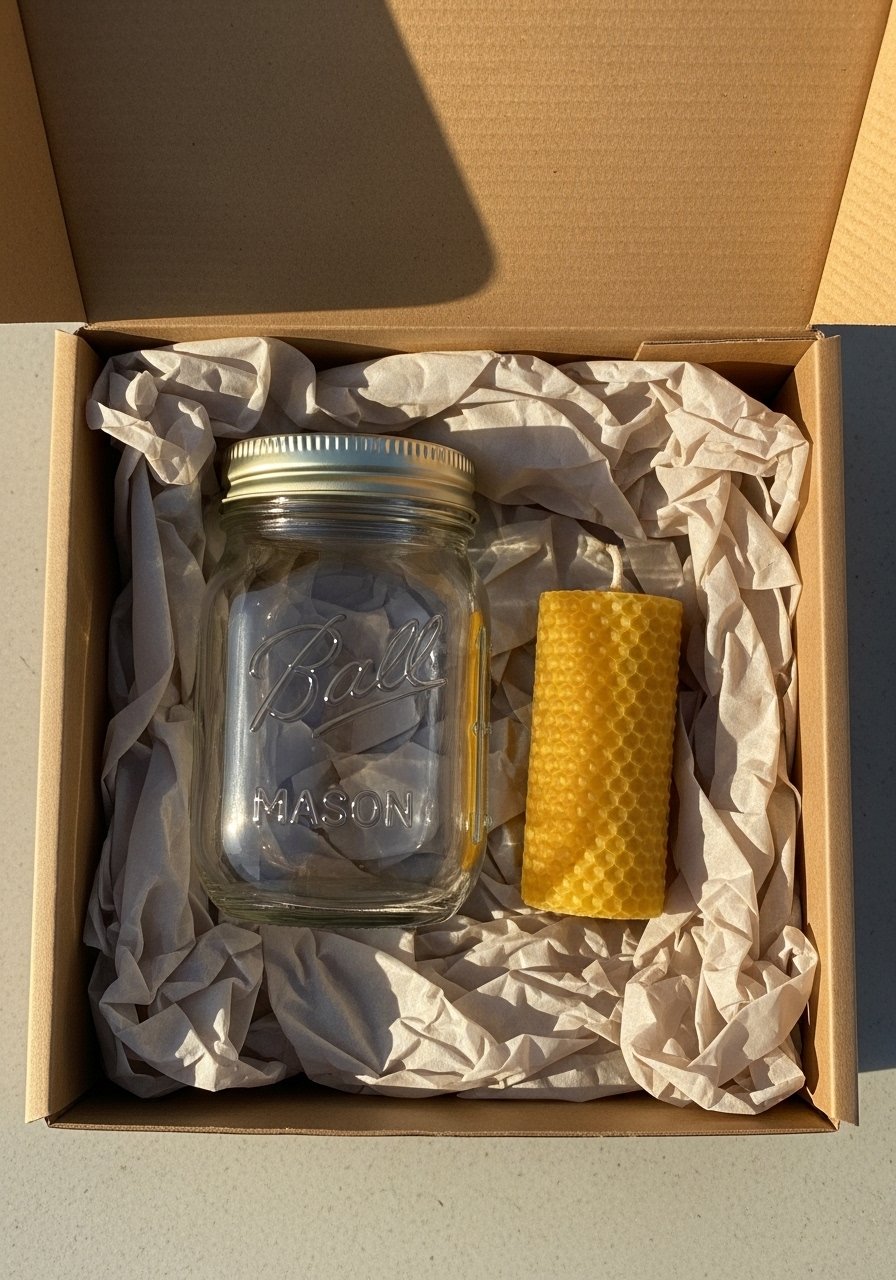
Put the core gift in the box first. Add a soft layer like tissue or a folded linen towel. The soft layer lifts the item and reads as value. I leave about 1 to 2 inches of visible filler around the object. That spacing keeps things from jamming into the edges.
What changes is weight and presence. The gift doesn't rattle. It looks deliberate. People often stuff too much, or leave empty gaps that read cheap. Avoid that by testing a small gap and adjusting until the box feels snug but not stuffed. A mason jar looks best with a thin paper nest and a tag tied around the neck.
Step 3: Use odd numbers and height variation when grouping
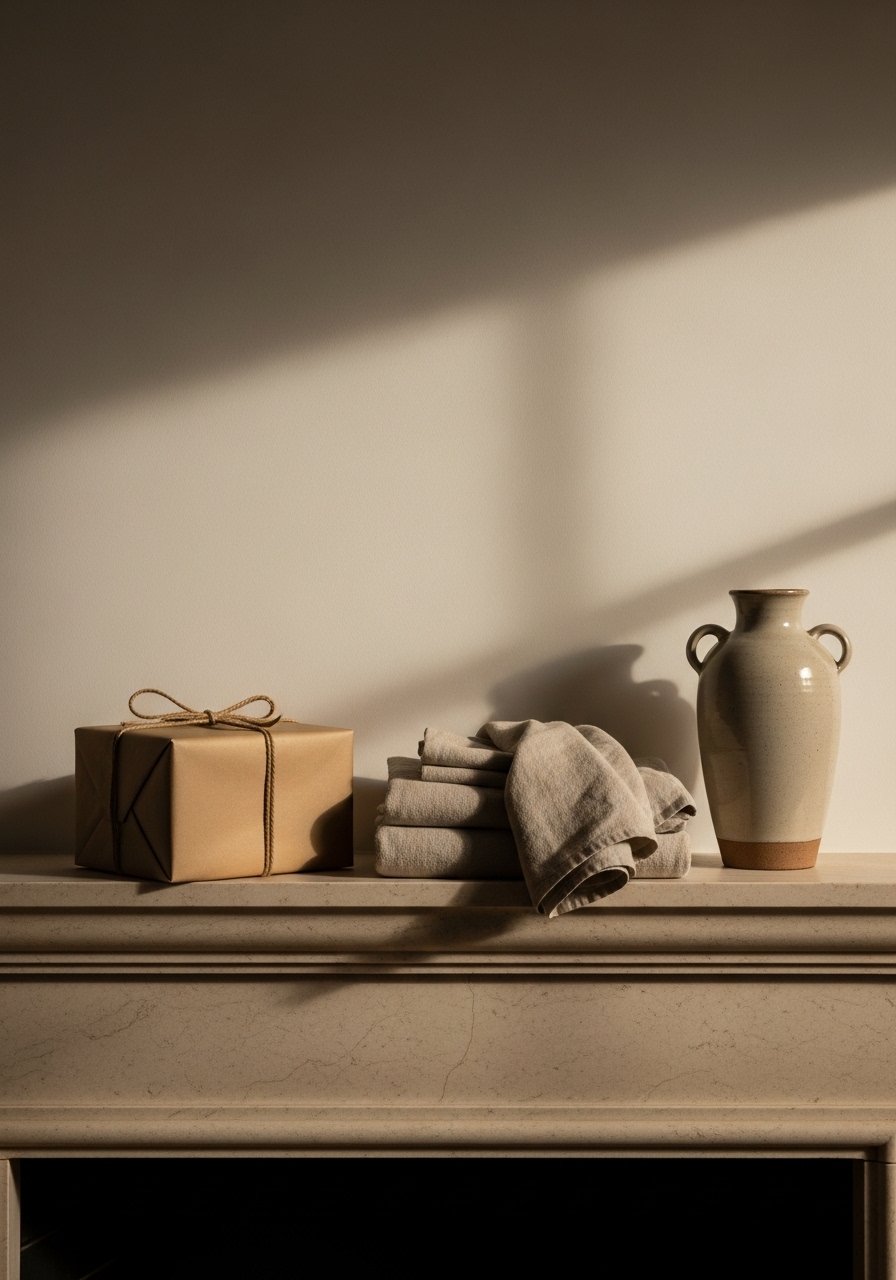
If you plan multiple gifts together, arrange them in groups of three. Vary heights so the eye moves. For instance, a linen-wrapped bundle, a mason jar, and a taper candle form a pleasing triangle. I keep the tallest item about 1.5 to 2 times the height of the shortest. That ratio reads balanced without being forced.
This is where the shelf or table starts to feel styled. What people miss is scale. Too many same-height items look like a row of cans. Too many tiny pieces get lost. One temptation is to symmetrically center everything. That rarely feels natural. Offset items slightly and let the eye rest on the tallest piece.
Step 4: Add finishing accents that tell a small story
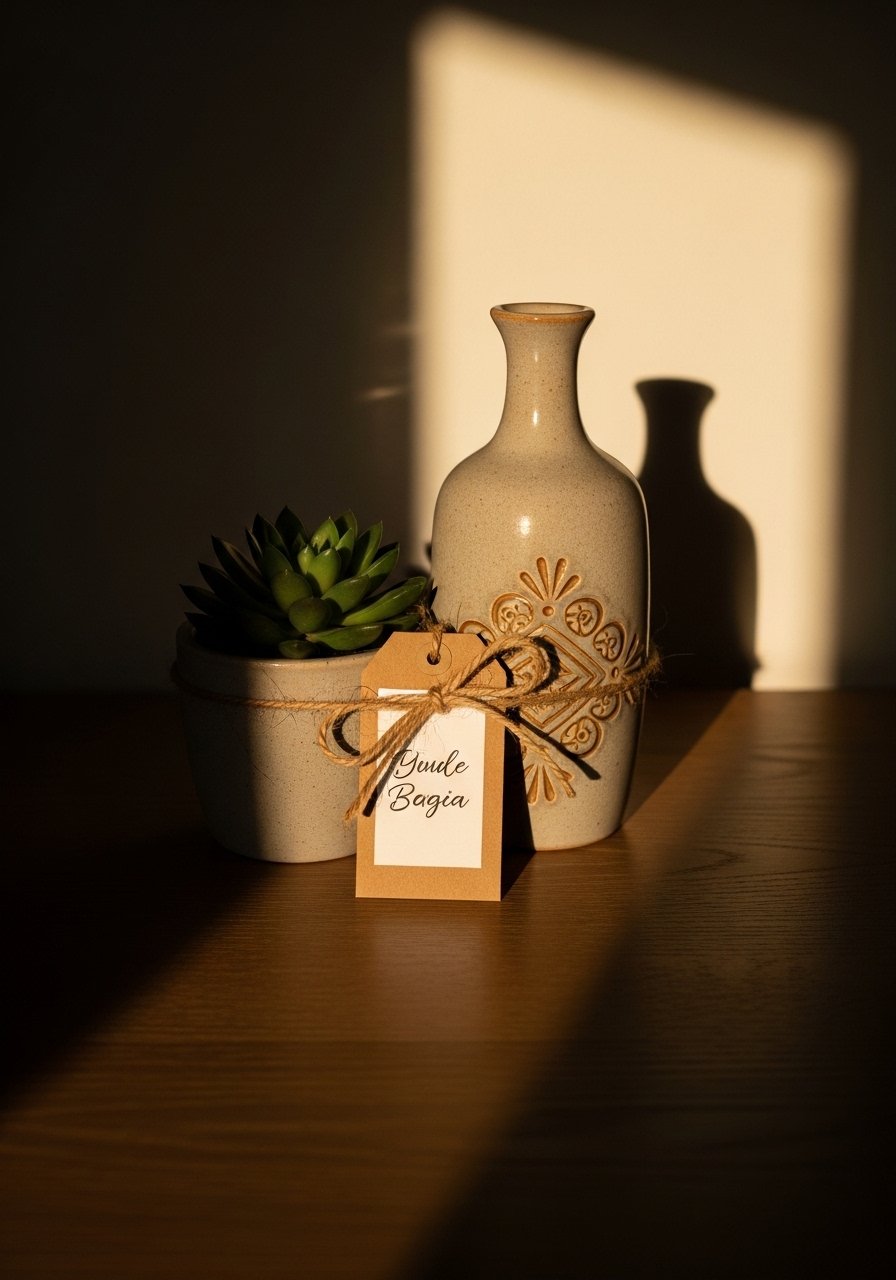
Finish with a simple accent that hints at what is inside. A sprig of rosemary suggests kitchen treats. A mini succulent suggests a living element. Use a single tag and a short handwritten note. Keep ribbon tails to about 3 to 4 inches. Longer tails read fussy.
The visual change is subtle. The gift moves from wrapped to personal. A common mistake is over-decorating. People add multiple ribbons, stickers, and bows. It creates noise. Pick one small accent and commit. I like using a ceramic vase or tray as context when photographing or placing gifts on a mantel.
Step 5: Photograph or present with deliberate context
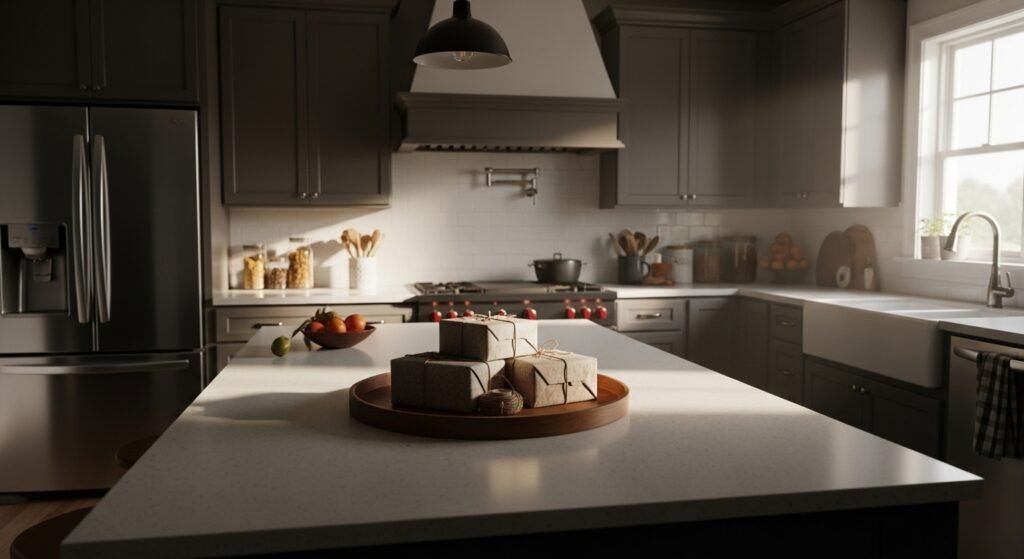
Decide where the gift will live before you hand it over. If you plan to photograph it for a card, place it on a wooden tray with about 2 to 3 inches of breathing space on each side. If it will sit on a mantel, anchor it with a vase or a small stack of books. The space around the gift is as important as the wrapping.
This stage changes perception. The same package will read handmade or homemade depending on its surroundings. A mistake is ignoring context and tossing a gift on a crowded counter. You will be tempted to add more stickers in that moment. Stop. Adjust the placement instead and the gift will read thoughtful without extra fussy details.
Why Handmade Gifts Often Look "DIY"
I used to make gifts that looked like leftover projects. The difference now is planning the presentation. Handmade does not mean messy. It means showing the care with a tidy finish.
A few quick reasons gifts go sideways
- Mismatched materials, too many colors
- No filler or wrong filler, causing a box to rattle
- Too many tiny embellishments, which read cluttered
I learned to stop adding more. Edit down. Keep the lines clean and the textures interesting.
Making This Work in a Tiny Kitchen or Studio
Small space? I learned to work on a 12×12-inch board. It keeps supplies contained. Use compact tools and a small tray to stage items.
Quick setup tips
- Use a folding tray as your work surface, easy to store
- Keep one box of coordinated materials for repeat looks
- Photograph against the same wall to build a consistent aesthetic
When space is tight, limit yourself to making two gifts at a time. It feels manageable. The result looks intentional rather than rushed.
Seasonal Tweaks That Actually Help
Everywhere I look this year, I see pared-back seasonal touches. For winter, swap linen for a wool napkin and pick deeper neutrals. For spring, add a single sprig of fresh greenery and a lighter twine.
An example scenario. For a hostess gift in winter, I place a beeswax candle and a jar of spiced jam in a kraft box. I wrap the jam lid with a scrap of linen and tie both with natural twine. A small kraft tag names the flavors and the box sits on a wooden tray. It reads warm and deliberate, not overdone.
Start with One Small Gift
Pick one simple item you already enjoy making. Set a single style limit, like linen plus kraft. Gather the needed materials on a tray. Wrap it with calm attention.
I keep beeswax candles and mason jars on hand for last-minute gifts. They are low commitment and look finished fast. Make one tonight. It will teach you more than making ten at once.
