

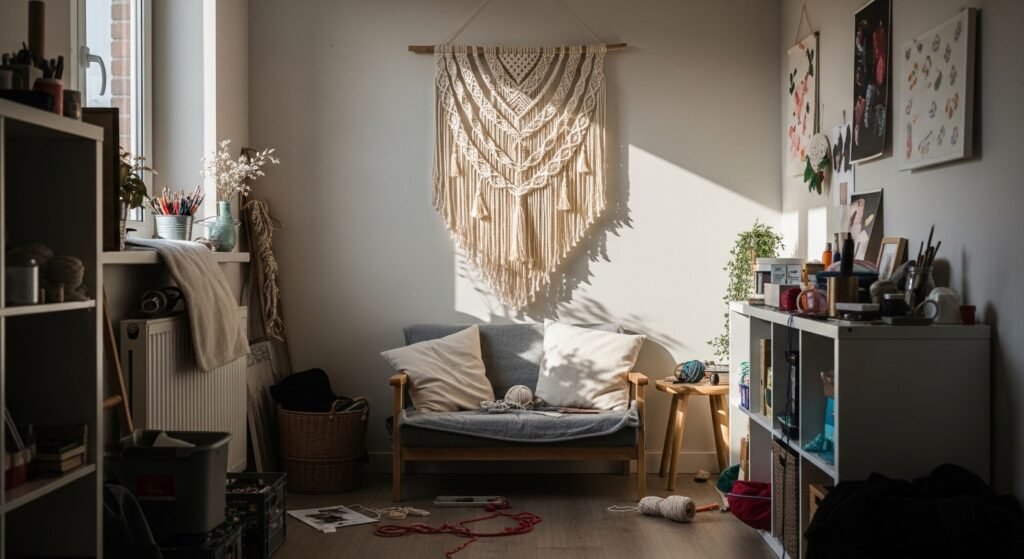
My bare bedroom wall stared back at me for weeks. I kept pushing it to the bottom of the to-do list. When I finally tried a hanging, it looked flimsy and lost on the wall. I had the materials. I did not have the plan.
I teach myself with small projects. This guide walks through one reliable way to get a balanced, intentional macrame piece that reads like a deliberate decor choice, not a craft fair remnant.
I keep seeing macrame paired with organic modern rooms, so I tuned this method for neutral palettes and tactile contrast. You will end with a single, calm focal point that suits a variety of rooms and scales.
What You'll Need
- 100% cotton macrame cord, 3mm 200-yard ($8 to 18). Enough for a 30-inch wall hanging plus practice.
- Natural wooden dowel or driftwood, 24-36 inch ($6 to 18). The width sets the piece's scale
- Set of large wooden beads, 20mm-30mm ($6 to 15). Mix them into fringe for weight and texture
- Small wall hook, adhesive or screw-in ($3 to 10). Anchor point matters more than you think
- Measuring tape or ruler. I use one that locks at 60 inches
- Sharp scissors marked for fabric. Clean cuts stop fray and keep knots tidy
- Simple plant or terracotta pot to pair with the hanging ($10 to 25). Adds scale on the wall
- Optional anchor: small clipboard or foam board ($8 to 15) for practicing knot placement before you commit
Step 1: Lay Out the Length and Anchor
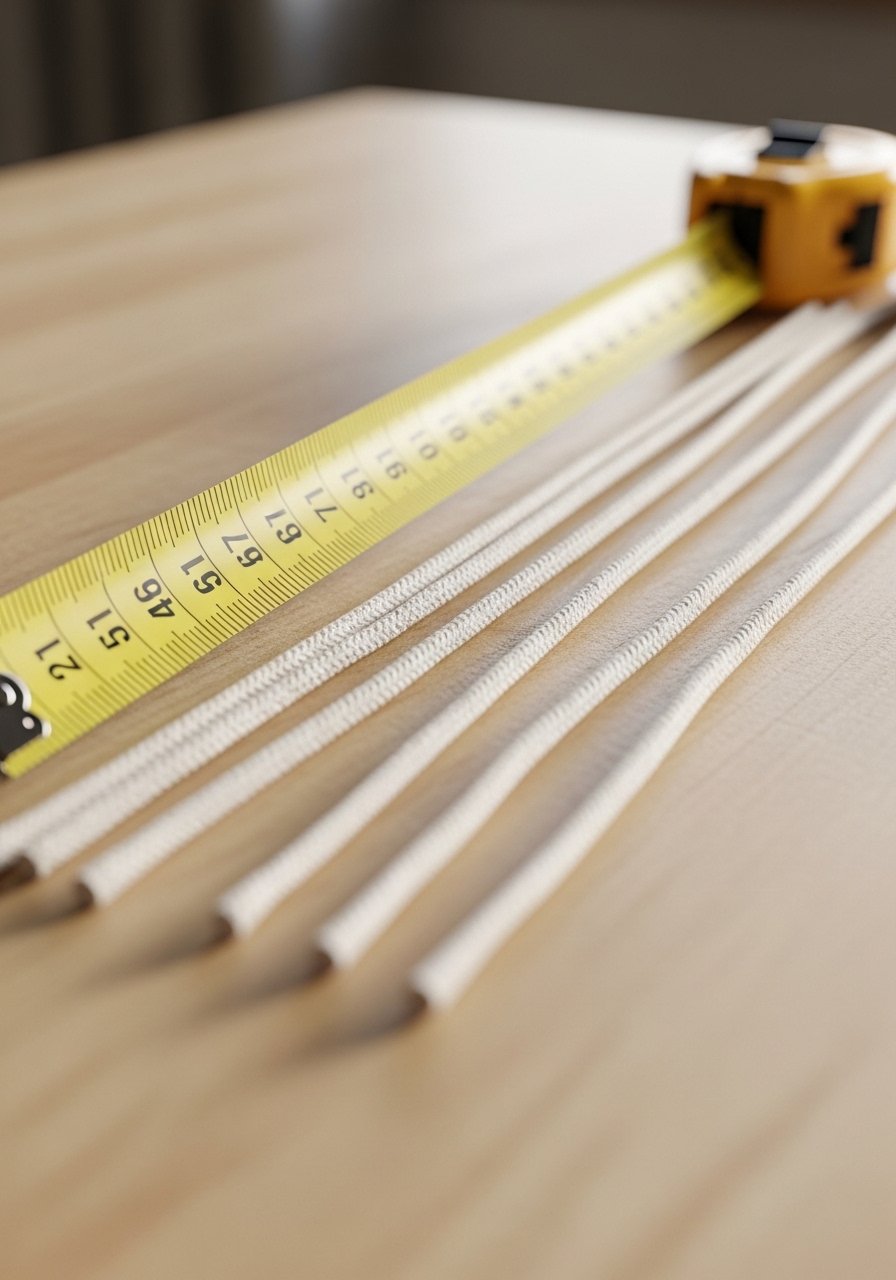
Cut your cords long. I start with lengths about four times the finished hanging length. That gives enough tail for fringe and trimming. The visual change here is immediate. The bundle looks generous, not skimpy. People often undercut cords because they worry about waste. That leaves the finished piece tight and short. Measure twice. A 30-inch finished piece needs cords cut to roughly 120 inches. Mistake to avoid, do not tie your first knot on the dowel before you test the hanging height. Clip a cord over the dowel and hold it on the wall to check the scale first.
Step 2: Set the Rhythm with Even Spacing
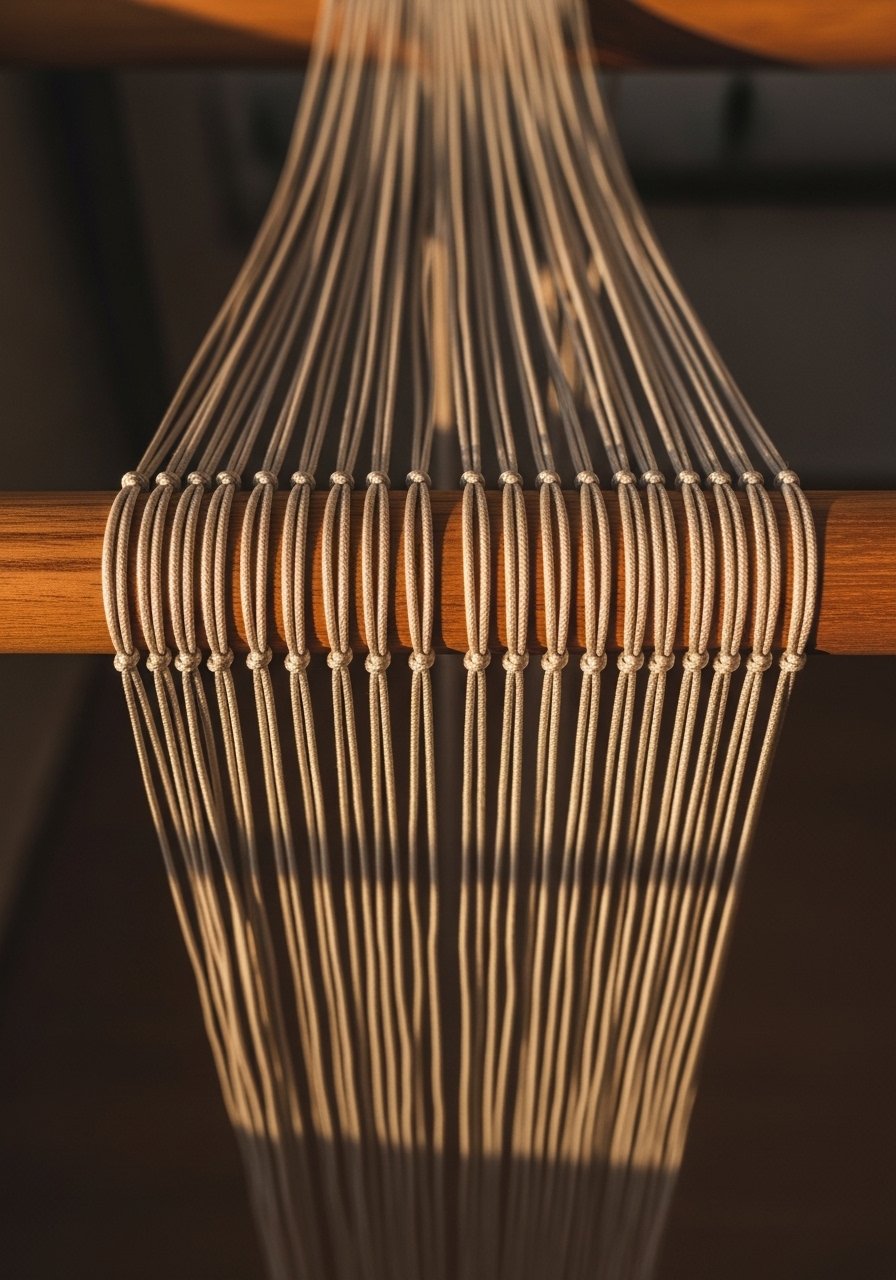
I used to crowd my cords. Now I leave deliberate breathing room. Space each loop 1.5 to 3 inches depending on the dowel width. The change is clean geometry instead of a fuzzy block. People miss rhythm, they think more knots equal more impact. Too many knots makes the piece heavy and visually confusing. For narrow dowels use 1.5-inch gaps. For a wide driftwood branch use 3-inch gaps. If you want a denser center, move spacing tighter by half an inch only in that zone. A ruler keeps the row consistent and professional looking.
Step 3: Build a Center, Then Mirror the Sides
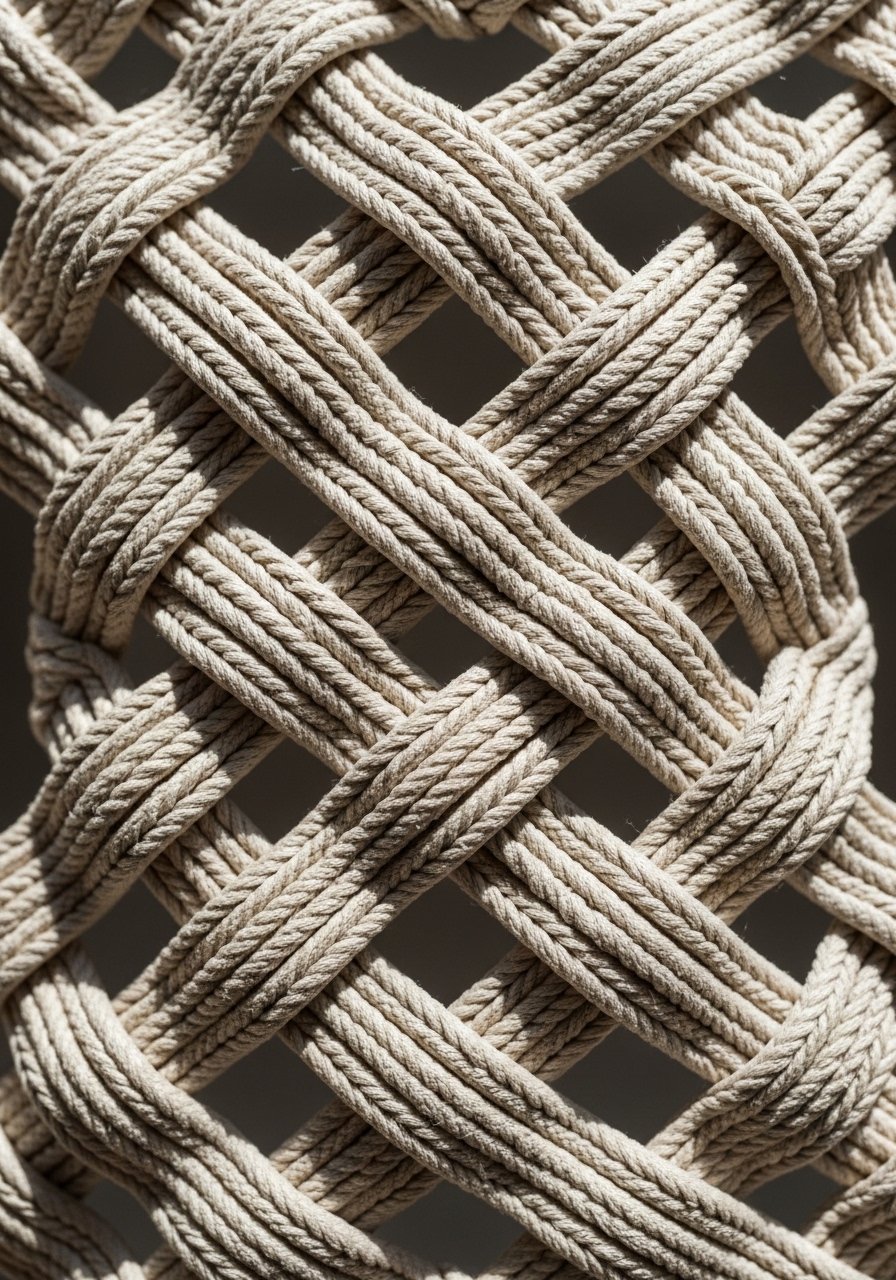
This is when the piece starts to look intentional. I begin with a central motif, often a row of square knots, then mirror the same pattern on either side. The visual change is symmetry and focus. People start at one end and work across. That causes lopsided tension and uneven fringe length. Start center. Work one motif at the center row. Then copy its stitch count on both sides. A useful proportion, keep the central motif about one third the total width. If the room is small, scale that center smaller so the whole hanging reads delicate instead of overpowering.
Step 4: Add Weight and Texture with Beads and Fringe
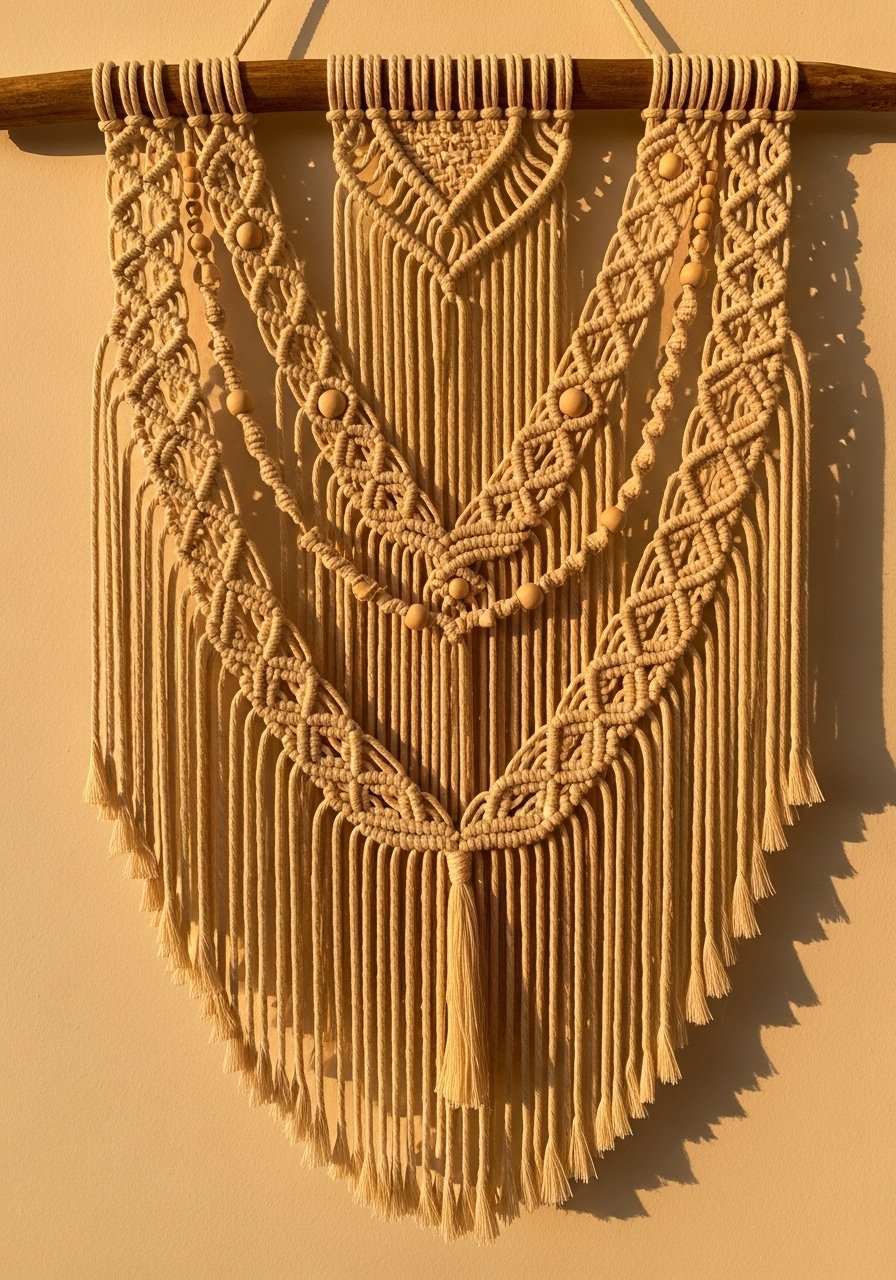
Beads change how the hanging moves. I thread beads onto selected cords before final trimming. The visual result is more grounded, the bottom reads heavier and deliberate. A common miss, people add beads randomly. That makes the piece feel unplanned. Pick 2 to 4 cords to receive beads, and place them at 2 to 4 inches from the knot clusters. For fringe, trim in a shallow V or a stepped pattern to suit your room. A neat mistake to avoid, do not cut into the knot area. Leave a 1-inch buffer so fringe hangs cleanly.
Step 5: Hang, Step Back, and Adjust Small Imperfections
Hang it at eye level for the room. I usually position the center about 60 inches from the floor in living areas. The change from flat to framed is immediate. Most people hang too high or too low. Too high shrinks the wall. Too low crowds furniture. After hanging, step back and look from different angles. Trim fringe in small passes, not all at once. You will be tempted to over-trim. Resist that. Minor asymmetry is natural. Only correct big visual imbalances. A final tweak often makes the piece feel handcrafted instead of machine-perfect.
Why Your Macrame Looks Lopsided
I've noticed lopsided results come from uneven tension while knotting, and from poor initial spacing. Tighten each knot with the same hand pressure. Check symmetry by holding the dowel by its ends and letting the piece hang. If one side dips, look for a missed loop or an extra twist. Undoing a knot is fine. I keep an extra inch or two in cord length so I can re-knot without cutting. Also use a clipboard or foam board to pin the top while you knot. That stops shifting and keeps the geometry true.
Making This Work in a Small Corner
Small spaces need smaller scale and deliberate placement. Reduce dowel width to 12 to 18 inches. Use thinner cord, like 3mm, so the piece reads light. Pair the hanging with a small plant to anchor the wall, not crowd it. Quick layout:
- Use a single central motif instead of several
- Keep fringe length under 14 inches in short rooms
- Mount on a hook that allows a 1-inch gap from the wall so shadows add depth
I switched to this six months ago and it solved the cramped look in my narrow hallway.
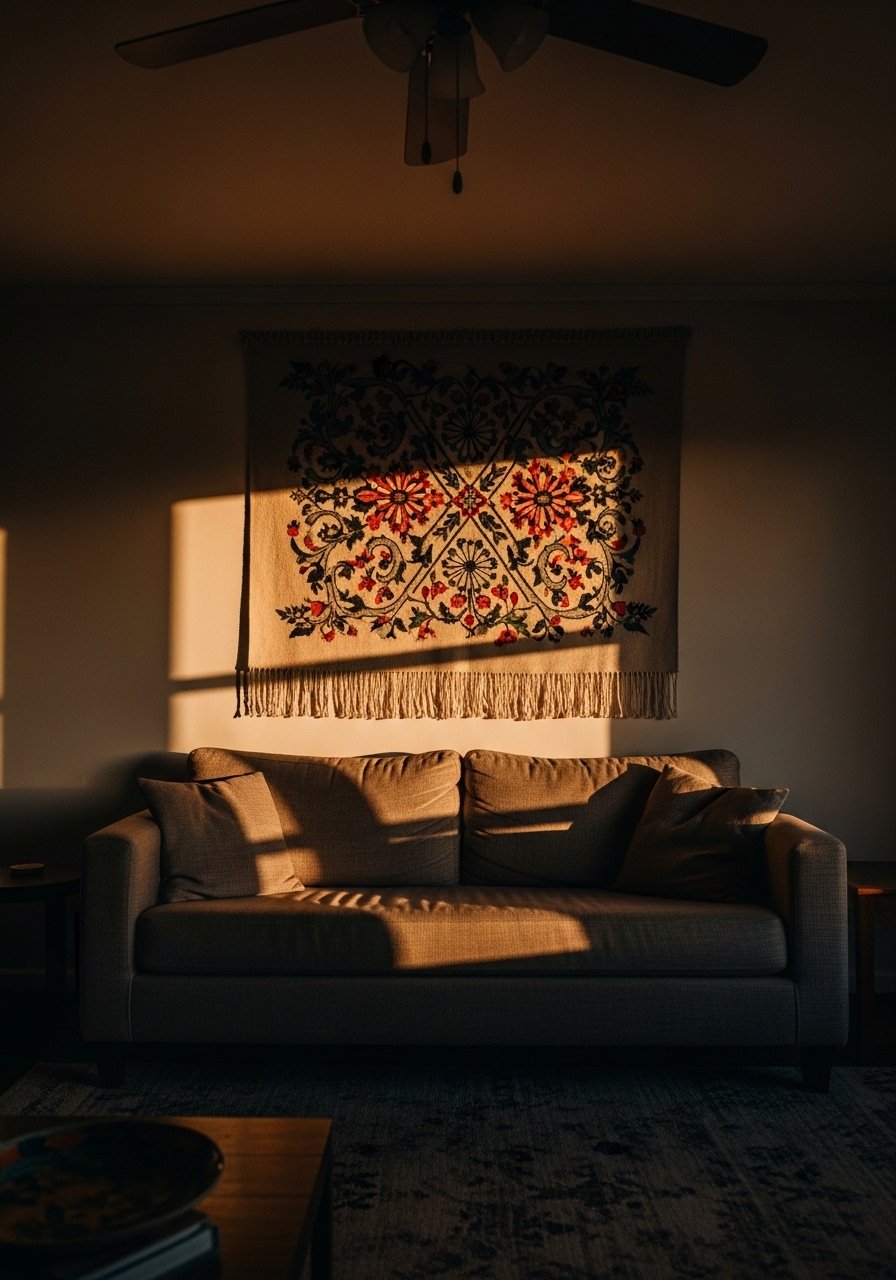
Mixing Macrame with Modern Furnishings
Everywhere I look this year macrame is paired with clean lines and warm woods. Balance texture with simplicity. Keep furniture silhouettes simple so the hanging becomes the tactile accent. Match the dowel material to other wood tones in the room. If your sofa legs are walnut, avoid pale driftwood. If you own a lot of metal finishes, add tiny brass bead accents or a brass hook to tie things together. Layering a small framed print to one side can make a composed vignette, but keep spacing to at least 6 inches so each piece breathes.
Start with a Small Hanging
Pick a short dowel, some 3mm cord, and a couple of beads. I used a 12-inch dowel for my first piece. It took an afternoon and taught me the feel of knots and rhythm. Begin in a small corner where you can see the piece from across the room. Practice one knot pattern until your hands learn the tension. Small success builds confidence. When you are ready, scale up to wider dowels and more complex motifs.
