

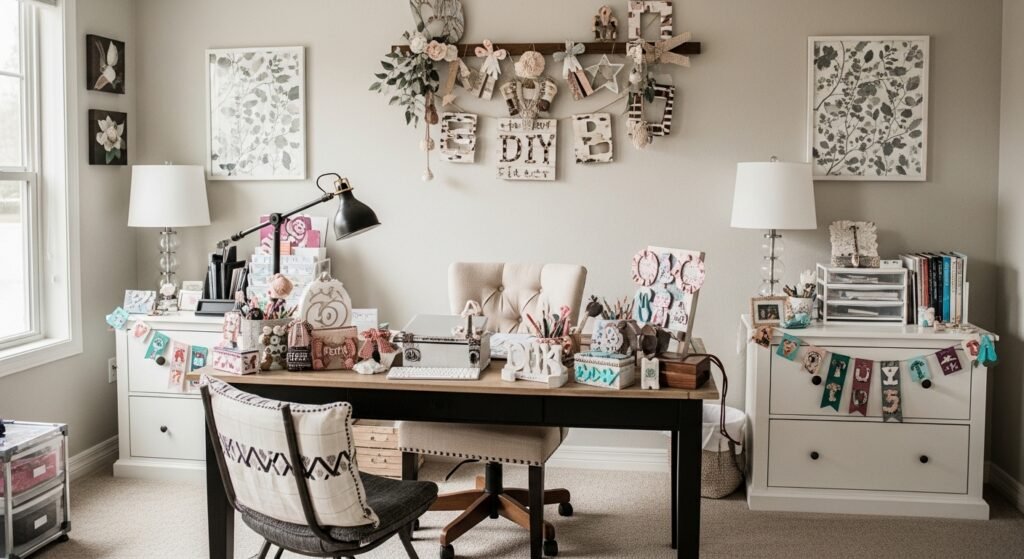
I hate sitting at a desk that feels cold or cluttered. It either looks unfinished or like a catch-all for odds and ends. I learned to fix that by treating the desktop like a small room: three or four elements, layered, with a clear focal point. It makes work feel calmer and the space intentional.
How to Decorate a Desk with DIY Accessories
You're going to learn how I build a calm, curated desk using a simple focal piece, supporting accents, and one or two DIY touches. It’s achievable in an afternoon and fits organic modern or Scandinavian-leaning rooms. The result feels balanced, useful, and lived-in—not staged.
What You'll Need
- Wooden desk tray, walnut, 12×8 (~$20–35)
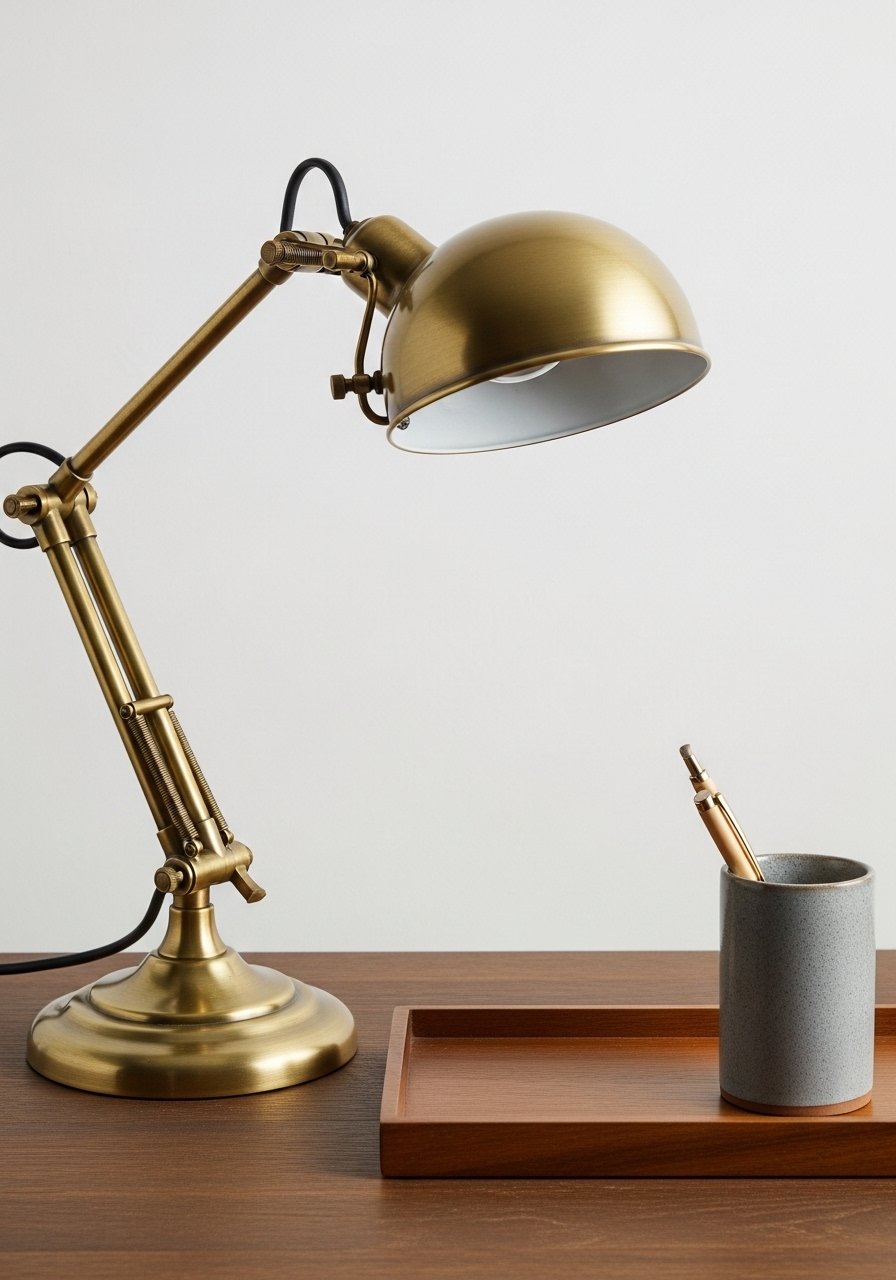
- Brass LED desk lamp, adjustable neck, matte finish (~$30–70)
- Glazed ceramic pen cup, off-white, 3.5" wide (~$8–18)
- Small faux fiddle leaf fig in terracotta pot, 12" tall (~$20–45)
- Small 5×7 frame, matte black (~$8–20)
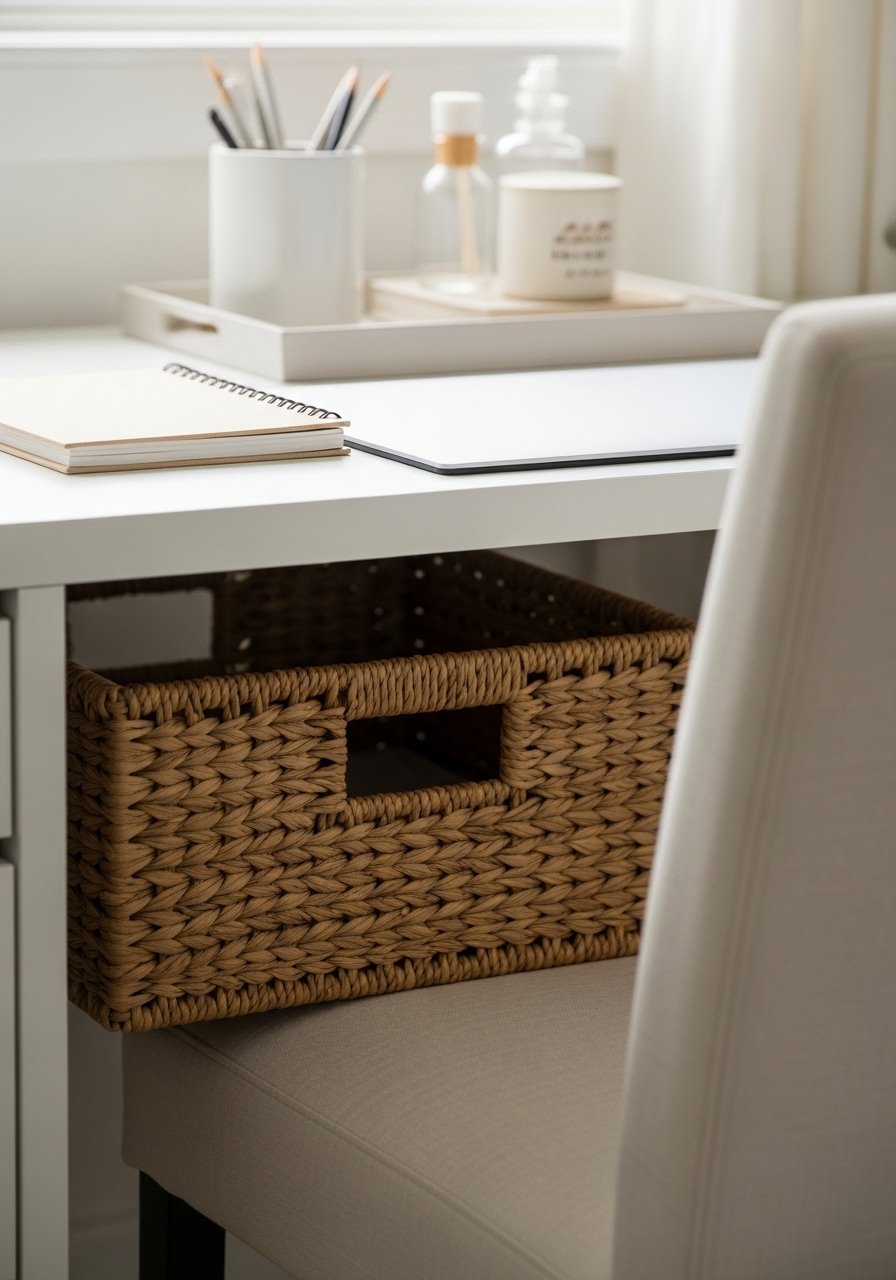
- Woven storage basket, seagrass, 11" diameter (~$18–35)
- Set of neutral hardcover books, assorted sizes, set of 3 (~$15–40)
Step 1: Pick a single focal piece
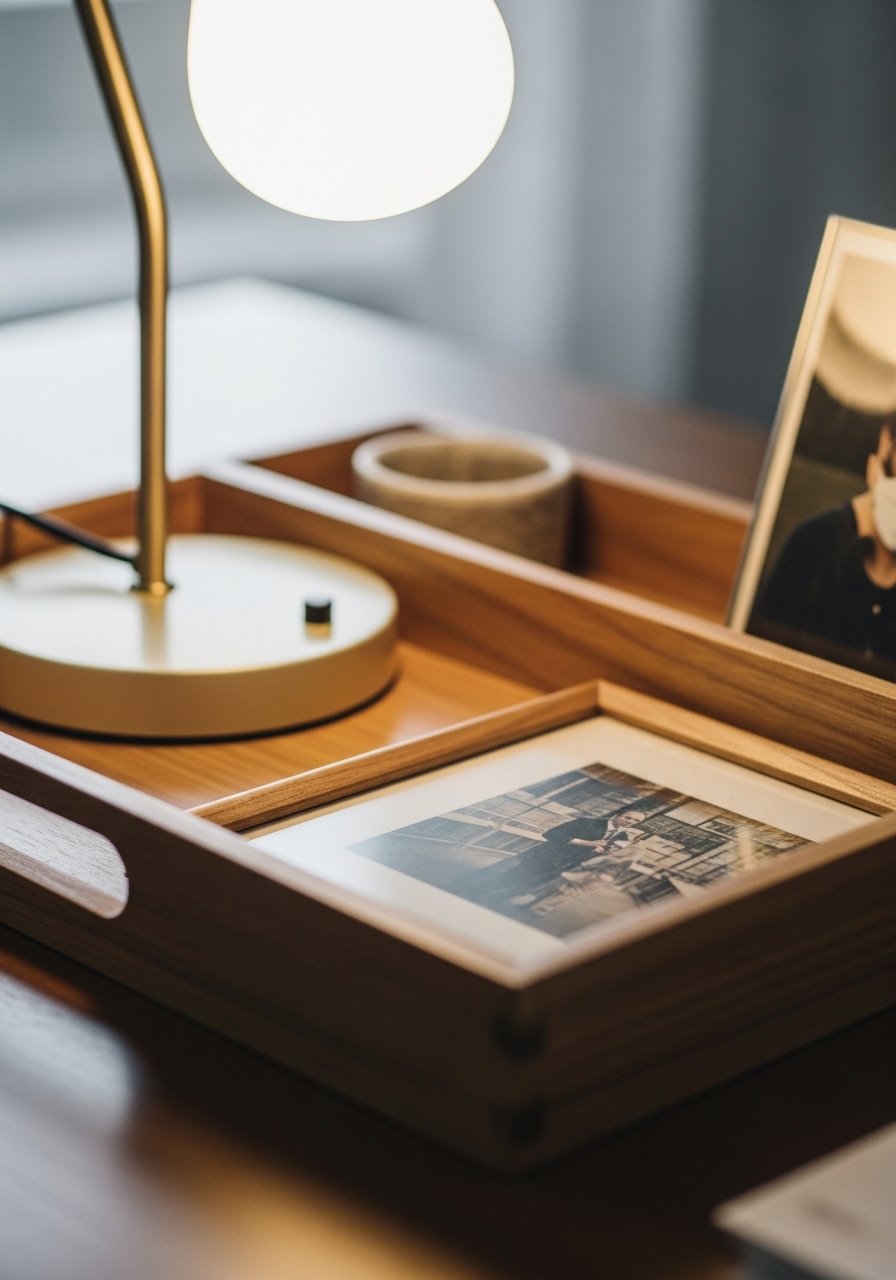
I always start by choosing one item that anchors the desk. For me that is usually a tray or a lamp. The anchor tells the eye where to rest and sets the scale for everything else. Visually, the desk immediately reads as intentional instead of random.
People often skip scale. A tiny tray under a large lamp looks like an afterthought. One mistake to avoid is choosing a focal piece that fights with your monitor—keep it off-center and sized to the desk.
Step 2: Arrange the anchor and a balancing partner
Once the anchor is down, I add a balancing partner—usually a small plant or a stack of books opposite the lamp. This creates a visual triangle: anchor, partner, and negative space. It’s the simplest way to make a desk feel balanced without lots of objects.
An insight people miss is to let negative space be intentional. Don’t fill every inch. A common mistake is mirroring perfectly; symmetry can feel rigid. Instead, offset items and vary heights for a relaxed, lived-in look.
Step 3: Add vertical interest with greenery or art

I like a little vertical lift—either a plant or a small framed print. It stops the surface from looking flat and draws the eye up. A 12" faux plant or a 5×7 framed photo works well on most desks.
People often choose items that are too tall or too busy. Scale matters: the plant shouldn't block your screen or cast heavy shadows. Avoid tiny low plants that disappear; either go noticeably small or comfortably tall.
Step 4: Layer functional DIY accents
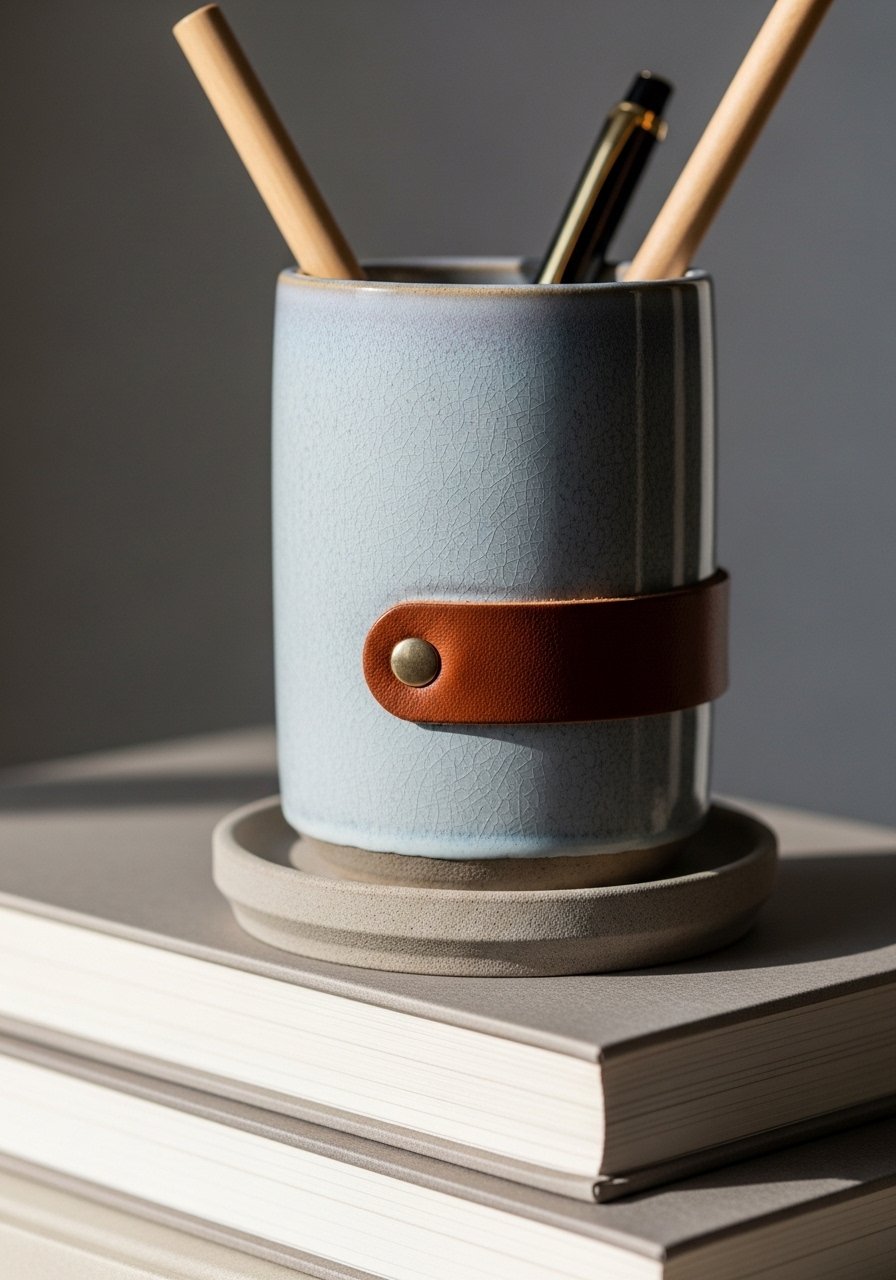
This is where DIY details earn their keep. I add a wrapped pen cup, a handmade paperweight, or a painted edge on a notebook—small, personal touches that still serve a purpose. Place them inside your tray or beside your stack of books so they read as chosen, not dumped.
The insight is that DIY should be seen, not hidden. One mistake is over-customizing everything; keep one or two DIY pieces so the desk remains clean and usable. Practicality wins.
Step 5: Soften edges and keep everyday storage tidy
Finally, soften the grouping with texture—wicker, cloth, or a matte ceramic. I tuck chargers or extra papers into a small basket and keep only daily items on the surface. That soft texture keeps the desk feeling comfortable and grounded.
A common oversight is leaving cords and receipts visible. One small habit—empty the basket weekly—keeps the look intentional. Don’t overcrowd the surface; a little empty space makes what’s left feel curated.
Common mistakes with desk decor
I see the same missteps often. People think more items equal more style. The opposite is usually true. Too many objects make a desk feel cluttered and stressful.
- Avoid full-surface styling—leave breathing room.
- Don’t center everything; slight offsets feel more relaxed.
- Mix textures and heights, but limit color accents to one or two tones.
I prefer neutral bases and one accent color. It keeps the desk calm and easy to live with.
How to adapt this for small desks and tight corners
For narrow desks, choose low-profile anchors and vertical solutions. A slim lamp and a single vertical plant keep the surface usable. Use a tray no wider than half the desk; it defines the area without swallowing it.
Bulleted tips:
- Use wall-mounted frames or a small pegboard to lift items off the desktop.
- Stack two books as a riser instead of a second tray.
- Keep a single woven basket under the desk for out-of-sight storage.
I test placements by working at the desk for a day—if something blocks comfort, I move it.
Mixing this look with what you already own
You don’t need to replace everything to get a cohesive desk. I blend old items with one or two new pieces—a brass lamp or an off-white ceramic cup—so the desk matches the room. Aim for harmony, not matchy-matchy.
Quick swaps:
- Swap a bright pen cup for a neutral ceramic one.
- Replace a plastic tray with a wooden version for warmth.
- Introduce one woven texture to soften modern or metal pieces.
I keep one personal item—a photo or small keepsake—so the desk feels like mine, not a showroom.
Final Thoughts
Start with one small change: a tray or a faux plant. Arrange with intention, not force. Small, confident edits make the desk feel calm and useful.
If you’re unsure, add a glazed ceramic pen cup or a small faux fiddle leaf fig. They’re low-commitment and instantly make the surface feel cared for.
