

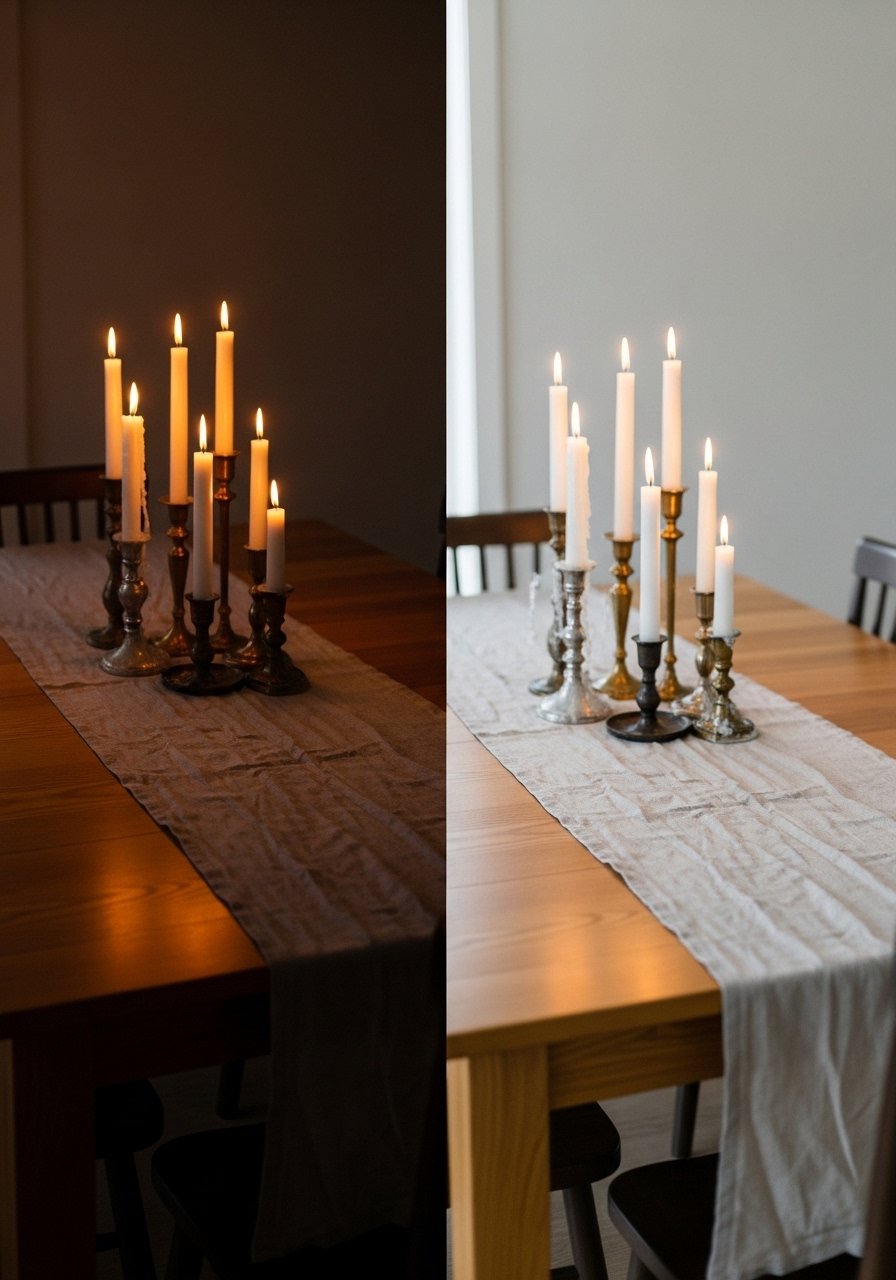
A real, lived-in dining room showing the final result of a DIY table runner without sewing. Natural daylight, soft shadows, layered textures. The table reads calm and intentional. Wide angle that shows balance between runner, vase, and candles.
When my dining table felt unfinished, I kept staring at that blank strip down the middle. Nothing I tried—candles, bowls, centerpieces—made the space feel cohesive.
I learned that a simple runner changes the room's rhythm. You don't need sewing skills. A few careful choices give a warm, intentional look that reads as collected, not forced.
How to Make a DIY Table Runner Without Sewing
I'll show how I make an effortless runner from everyday textiles and simple trims. It's achievable in an afternoon. The result reads calm and intentional—great with organic modern or Japandi tablescapes—and helps a table finally feel settled.
What You'll Need
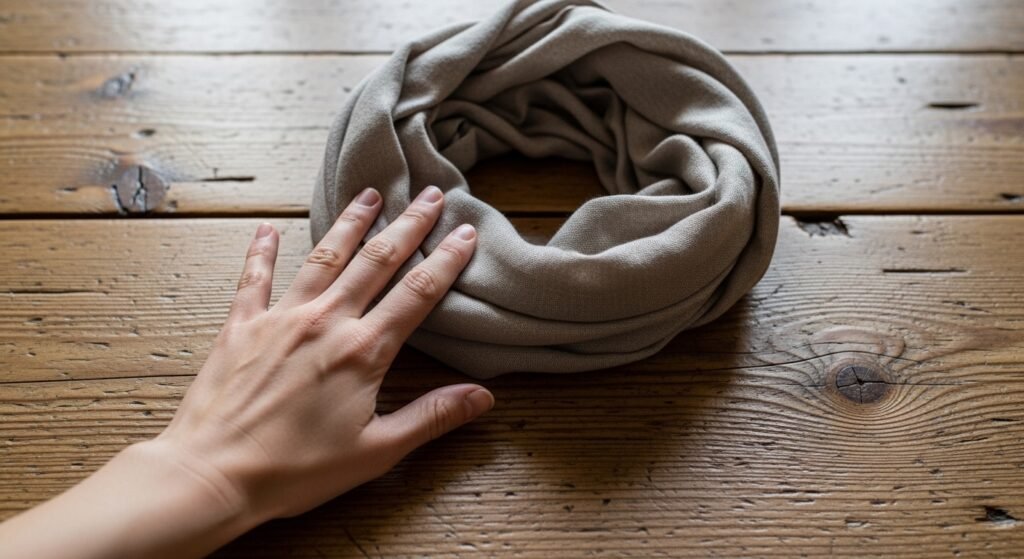
- Lightweight linen scarf in natural, 24×72 (~$20–35)
- Cotton gauze throw in ivory, 50×70 (~$25–45)
- Burlap table runner, 12×72 (~$12–25)
- Faux eucalyptus garland, 6ft (~$15–30)
- Stoneware vase, matte cream, 10in (~$25–60)
- Set of tapered candles, 6-pack, neutral tones (~$12–25)
- Wood bead garland, natural, 5ft (~$15–30)
- Vintage hardcover books, set of 3 (coffee table size) (~$20–40)
Step 1: Choose the textile that sets the tone
I start by picking the textile that feels like the room. Linen or gauze gives a soft organic modern look; burlap adds earthy texture for a farmhouse feel. The fabric decides the mood before anything else is added.
Visually, the table gets an immediate horizontal line that reads intentionally finished. One insight people miss: the runner's fabric should contrast the tabletop—light on dark wood, textured on smooth surfaces. Small mistake to avoid: choosing a piece that’s too short. It ends up looking accidental rather than deliberate.
Step 2: Set the runner’s length and placement
I work out the length by laying the textile and stepping back. I prefer the ends to fall about 6–12 inches over the table for most dining tables. That subtle overhang makes the runner feel anchored without dominating the space.
This stage changes the rhythm of the room—the eye now moves along the table instead of stopping at the center. Insight people miss: a runner doesn't have to be perfectly centered; a slight offset can feel more relaxed. Mistake to avoid: leaving too much overhang on a narrow table, which makes the whole arrangement feel heavy.
Step 3: Layer for balance, not clutter
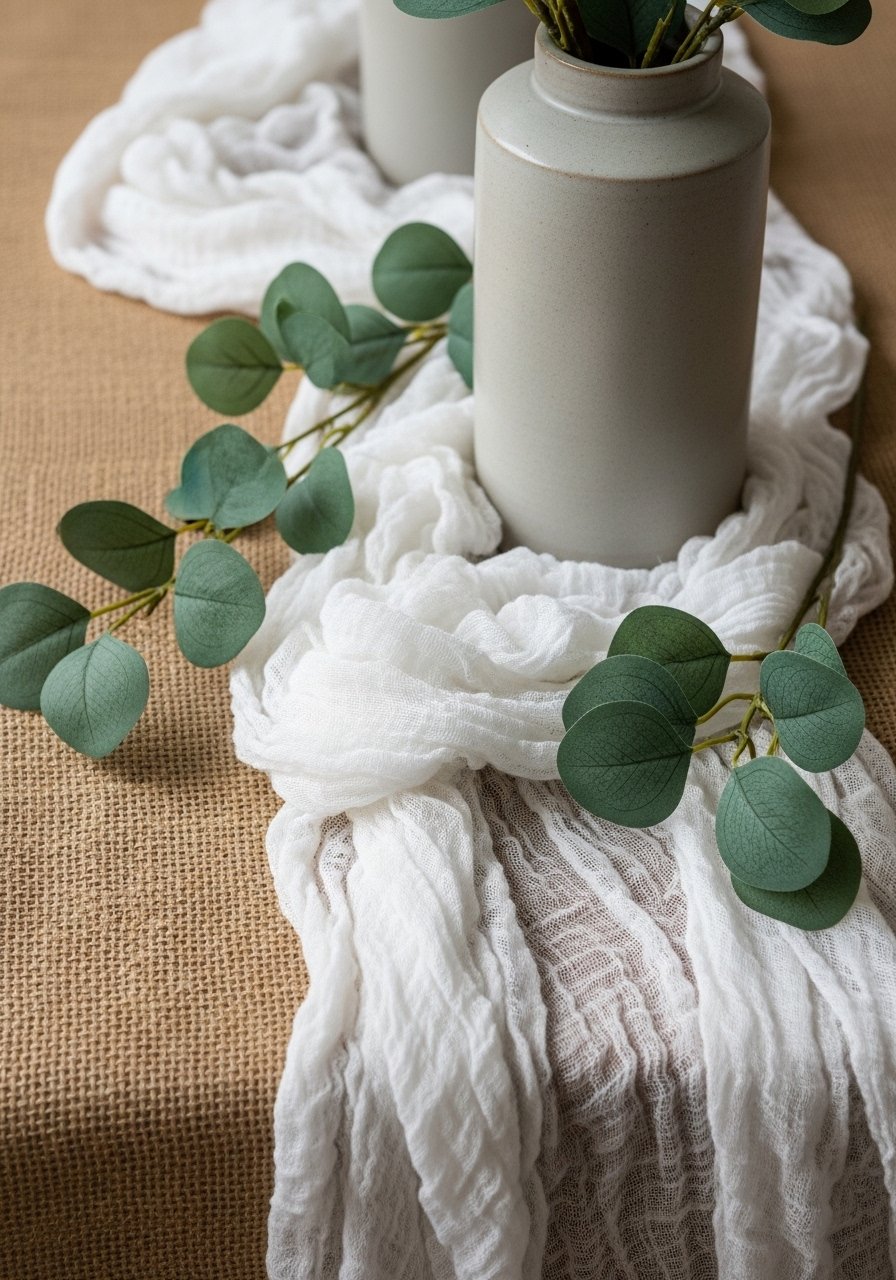
I layer smaller textiles or trim over the base runner when I want depth. A gauze throw over linen softens edges. A wood bead garland or a slim eucalyptus strand adds height and a living feel. I think in layers: base, mid, and focal piece.
Visually the table stops feeling flat. One insight: leave negative space—don’t cover the runner end-to-end with objects. That space is what reads as calm. A common mistake is overcrowding; too many small pieces reads noisy instead of collected.
Step 4: Anchor the composition with objects that speak the same language
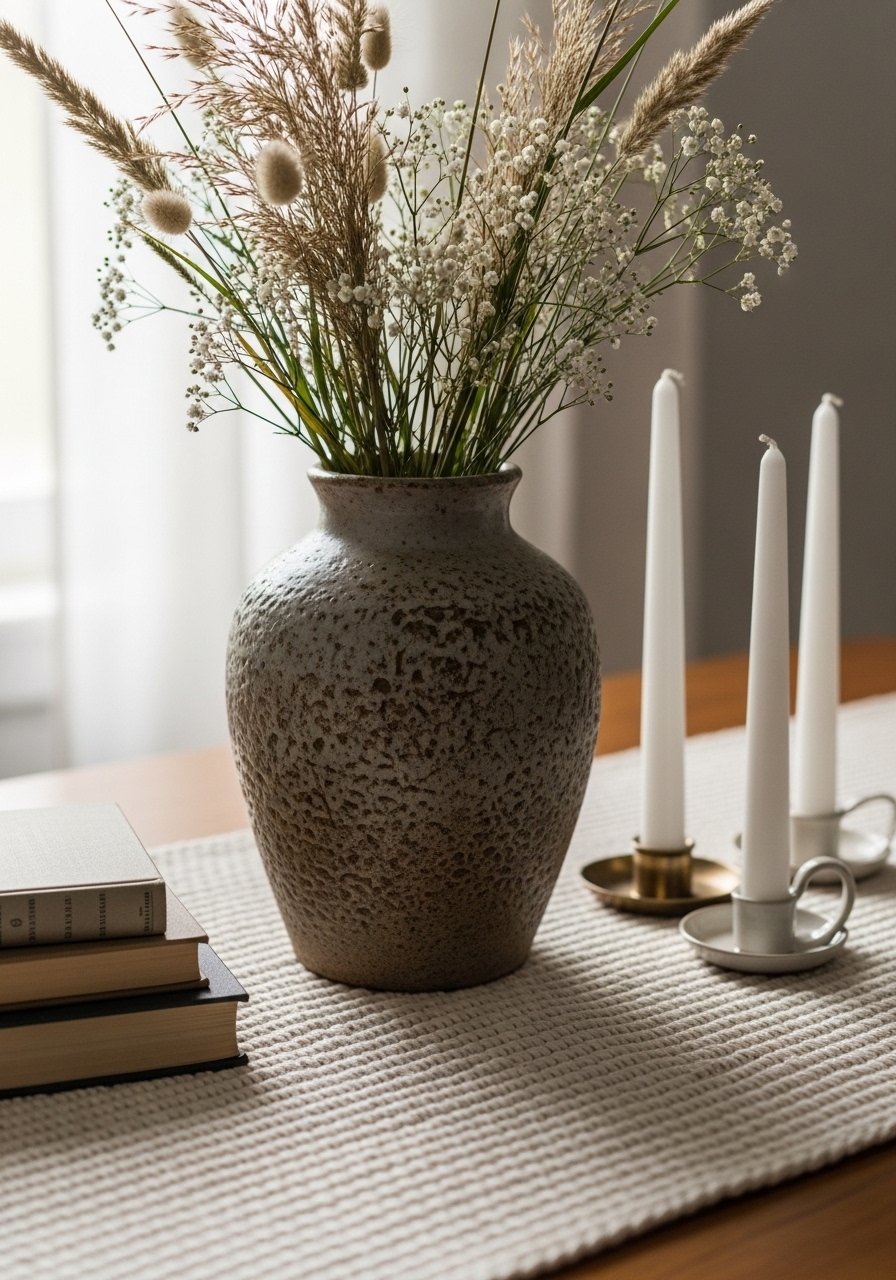
I anchor the center with one main object—a stoneware vase or a wooden tray—and echo materials at the ends with books or a shallow bowl. Matching tones (matte ceramics, soft neutrals) keeps the look cohesive.
This is where the runner feels like furniture, not fabric. People overlook scale: a tiny vase on a long runner looks lonely. Mistake to avoid: using identical heavy weights at both ends that make the runner feel staged. I prefer varied heights for a natural rhythm.
Step 5: Live with it and tweak as light and use change it
I give myself a day or two to live with the arrangement. Lighting, how people sit, and where dishes land change how the runner performs. I move a candle or nudge a garland until the flow feels right.
The visual change over time teaches more than planning. One insight: runners age into the room—their imperfect creases add warmth. Mistake to avoid: overfussing on symmetry on day one. Small shifts often make the composition feel more relaxed and real.
Common mistakes and how I fix them
I often see runners that look like an afterthought. The most common problems are wrong scale and overcrowding. If the runner is too narrow, it disappears; too wide, it feels like a tablecloth pretending to be a runner.
Quick fixes I use:
- Swap to a wider or narrower textile to match table width.
- Remove smaller decorative bits and keep one or two focal pieces.
- Rebalance with negative space rather than adding more objects.
Adapting the look for room size and budget
On a small table, I pick shorter textiles or fold a scarf lengthwise so it reads proportional. For larger tables, I layer two textiles—a base and a narrower runner—to keep scale without buying pricey fabric.
Budget options I rely on:
- Use a scarf or throw you already own.
- Swap fresh eucalyptus for faux garland.
- Anchor with objects from around the house instead of buying new pieces.
Seasonal variations and simple swaps
I change just one or two elements through the year. In spring I add a light gauze layer and fresh stems. In fall I switch to burlap and deeper ceramics. Small swaps keep the table feeling current without a full redo.
Ideas I use:
- Summer: linen scarf + single ceramic vase + eucalyptus.
- Fall: burlap runner + tapered candles + wood bead garland.
- Holiday: richer tones, textured runner, and clustered candles.
Final Thoughts
Start with one piece you already own—a linen scarf is an easy test. Make small edits rather than a full redesign. You can create a calm, lived-in table that feels intentional in an afternoon.
If you want a low-commitment start, try the lightweight linen scarf in natural. It's forgiving, looks at home in organic modern or Japandi spaces, and teaches you what scale and texture your table needs.
