

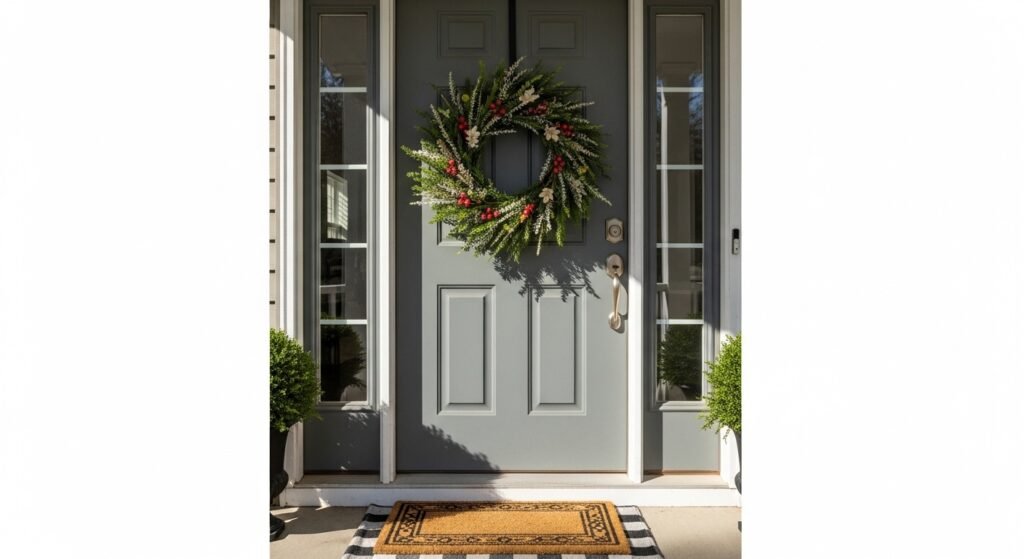
I used to leave my front door bare all winter. It felt cold and awkward. Wreaths from stores often looked flat or too fussy. I learned to make a simple, repeatable wreath that actually reads like part of the house.
If you want a wreath that feels balanced and changeable, this is the method I use every time a room feels unfinished.
How to Make a DIY Wreath for Any Season
This will teach you how to build a wreath that reads intentional, not made-in-a-hurry. You’ll end with a base you can refresh for spring, summer, fall, or holiday looks. It’s about placement, layering, and small choices that make a wreath feel lived-in and balanced.
What You'll Need
- Grapevine wreath base, 18-inch natural grapevine (~$15–40)
- Silk peony bush, cream-pink, 3-stem bundle (~$20–50)
- Forsythia branch stems, pack of 6, bright yellow (~$30–60)
- Button grass filler bunch, green, 2-pack (~$15–30)
- Mixed eucalyptus & fern greenery bundle, 10 stems (~$10–30)
- Ribbon, 1-inch grosgrain, soft blush, 25 yards (~$5–15)
- Mini grapevine wreaths, set of 4, 8-inch natural (~$25–50)
- Smilex floral sleeves or fire-safe filler, pack of 4 (~$10–30)
Step 1: Set the base so the wreath reads seasonal and stable
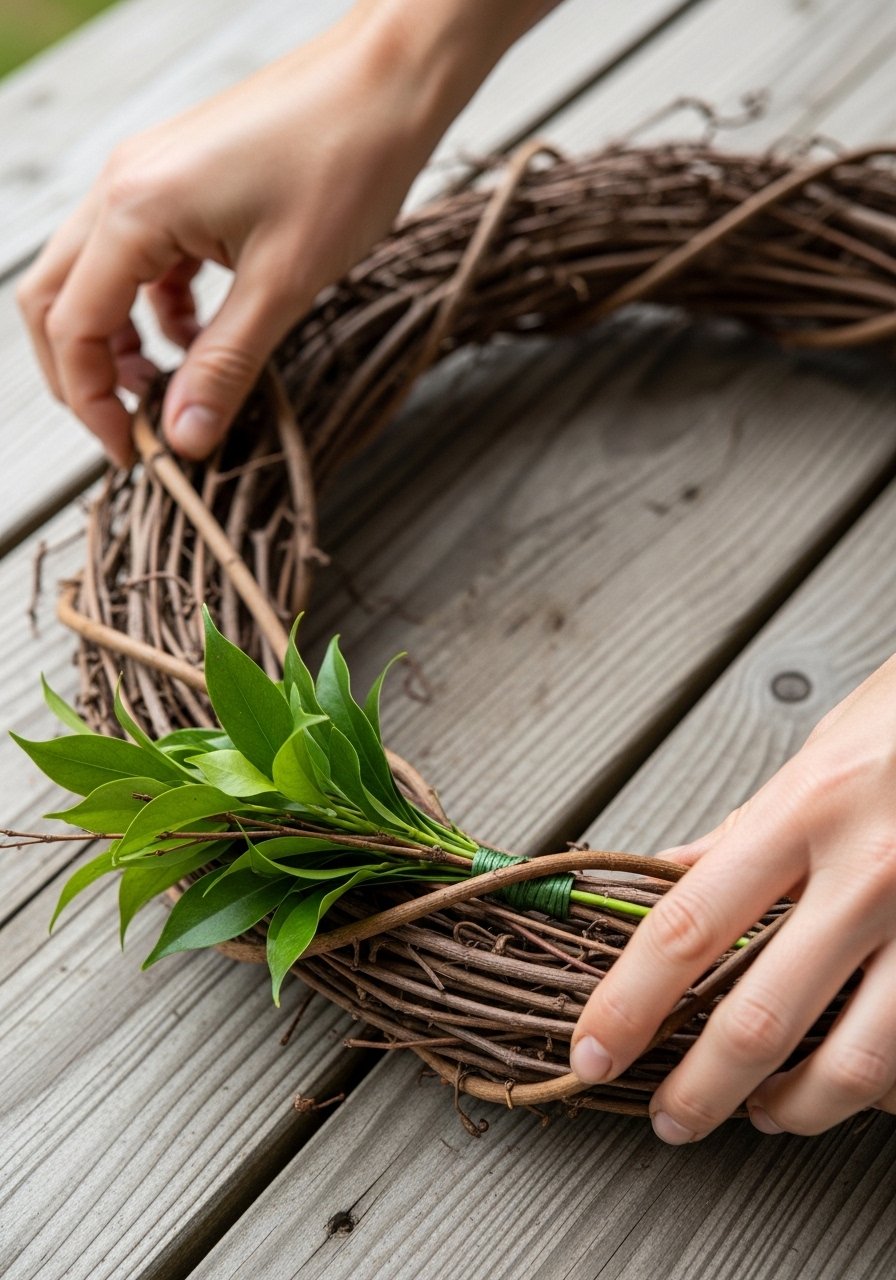
I start by deciding what season I want the wreath to read. A grapevine base already feels organic and works year-round. I rotate mini grapevine clusters when I want a softer cottagecore look.
What changes visually is the silhouette. A grapevine base gives uneven texture so blooms don’t sit flat. A common miss is choosing a flat foam hoop — it makes everything look glued-on. Avoid a base that’s too small for your door; scale matters.
Step 2: Build a greenery skeleton for depth and movement
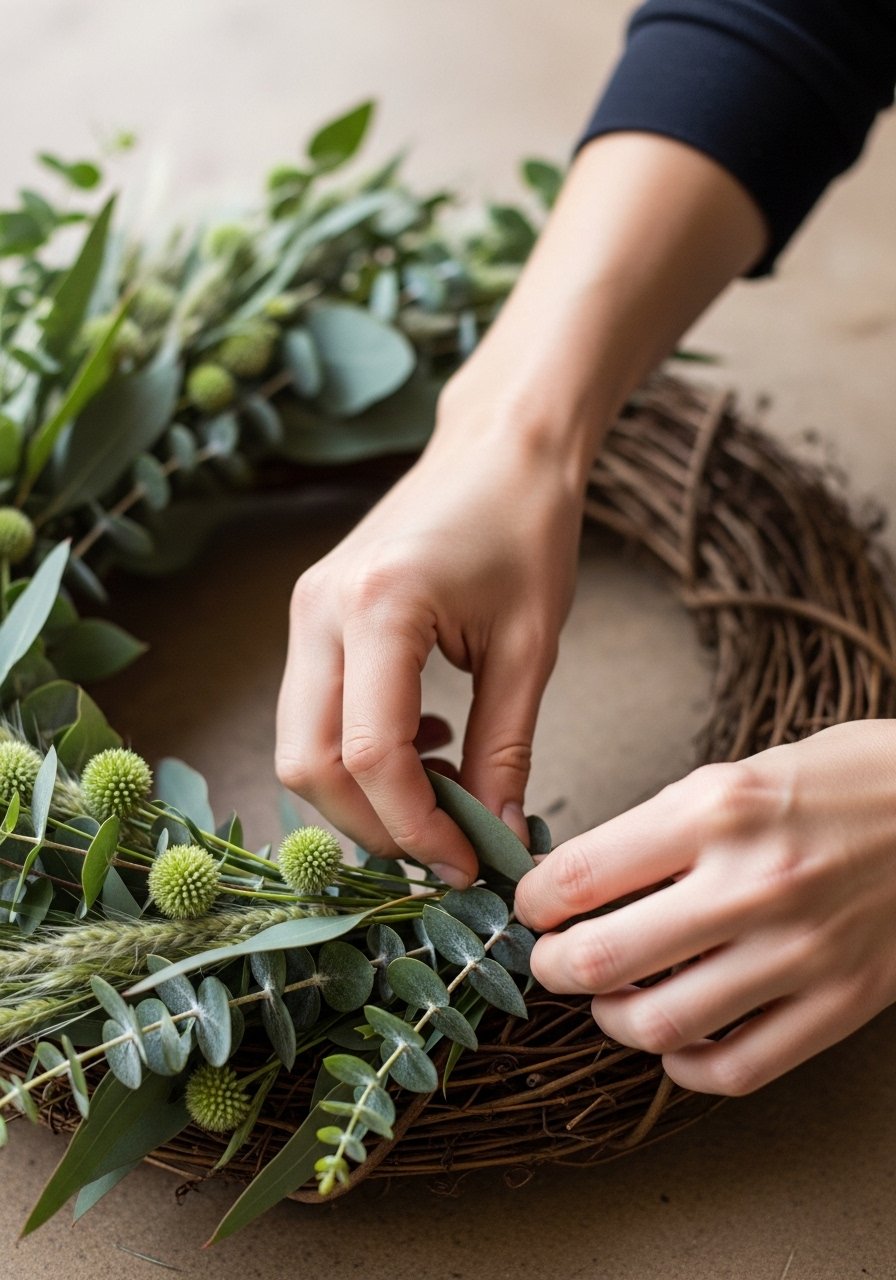
I layer eucalyptus and button grass first. I tuck stems into the grapevine in thirds, not evenly spaced. That creates flow and prevents a flat ring.
You’ll see the wreath get lively here. The insight most miss is overcorrecting fullness — add more than you think, then trim. The mistake to avoid is using only a single type of greenery; alternating textures (fern, eucalyptus, button grass) keeps it from looking flat.
Step 3: Cluster focal flowers for weight and dimension
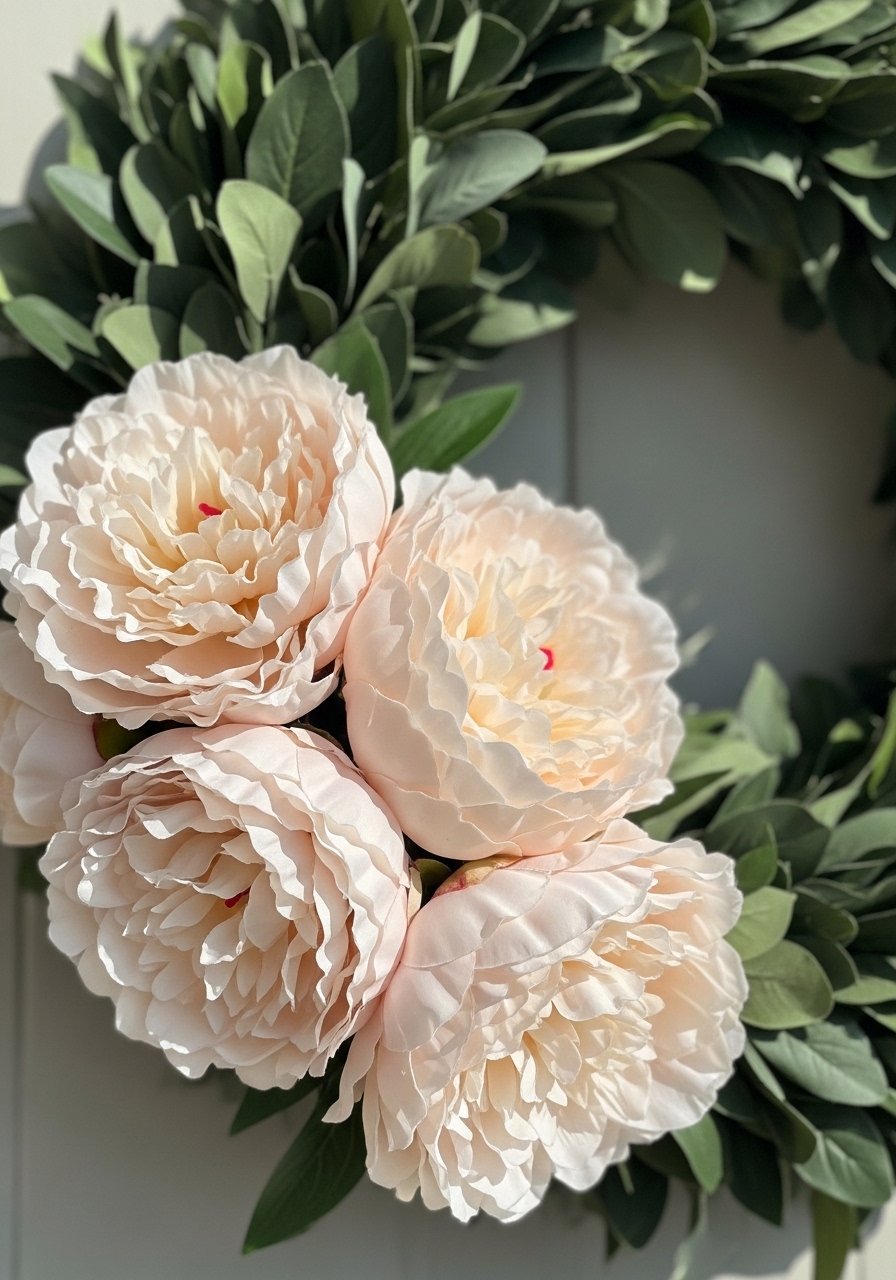
I group peonies or ranunculus in clusters of three to five. I place them slightly off-center so the eye travels, not just stops at noon. Layer smaller buds behind larger blooms for depth.
This is where a wreath stops feeling craft-store flat. People often space single blooms evenly; that reads manufactured. Also avoid shoving stems straight in — angle them so they peek out at different heights.
Step 4: Add seasonal accents and ribbon loops for personality
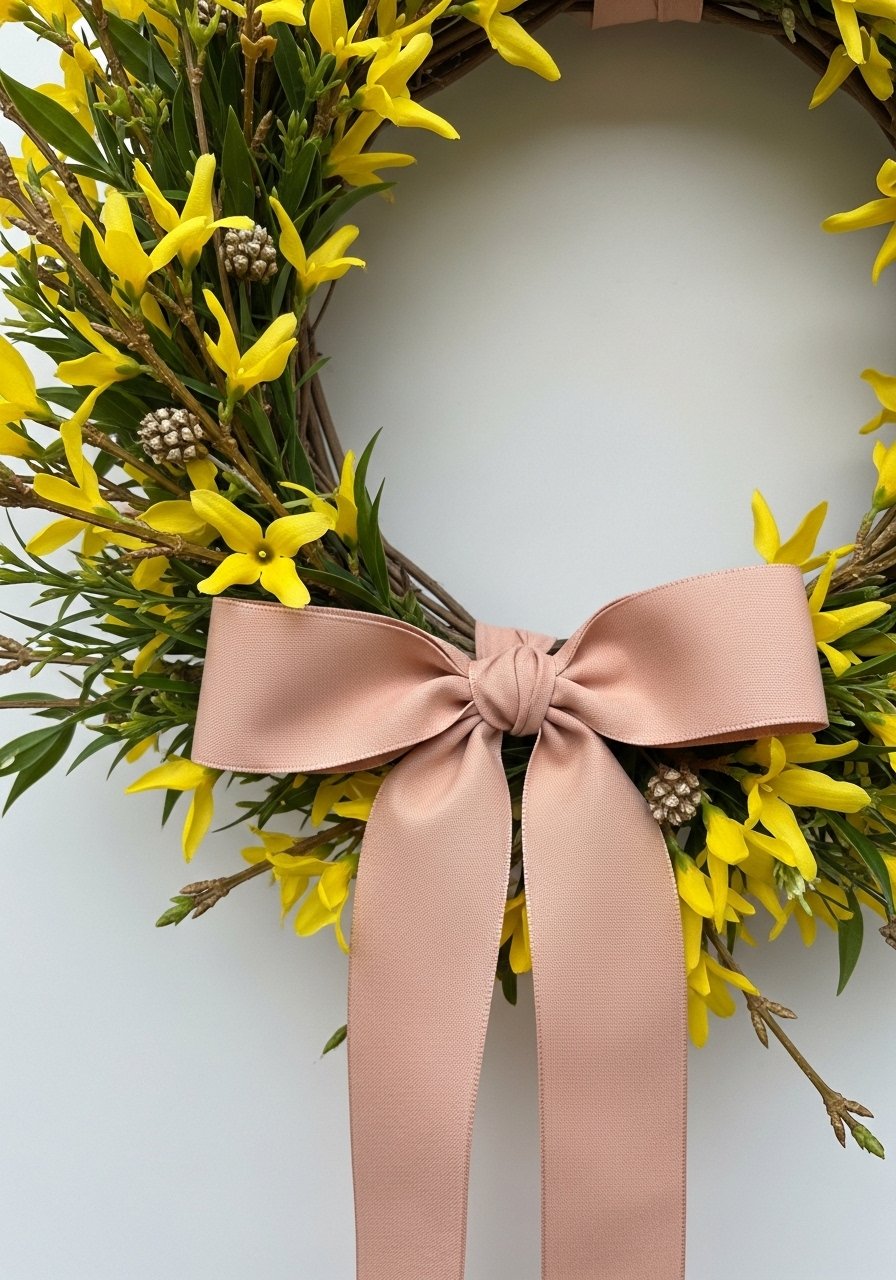
I add seasonal accents — forsythia for spring, small driftwood for coastal winter, or cinnamon dough figures for holiday. I finish with 1-inch ribbon loops pushed into the grapevine so they can dangle.
A detail people miss is letting ribbons move. Short, stiff bows look staged. The small mistake to avoid is attaching everything permanently; use floral wire or clips so you can swap accents later.
Step 5: Balance, test from a distance, and prepare for swaps
I always step back and view the wreath from several feet away. If one side reads heavy, I nudge stems or trim a cluster. I also plan for swaps: grapevine bases and smilex sleeves make seasonal changes easy.
People forget weatherproofing. I avoid heavy ornaments outdoors and secure everything with wire. For renters, I use a removable hook and keep spare greenery in a labeled box for quick refreshes.
Common mistakes and how to fix them
I’ve remade wreaths because I rushed them. Most problems trace back to three things:
- Flat base: Swap foam hoops for grapevine or mini wreath clusters.
- Sparse layering: Overcorrect fullness, then trim.
- Even spacing: Group focal flowers off-center in odd numbers.
Fixes are simple. Re-tuck foliage. Add one more stem. Step back and look at the whole door.
Seasonal swaps and storage tips
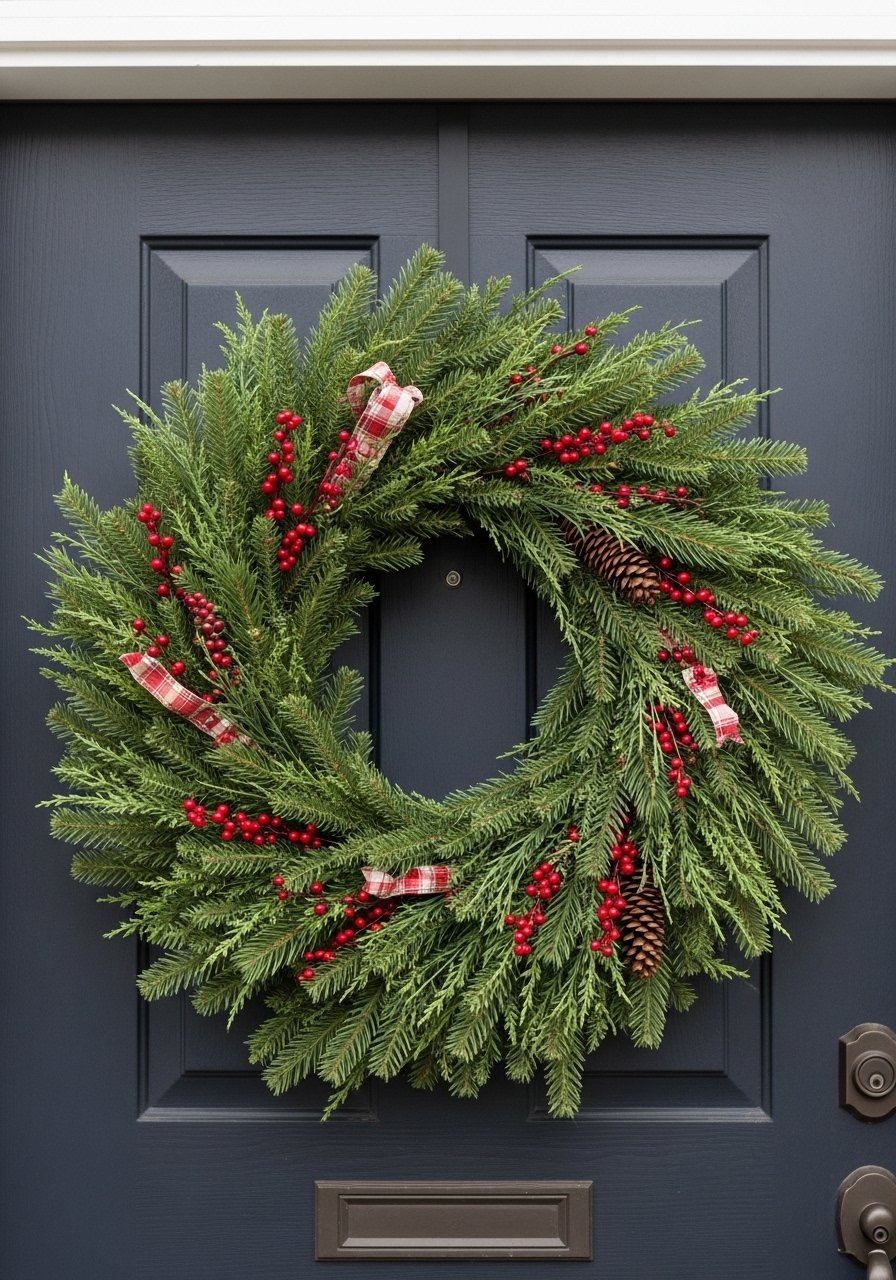
When I change seasons I keep the base and swap accents. For spring I add forsythia and peonies. For fall I add dried seed pods and a rust ribbon. For holidays I hang lightweight ornaments or cinnamon dough figures.
Storage tips:
- Store sprigs in a shallow box so petals don’t crush.
- Label small bags with accents for quick seasonal swaps.
- Use floral wire and clips so nothing is permanent.
This saves money and keeps the wreath feeling fresh.
Where to hang, scale, and renter-friendly ideas
Placement matters more than you think. A wreath on a small door should be 14–18 inches. A large door can take 24–30 inches. I size by stepping back and imagining the whole entry.
Renter tips:
- Use an over-the-door hook or removable adhesive hook rated for outdoor use.
- Avoid drilling; use wire ties on railings if needed.
- Choose lightweight accents for covered porches to resist wind.
I balance scale against the rest of the entry — a too-small wreath looks lonely.
Final Thoughts
Start with a grapevine base and one floral focal you love. Make the greenery dense first, then add blooms in odd-number clusters. Swap ribbons or accents each season for very little cost.
It’s an easy way to make a door feel intentional and lived-in. Start small, adjust by eye, and keep a simple storage box for swaps.

Hi I love your wreaths.!!! You are truly talented and I my self love making wreaths I am obsessed! I have a few Q’s if you don’t mind please. I tent to over do it when I start placing the foliage, how can I stop doing this? And also I am having a horrible time with the gorilla glue sticks, the material doesn’t stay put. What type of glue do you recommend? I thought gorilla glue sticks were the best. Thank you 🙏
Thank you so much!! 😭 I totally feel you lol I always overdo the foliage too 😅 what helps me is just stepping back every few pieces and forcing myself to stop before it gets too full
and yeah gorilla sticks are not that great tbh, I switched to high temp glue gun and its way better, for heavier stuff I sometimes just add wire also
hope that helps a bit.