

A real, lived-in living room showing the final result of DIY wall art made without painting skills. Natural daylight, soft shadows, layered textures. The space feels intentional but not staged. No text overlay. Wide angle that shows balance and flow.
I kept staring at the big blank above my sofa and feeling like something was missing. I can't paint, and wallpaper felt permanent. Small framed things looked weak.
So I learned to make wall art that reads finished without ever touching a brush. It uses found pieces, fabrics, and frames to make a room feel complete.
How to Make DIY Wall Art Without Painting Skills
This is the method I use every time a room feels unfinished. You’ll learn how to pick a main piece, layer texture and scale, and edit until the wall feels balanced. The result is a composed, lived-in look made from ready-made and found elements — no painting skill required.
What You’ll Need
- Large printed botanical art print (24 x 36, matte paper)
- Textured woven wall hanging (30 x 20, cream cotton)
- Assorted thin black and gold frames (8 x 10 & 11 x 14)
- Floating picture ledge shelf (white, 48")
- Vintage book pages bundle (aged paper)
- Pressed flower double-sided glass frames (4 x 6)
- Brass clipboards (set of 3, small)
- Linen fabric remnant (neutral, 1 yard)
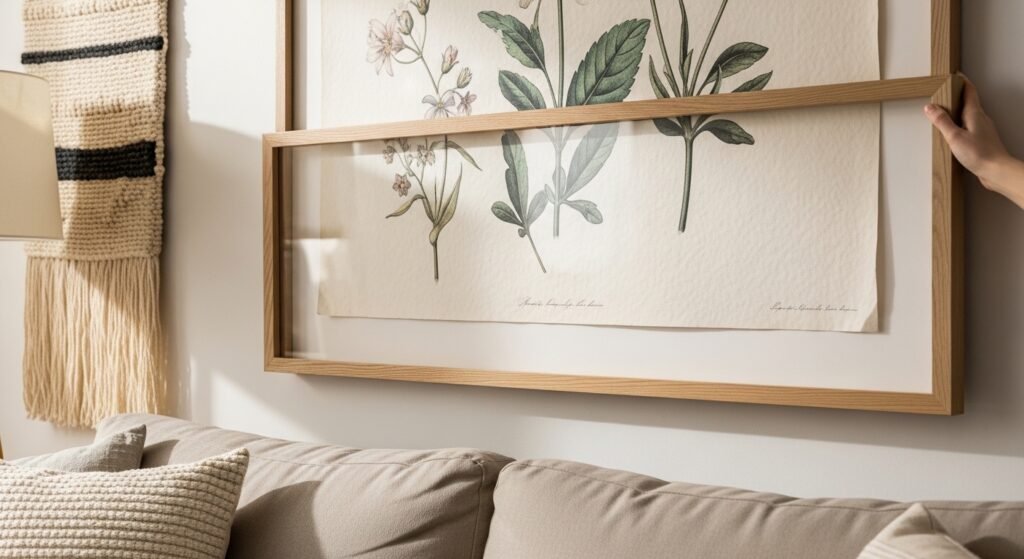
Step 1: Pick a confident focal piece
I start by choosing one thing that reads loud enough for the wall. For me that’s usually a large print, a woven textile, or an oversized frame. It anchors everything else and gives me a center to arrange around. Visually, the room immediately feels intentional when a single piece has presence.
People often miss scale. Too-small work makes a wall look tentative. A common mistake is picking two medium things instead of one strong piece. Don’t be shy with size.
Step 2: Add texture and depth around the focal

Once the anchor is up, I add texture — a woven hanging, a linen panel, or book pages framed under glass. These shift the wall from flat to layered. The visual change is immediate: the light hits different surfaces and the eye moves instead of stopping.
An insight I keep learning is that texture can read as color on a distance. Mistake to avoid: piling everything on the same plane. Layer pieces so some sit forward and some recede.
Step 3: Vary scale and frame types for interest
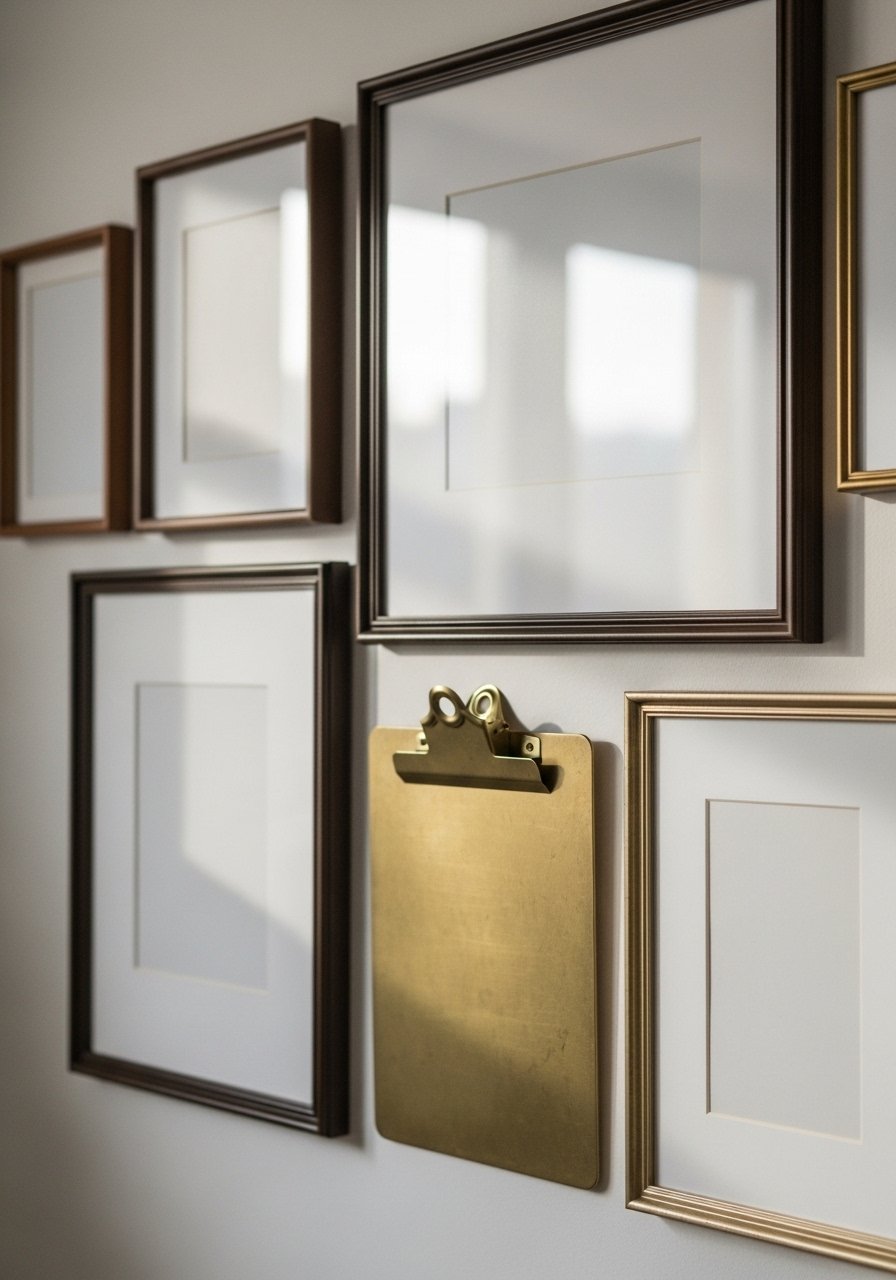
I balance the big piece with smaller frames and items. I mix metal frames, thin black frames, and a single natural wood or brass clipboard to break repetition. The visual shift is rhythm — the eye hops between shapes and sizes rather than fixating.
People usually match frames too strictly. The missed insight is that a little mismatch feels curated. A mistake I see often is placing similarly sized frames in a straight line — it flattens the composition. Stagger them instead.
Step 4: Introduce small, personal layers and odd numbers
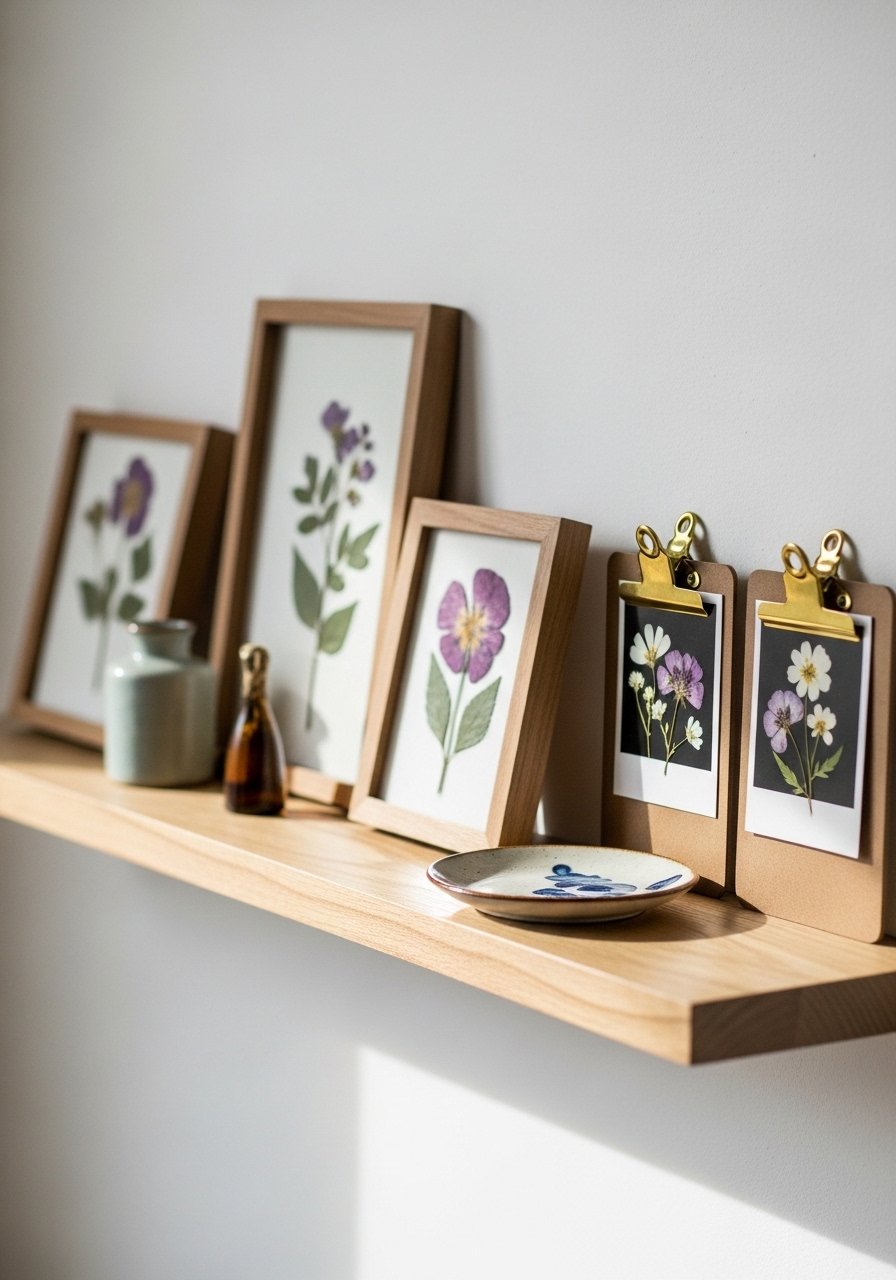
I add small, personal things last: pressed flowers, a clipped postcard, a tiny framed sketch. I group them in odd numbers — three small frames, a pair plus one — for a relaxed balance. This is where the wall feels lived-in and tells a bit of your story.
Insight: small pieces should be seen as punctuation, not filler. A mistake is overfilling the space with too many trinkets. Give each small item breathing room.
Step 5: Edit, live with it, and tweak
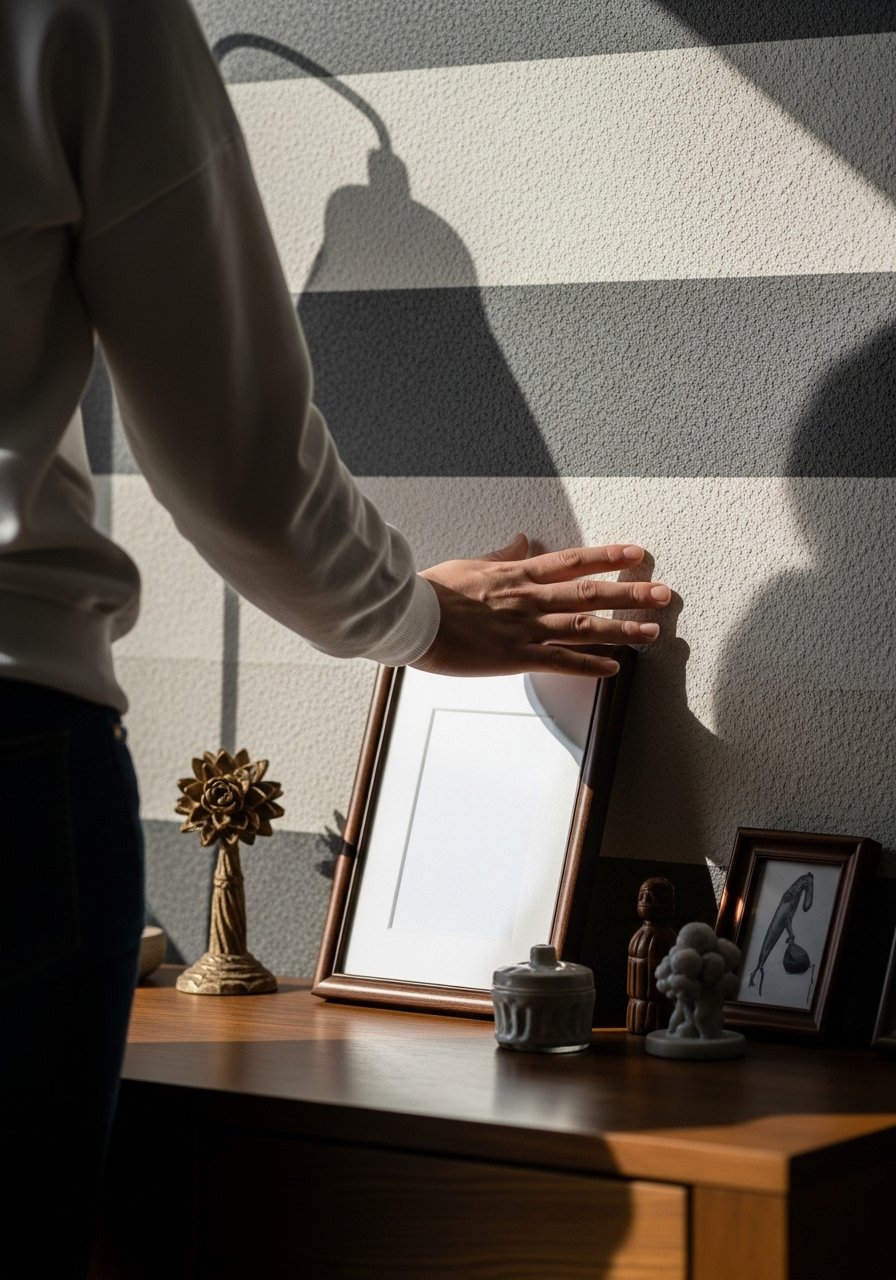
I step back and live with the arrangement for a few days. I swap one piece, move a frame an inch, or remove a small item. The visual changes are subtle but steady: the composition settles and feels right for the room’s daily light and use.
Most people stop too soon. The insight is that editing is part of the design. A common mistake is making the arrangement permanent immediately. Let the wall evolve.
Placement Tips
I usually treat the wall as a group rather than separate items. The group should read as one object from a distance. That means centering the anchor over furniture and balancing weight left to right.
Quick checks:
- Leave negative space around the group.
- Keep the main cluster about two-thirds the width of the furniture below.
- Use odd-numbered groupings for small items.
Working with Color and Texture
I let texture do a lot of the heavy lifting when I don’t want to paint. Linen, woven cotton, and aged paper add warmth without adding a new color. When I do use color, I echo it in a pillow or rug so the wall feels tied to the room.
Simple rules I follow:
- Match one or two accent colors only.
- Use neutrals to calm busy patterns.
- Repeat a material (brass, wood) at least twice.
Where I Find Pieces
I mix things I buy with things I find. Thrift stores, flea markets, and online prints are my go-tos. I look for items with good edges and simple palettes that won’t fight the room.
When hunting:
- Pick one statement piece first.
- Collect small items over time.
- Keep a folder of images that catch your eye for reference.
Final Thoughts
Start with one confident piece and build slowly. You don’t need paint to make a wall feel finished. Small swaps and a little editing go farther than chasing a perfect arrangement.
Trust what looks right from your couch. A room that feels balanced is always worth the small adjustments.
