

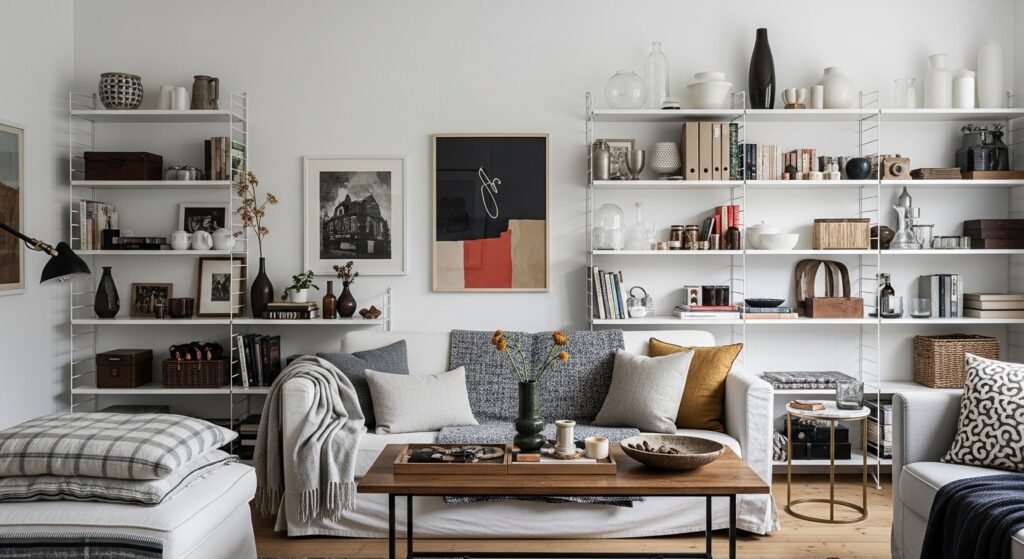
I hate walking into a room and finding one corner that feels unfinished. It’s that empty shelf or plain wall that makes the whole space feel off. I used to freeze, unsure where to start.
Now I pick one small DIY project. It’s simple, feels intentional, and makes the room settle.
How to Do DIY Projects at Home with Simple Tools
This is the method I use every time a room feels unfinished. You’ll learn to choose one small, visible fix, style it so it reads as part of the room, and finish with balance that looks lived-in. It’s achievable with everyday items and clear choices.
What You’ll Need
- Neutral wool throw blanket (50×60, oatmeal)
- Linen pillow covers (natural, 20×20, set of 2)
- Textured ceramic vase (matte white, 10 in)
- Warm white LED table lamp (2700K, brass base)
- Woven storage baskets (rattan, set of 3)
- Simple black wood picture frame (8×10)
- Neutral flatweave rug (5×8, beige)
- Set of ceramic planters (small, matte gray)
Step 1: Choose one small, visible project
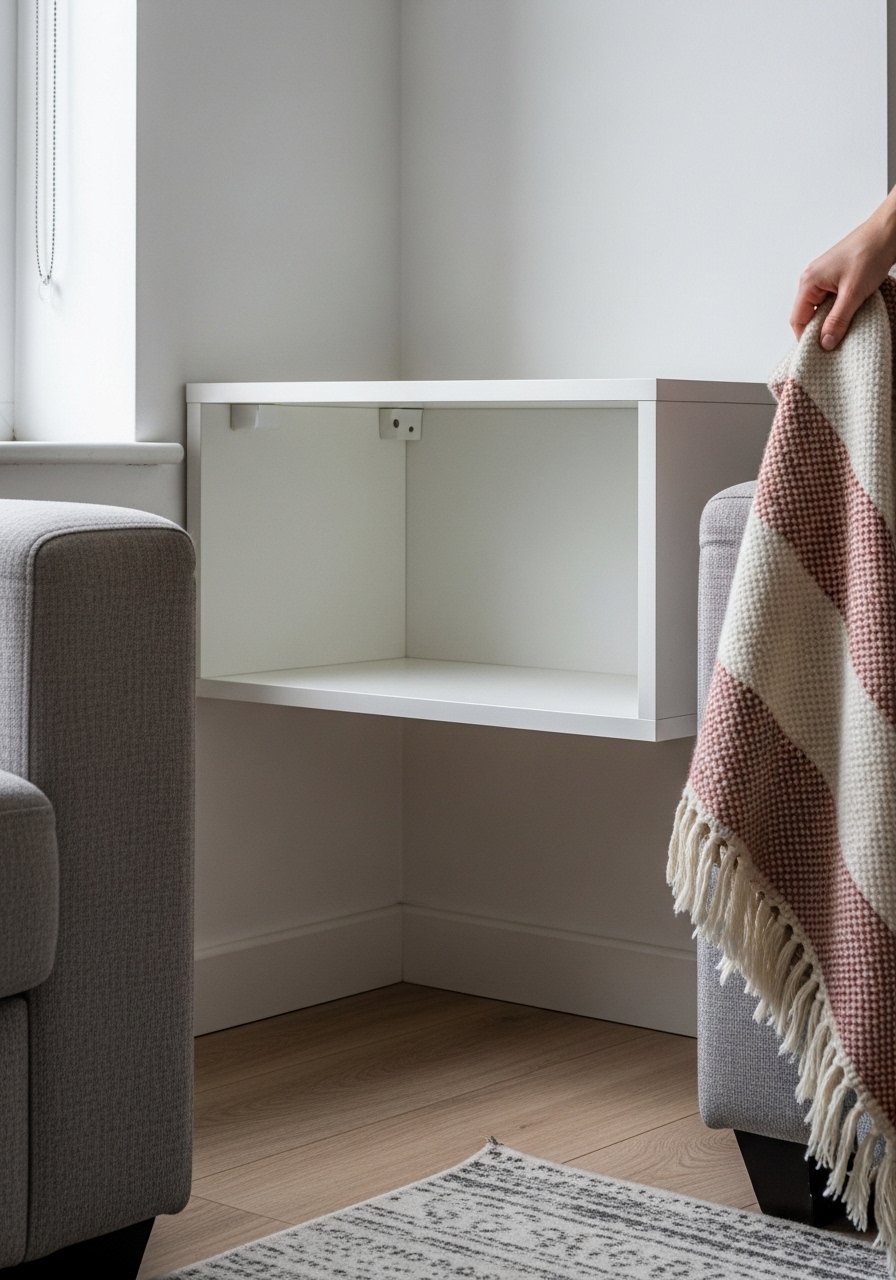
I start by choosing one spot I can finish in an afternoon. It could be a shelf, a small wall, or the top of a console. I pick one because small wins feel honest and visible.
Visually, the room goes from distracted to intentional. People miss that one completed corner makes the whole space read better. Small mistake: trying to fix the whole room at once. That dilutes the result.
Step 2: Layer textiles for warmth and cohesion
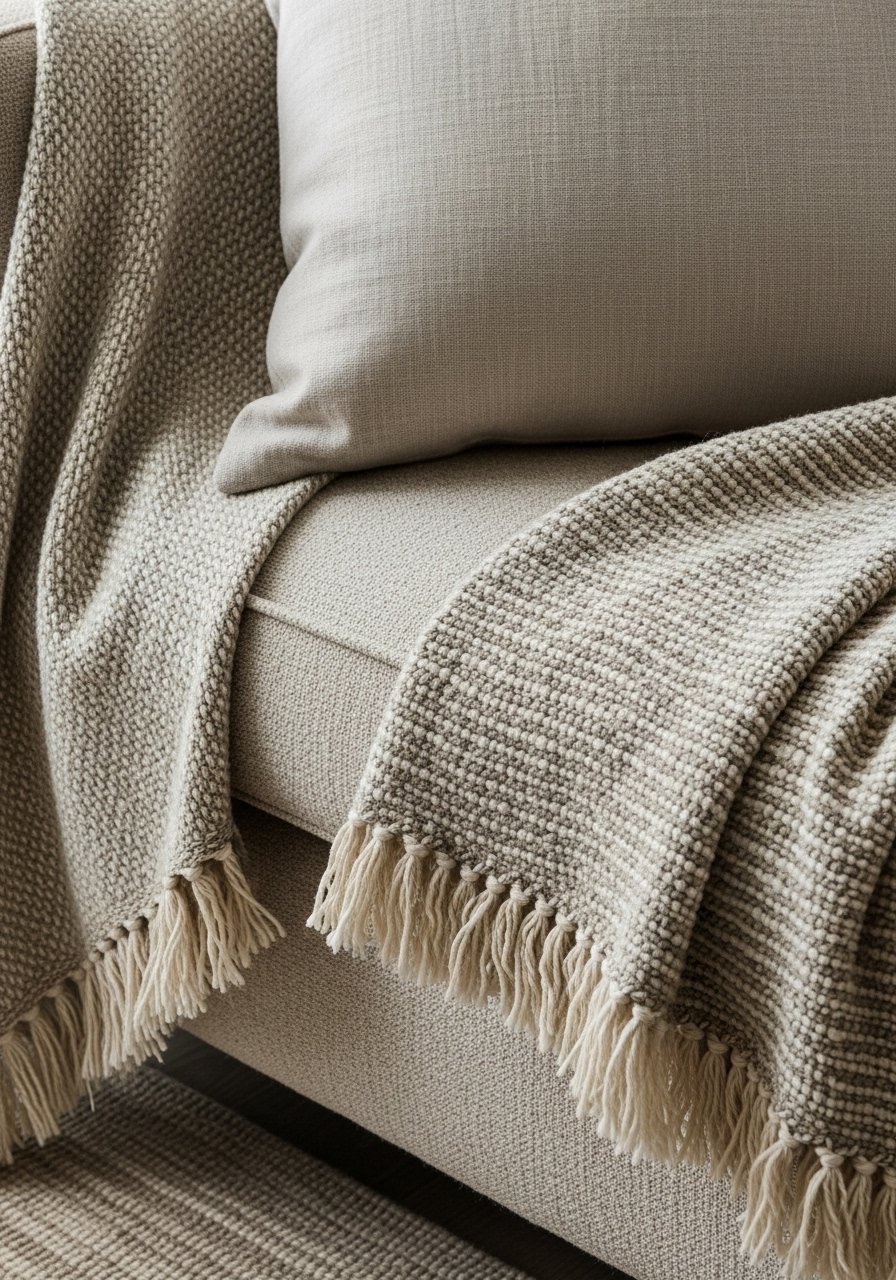
I add a base layer—a neutral rug or folded throw—and then a couple of linen pillows. Textiles tie color and scale together without shouting. The change is immediate: edges soften and the eye has a place to rest.
One insight: texture matters more than pattern here. Too much pattern competes. Small mistake: matching everything exactly; instead aim for tones that sit near each other, not identical.
Step 3: Anchor with one or two objects at different heights
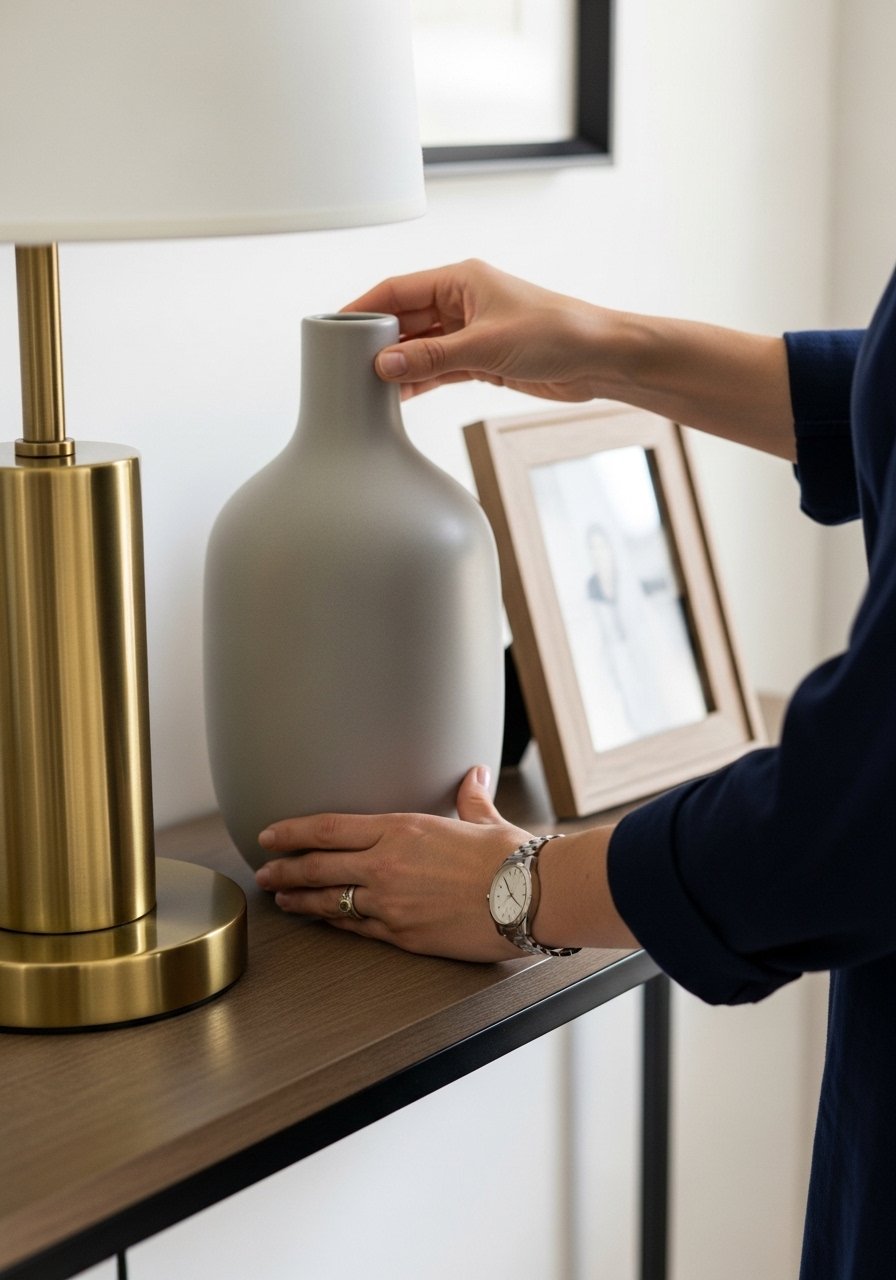
I place an anchor lamp, a vase, and a frame so heights step up and down. That vertical rhythm reads like intention. The result feels layered, not cluttered.
People often forget to vary scale. If every object is the same height it looks staged. Small mistake: overcrowding the surface. Leave pockets of empty space so each piece can breathe.
Step 4: Edit down and add hidden storage
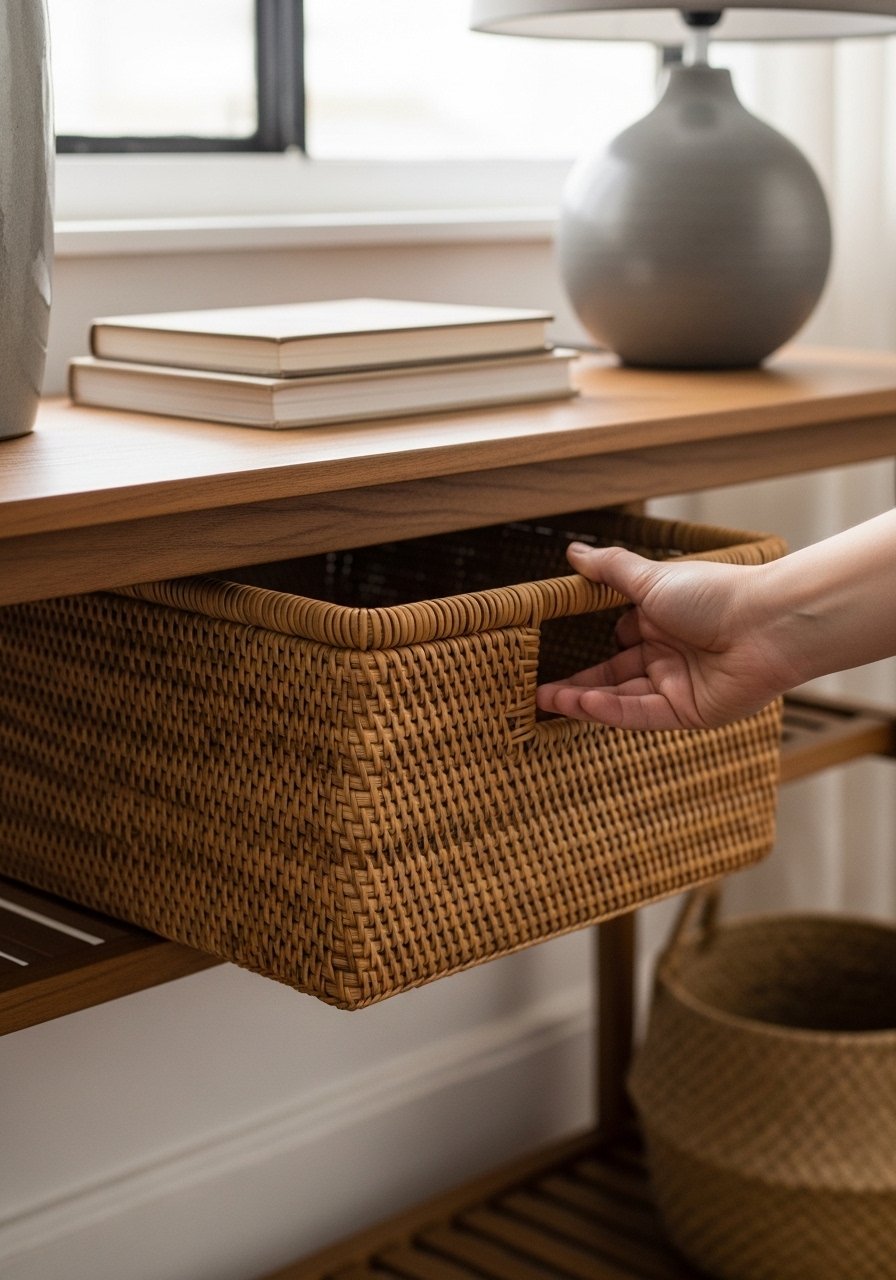
I put away the extras into a basket and keep a few chosen pieces out. Editing is the step people skip. Fewer well-placed items read calm and curated.
Visually, the area feels cleaner and more deliberate. One insight: negative space is part of the design. Small mistake: using too many small objects to “fill” a space. It reads cluttered, not cozy.
Step 5: Check the light and finish with living elements
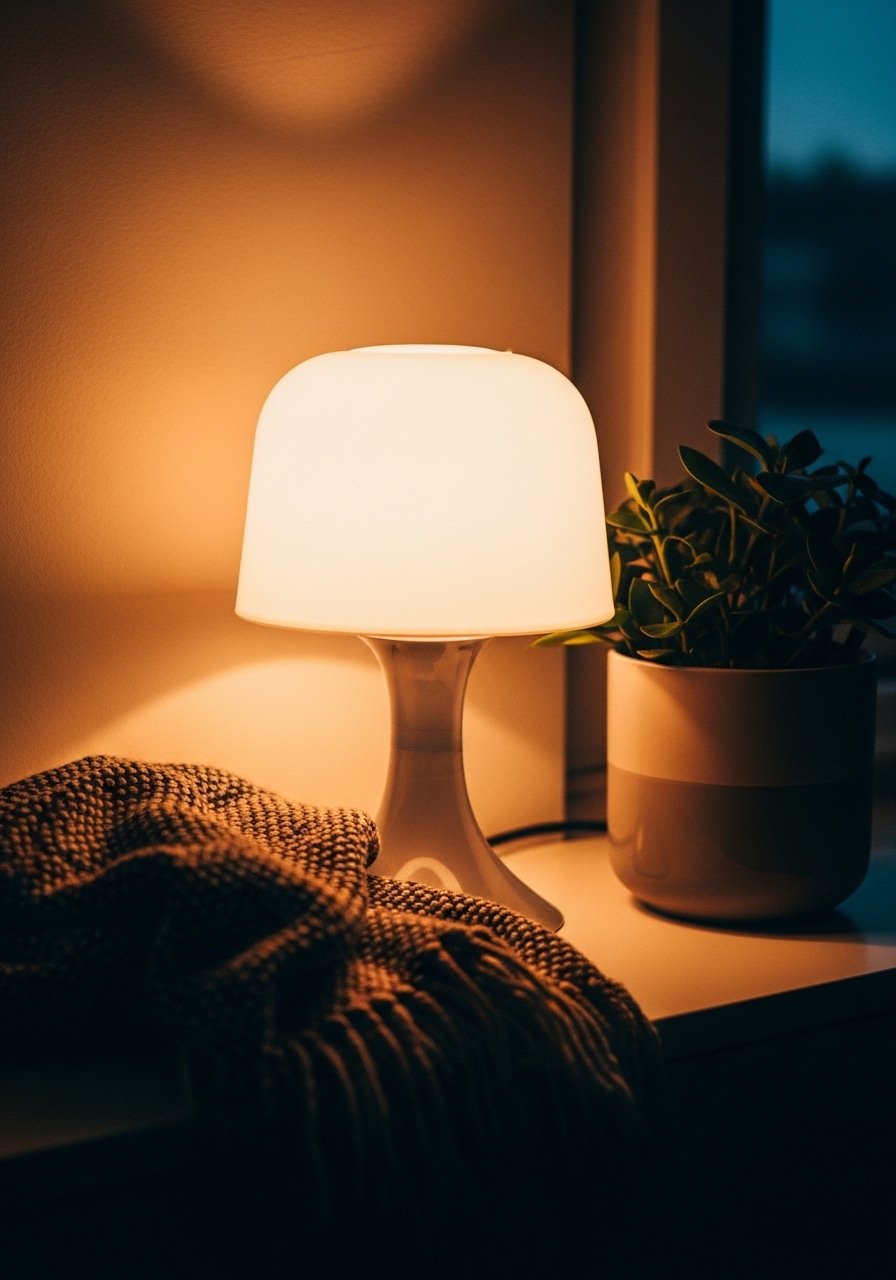
I switch to a warm bulb and tweak the lamp angle. Then I add a small plant or fresh stems in a ceramic vase. Lighting and life make the vignette feel finished and comfortable.
People miss how much light defines mood. Small mistake: relying only on overhead light. A simple lamp and a plant make the corner read as lived-in, not staged.
What This Solves
When a room feels "off," it’s usually about attention, not budget. This approach fixes the signal the room is sending. One focused project gives the eye a place to land and makes other areas feel intentional.
You’ll stop buying random accessories. Instead you’ll make one spot look complete, which lifts the whole room’s mood.
Common Mistakes to Avoid
I see the same errors again and again. People pile on small items to fill a space. That creates noise, not calm. Aim for three or four meaningful things at most.
Another mistake is leaving everything symmetrical. Symmetry can work, but I prefer slight imbalance—one taller item, one lower cluster. It reads more lived-in. Finally, don’t rush the edit. Live with the setup for a day before adding more.
Quick Styling Tips for Lasting Results
Start with one palette: two neutrals and one accent. That keeps things simple. Use texture—wool, linen, wood—to add interest without bright patterns.
Rotate a pillow or plant seasonally. Small changes keep the space fresh. Keep one storage basket within reach so life stays tidy without hiding the room’s personality.
Final Thoughts
Start with one small corner. Do one project you can finish in an afternoon. It’s low risk and visibly effective.
You don’t need a plan for the whole house. Finish one spot, live with it, and build confidence from there.
