

Ever look around your home and wish you could refresh or fix things without spending a fortune? The good news: you don’t need a workshop full of equipment or professional skills to transform your space. With a few simple tools and beginner-friendly ideas, you can start creating, fixing, and upgrading your home this weekend.
DIY projects are not just budget-friendly—they’re confidence builders. Every shelf you hang or wall you paint makes your home feel more personal.

Let’s break down how you can start doing DIY projects at home—step by step.
Essential Simple Tools to Get Started
You don’t need expensive power tools right away. Most beginner projects only require a small toolkit.
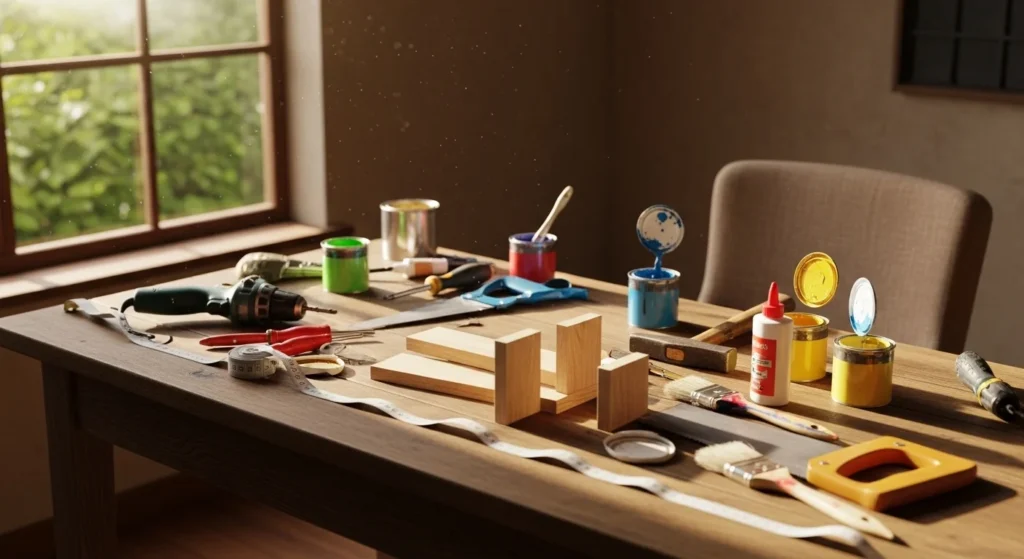
Start with these basics:
- Hammer
- Cordless drill or drill-driver
- Screwdriver set
- Measuring tape
- Level
- Utility knife
- Stud finder (useful for shelves and wall mounting)
- Sandpaper or sanding block
With these tools, you can already handle:
- Hanging shelves or artwork
- Installing curtain rods
- Assembling furniture
- Fixing loose hinges
- Building simple storage solutions

Tip: Buy tools gradually as projects demand them instead of buying everything at once.
Step-by-Step DIY Workflow for Beginners
Most home DIY projects follow a similar process. Once you understand the pattern, projects feel much easier.
Step 1: Prepare the Area
Clear the workspace and protect floors or furniture with sheets or cardboard.
Step 2: Measure Twice
Accurate measurement prevents costly mistakes. Always double-check before drilling or cutting.
Step 3: Work Slowly
Rushing leads to uneven results or damage. Take your time.
Step 4: Assemble or Install
Follow instructions step by step. Pause if unsure and check guides or tutorials.
Step 5: Clean and Finish
Sand edges, wipe surfaces, and tidy the area for a professional finish.

